I love this time of year. The weather is changing, the leaves change color, the cozy sweaters come out, and the yummy seasonal drinks are now available! But I what I’m most thankful for is my family.
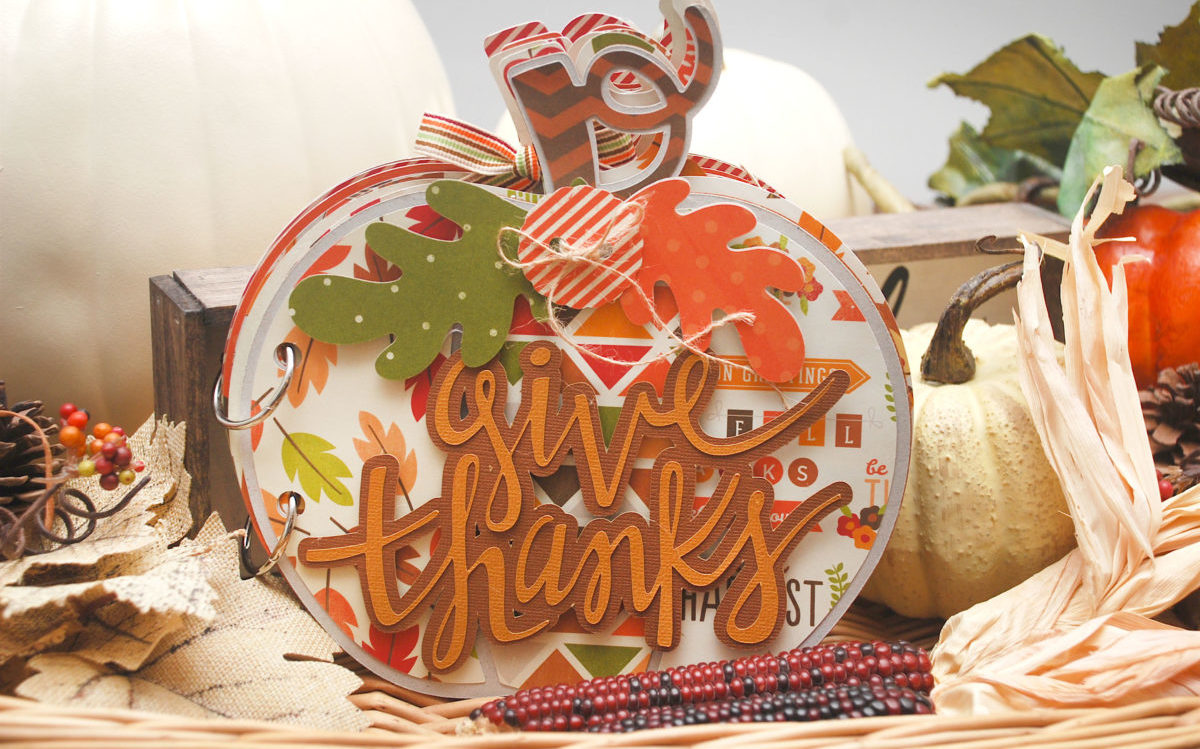
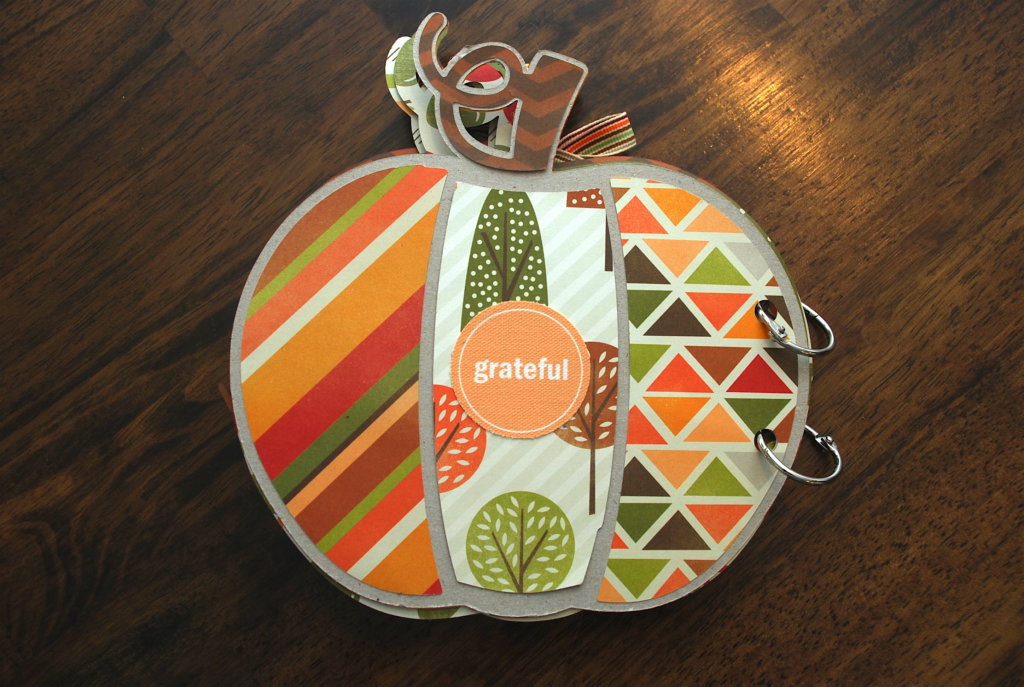
I created this little seasonal mini to add to my fall home decor this year. Isn’t it cute? This is a simple & fun project to create.
Supplies Needed:
- Silhouette CAMEO®
- Chipboard
- Adhesive Backed Cardstock (in a variety of colors)
- Printable Adhesive Cardstock
- Printable Cotton Canvas
Designs Used:
- family Design ID #160408
- grateful Design ID #159355
- Give Thanks Design ID #69119
- thankful & blessed Design ID #98592
- phrase: grateful (print & Cut) Design ID #4323
- phrase: thankful (print & cut) Design ID #4321
- pumpkin mini Design ID #68110
- 3 Print & Cut Fall 3×4 Cards Design ID #32463
- 3 Print & Cut Fall 3×4 Cards Design ID #32184
- 3×4 journal cards Design ID #69000
- fall journal cards Design ID #152725
- autumn journaling card Design ID #152728
- Fall circle label Design ID #151385
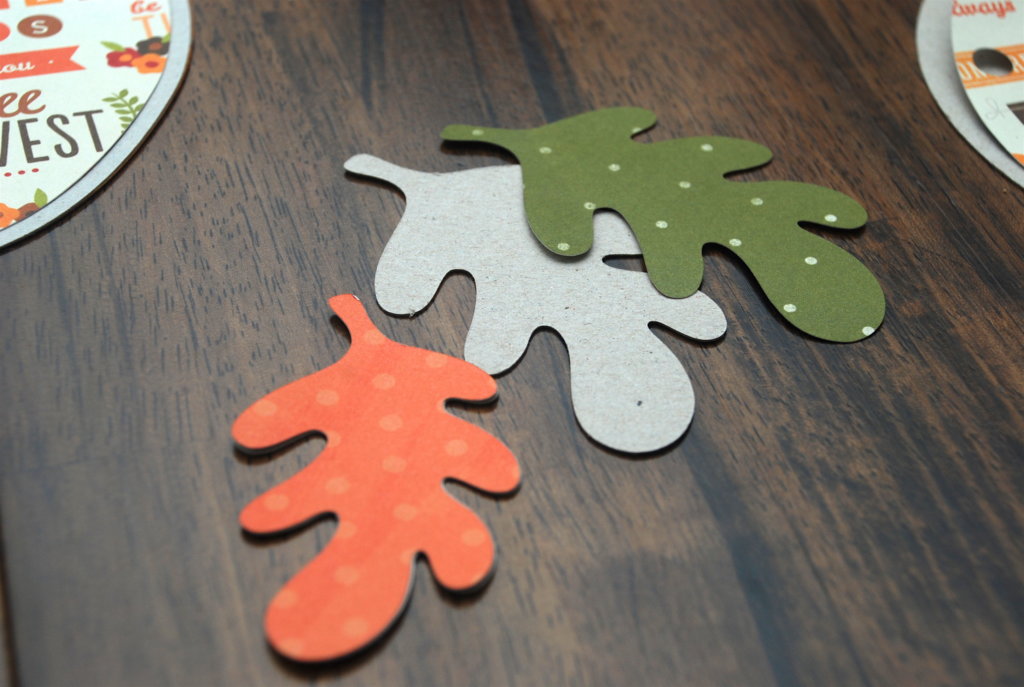
- leaves flea market Design ID #154597
Step One: Set up in Silhouette Studio®
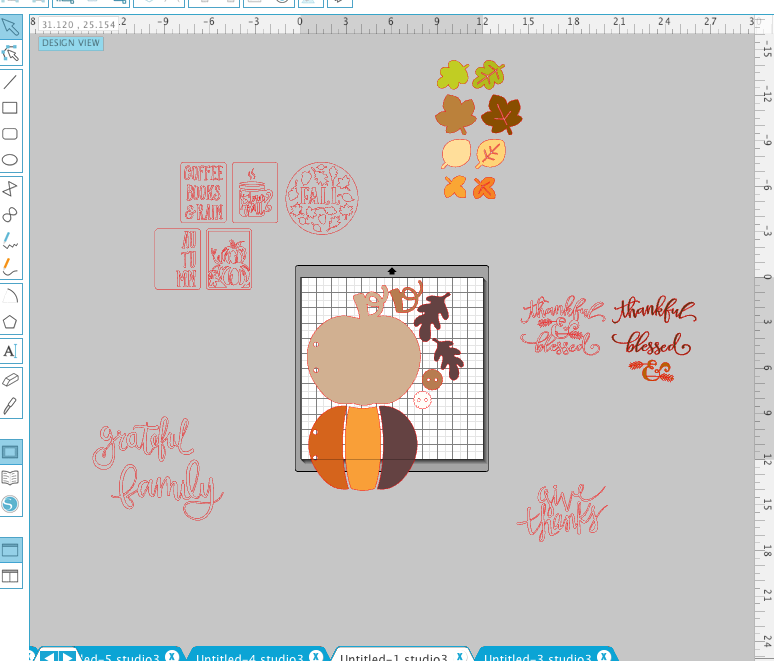
I began by choosing all the designs that I wanted to use and placed them in a working page.
When I opened the album up I realized that it was much smaller than I wanted so I resized it. Doing this meant that I needed to resize the other elements that were going to go on the page.
Step Two: Cut Out Pieces
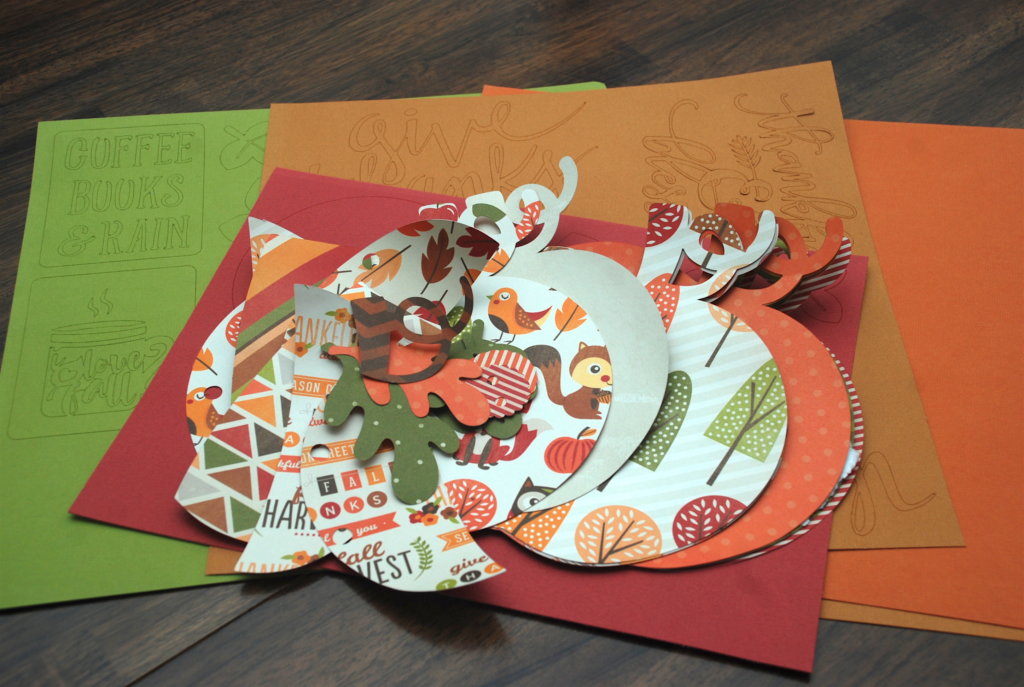
I found some cute patterned papers to use and then matched some great Adhesive Backed card stock for added color and texture.
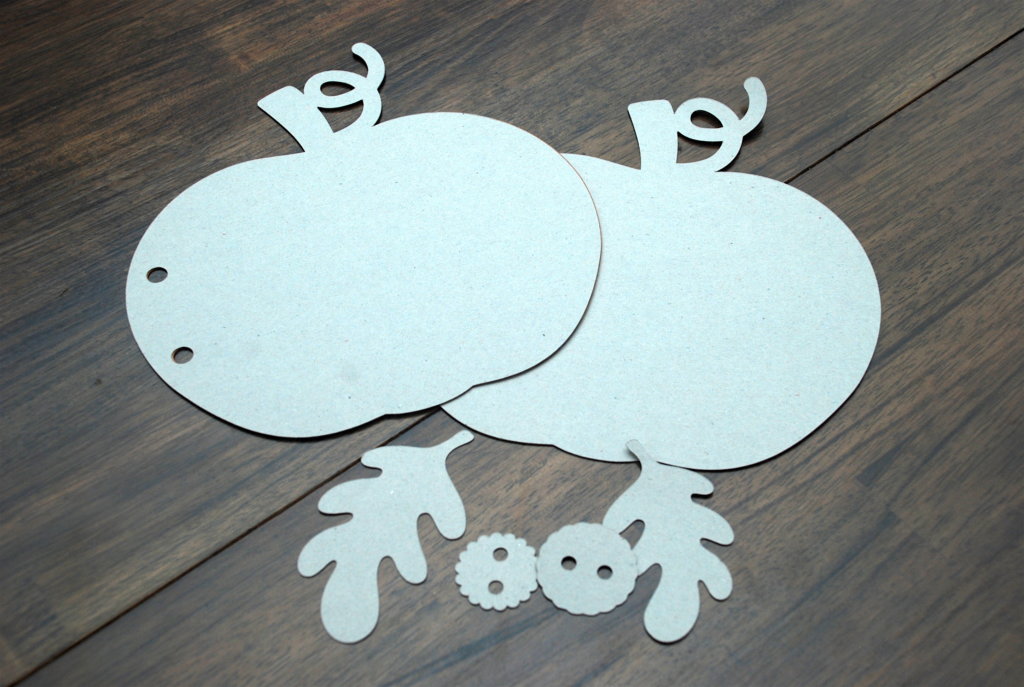
When creating a mini album it’s a good idea to give it some stability. That’s why I cut the outside pages from chipboard and then covered them with patterned papers.
You could do this for every page if you wanted to especially if it was something that was going to be touched often and looked through many times.
Step Three: Print & Cut
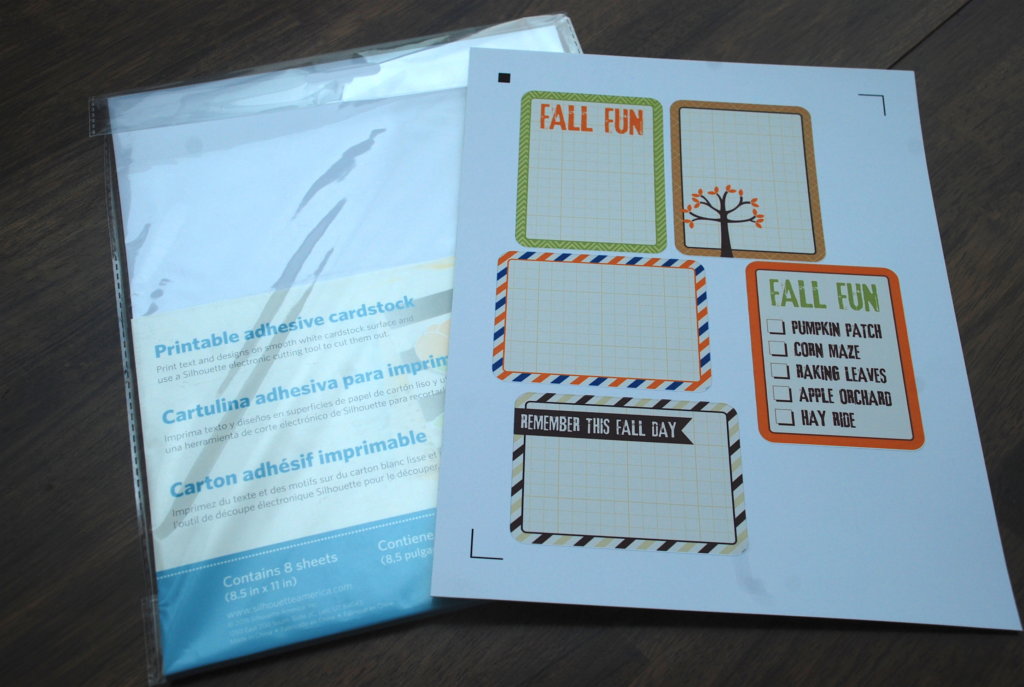
I chose to Print & Cut these designs on some printable adhesive white cardstock and I love how they turned out!
(For help with using the Print & Cut feature, see this post here.)
Remember to choose Printable Adhesive Cardstock when cutting it and change the blade depth, if needed.
I also used some printable cotton canvas for some added texture. Use the Print & Cut feature and you will be able to create your own canvas stickers!
Step Four: Assemble
Now comes the fun part!! Putting it all together!
I start with adhering the patterned pieces of paper to the chipboard pieces and then I assemble it page by page.
When I create mini albums I will always lay the designs down on each page, moving things from here to there, playing with different ideas until I’m completely happy with how it looks. It’s important to not glue everything down right away just in case you want to switch things around a little bit.
It’s also a great idea to have your pictures printed out ahead of time keeping them similar in size to create some uniformity.
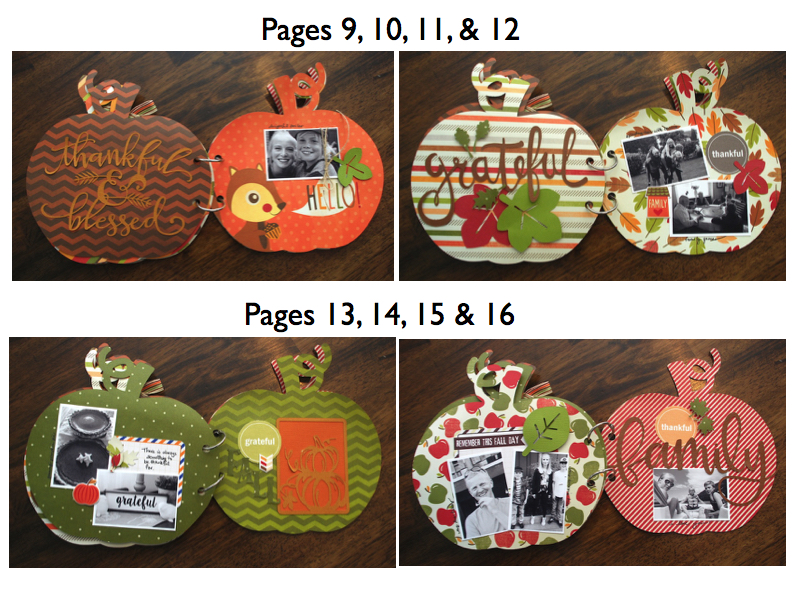
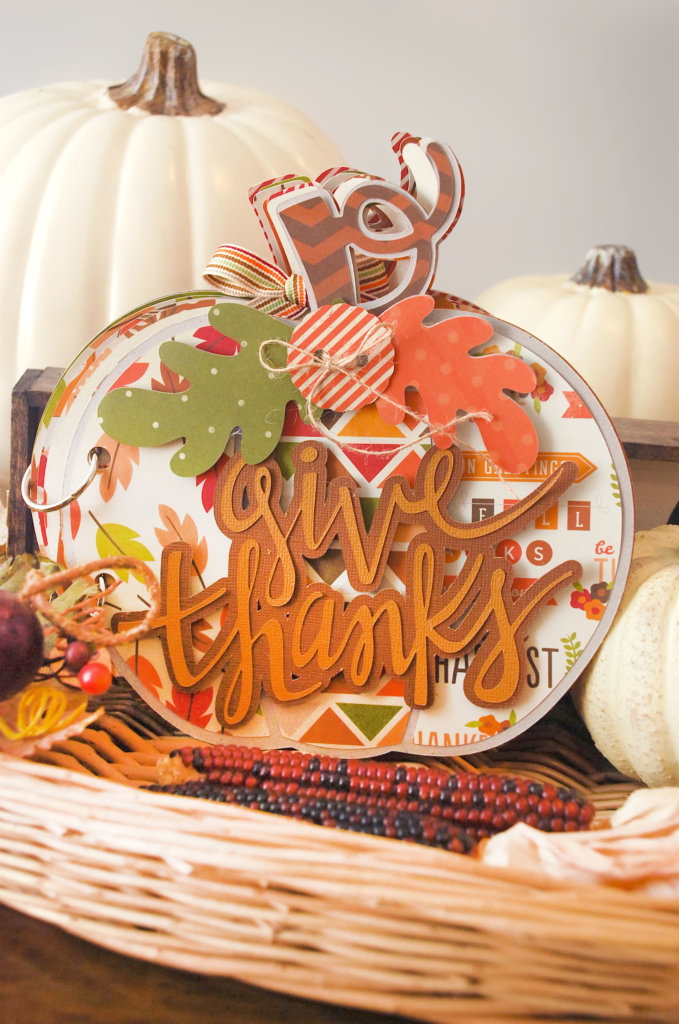
Here’s a look at all of the pages and then some close up pictures as well.
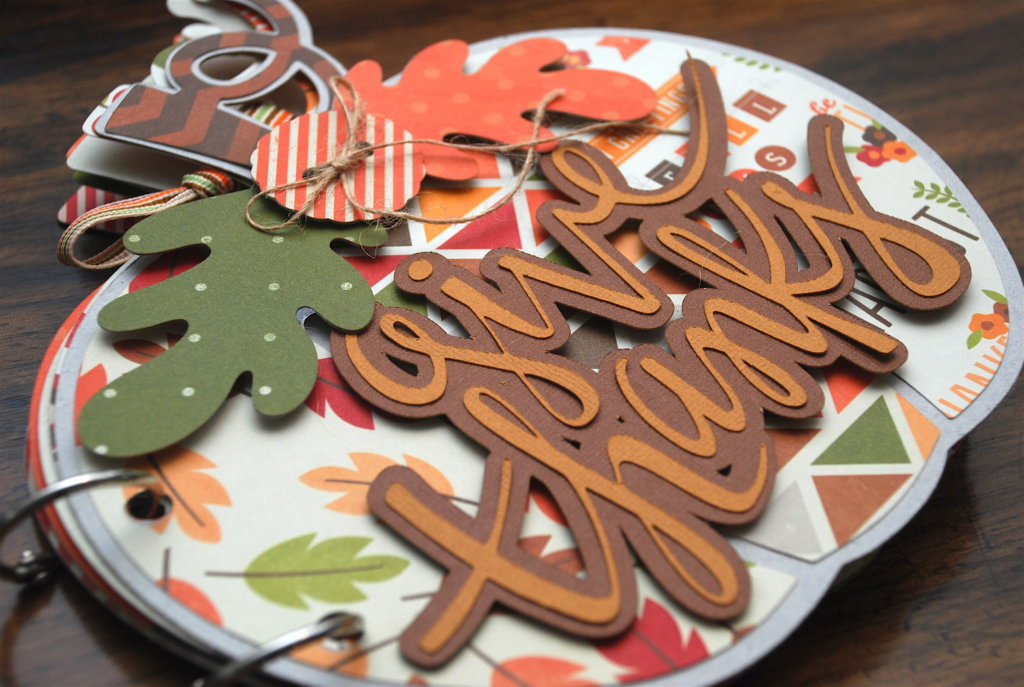
You’ll notice on the cover of the album I cut out the title from cardstock. I also created an offset of that design to give it more definition and depth of color to the front cover.

Here’s a look at the back cover. Very simple but clean lines.
Another great idea for using an album like this would be to include a bunch of blank journal cards and when your guests come over for Thanksgiving dinner, have each of them fill out what they are thankful and grateful for. This would be such a treasure to read years down the road.
I hope I’ve inspired you to create something unique for your Thanksgiving dinner this year.