
Who doesn’t love some glitter? These glitter sticker paper labels made my little sister’s heart swoon thanks to the combination of the new glitter sticker paper from Silhouette and the unicorn design! Join me as I show you how to create these fun and cute labels easily. What are you waiting for? Let’s jump in.
Supplies Needed:
- Silhouette CAMEO® or Silhouette Portrait® or Silhouette Curio™
- Silhouette Studio®
- Silhouette Glitter Sticker Paper
- Silhouette Cutting Mat
- Silhouette Cutting Blade
- Design ID #206429
Step One: Create The Design
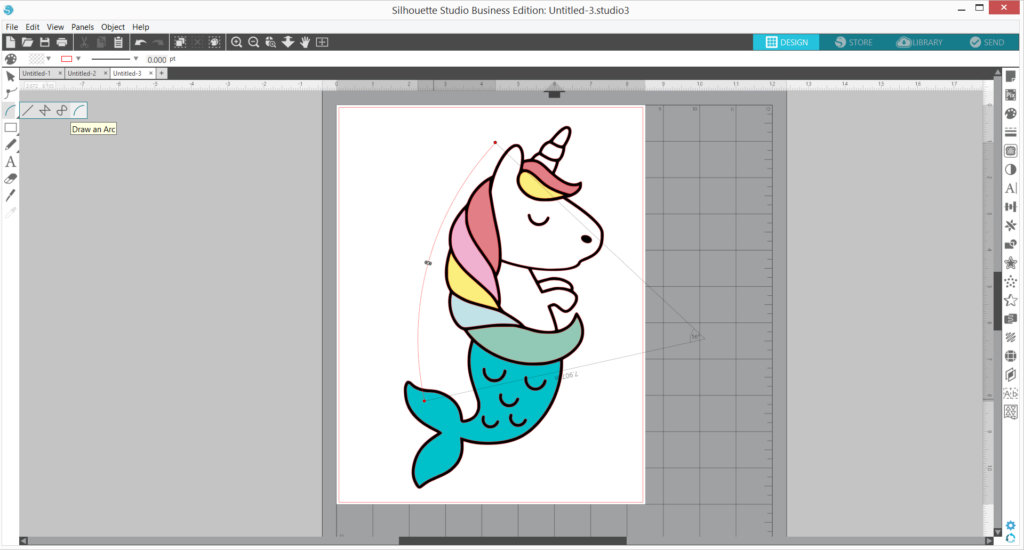
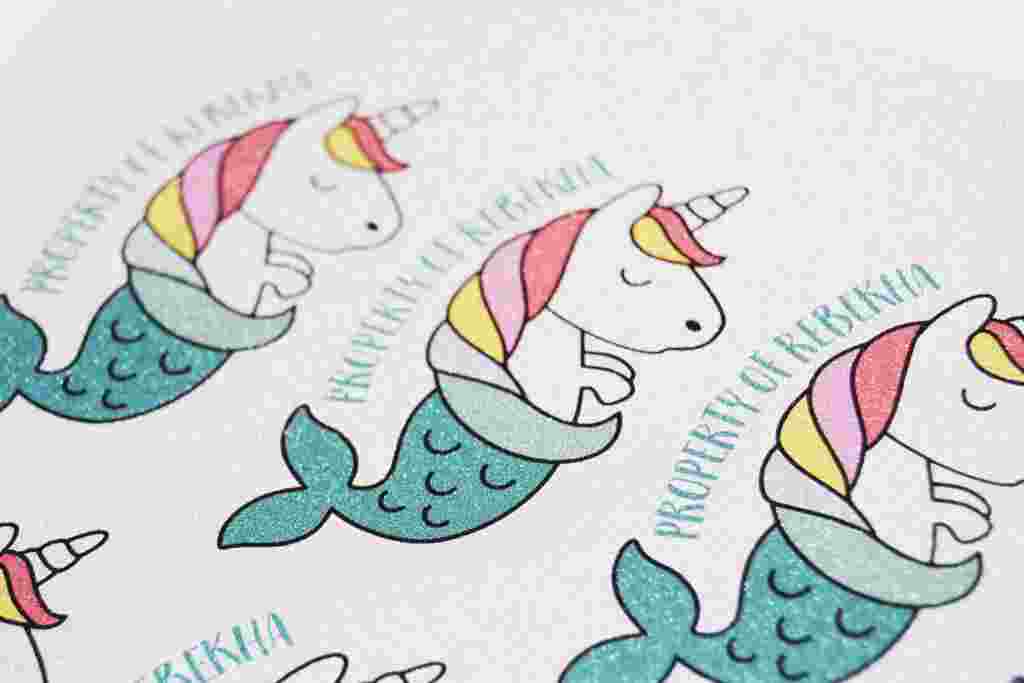
- I used the Sea Unicorn design (Design ID#206429) and built my design from there. First, you want to group your design if it is not already grouped so that it’s easier to move.

- Next, I wanted to curve my text to loosely follow the shape that I was using, so I drew an arc. Position the arc where you want it to be.
- Convert the arc into a path so that you can use it for your text. Right-click the arc, and then select Convert to Path.

- Type your text and format it to your liking. Once done, double-click it until a green box shows around it and drag the crosshair arrow on the lefthand side of it to the arc path you just created until the text follows the arc’s curve.
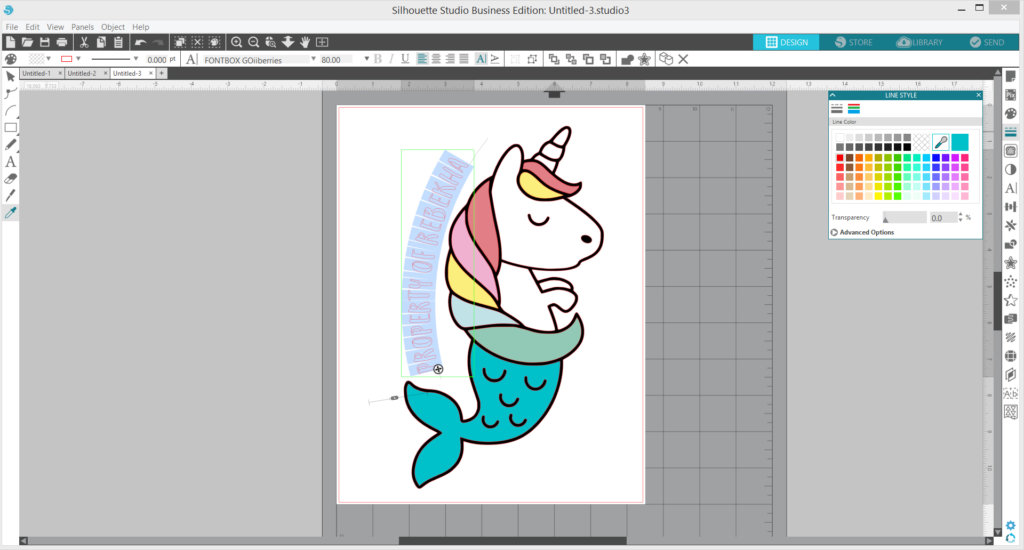
- Remove the line color by clicking the No Fill option on the Line Style panel. Fill your shape with your desired color. (I copied the color of the tail to make it look more cohesive.)

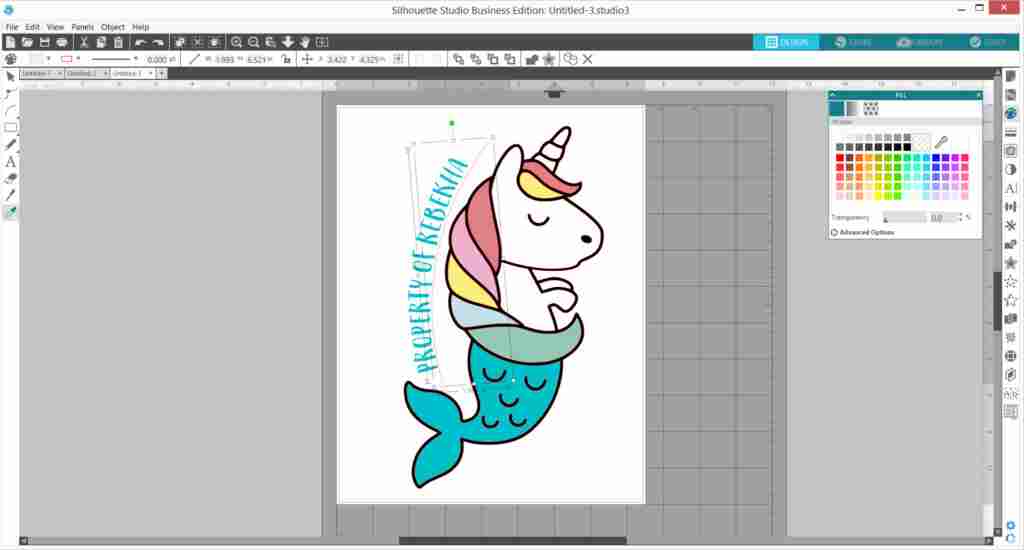
- Once done, right-click the text and select Weld to commit the text formatting.
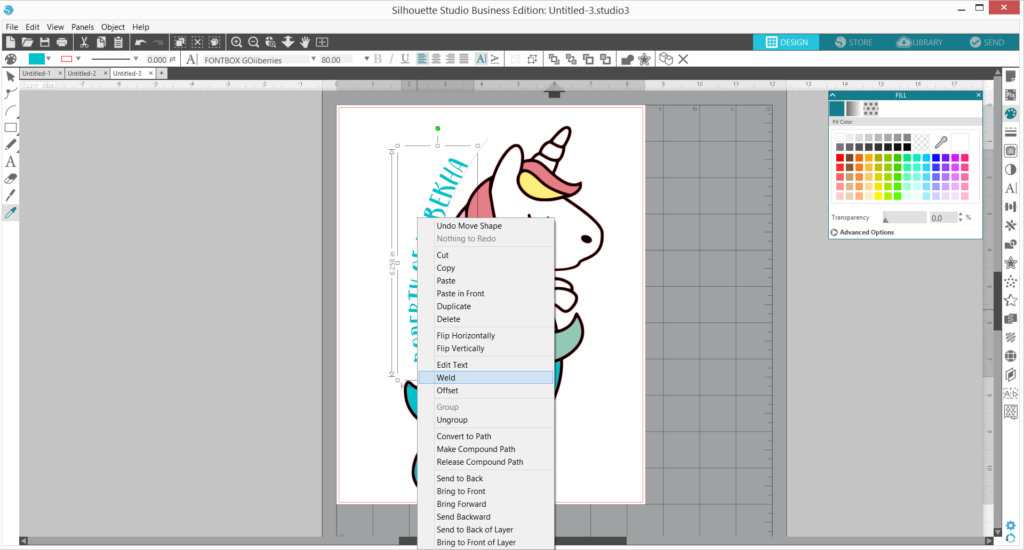
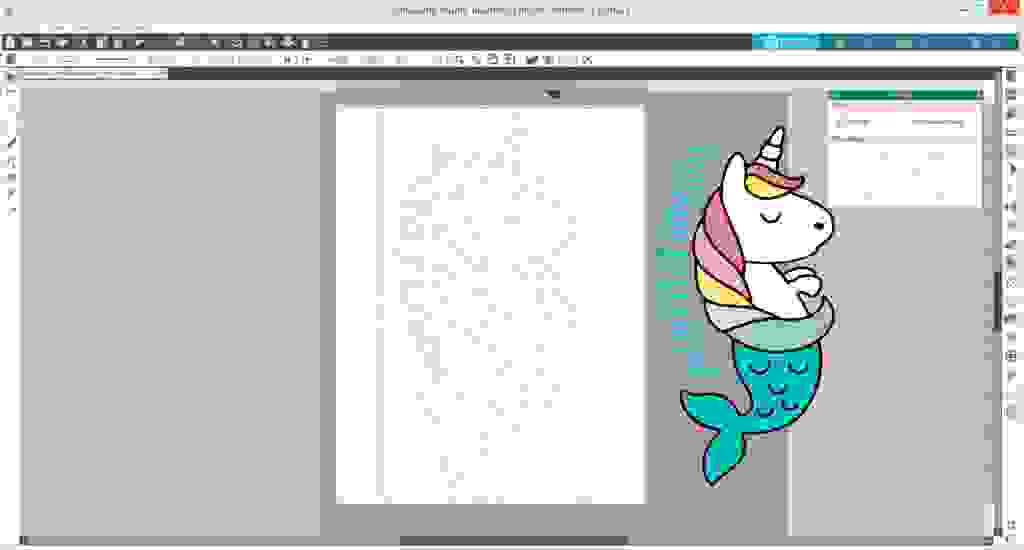
- Don’t forget to delete the arc path so it doesn’t cut or show on the finished print! Group the text and the unicorn together.
- Duplicate the design, right-click, and select Make Compound Path.
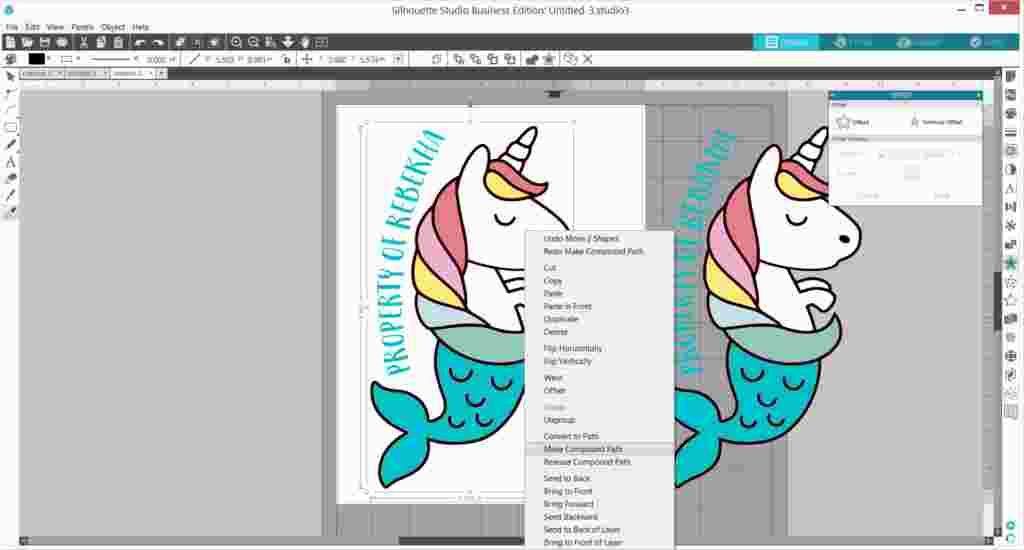
- Create an offset cut line by opening the Offset panel, adjusting the distance that you want, and click Apply. Right-click the offset cut lines and select Release Compound Path. Delete all the inside elements except for the outermost cut line.
- Move the outer cut line to the design copy. Set all cut lines except for the outer cut line to No Cut.
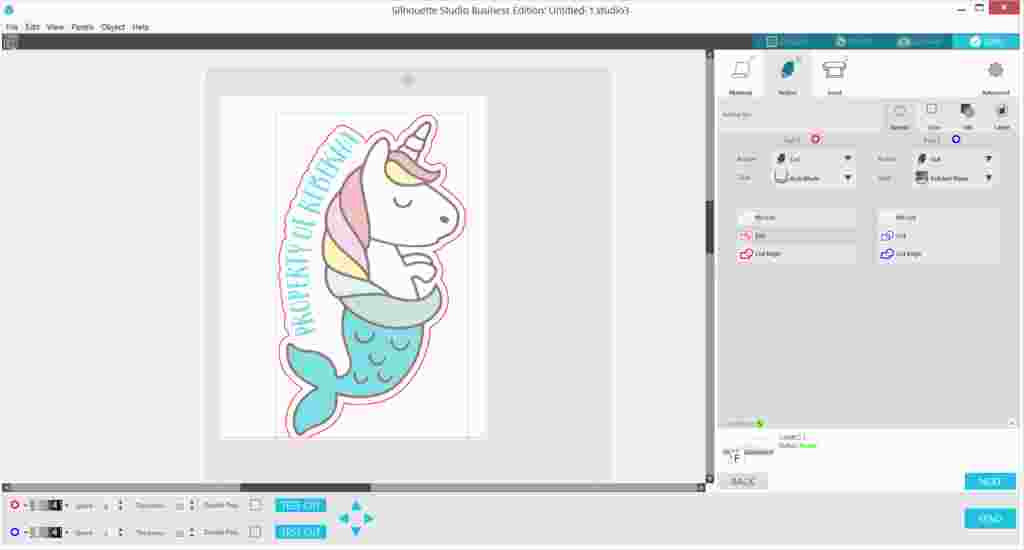
Step 2. Print & Cut Your Design
- Add registration marks by clicking the Page Setup panel and selecting the Registration Marks option. Use the standard style (Type 1). Do not adjust the registration marks so that they print properly onto the glitter sheet’s nonglitter corners.
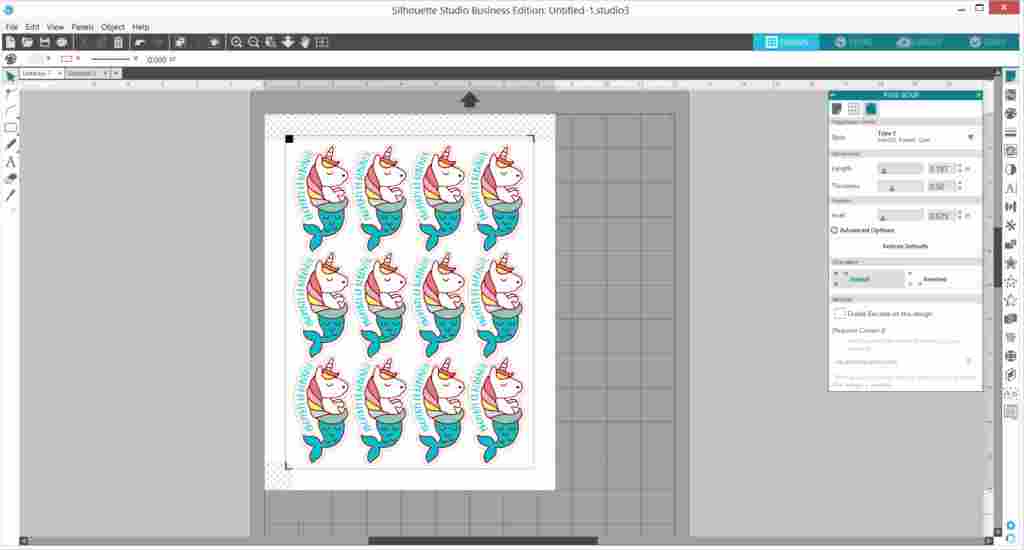
- Layout and repeat your design according to how many are able to fit in the page. Send page to your printer to print.
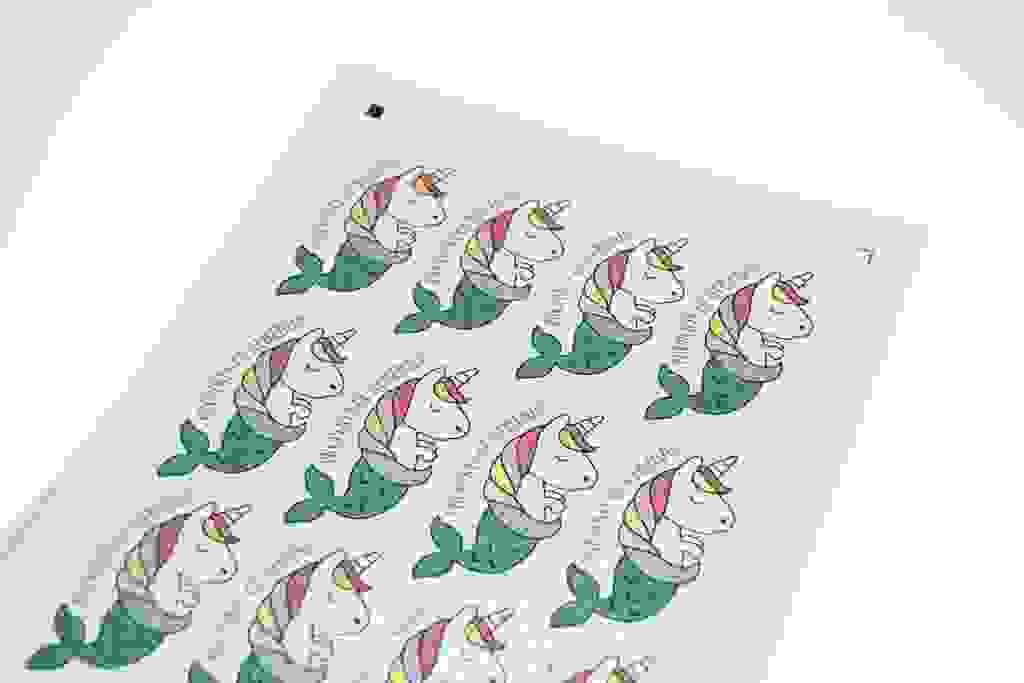
- Load the printed paper into your Silhouette and cut! I used Blade 4, Speed 5, and Force 10 for the sticker paper, and it kiss-cut beautifully.
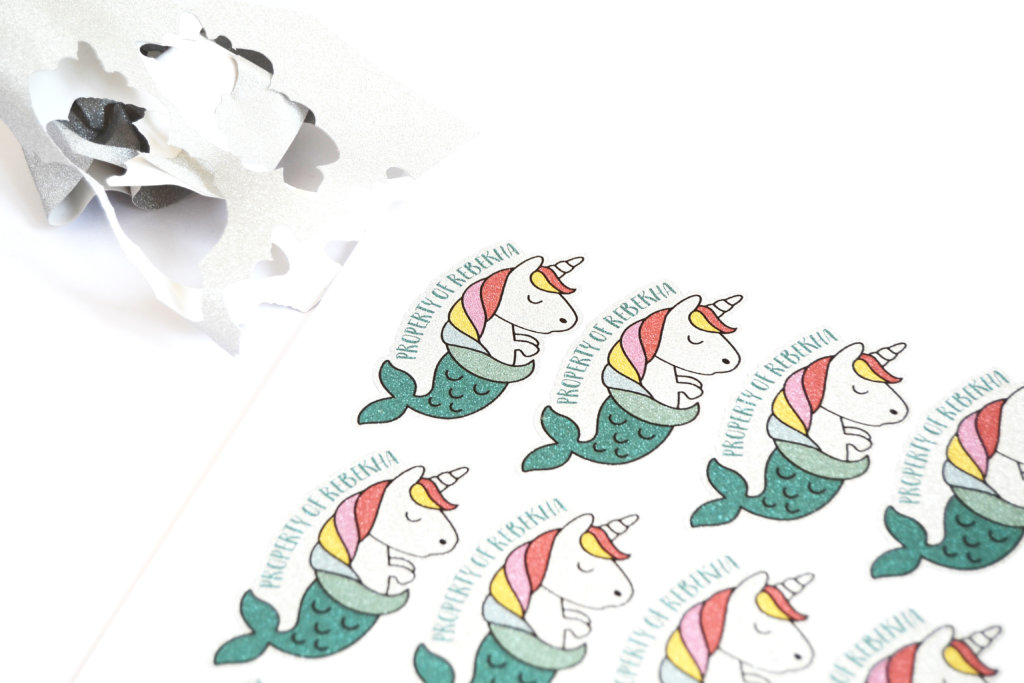
- Once done, you have a beautiful set of stickers for your labeling needs. I just love how the unicorn mermaid turned out with the glitter sticker paper. It’s just so perfect!

What do you want to create with the new glitter sticker paper?
Nasze Naturalne
September 3, 2025
Your authentic voice really shines through in everything you create and share
Naszenaturalne
September 2, 2025
Really love your style
Kelly Wayment
June 28, 2024
You can use it with vinyl as long as it is smooth and flat to allow the static charge to hold on to it. Rolled vinyl that wants to go back to its rolled shape will not necessarily work well, and it would need to be trimmed to fit the ES mat cutting area.
Kelly Wayment
June 28, 2024
Yes, you can use the heat pen while using the ES mat. 🙂
Yurii
March 2, 2024
Hello. May it be used with heat pen?
Thanks
Jerome
February 24, 2024
Hi, works this with the normal vinyl foils or only with printer papter etc?