
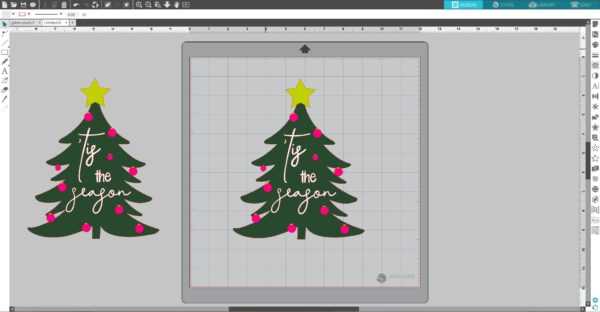
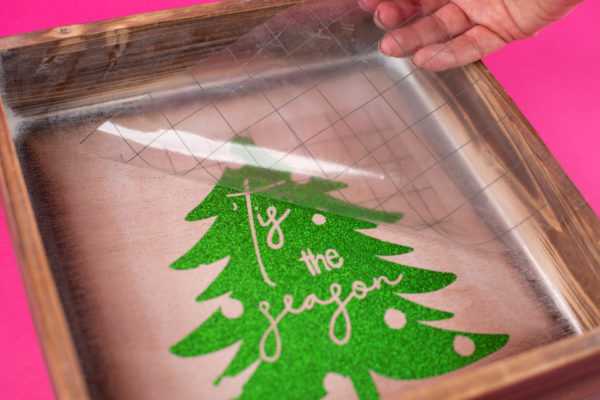
Is there anything better than a sparkly Christmas design?! Today we’ll show you how to turn this ‘Tis the Season design and these snowflakes into a glitter vinyl applique that you can apply to a variety of surfaces. Follow along if you’d like to know how you can make your own!
Supplies Needed:
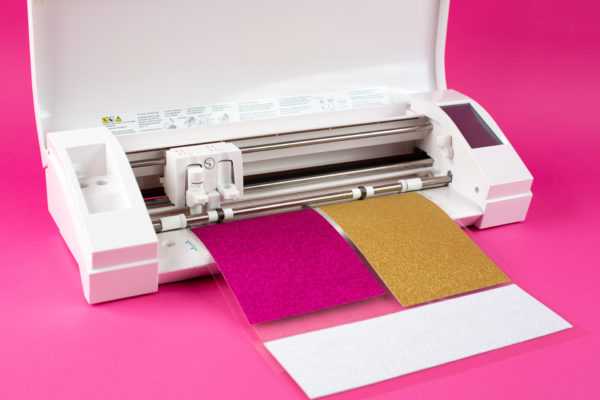
- Silhouette CAMEO® or Silhouette Portrait®
- Silhouette Studio®
- Silhouette Cutting Mat
- Silhouette Cutting Blade
- Silhouette Glitter Vinyl – green, gold, white, and pink
- Silhouette Strong Tack Transfer Tape
- Silhouette Spatula Tool
- Wood Box Frame
- Design ID #280104
- Design ID #35504
Step One: Preparing the Designs
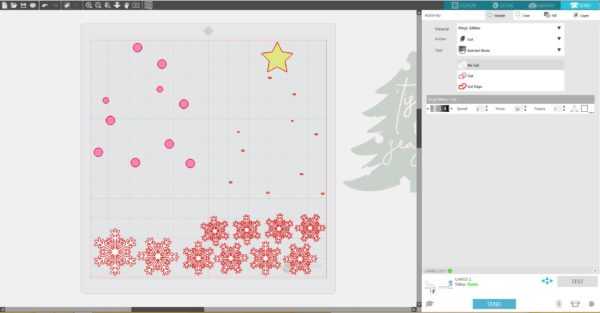
1. Download the ‘Tis the Season Christmas Tree design (Design ID #280104) from the Silhouette Design Store. Open it in Silhouette Studio® by locating it in your Library, and resize it. Make a copy of the design and place in the holding area.
2. Ungroup the design. We need to remove some of the tree design so that the vinyl doesn’t overlap. To do that, select all elements of the Christmas tree and open the Modify panel (the icon is located on the left side of the screen). Click Subtract. Group all elements of the tree together and place it in the holding area.
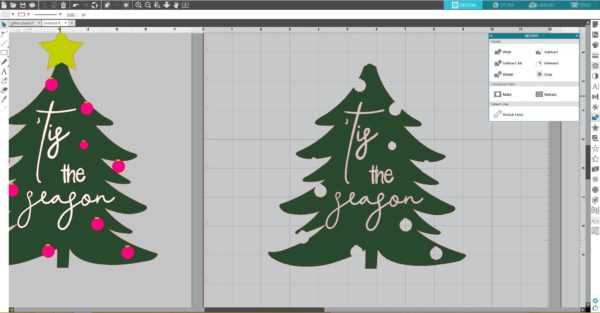
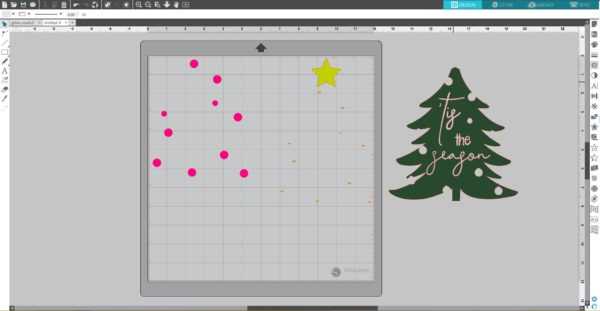
3. Ungroup the tree design we placed in the holding area at the beginning (you’ll have to Ungroup it twice). Select all ornament elements, group them and place on the working space. Do the same for the star and yellow ornament elements. Delete this tree shape so that the only remaining tree shape is the one that you subtracted the ornaments from.
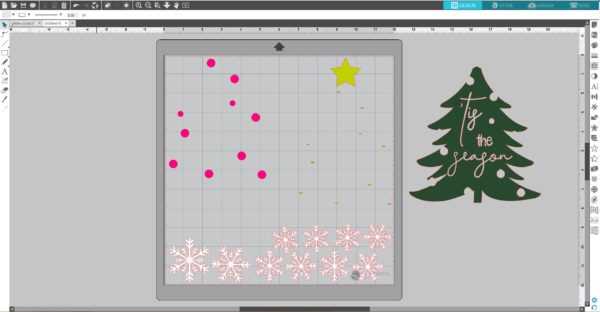
4. Download the Snowflakes design (Design ID #35504) from the Silhouette Design Store. Open it in Silhouette Studio® by locating it in your Library. Pick the snowflake you want to use for this project, resize it, and make as many copies as you need. Place them on the working space.
 Step Two: Cutting the Vinyl
1. Place pieces of pink, gold, and white vinyl on the cutting mat on the same spots as you placed designs on the working space in the Silhouette Studio®. Make sure the pieces of vinyl are not smaller than your designs. Adjust the rollers if needed, and feed the mat into the cutting machine.
2. In Silhouette Studio®, go to the Send tab, add as new material “Vinyl, Glitter” with the following settings: Blade: 3, Speed: 2, Force: 33, Passes: 1 (watch this video to learn how to add a new material in Silhouette Studio®). Adjust the blade as indicated (unless you use a machine with an AutoBlade) and click “Send.”
3. Once the images are cut, select Unload on your machine, and remove the cutting mat from the machine. Repeat the same steps for the tree and the green glitter vinyl.
Step Three: Applying the Vinyl
1. Weed (peel away) the negative space so all that remains on the vinyl backing is your design.

2. Using strong tack transfer tape, apply the green part of the tree to the surface.

3. Remove the transfer tape.
4. Add the pink elements and then the gold ones.

5. Finish by arranging the snowflakes around the Christmas tree using strong tack transfer tape.

Now our project is ready!

Now we have a fun Christmas box frame that we can hang somewhere or put on a table to display! How are you going to use this design? Let us know in the comments below!
Nasze Naturalne
September 3, 2025
Your authentic voice really shines through in everything you create and share
Naszenaturalne
September 2, 2025
Really love your style
Kelly Wayment
June 28, 2024
You can use it with vinyl as long as it is smooth and flat to allow the static charge to hold on to it. Rolled vinyl that wants to go back to its rolled shape will not necessarily work well, and it would need to be trimmed to fit the ES mat cutting area.
Kelly Wayment
June 28, 2024
Yes, you can use the heat pen while using the ES mat. 🙂
Yurii
March 2, 2024
Hello. May it be used with heat pen?
Thanks
Jerome
February 24, 2024
Hi, works this with the normal vinyl foils or only with printer papter etc?