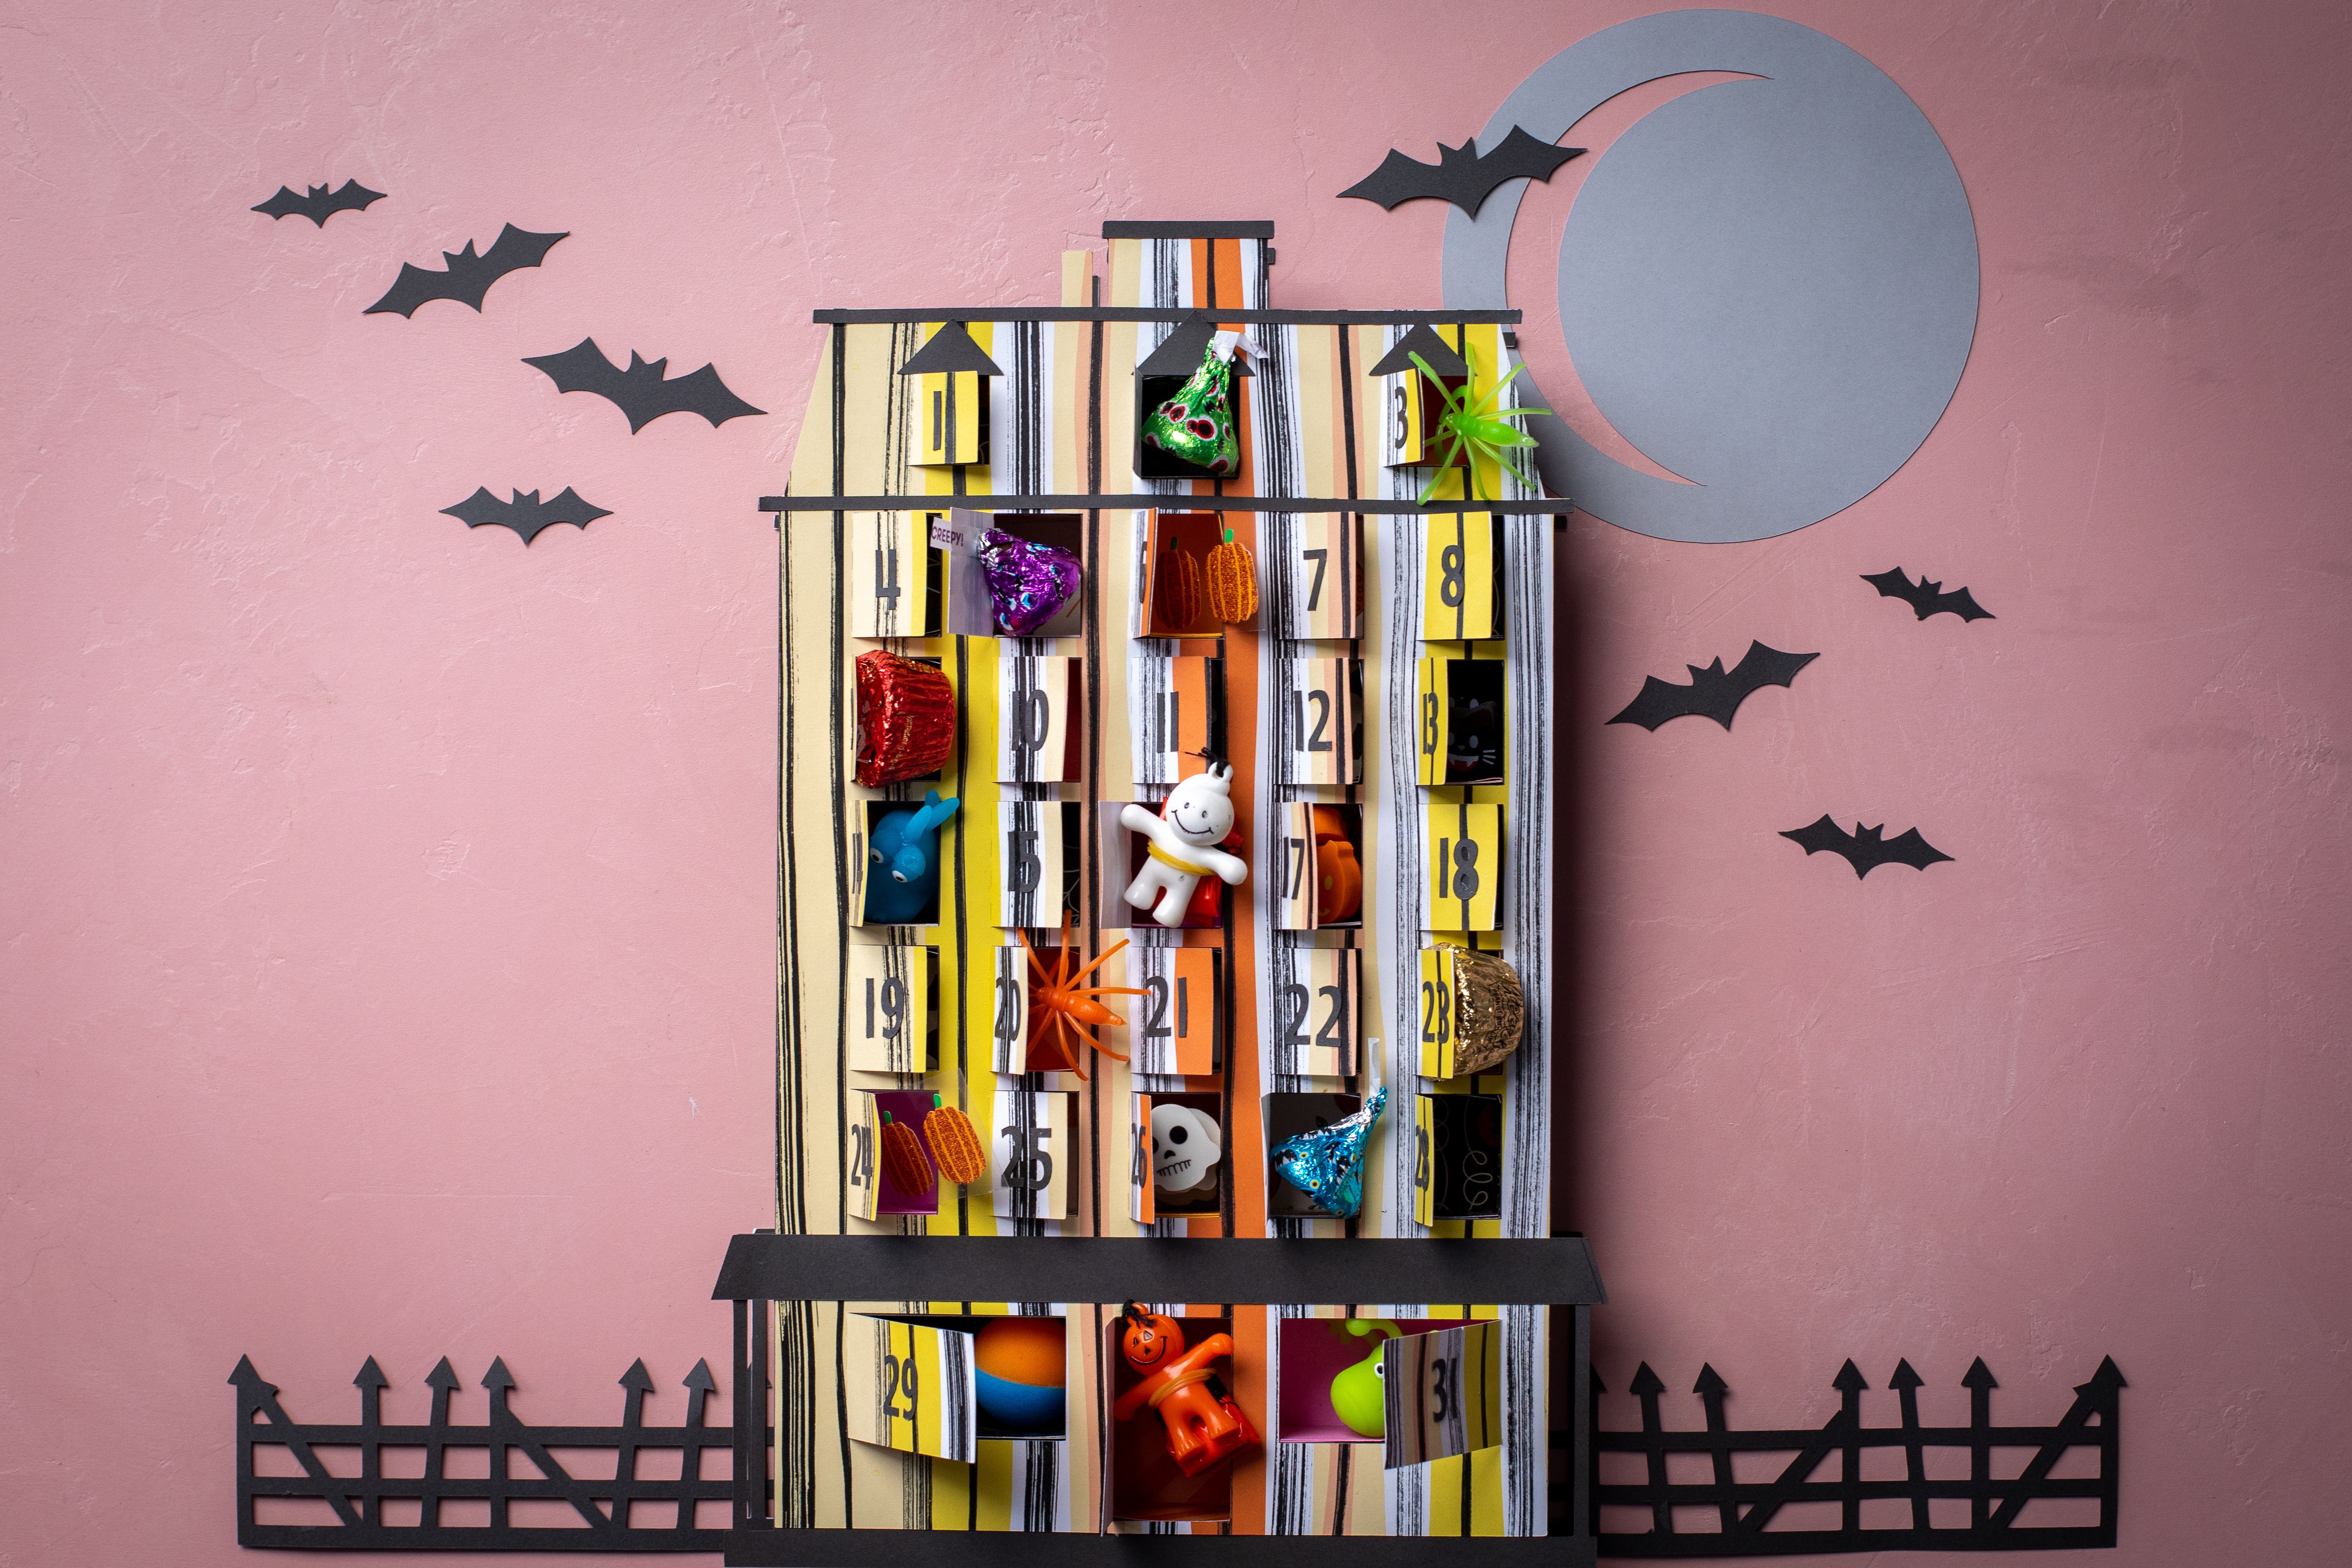
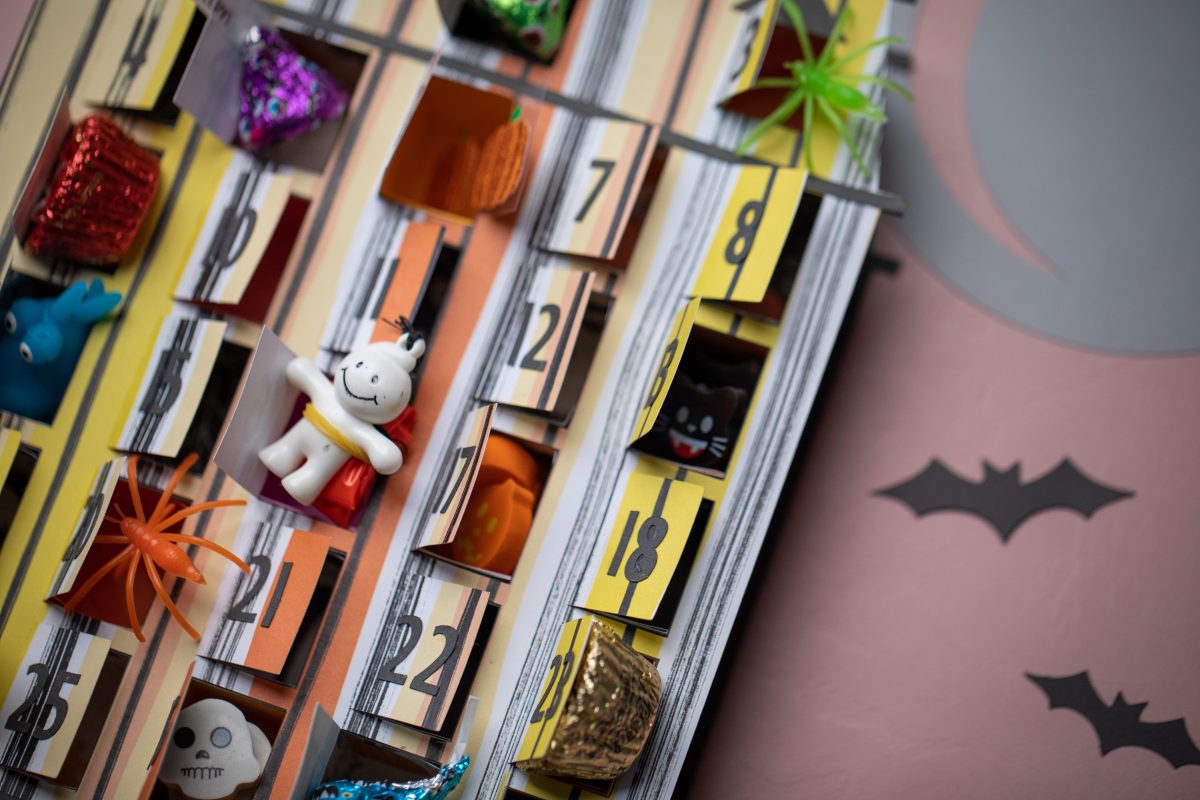
The first day of October is tomorrow, and that means the countdown to Halloween is on! To celebrate the month leading up to the big day, this Haunted House Advent Calendar designed by Jamie Lane Designs is a darling way to add a bit of excitement and anticipation! The final size is just under 12 inches tall and 8 inches wide, so it’s quite simple to assemble and requires tiny treats and surprises to fill the boxes!
Supplies Needed:
- Silhouette Cameo® or Silhouette Portrait®
- Silhouette Studio®
- Silhouette Cutting Mat
- Silhouette AutoBlade
- Patterned Paper for Halloween: 2 sheets of 12-by-12-inch striped paper for the front and back of the house and 5 or more sheets of various patterned paper for the boxes
- 3 sheets of 12-by-12-inch cardstock in dark gray
- Adhesive
- Design ID #49498
Step One: Formatting Your Design
1. Open the design up in Silhouette Studio®. The design is sized appropriately for your Cameo or Portrait, so no need to resize anything. I’ve color coordinated the pieces in the photo below so you can see which parts of the house I used the same paper for. All the pieces are labeled in the design so you know what is what.
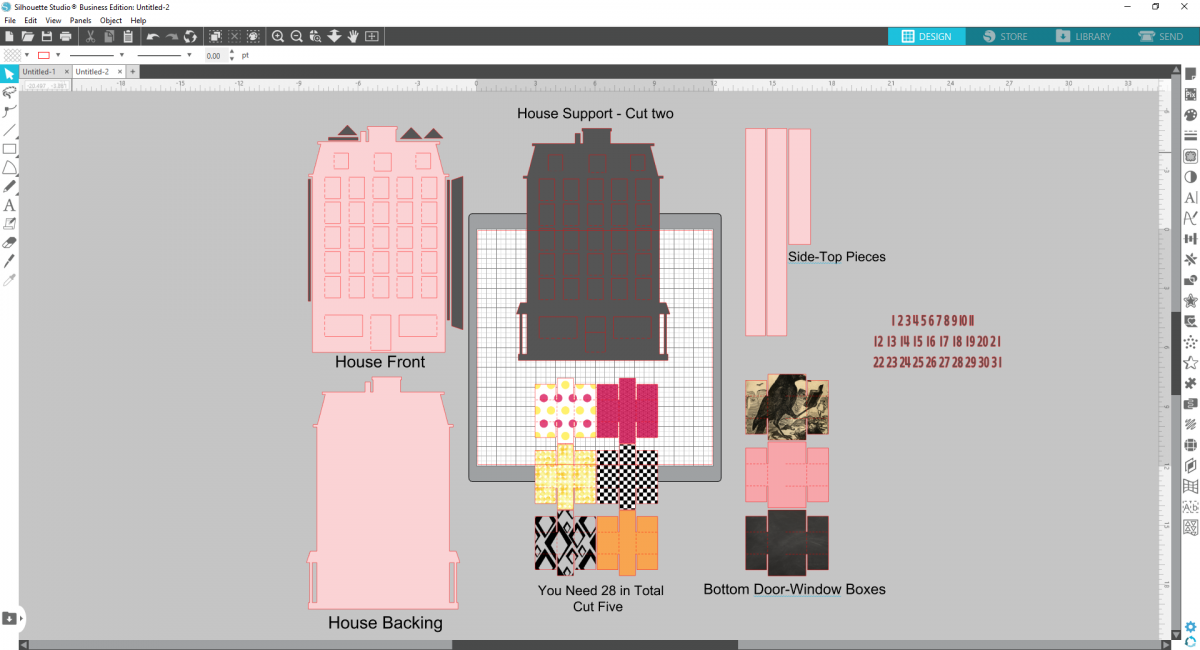
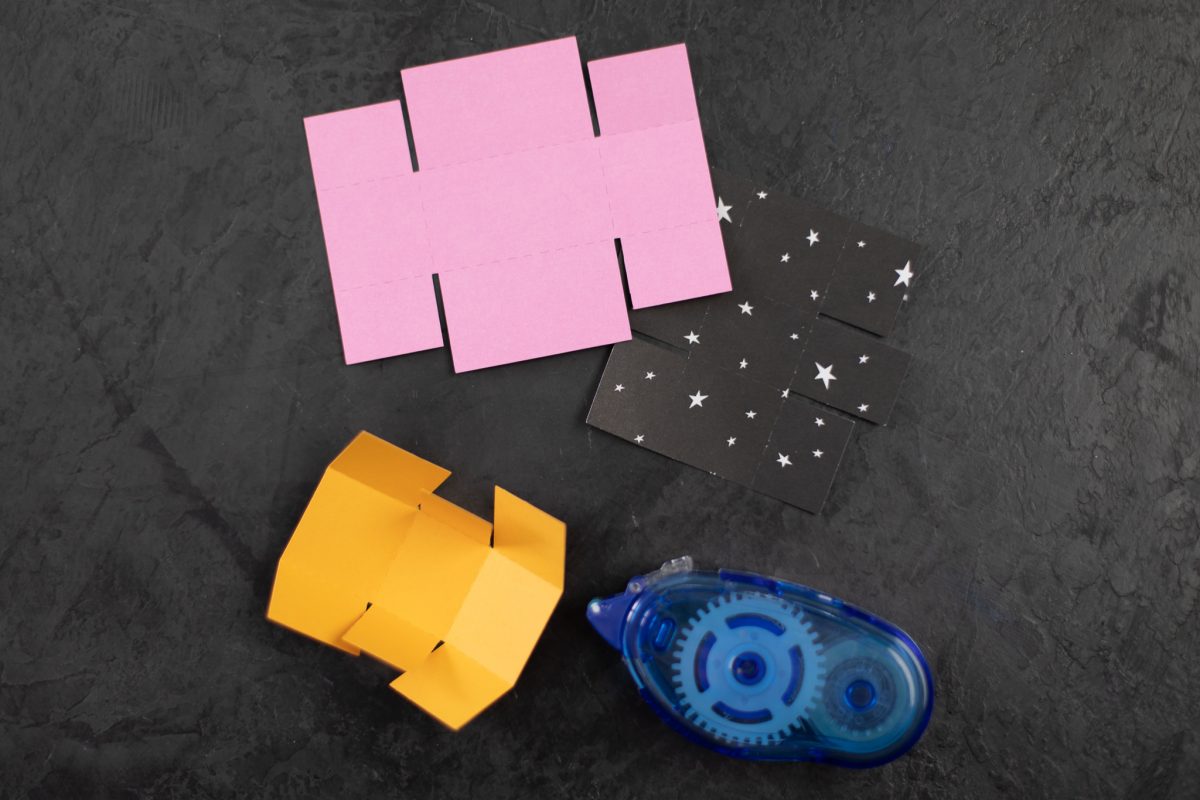
2. Cut out each piece on the paper of your choosing!
Step Two: Assembling Your House
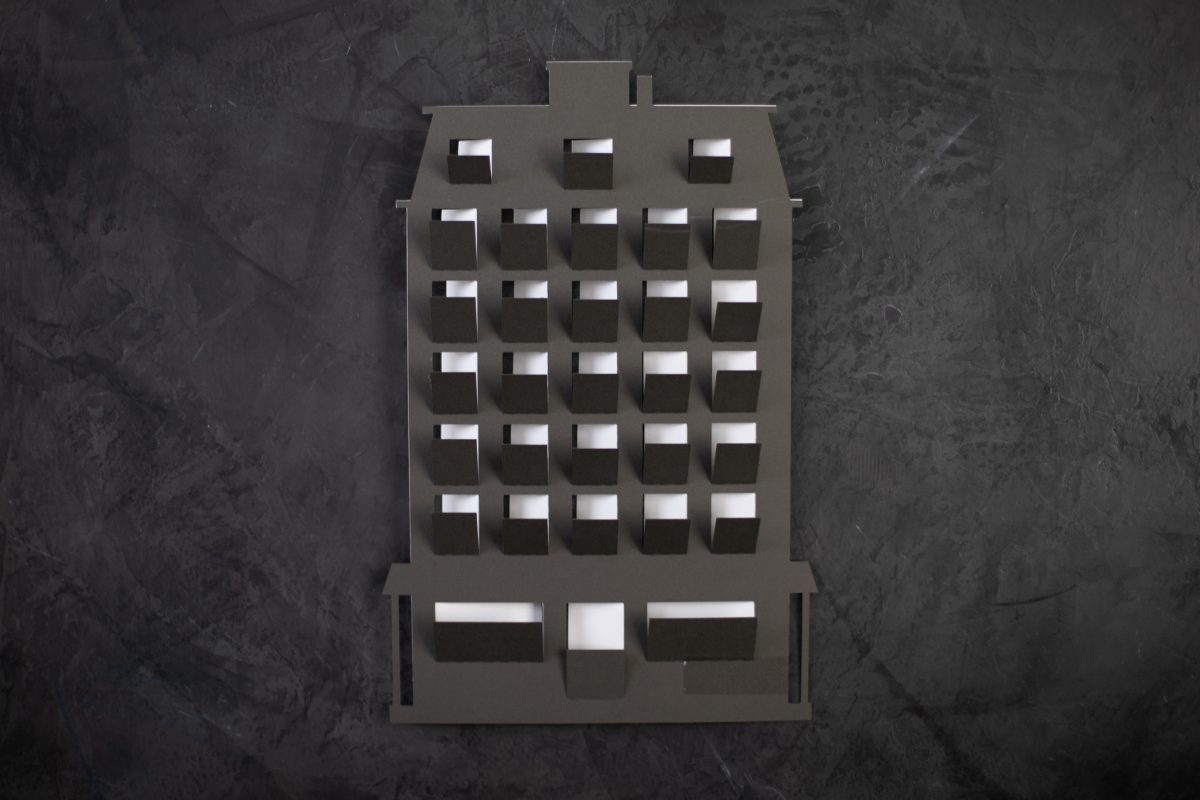
1. Fold the windows of the house back, and fold the tabs on one of the house support pieces back. Glue the front piece of the house to the house support piece. The support tabs should be folded towards the back.
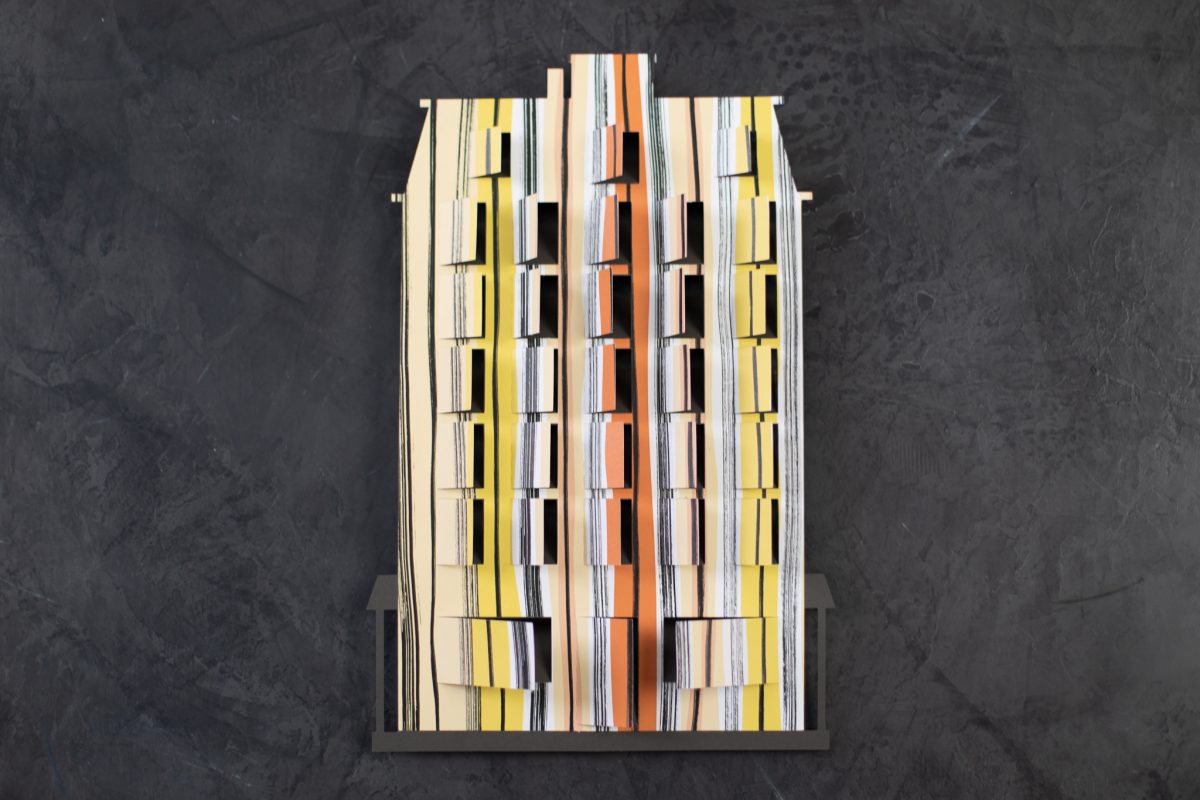
2. Then put together all the boxes for the advent calendar by folding along the perforated edges and adhering the tabs together.

3. Adhere the bases of the boxes to the support tabs with adhesive, making sure the opening of the box is facing the opening of the windows on the front.
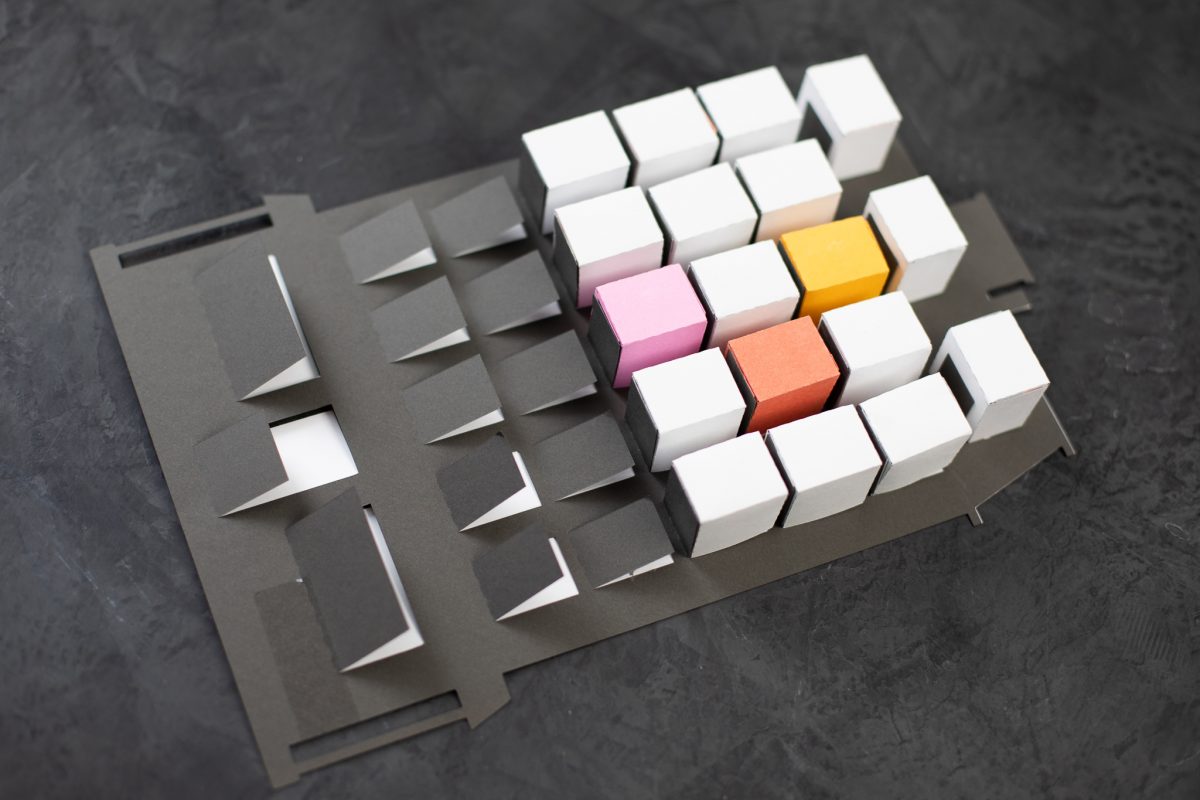

4. Fold the tabs of the second support piece towards the front and adhere the tabs to the back of the house. This will take a bit of time to adhere each support tab to the box.

5. Once the support pieces are all secure, adhere the back house piece to the back of the house, covering all the boxes.
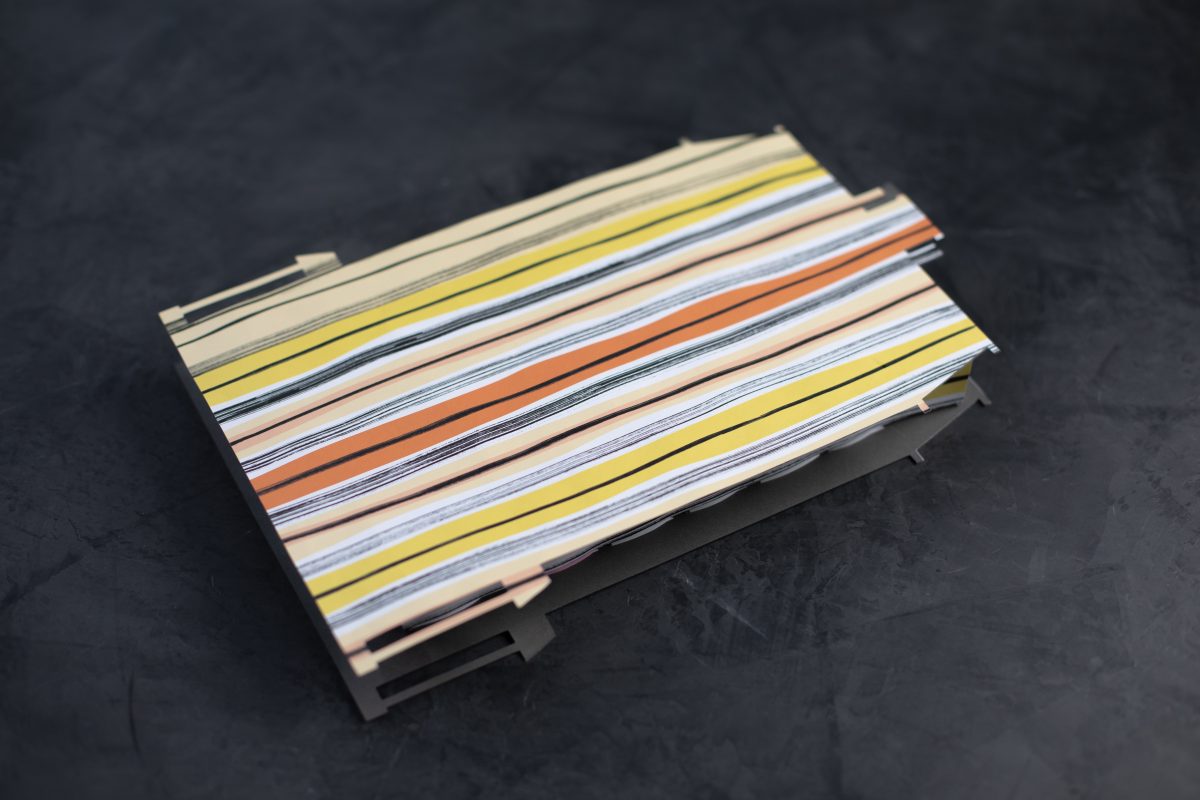
6. Then add the side pieces to enclose the boxes. To finish, add the details and numbers to the house.
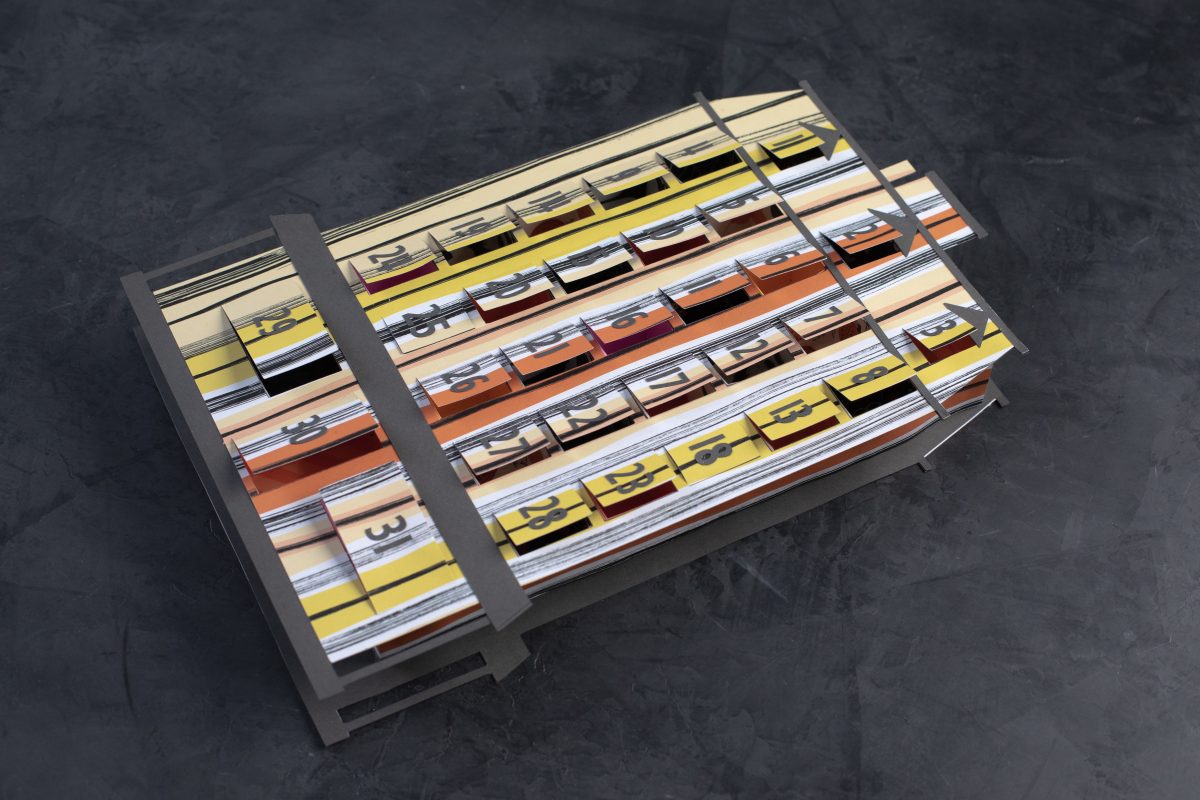
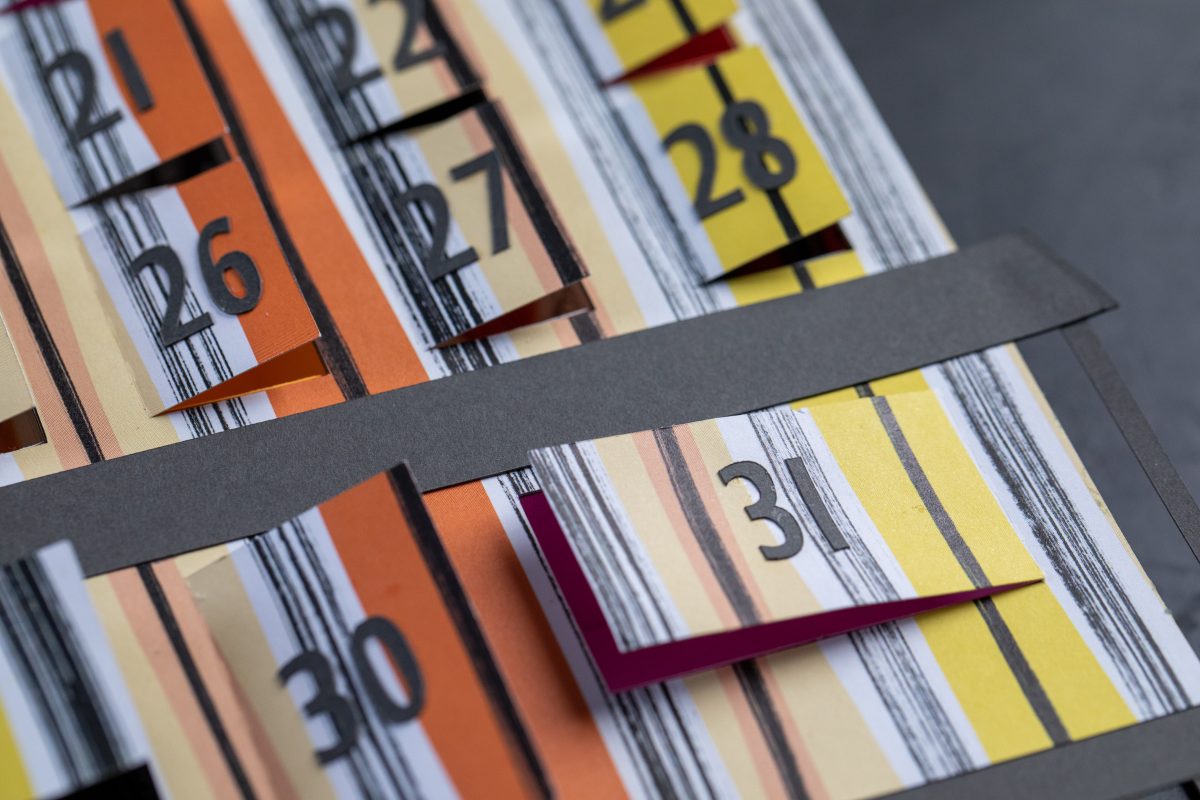
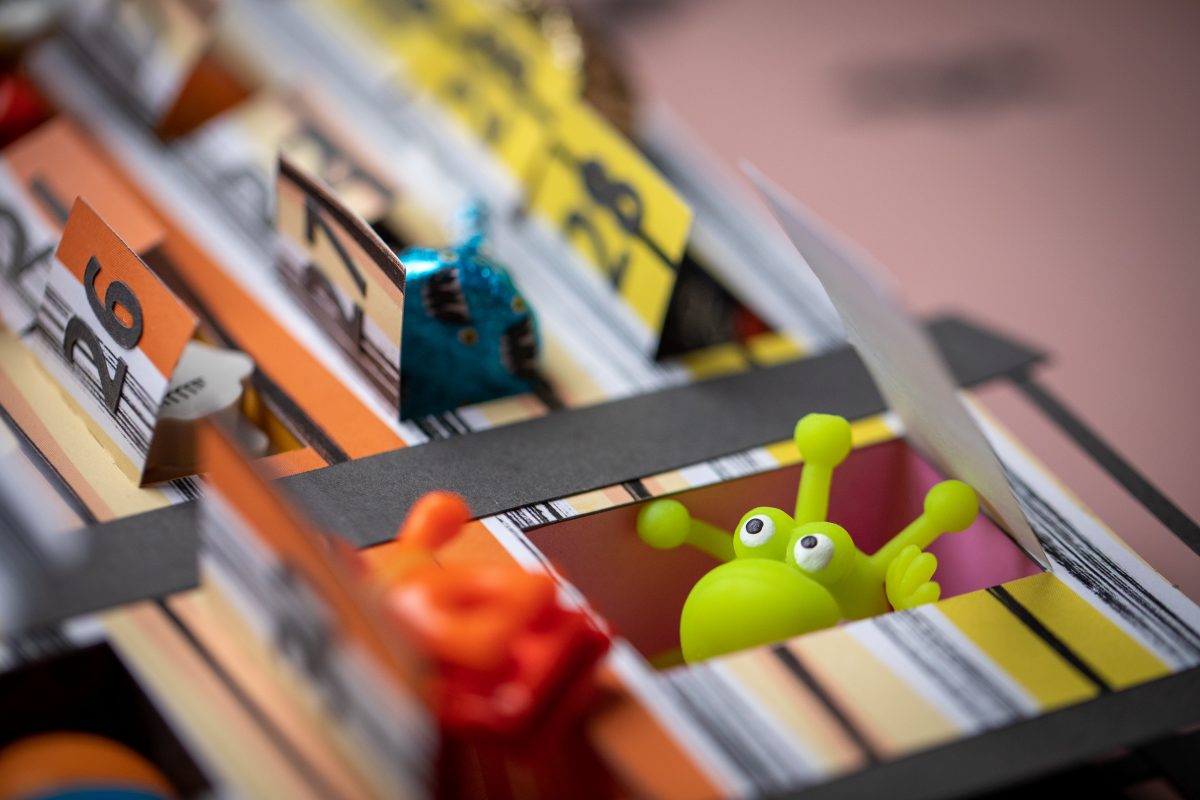
7. Fill with treats, trinkets, and surprises for your little ones to discover each day!
For even more detailed instructions, head over to Jamie Lane Designs for her tutorial!
 Free Class - Father's Day Apron Set
  Free Class - Custom Graduation Tumbler