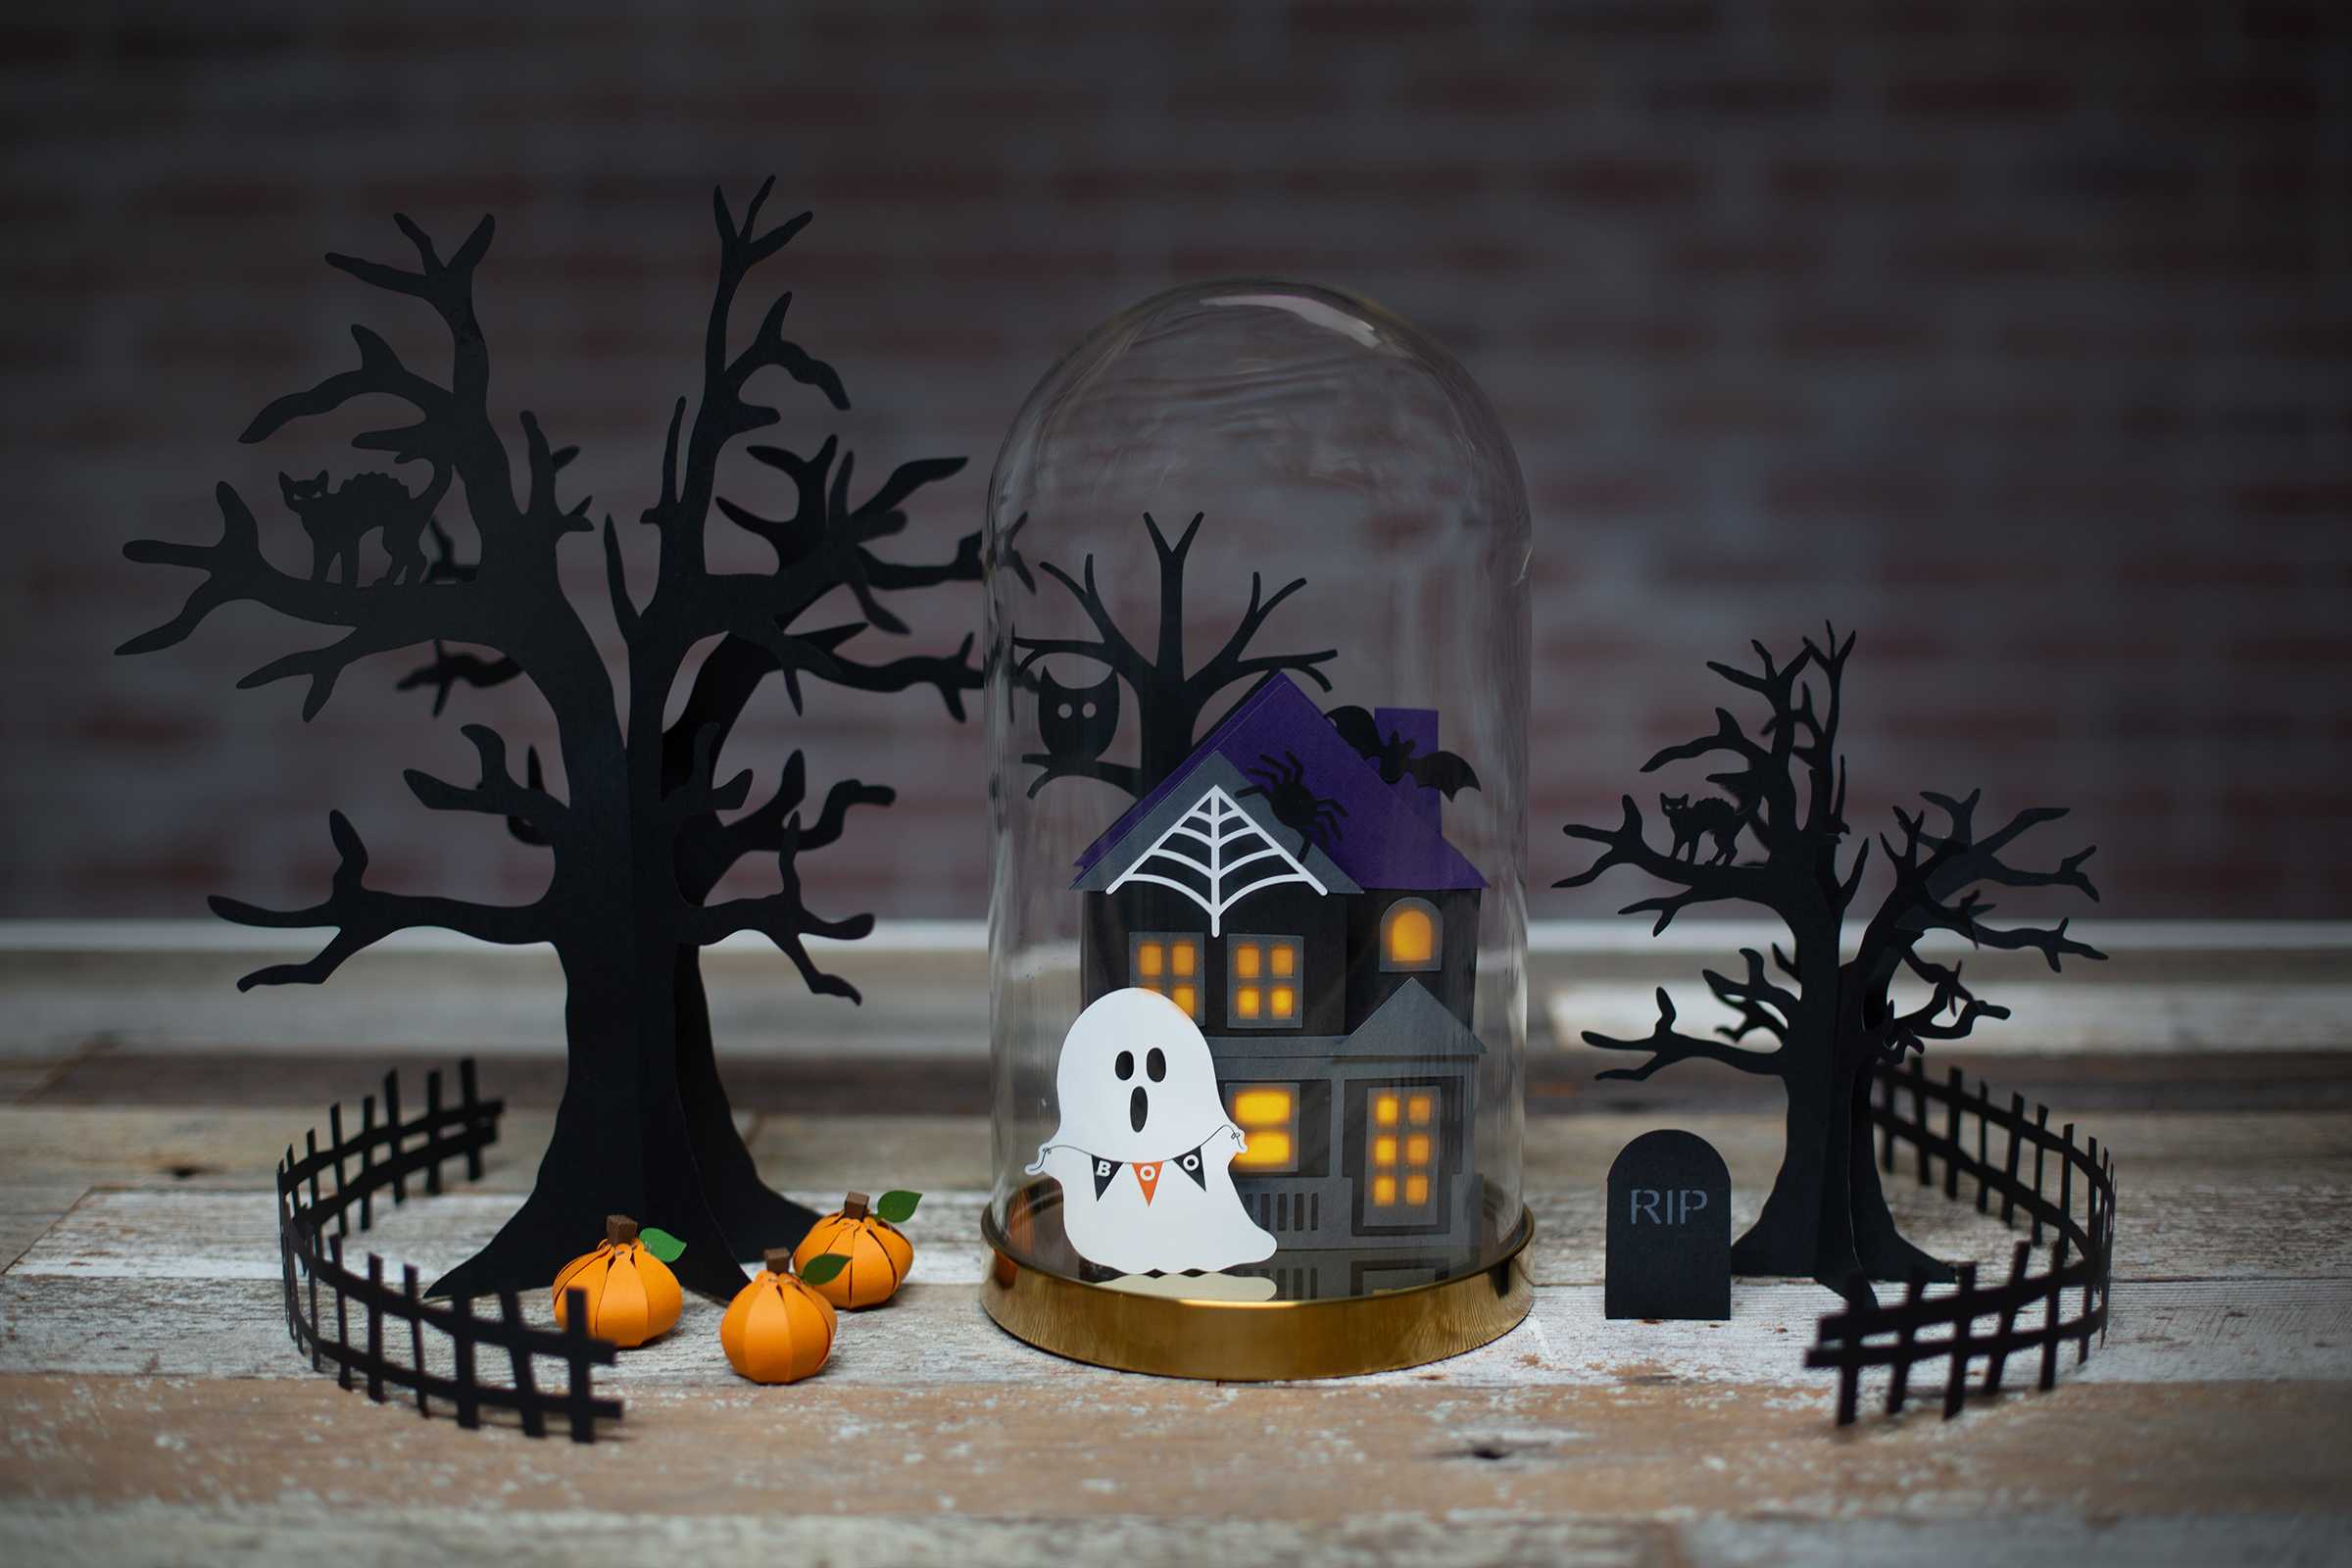
Halloween is coming up! There are so many great decorating options to get you in the Halloween mood, but one of the coolest decorations you can make with the help with your Silhouette is your very own Halloween display. This display is the perfect blend of cool and spooky, and your trick-or-treaters or party guests are sure to get a kick out of it. Keep reading if you’d like to find out how you can make your very own!
Supplies Needed:
- Silhouette CAMEO®
- Silhouette Cutting Mat
- Silhouette Cutting Blade
- Silhouette Studio®
- Cardstock – black, white, purple, gray, orange, green, brown
- Vellum – gold
- Printer
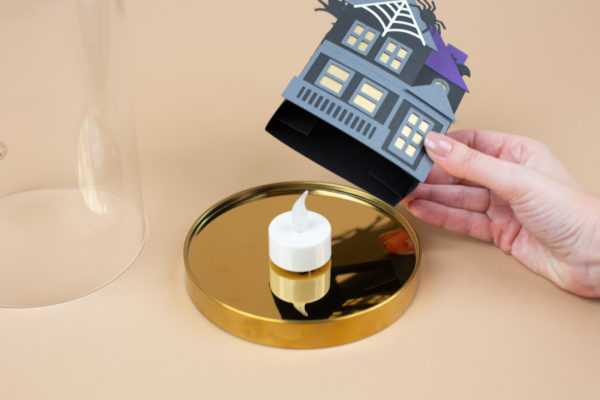
- Glass dome
- Glue and double-sided tape
- Tea light
- Needle with thread
- Design ID #276064
- Design ID #219060
- Design ID #47577
- Design ID #276480
- Design ID #66556
Step One: Preparing and Cutting the Designs
1. Download the haunted house design (Design ID #219060) from the Silhouette Design Store. Open it in Silhouette Studio® by locating it in your Library. Resize it so that it will fit in your glass dome. Our glass dome is 10 inches tall and 6 inches in diameter, so we don’t need to resize our design.
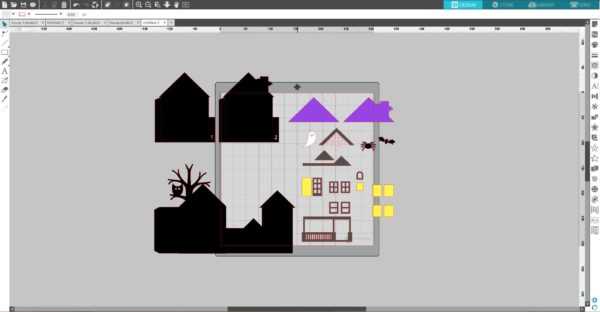
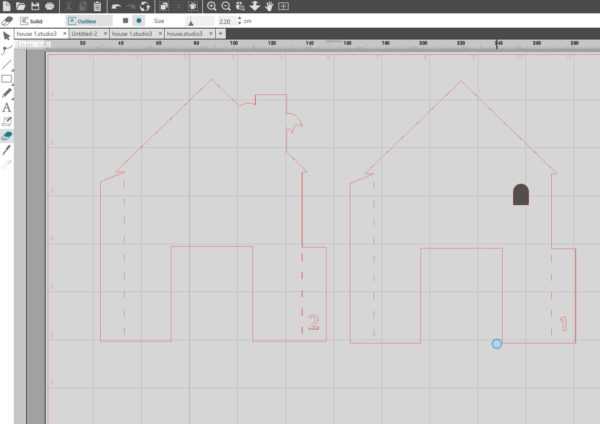
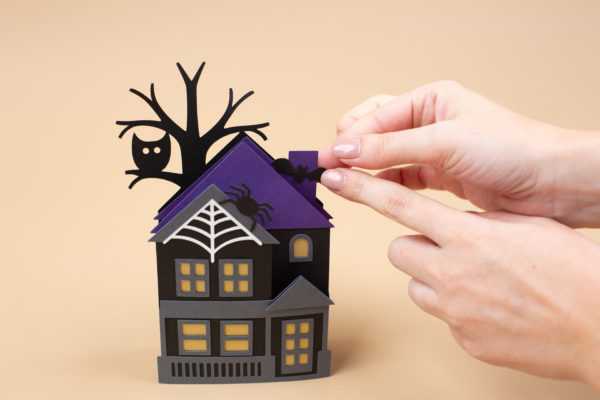
2. As we want to put tea light inside the house, we need to make some changes to our haunted house design. First, we need to add cut lines for the window and door openings to the house walls. To do so, mirror part of the design with the main walls (Select design and go to the Object menu. Then select Mirror > Flip horizontally). Make copies of windows/door frames and place them together with porch and roof designs on the main wall design as shown below.
Now we can see exactly where windows/door openings should be. Place the porch and roof designs aside. Ungroup (Right-click > Ungroup) window/door frame designs, select each frame, and release compound path (Select > Right-click > Release compound path). Delete the outer parts of the windows/door. Group the remaining designs (Right-click > Group).
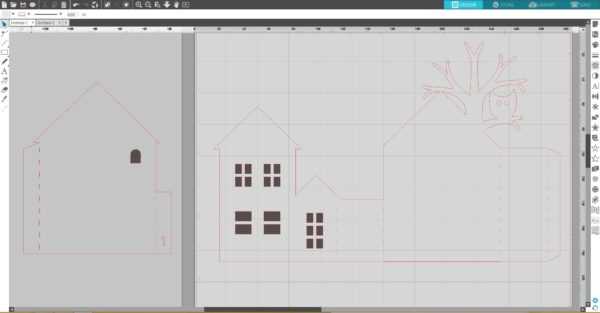
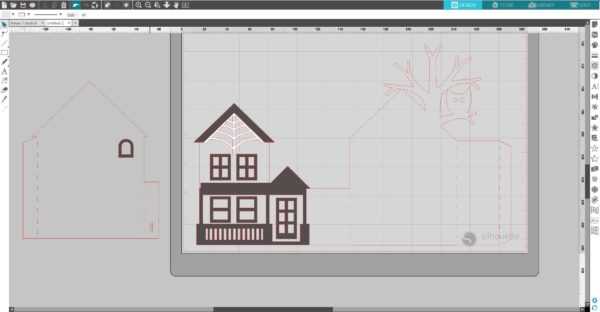
3. To create an opening for your tea light, measure your tea light and draw a rectangle a little bit bigger than your tea light and place it on the bottom of the inner walls. Use the Eraser tool to erase the bottoms of the drawn rectangle as shown below. Group the parts of each wall.
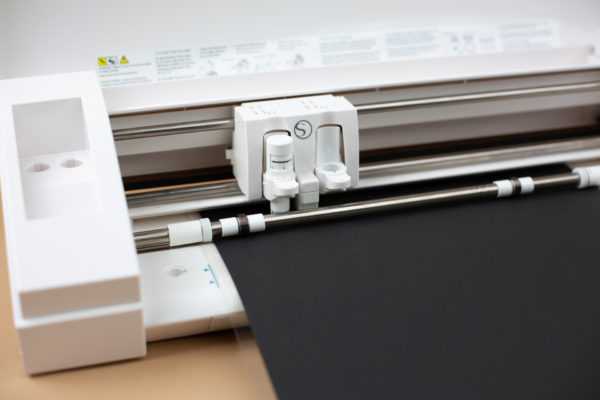
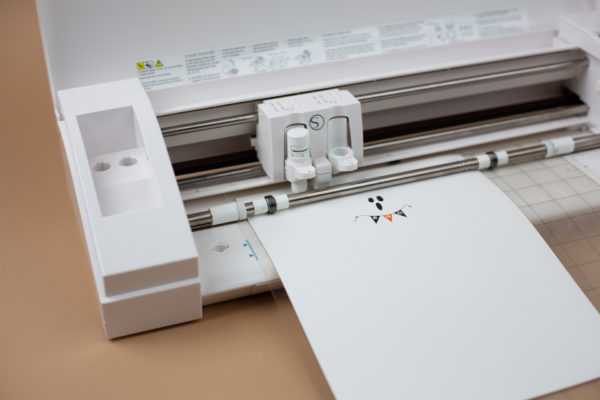
4. All parts of our haunted house are ready to be cut. Move the designs you are cutting out of the same color of cardstock together. Place one group on the cutting area and move the other group to the gray holding area. We will start with pieces we need to cut from black cardstock. Place a 12-inch-by-12-inch sheet of black cardstock on the cutting mat and feed it into your Silhouette machine.
5. In the Send panel, choose “Cardstock, Plain” as your material type. Adjust your blade if necessary and send your cut job to your Silhouette machine.
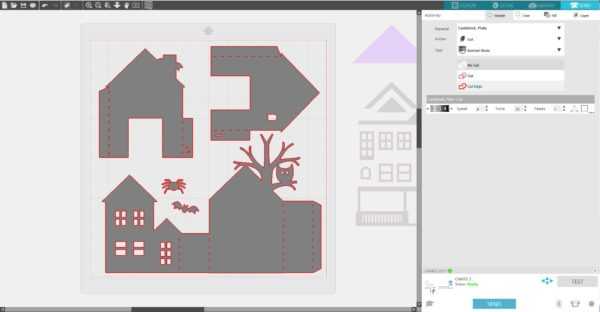
6. Move that group away from the cut area and repeat the same process with the other group and different cardstock. “Glass” for windows and door we will cut from gold vellum. Now all pieces of the haunted house are cut.
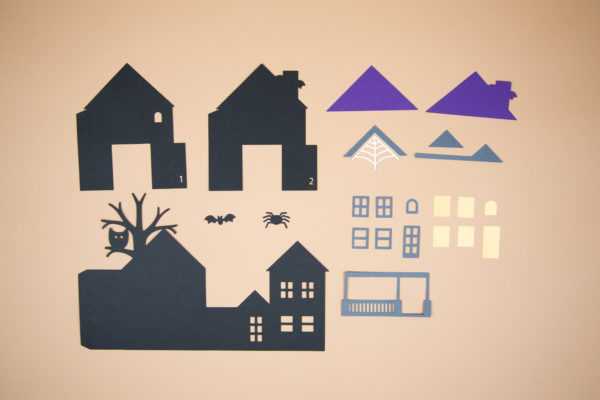
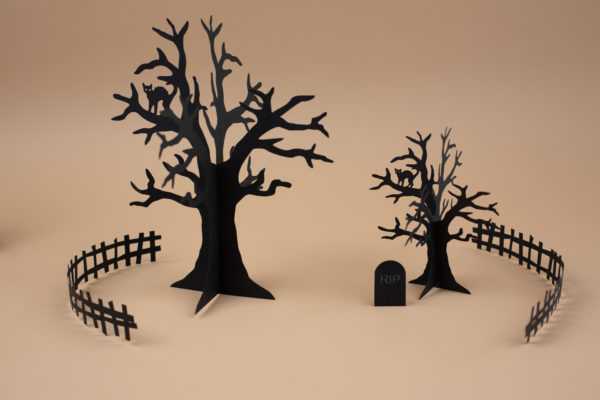
7. Open the tree (Design ID #276480) and haunted mansion accessories designs (Design ID #47577) in Silhouette Studio®. Resize the tree to 11.6 inches tall and the second tree copy to 7 inches tall. From the haunted mansion accessories design, we will use the fence, which we will need to resize to 11.6 inches, and the headstone.
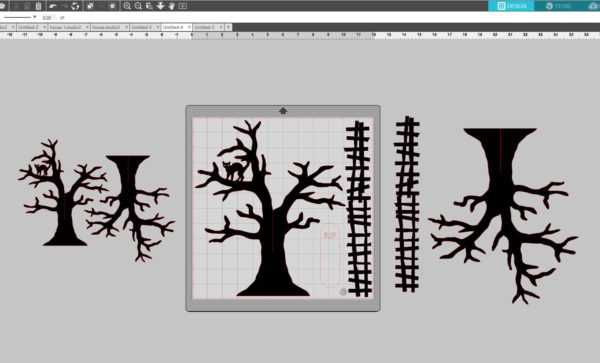
8. Cut all these pieces from black cardstock and a little rectangle for the headstone from gray cardstock.
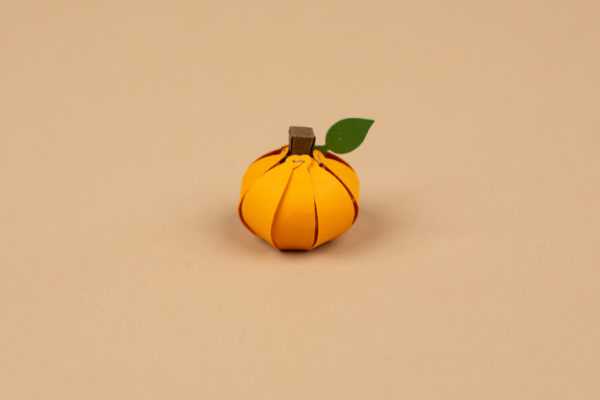
9. Open the 3D pumpkin design (Design ID #66556) in Silhouette Studio®. Resize it so that the orange pumpkin piece will be 3.44 inches x 3.44 inches. Make two copies of the pumpkin design (so that there will be three pumpkins total) and resize the copies so that their orange pumpkin pieces will be 3.1 inches x 3.1 inches. Move the designs you are cutting out of the same color of cardstock together. Place one group on the cutting area and move the other group to the gray holding area.

Cut all pieces using orange, brown, and green cardstock.
10. Open the Boo Ghost design (Design ID #276064) in Silhouette Studio®. In the Page Setup panel, change the page size to Letter. Resize the design to 3 inches tall. In the Page Setup window, turn on the registration marks by setting the style to Type 1.
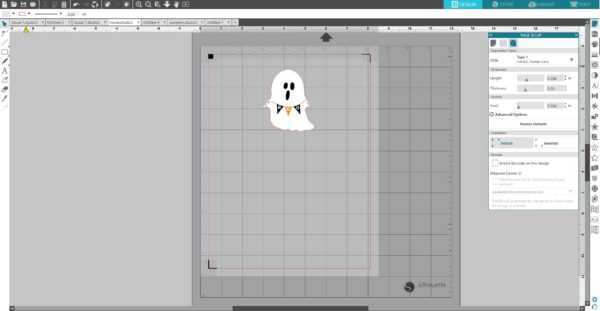
11. Print the design on the white cardstock. Place the printed sheet on your cutting mat and feed it into your Silhouette machine.
12. In the Send panel, choose “Cardstock, Plain ” as your material type. Adjust your blade if necessary and send your cut job to your Silhouette machine.

13. After the cutting process is over, remove the cut project from the cutting mat.

Step Two: Assembling the Designs
1. First, assemble the haunted house. Attach the vellum pieces to the windows and door holes with a tape, as shown below.
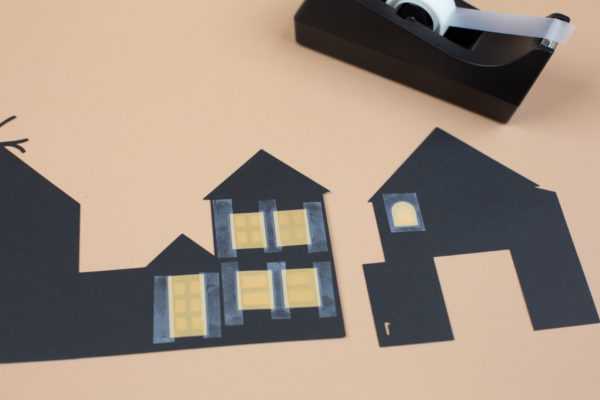
Glue the decorative elements to the house walls using glue or double-sided tape.
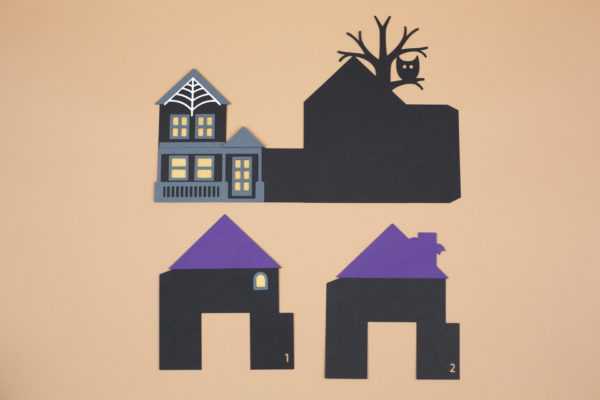
Fold the perforated lines of the inner walls and glue the tabs to create the house.
Glue decorative details to the house.
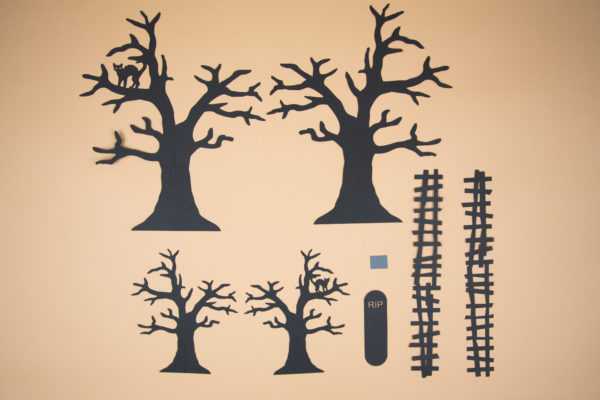
2. Second, we will assemble the trees, headstone, and fence. To assemble the headstone, glue a piece of gray cardstock on the back of the design and glue the headstone on the top.

The two-piece tree fits together (run a line of glue along where the two pieces meet for stability).

Curl the fence using the handle of a tool, like a spatula tool.

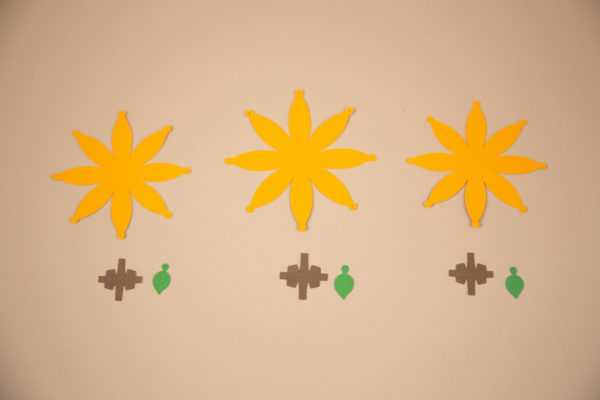
3. Third, we will assemble the pumpkins. Fold the perforated lines first and then curl the pumpkin sections with the handle of a tool.

Curl all three orange parts of the pumpkins. Fold perforated lines of the stems, and glue the tabs to create stems.

Use a needle with thread to assemble orange part of the pumpkin and the green leaf.

Glue the stem to the pumpkin.
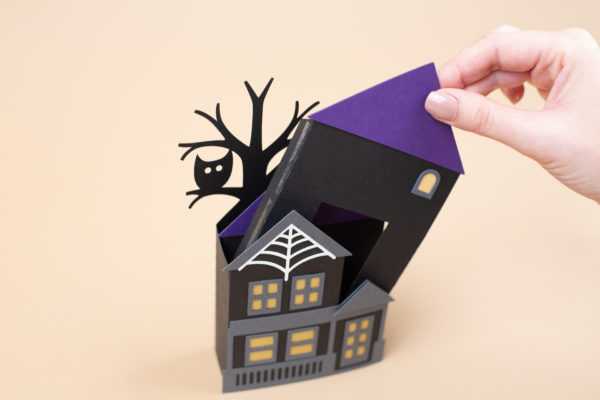
4. Arrange the display.


This display is so cool and is totally getting us in the Halloween mood!
Tell us in the comments below where you are going to put your display.