
Supplies Needed:
- Silhouette CAMEO® or Silhouette Portrait®
- Silhouette Cutting Mat
- Silhouette Cutting Blade
- Silhouette Studio®
- White Cardstock
- Black Envelopes
- Design ID #32567
- Design ID #32571
- Design ID #30062
Step One: Set Up the Design
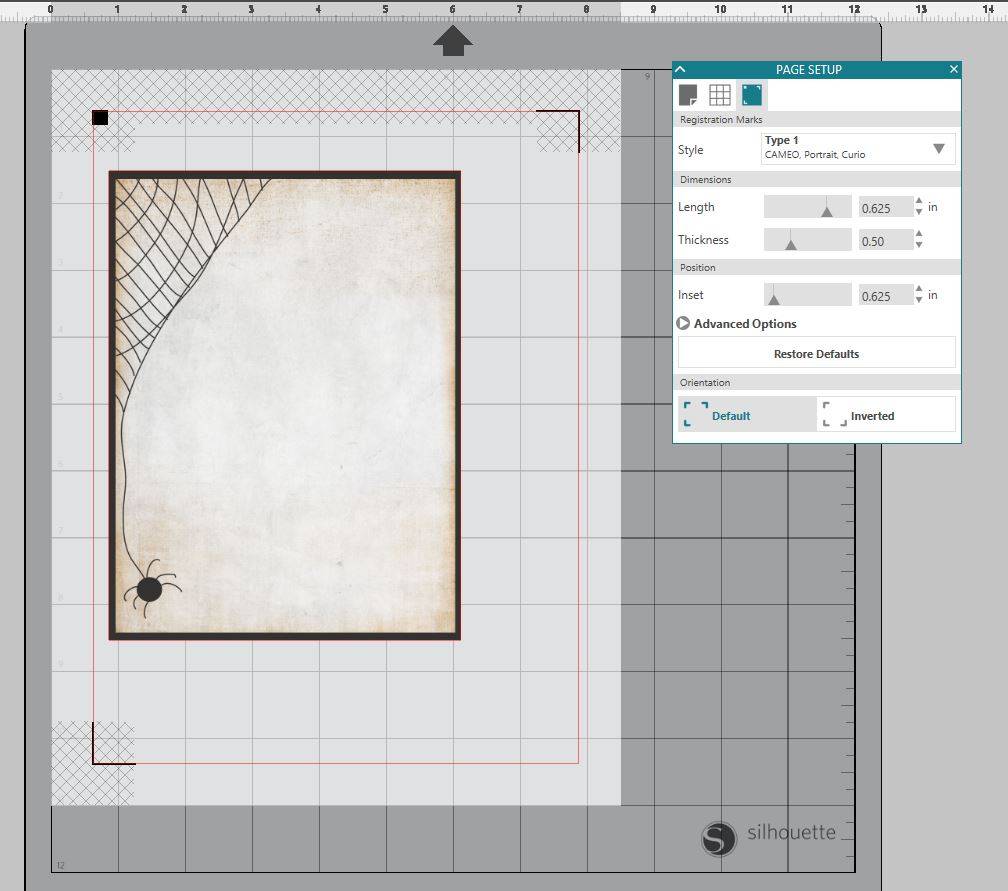
- Select the Page Setup panel (this icon can be found on the toolbar on the right-hand side of your page) and adjust your page to 8.5 inches by 11 inches.
- Open all of your designs in Silhouette Studio® by locating the design in your library.
- Select one of your design by clicking on one of the images. After you have your design selected, right click and select Group. This will allow you to move the shape and cut line altogether.
- Now resize your image to the size you want them to be. I wanted both smaller cards to be about 7 inches by 5 inches. In order to adjust the size of the design, select it and drag the outer corner to make it larger or smaller.
- In the Page Setup panel, turn on the registration marks by setting the style to Type 1. Adding registration marks is important because your machine reads these marks in order to cut your shapes out perfectly.
Step Two: Add Text
- Now that your design is to the size you’d like, you can now begin to fill it with text. For this invitation, I used the Draw A Line tool (located on the toolbar on the left-hand side). By drawing out the lines first, I then could begin to place my text.
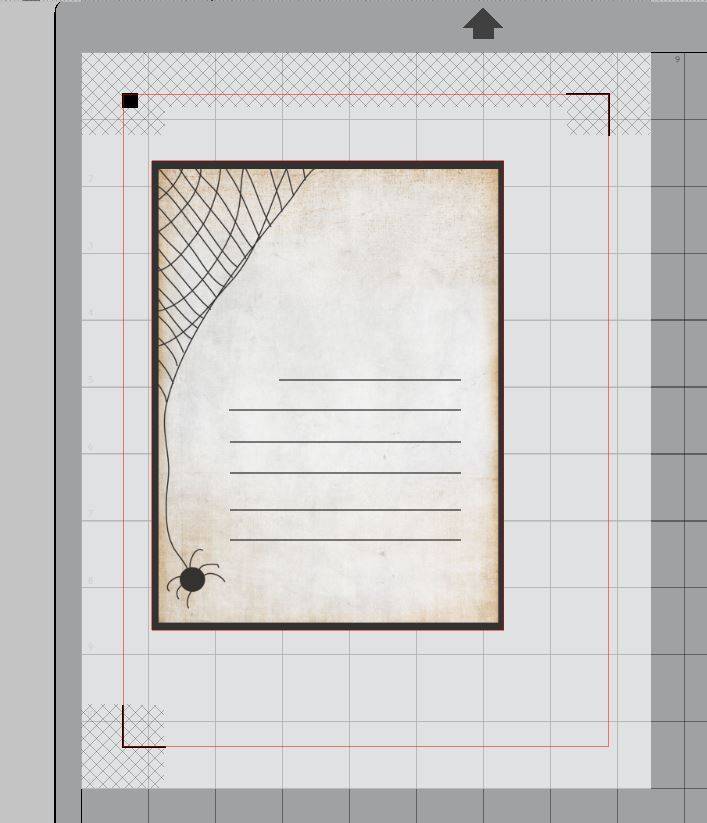
- It is important that you fill the lines you just created with color. If not, they will not appear once you print the invitation out. To add color to your line, go to the Line Style tool on the toolbar on the right-hand side. Then, select the color line icon and finally select the black color. Make sure that when you’ve selected the black color that all your lines are selected.
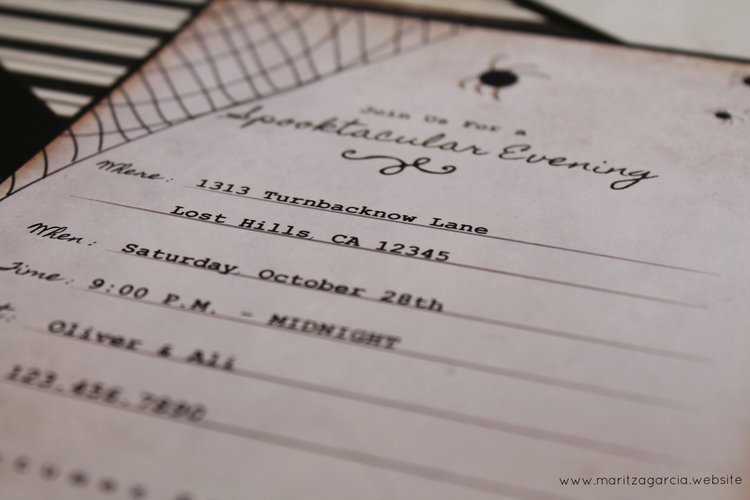
- Lastly, take the fonts of your choosing and fill in each line with information.
Step Three: Print & Cut the Design
- Now that your design is completed to your liking, it is time to Print & Cut. In the Send tab, select each of your designs and make sure that the text and is switched to No Cut. The only cut lines should be around the invitation.
- After you have the correct cut lines, print out your design on the white cardstock by selecting the printer icon.
- Once it has been printed, place your printed design on your cutting mat. Load the cutting mat into your machine.
- In Silhouette Studio®, select the Send panel in the top right-hand corner. Select the Cardstock cut setting and select Send. (Remember that if you don’t have an AutoBlade, you will need to adjust your blade manually.)
- Your machine will read the registration marks and then cut out your design (Tip: If your machine is having trouble reading your registration marks. Try manually moving the blade directly over the square registration mark. You can do this by moving the blue arrows in the send window in Silhouette Studio®).
- Carefully remove your cut invitations from your cutting mat and admire your work!
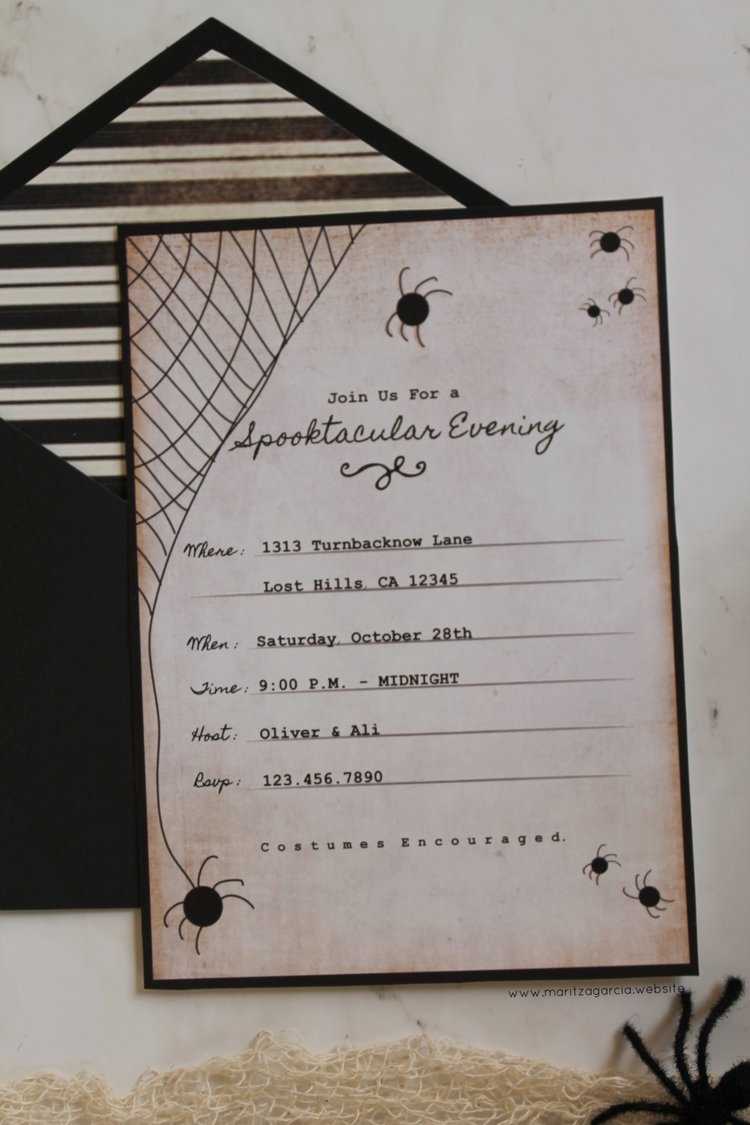
As always, I hope you give this DIY a try. Also, you can let me know if this project come in handy this year by tagging me via Instagram with hashtag knotjustpaperdiy. I love seeing my DIYs recreated by so many wonderful do-it-yourselfers. Happy Crafting!