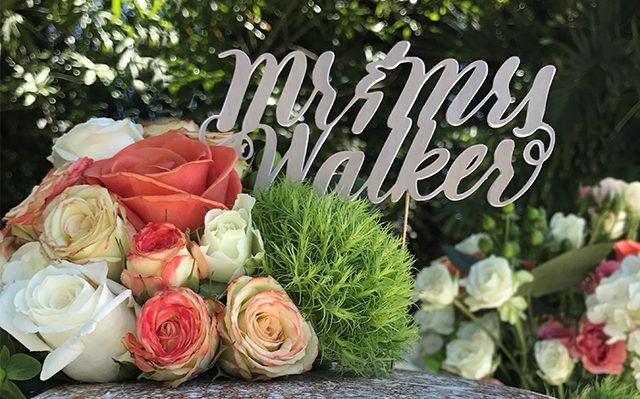
Hi friends! Missy Briggs here. I’m going to show you a quick and easy way to get that lux laser-cut wood for your personalized wedding cake topper. I can’t wait to see YOU rock this project!
Here’s what you need:
- Silhouette Wood Paper
- Silhouette Adhesive Cardstock
- Neutral color cardstock
- Lollipop sticks or wire
- Gold paint
- Hot glue gun and glue sticks
Side note on fab products: The Silhouette Wood Paper is ahhhh-mazing. You’re going to find ten uses for it immediately. When I was making doll furniture last month, I dug into a pack to make a quick wooden coffee table.
Step one: Import or design
Import a hand-lettered design into the Silhouette Studio® software. Or you can type in a phrase of your choice using one of hundreds of fonts available in the Silhouette Design Store.
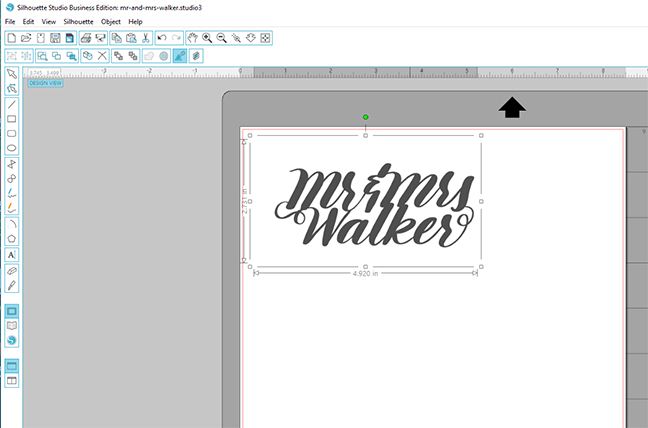
Step two: Trace
If you’re using your own imported jpeg, open the Trace Window and then Select the Trace area.
![]()
Using your mouse, draw a bounding box around your design and trace it. You may need to adjust using the high pass filter. For a detailed tutorial on tracing check out this post.
Step three: Cut
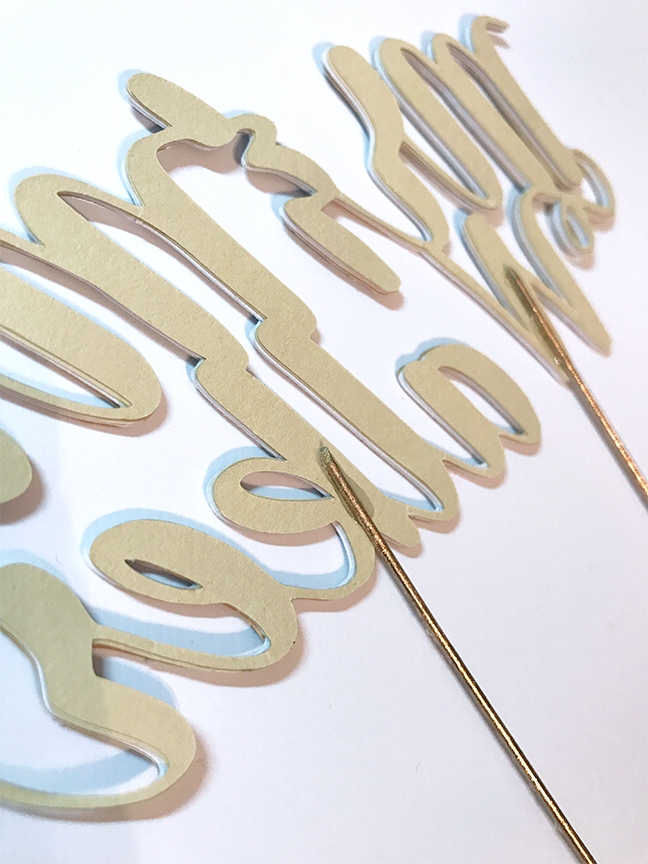
Cut your design into any of the three colors of Wood Paper. To get the look of a laser-wood cut design you will have to cut five or six layers and stack them up. This gives the design a nice depth and also provides stability for the final design. I stacked up four adhesive cardstock layers and backed it with a neutral-tone cardstock. You can also use regular cardstock and a touch of glue in between layers.
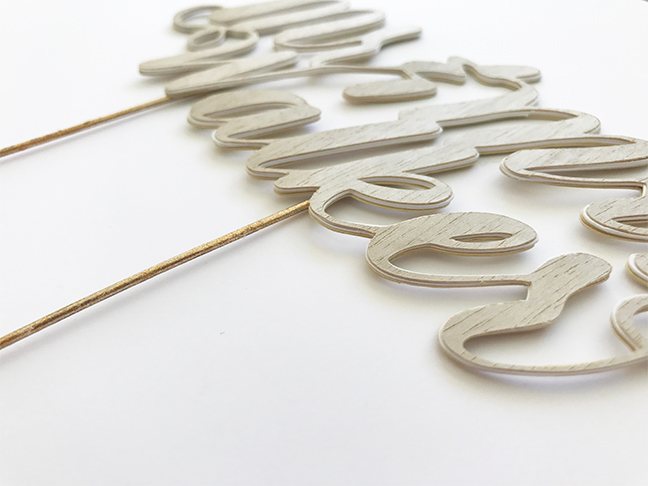
Step four: Paint and adhere
Paint your floral wire or lollipop sticks using gold glitter paint, being careful not to paint the portion that will be inserted into the cake. Using hot glue, adhere the layered wood paper onto the gold wire.
Yeah, you’ve got this! Go ahead and add wedding décor pro to your resume. I like Mr. and Mrs. but a monogram would be perfect too.
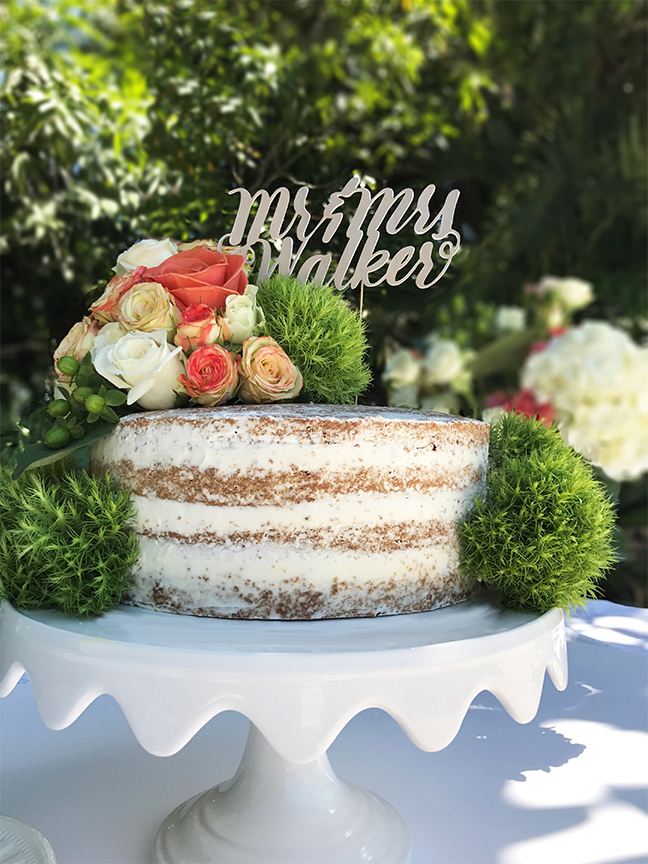
What will you choose to write on your cake topper?
Nasze Naturalne
September 3, 2025
Your authentic voice really shines through in everything you create and share
Naszenaturalne
September 2, 2025
Really love your style
Kelly Wayment
June 28, 2024
You can use it with vinyl as long as it is smooth and flat to allow the static charge to hold on to it. Rolled vinyl that wants to go back to its rolled shape will not necessarily work well, and it would need to be trimmed to fit the ES mat cutting area.
Kelly Wayment
June 28, 2024
Yes, you can use the heat pen while using the ES mat. 🙂
Yurii
March 2, 2024
Hello. May it be used with heat pen?
Thanks
Jerome
February 24, 2024
Hi, works this with the normal vinyl foils or only with printer papter etc?