
It’s that time of year for presents! And presents mean gift tags, so we’re going to show you how you can make your own tags using this Holly Jolly design.
Supplies Needed:
- Silhouette Mint™
- Silhouette Mint™ stamp kits 45 mm x 45 mm
- Silhouette Mint™ inks – red, green, and black
- Silhouette CAMEO® or Silhouette Portrait®
- Silhouette Cutting Mat
- Silhouette Cutting Blade
- Cardstock
- Twine
- Design ID #282058
- Design ID #20965
Step One: Personlizing the Stamp
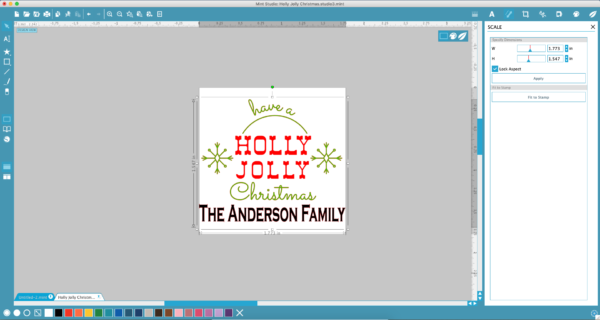
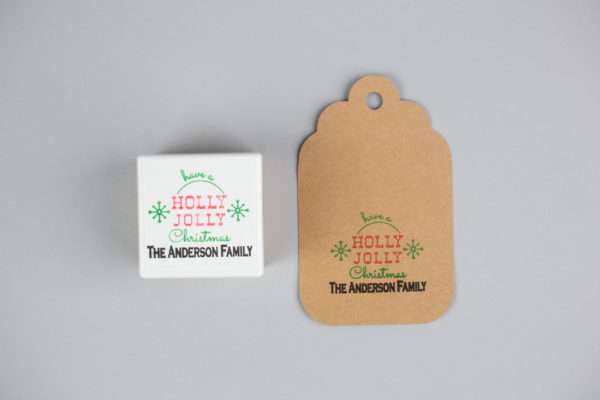
- Open the Holly Jolly design (Design ID #282058) We personalized this design by adding a name, The Anderson Family. To do this, open up the design in Silhouette Studio®. Select the Text tool, choose your font, and type the desired name or other text.
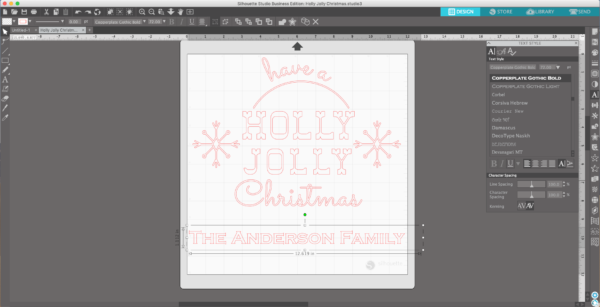
- Center the name under the Holly Jolly design and then scale it to size.
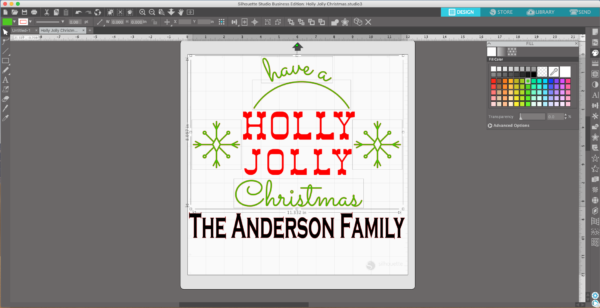
- After you have the proportions you want, fill in the design. If you skip this step, you’ll see only the fine lines in your stamp design.
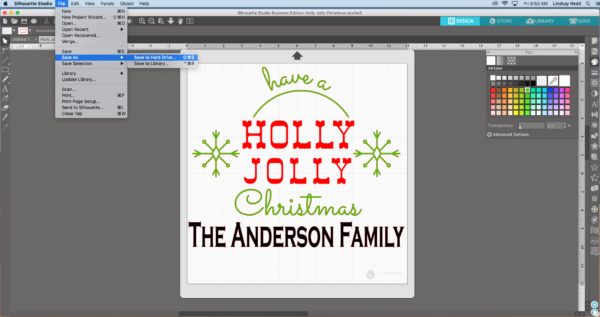
- Save the file to your hard drive and then open it in Mint Studio™.

- Open your saved design in Mint Studio™.
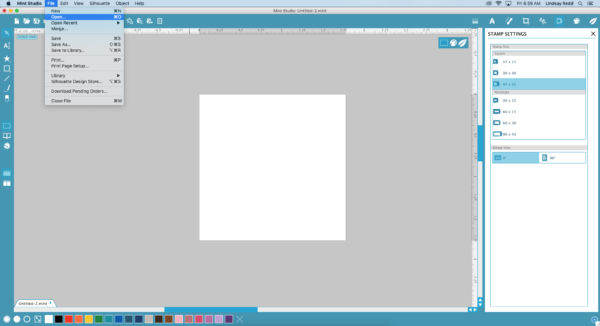
- Go to the Stamp settings panel and choose 45 mm x 45 mm stamp size.
- Place your design within the stamp work space. In Mint Studio™, click the leaf (Send to Mint) icon in the right corner. Mint Studio™ will automatically flip your stamp design to prepare it for printing.
Step Two: Creating the Stamp
- Unwrap the stamp sheet from its box packaging. Be sure you DO NOT remove the plastic layer covering the rubber and cardboard.
- Insert the stamp sheet through the back slot of the Mint – arrow first. You will feel the stamp get pulled inside the machine if you press it in gently.
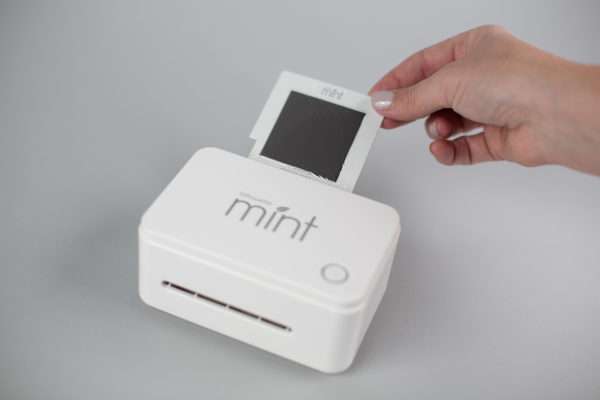
- In Mint Studio™, click “Start Mint.” Pull the stamp out once it has finished printing. It’s as simple as that.

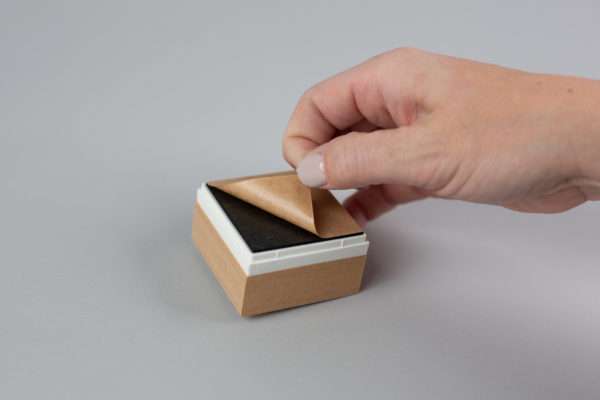
- Assemble the block by attaching the interchangeable tops, simply slide it into place.
- Remove the lid from the block. Pull off the brown protective sheet to reveal the adhesive mat.
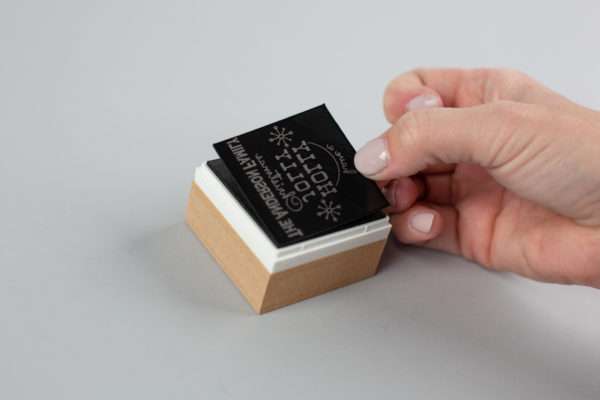
- Take your 3D relief in hand, peel off the plastic, and remove the cardboard surrounding it. There are perforated lines across the cardboard that help make removing the stamp easier.
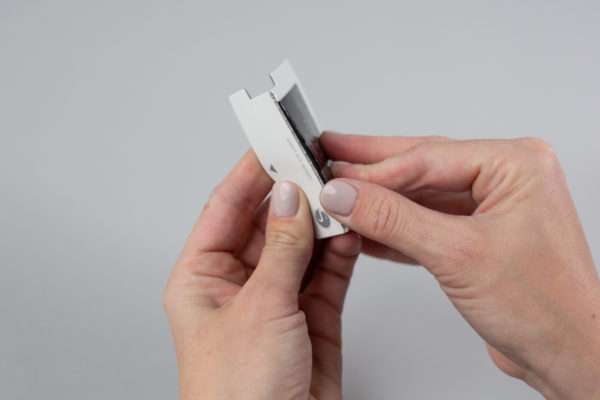
- The back of your 3D relief is coated with a sticky adhesive for easy application. Stick your stamp to the interchangeable base.
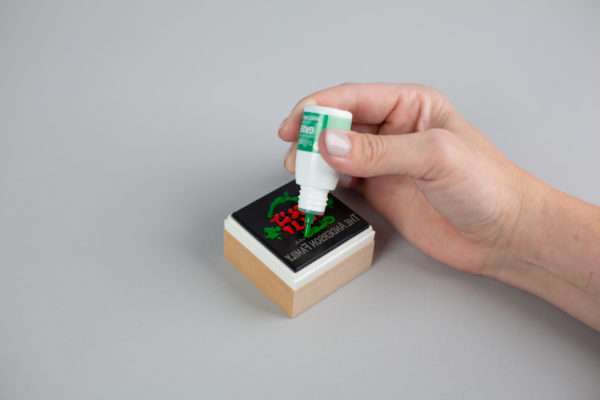
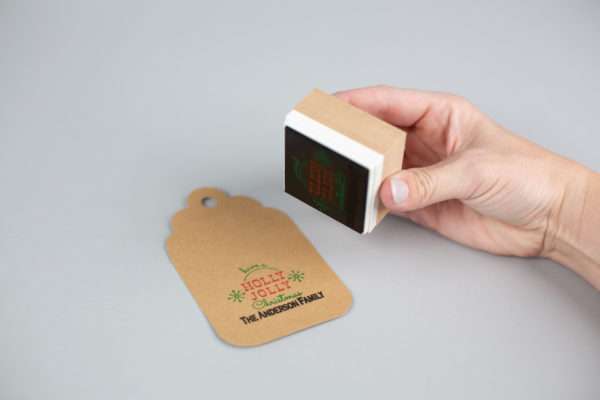
- Using Mint Inks, apply ink directly to the stamp. The inner reservoir on the stamps will absorb the ink only where the stamp is printed. Using this method of applying the ink directly to the stamp, the color shouldn’t run and will go directly where you place it but apply in small dabs for small designs to ensure the color doesn’t get where you don’t want it to go. After applying the ink, wait 10 minutes before stamping.
- The first couple of times you use your stamp the design will have a lot of ink on it. The excess ink just needs to be stamped off. Use a scrap piece of paper and stamp repeatedly. When the excess ink blots off, your stamp will be crisp and clear.
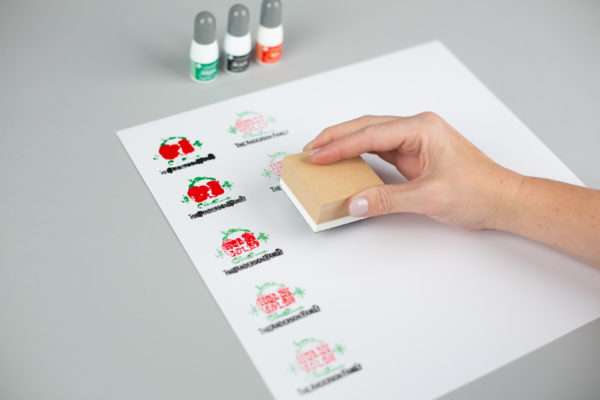
- Don’t forget to stamp the stamp label to put on your block so that you can tell which stamp is which.
 You can stamp 50+ times with your custom stamp before the stamp needs to be re-inked.
Step Three: Making and Stamping the Tag
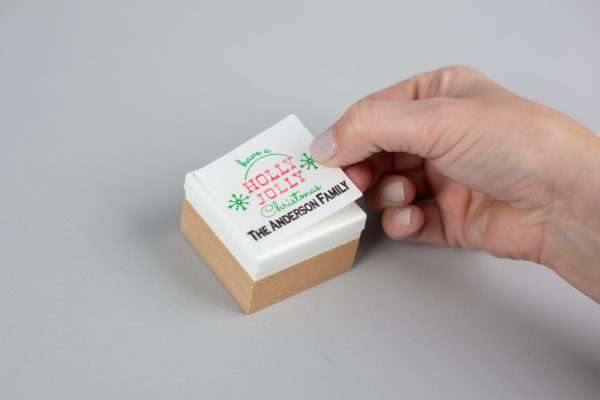
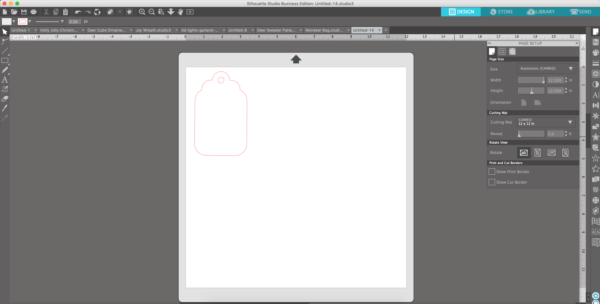
- Open the tag (Design ID #20965) in Silhouette Studio®. And cut out the design out of cardstock.
- Stamp your tag and tie it around your gift!
Voila! You’re done! The trickiest part is stopping yourself from stamping ALL THE THINGS! What is your favorite thing to stamp?