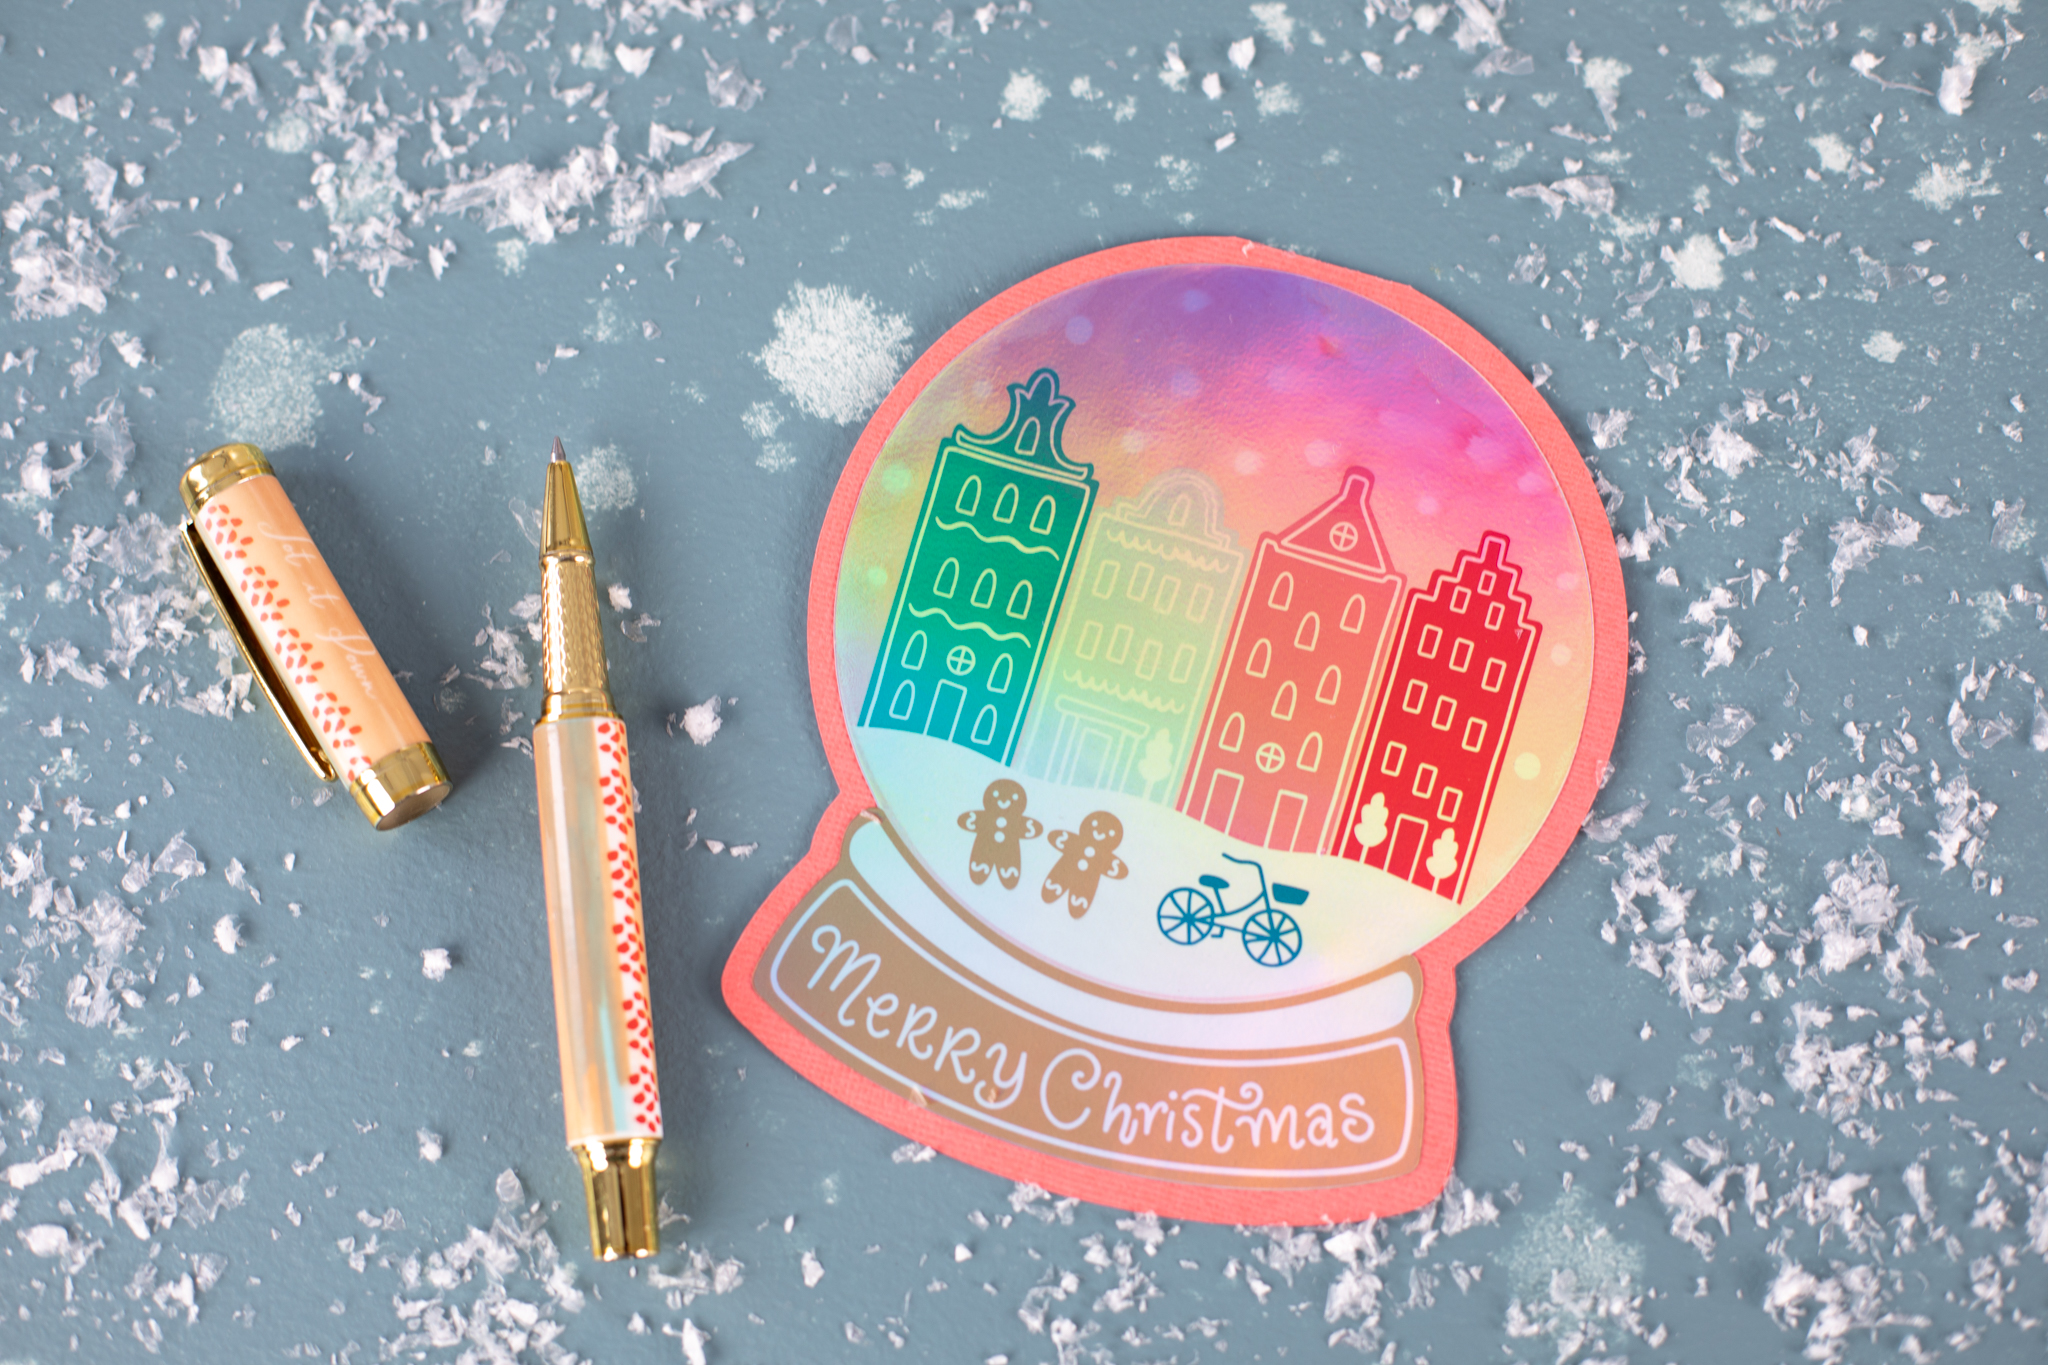
Do you send out Christmas Cards? There always seems to be plenty of opportunities to write a sweet seasonal note to friends or family around the holidays! This Snow Globe Card uses Holographic Sticker paper to create a festive sheen and is really easy to throw together!
Supplies Needed:
- Silhouette Cameo® or Silhouette Portrait®
- Silhouette Studio®
- Silhouette Cutting Mat
- Silhouette AutoBlade or Silhouette AutoBlade for Cameo 4
- Holographic Sticker Paper
- 1 Sheet Cardstock in color of choice
- Design ID #281965, Christmas Snowglobe Amsterdam by Little Luxuries Loft
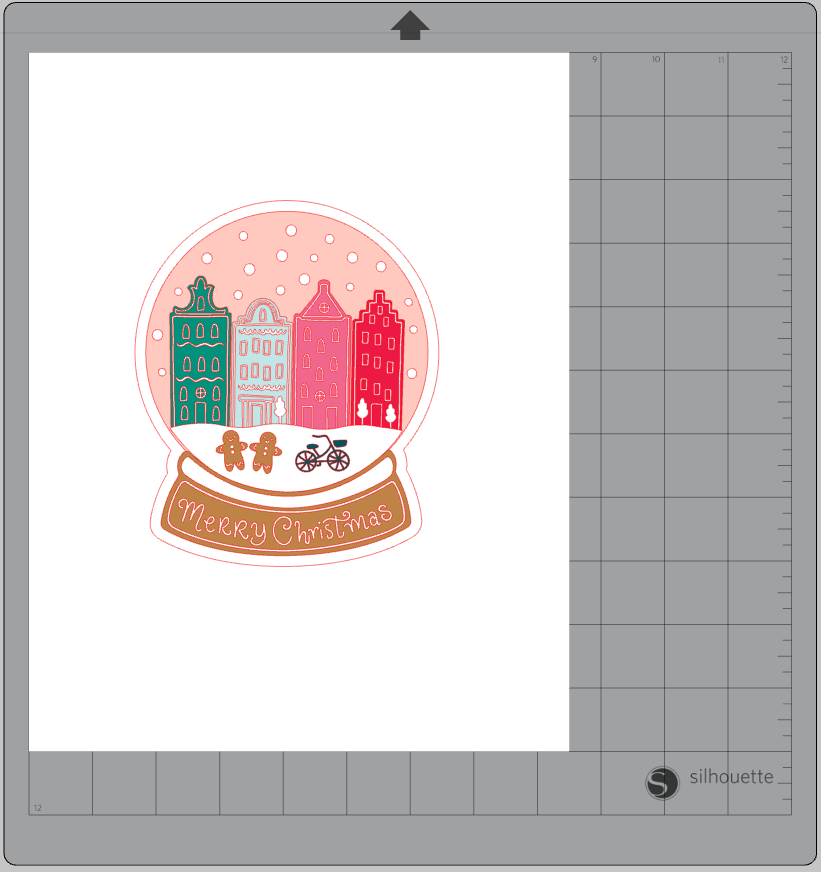
Step One: Creating the Sticker
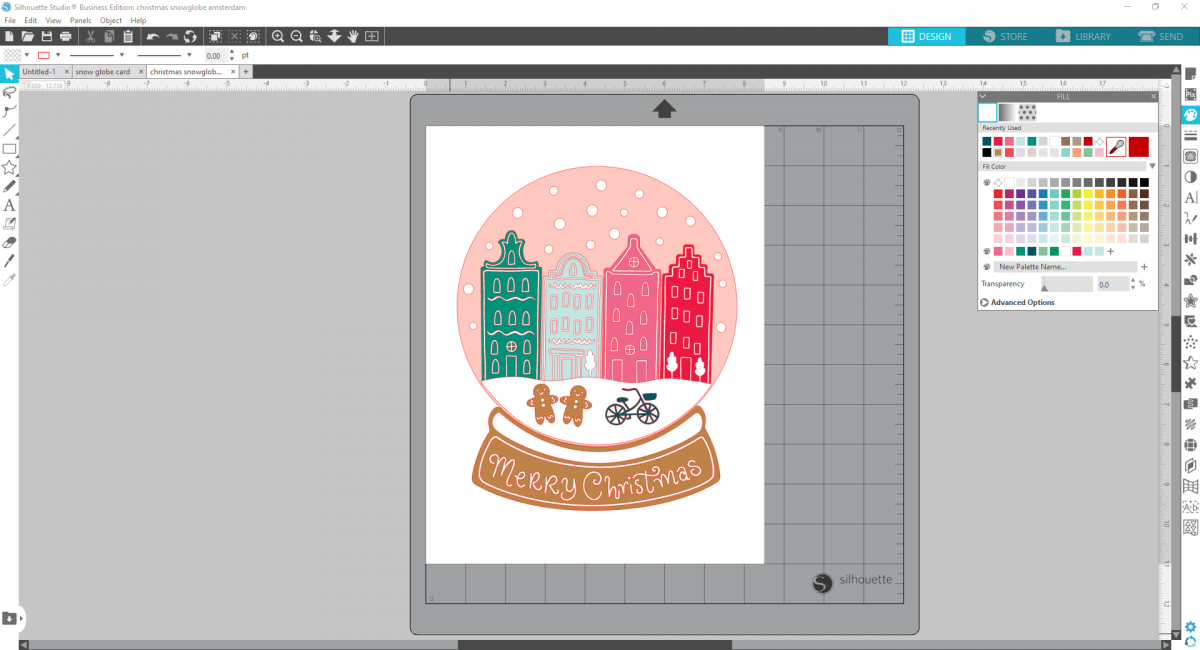
1. Insert your design into Silhouette Studio. Begin by selecting the design, right-clicking, and ungrouping the design. There are multiple elements of the design that will need to be ungrouped so you may have to do this process a few times so you can adjust each element.
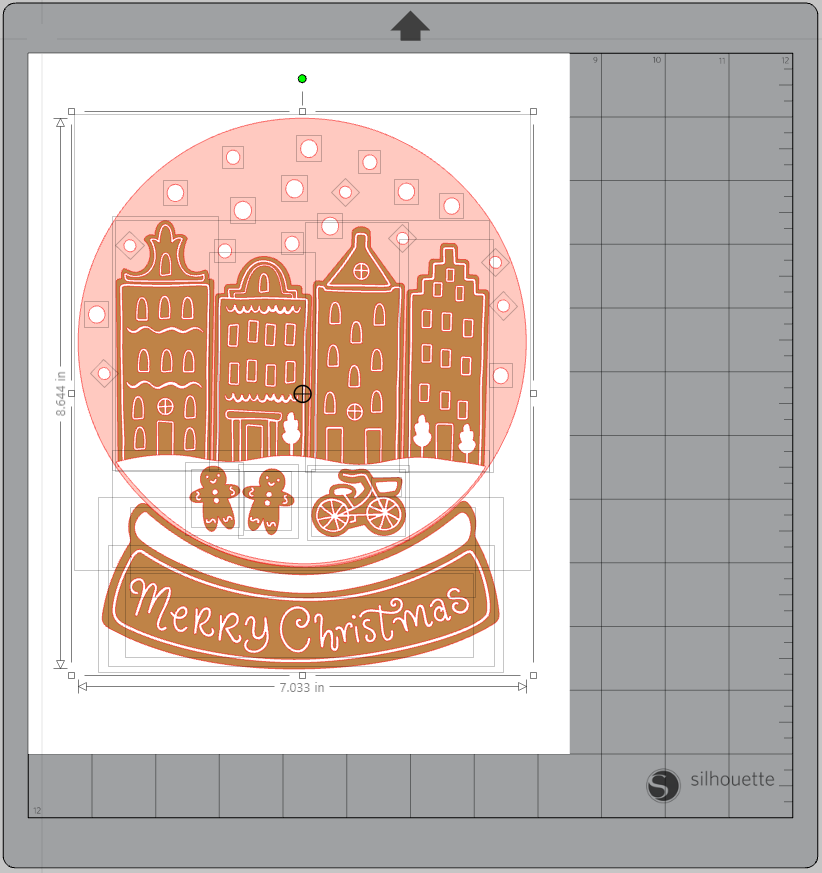
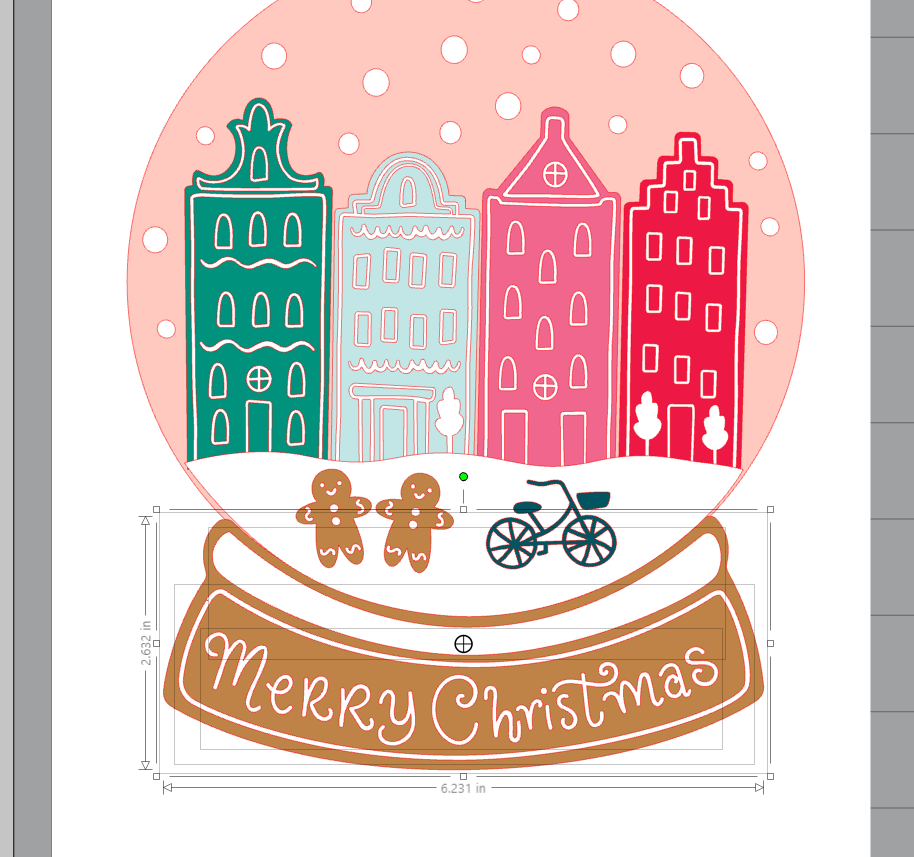
2. Now that you’ve ungrouped the design, you can edit the color of each element to your liking using the Fill Panel on the right (Looks like a paint palette). I wanted to change the color of the houses and the bike. Select each piece and change your color as desired. For the bike, I deleted the offset so I was just left with the bike design.
3. Now select the base elements of the snow globe, and using your keyboard arrows, toggle the base up just a bit so that the base of the snow globe just barely overlaps with the snow globe portion. This will allow you to cut around the whole design as if it were one piece.
4. Now select all the components of the design, right-click, and group them together. Resize your snow globe so it measures approximately 4.5 inches wide and 5.5 inches tall. Turn on the registration marks in the page setup and make sure your media is setup to be letter sized (8.5 by 11 inches).
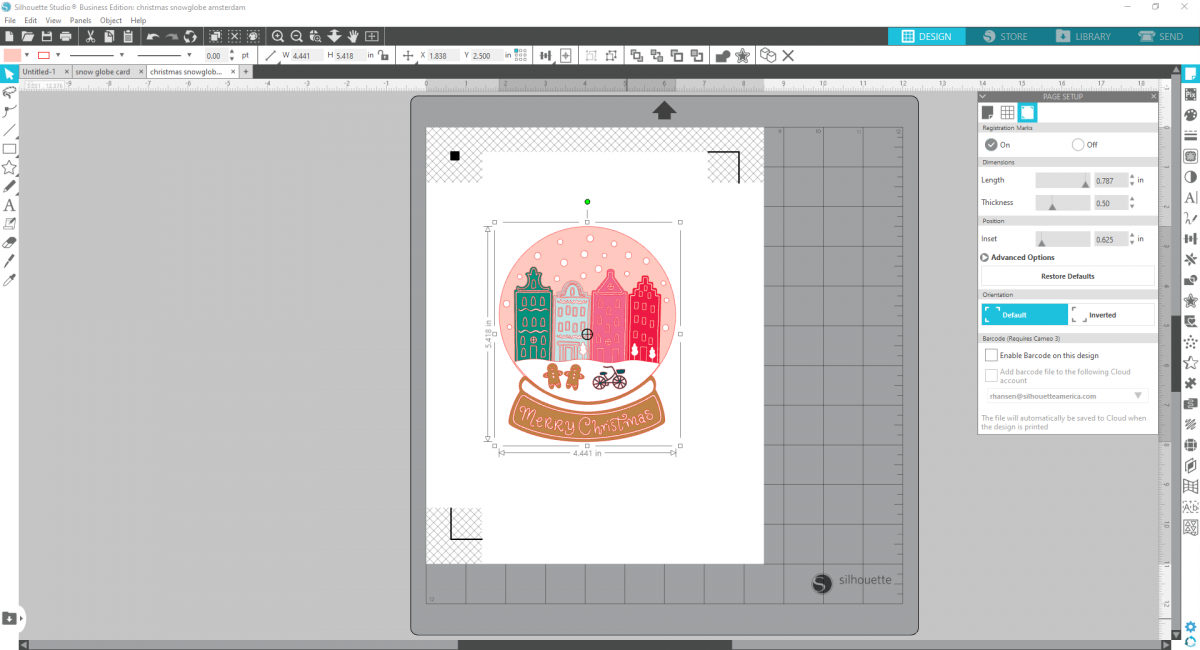
5. Load your holographic sticker paper into your printer, making sure it will print on the shiny side, set your printer to the best settings, and print. Then place your printed sticker paper on a mat and load into your cutting machine. Make sure to set your cut settings to “Cut Edge” to cut around the outside of the design.

Step Two: Create the Card Base
1. To make the card base, select the snow globe and then open the Offset Panel. Create an offest and increase the distance to about .140 inches.
2. Move the snow globe design to the side, duplicate the offest, right click on the duplicate to flip it vertically and then align the two designs so they are directly on top of one another, overlapping just slightly at the tops. Adjust your media size to 12×12 inches to accommodate the design.
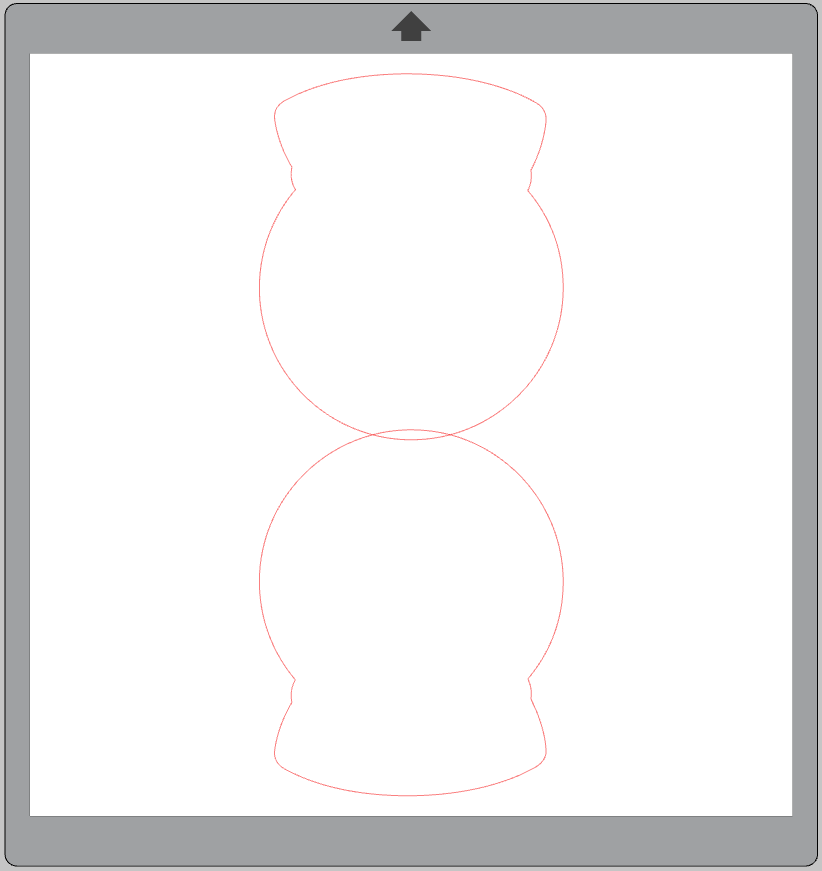
3. Select both globes, right-click, and “Weld” them together. Then using the Line Tools, draw a straight line right in the middle of the two globes and change the line to a dashed line to act as a fold line.
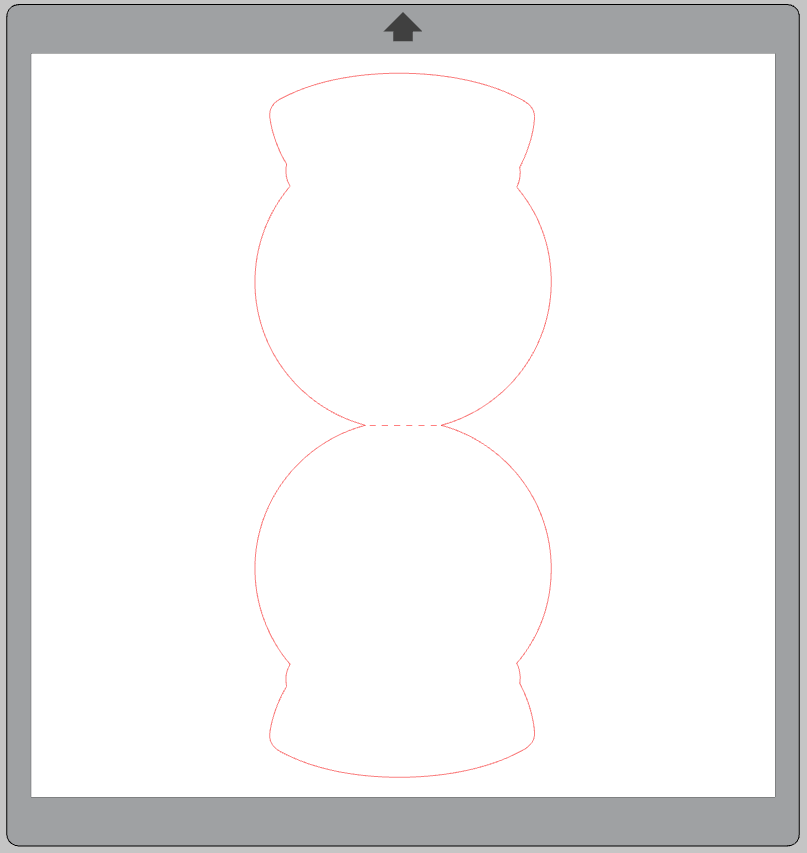
4. Now cut out on a piece of 12×12 inch cardstock. Remove from the mat, fold long the dashed line, and apply the sticker to the front of your card.
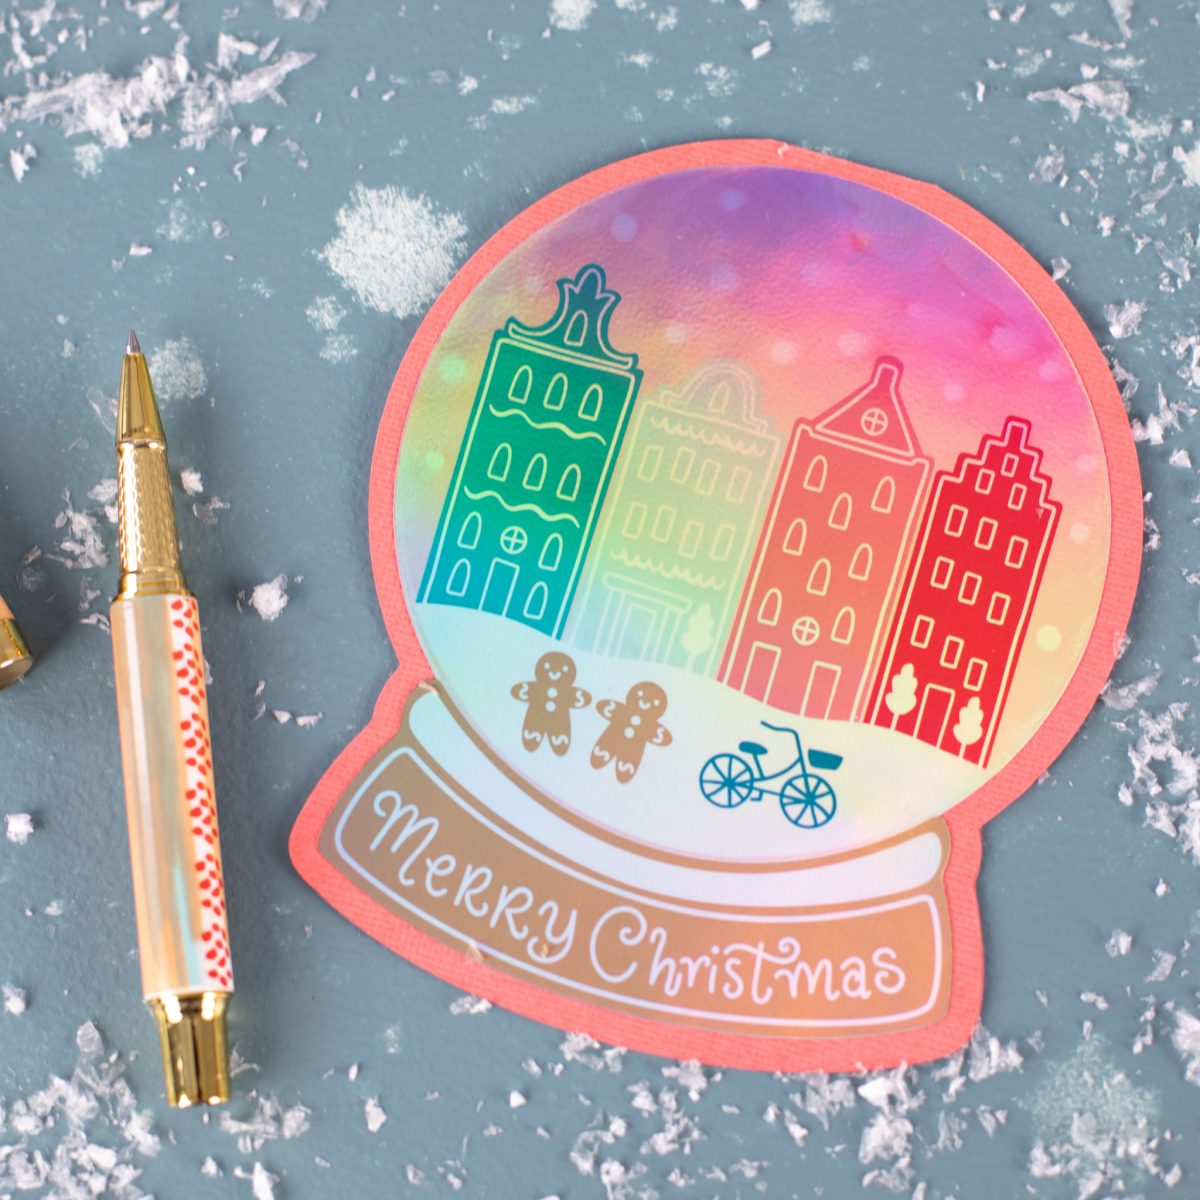
Write a seasonal sentiment and send off to your loved ones!
 Free Class - Foiled Gift Tags with the Heat Pen
  Design Store - Over 300,000 Designs to Bring Your Creative Vision to Life