Before you start a big project with your Silhouette machine, you always want to be sure that you’re cutting your material properly. Nothing is worse than sending a long cut job to your machine only to discover that the blade didn’t cut all of the way through! The best way to prevent any cutting issues before you get going is to test your cut settings on your material.
Test cuts are quick and easy to do. By cutting a small shape out of the top-left corner of your material, you’re able to see if the cut settings in Silhouette Studio® will work with your specific material. This gives you the chance to adjust your cut settings before sending your entire cut job to the machine, so you can be sure that the blade will cut your material cleanly.
Why Are Test Cuts Important?
There are a few situations when you might want to test your cut settings before cutting your project. The first is something we’ve already touched on—test cuts let you see how the blade is going to cut through your material. If your current settings won’t cut all the way through your material, you’ll be able to figure that out before you start your project.
Another time you might want to perform a test cut is when you’re using a material you haven’t cut with your Silhouette machine before. Silhouette Studio® has suggested cut settings for a variety of different materials, but the default settings might not fit every material you’ll use. There are a lot of different weights and thicknesses of cardstock, for example, so the software’s settings for plain cardstock may not work for you if you’re working with a particularly thick sheet of paper.
Finally, test cuts let you see how your blade specifically is going to cut the material you’re using. Blades dull over time with repeated use, and the settings you used when your blade was brand new might not work if you’ve had your blade for a long time. Generally, you’ll need to increase your blade level or Force setting for materials if you’re using an older blade, even if the default cut settings worked with the same blade and material before.
Testing Your Cut Settings
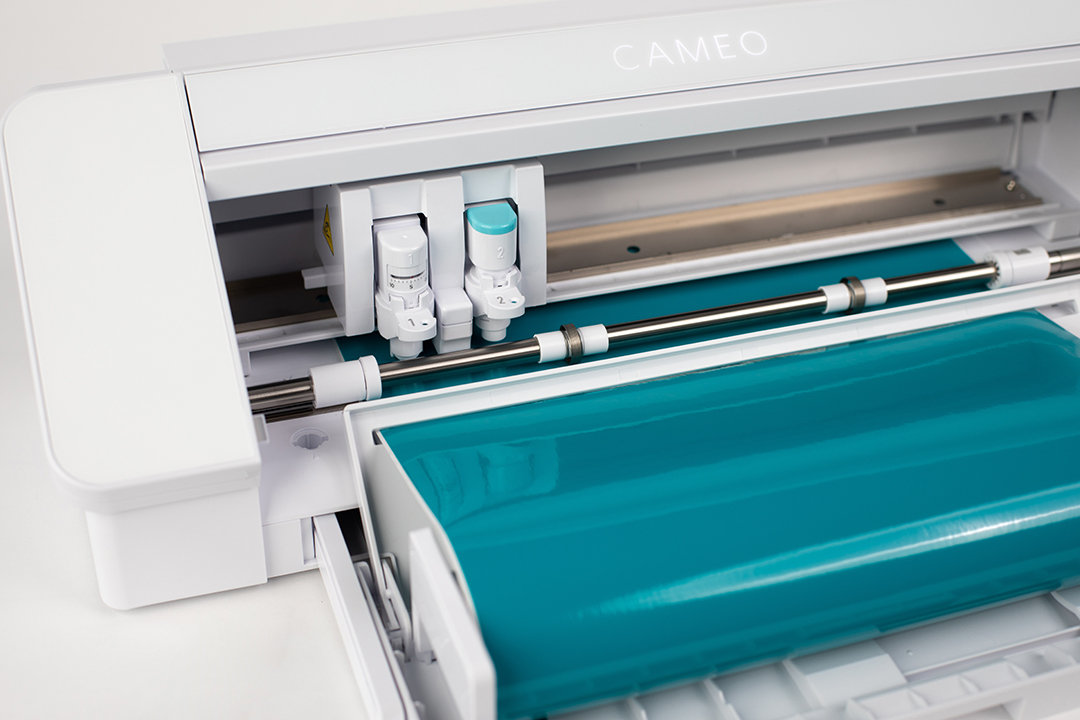
To test your cut settings, first load your material into the machine and go to the Send tab in Silhouette Studio®. Then, select the material you’re using. This will adjust your cut settings to our suggestion for the material. If you are using a manual blade, go ahead and set it to the correct blade level now.
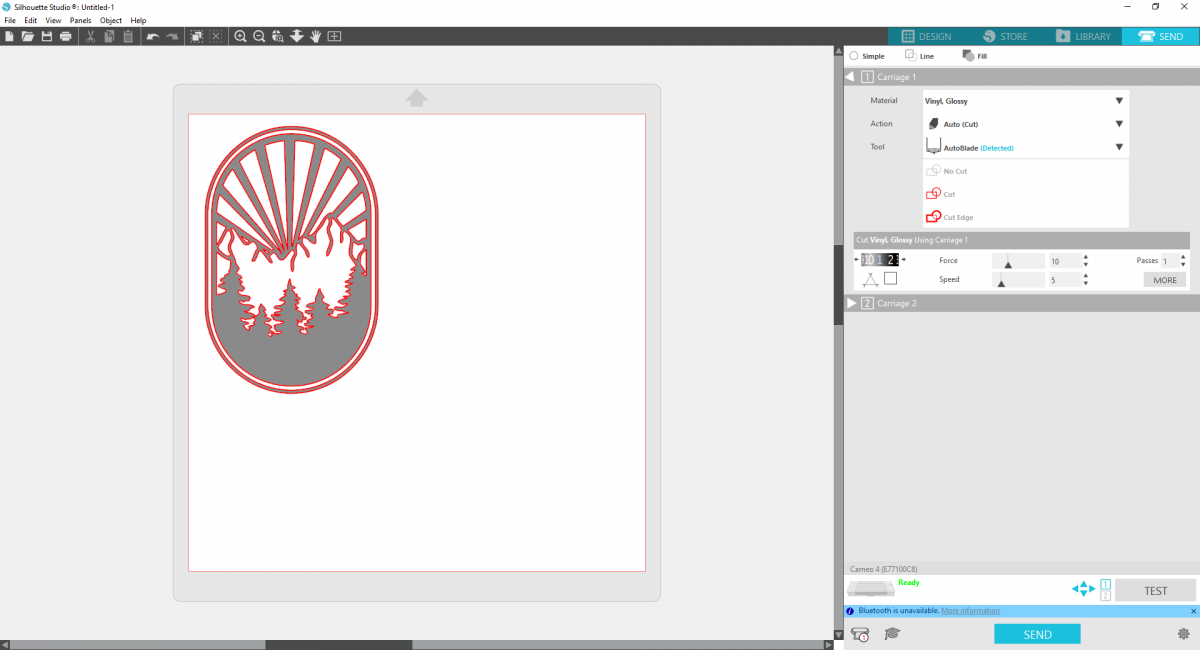
Send your test cut to the machine simply by pressing the “Test” button towards the bottom of the panel.

Your machine will then cut a small square with a triangle inside of it on the top-left corner of your material. When it’s finished, unload the material from the machine and check the cut to see if the lines are clean and cut all of the way through.
Troubleshooting Cut Settings
If your test cut looks great, that’s all you need to do! You can go ahead and send your cut job to the machine and it should cut your material successfully. However, if your test cut isn’t clean or cut through all of the way, here are some tips to keep in mind.
When your blade doesn’t cut through your material, it’s likely that you need to increase the Force setting on your machine. This will make your blade apply more pressure to cut through the material. We recommend adjusting your Force setting first, rather than the blade level. Overexposing the blade by increasing the blade level dulls the tip much more quickly, which will give you ragged cuts.
If you know you need to increase the blade level because your material is deeper than the suggested blade level, lower the Force setting as well. The goal is to find the lowest blade level and Force setting that will successfully cut your material. If this still doesn’t cut all the way through, try increasing the number of Passes.
On the other hand, your cut might be ragged or torn in places as a result of your test cut. If your test cut is torn, try decreasing the blade level or Force setting to get a cleaner cut if the blade is overexposed. Or, decrease the Speed setting and try again with the same settings to see if the cut remains . However, ragged cuts indicate that your blade may be dulled or damaged. If reducing the Force and blade setting do not help, this is a sign that you may need to replace your blade.
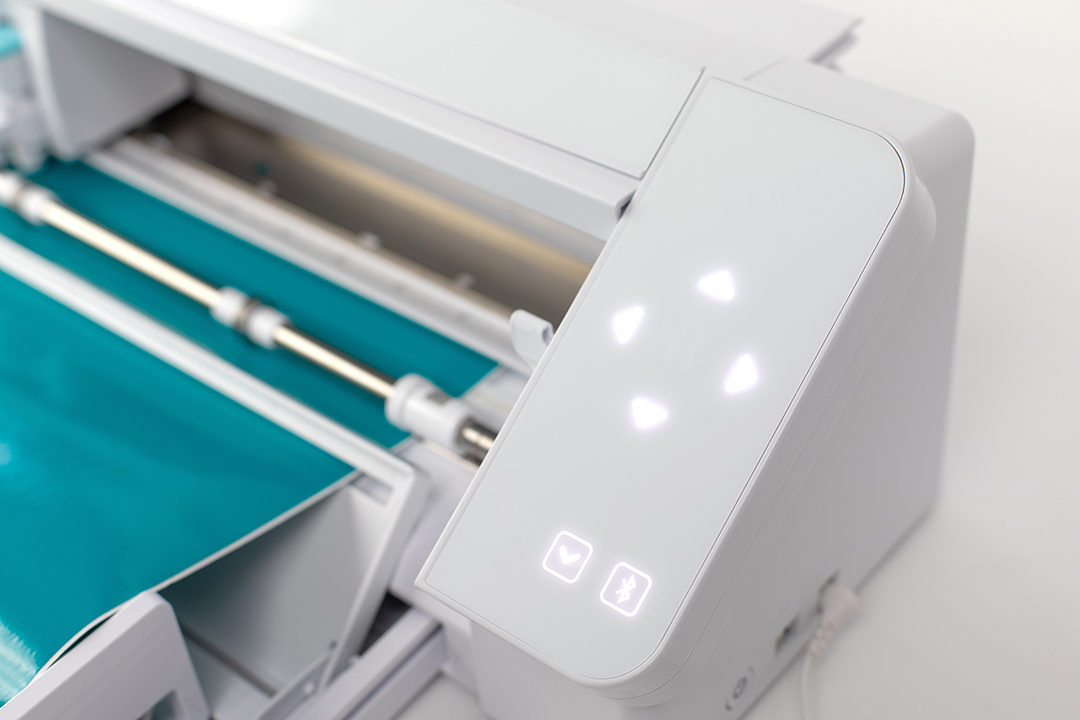
Note: When performing multiple test cuts on the same piece of media, it’s important that you don’t test your cut settings in the same place on your material. To move where your machine will create the test cut, simply use the arrows on your machine to move the blade carriage. When you send the test cut to your machine, it will cut where your blade is on the material.
We hope this guide helps you test your cut settings before starting on your big projects! If you continue to have cutting issues, please read more about test cuts on our FAQ, or contact our support team.
 Design Store - Over 300,000 Designs to Bring Your Creative Vision to Life
  Everything to Know About Silhouette Studio® Upgrades
Nasze Naturalne
September 3, 2025
Your authentic voice really shines through in everything you create and share
Naszenaturalne
September 2, 2025
Really love your style
Kelly Wayment
June 28, 2024
You can use it with vinyl as long as it is smooth and flat to allow the static charge to hold on to it. Rolled vinyl that wants to go back to its rolled shape will not necessarily work well, and it would need to be trimmed to fit the ES mat cutting area.
Kelly Wayment
June 28, 2024
Yes, you can use the heat pen while using the ES mat. 🙂
Yurii
March 2, 2024
Hello. May it be used with heat pen?
Thanks
Jerome
February 24, 2024
Hi, works this with the normal vinyl foils or only with printer papter etc?