Hello friends! Connie here, and I am going to show you all how to use an amazing feature found only in Silhouette Studio® Business Edition 3: Automated Weed Lines. This feature is especially great to have when you are working with vinyl. I find that weed lines help me to minimize vinyl waste because I am able to weed each piece section-by-section instead of trying to weed the entire piece at once.
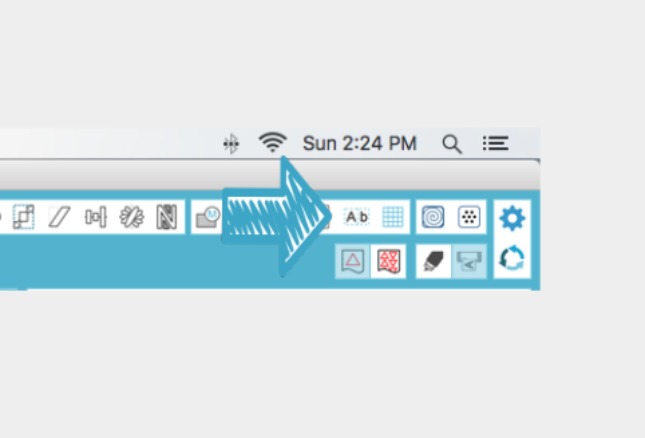
As mentioned above, the weed lines feature can only be found in the Business Edition version of Silhouette Studio® and it is the icon with ‘Ab’ symbol around it like in the picture below:
Why Weed Lines?
The automatic weed line feature allows you to add boxes and borders around open line paths which assist you when weeding materials such as heat transfer material and adhesive vinyl. It allows you to remove excess material in smaller sections, which gives you more control and keeps your material from wrinkling and potentially getting ruined. Because well, nobody likes crinkly vinyl . . . No one.
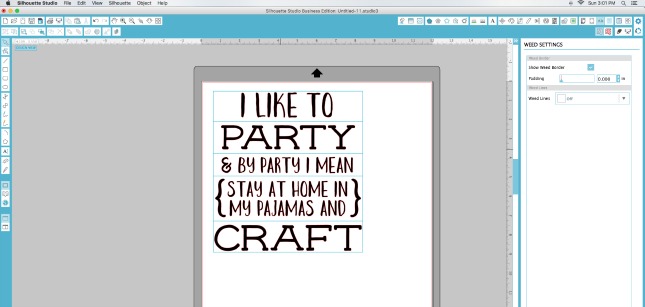
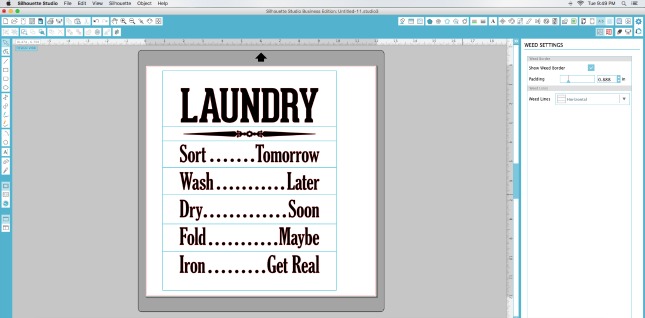
Weed Lines in Silhouette Studio® are blue lines that surround the image/graphic. In this example, I used horizontal weed lines since my graphic is linear. Not all graphics are as linear as the one below, but don’t worry, Silhouette America has got you covered!
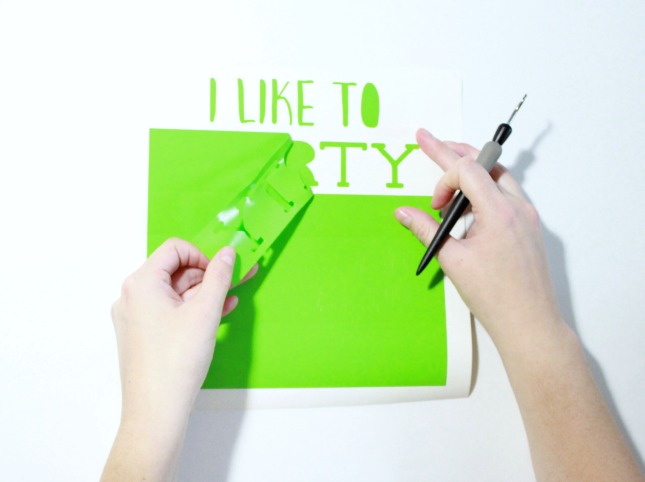
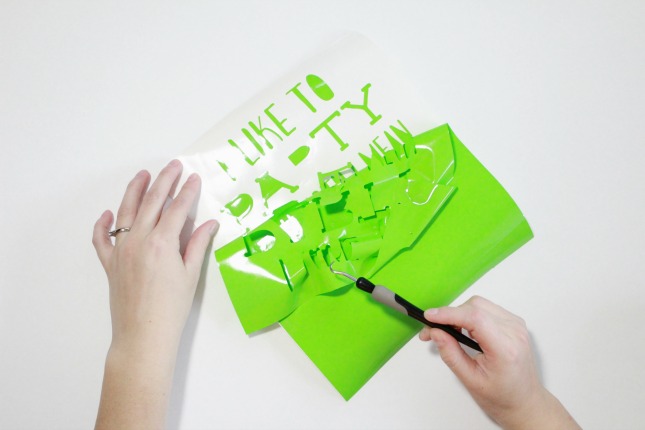
Thank goodness for horizontal weed lines. It made weeding my design a breeze, since I was not having to pull up the entire excess all at once.
Below is the horror that can occur with you don’t use weed lines! Sometimes the sticky side of the adhesive vinyl will pull some of the letters up without you realizing it, which results in a ruined vinyl project.
Learning the Different Functions of the Weed Line Feature
I will explain what each option means and how to use it for different styles of graphics. Weed lines are very easy to use and you will be an expert in no time.
Weed Border
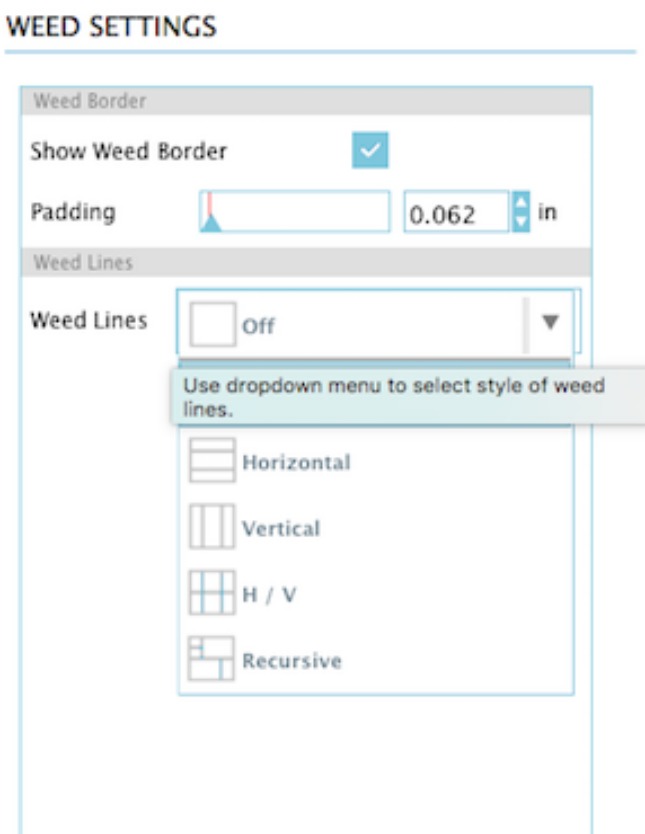
The ‘show weed border’ option allows you to activate the blue border lines around your image. Be sure to have that boxed checked otherwise you will not be able to see the blue lines.
Padding
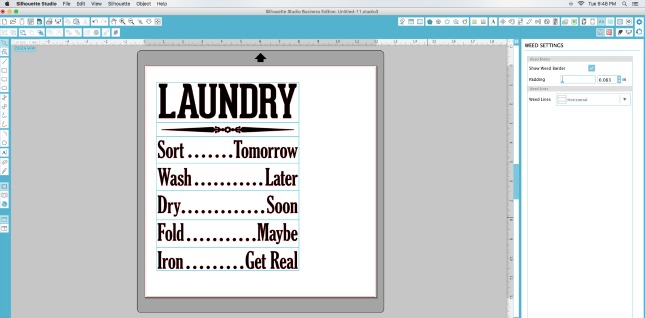
Padding is the amount of space between the blue line and the graphic. The higher the padding, the more space between the two. The lower the padding, the closer the line is to the graphic. In the picture below, you can see that there is plenty of space inside of the box. That is because I have a padding of .888.
This picture only has a padding of .063 which only leaves a tiny bit of room around the graphic.
The less padding there is, the better because you can save more material!
Weed Line Styles
Silhouette Studio® has a few options for the style of weed lines. The style of weed line you choose will all depend on the shape the graphic and image in play. It’s easy to recognize which one to use. Just follow the tips and tricks I will show you below!
Horizontal
If you remember above, I used horizontal weed lines when I cut out my green vinyl graphic. Here is another example of a file that I would use horizontal weed lines with:
The graphic is beautifully linear which allows me to use the horizontal weed style option when weeding the image out.
Vertical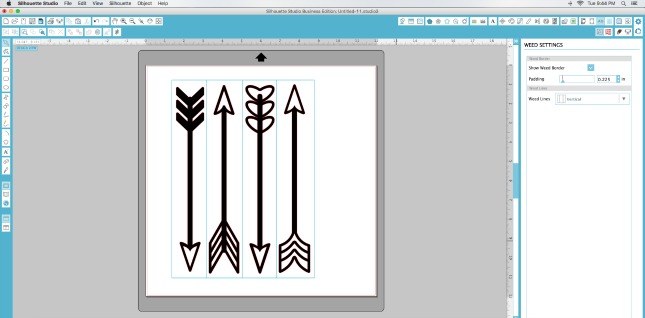
Vertical weed lines work best when you have a file that is mostly, you guessed, vertical! These arrows are one of my favorite files from the Design Store and weeding them with the vertical lines is oh so easy.
Horizontal/Vertical
This option is great for files that have a few more components of dimension to it. This Print & Cut file has a few rows and columns. The H/V style allows you to ‘cut’ each circle with a weeding square around it.

Recursive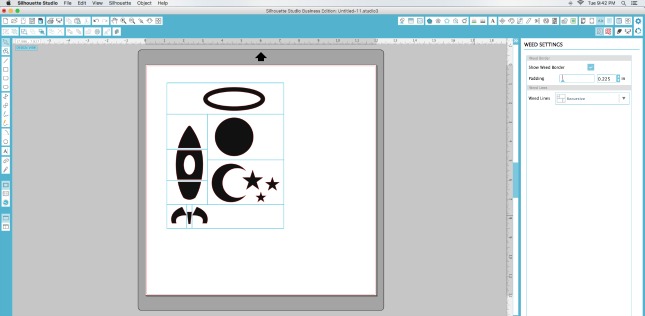
This option is for images that have random sized shapes. The recursive option finds all the pieces, large and small, and creates a border around it to allow for easier weeding.
I hope you were able to get a good grasp and understanding of how to use weed lines and the benefits they offer.
If you haven’t gone out and upgraded to the Silhouette Software® Business Edition, what are you waiting for? 🙂