
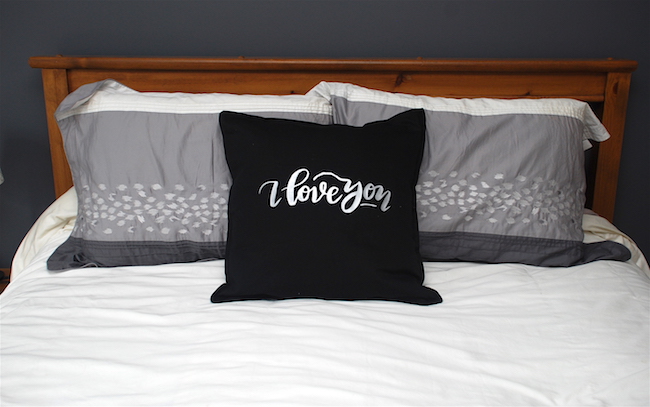
Cari here with you today & I’m super excited to be sharing a project that I made this fabulous “I love you” design. You are going to love this design! I was thrilled with it when I got it and my mind was racing with a million ideas!!
I decided to create a heat transfer image for a pillow cushion to put on our bed.
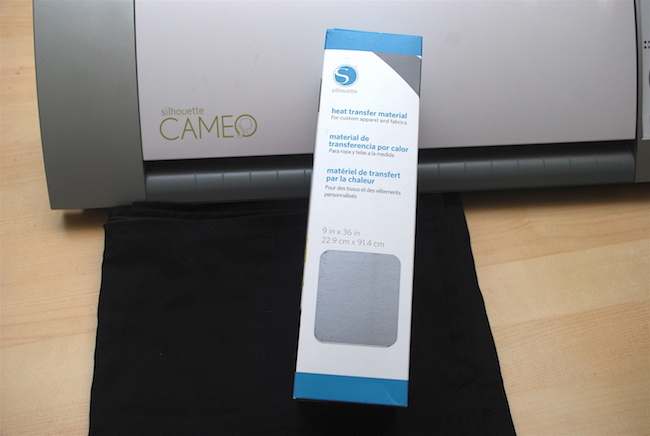
Supplies:
Silhouette CAMEO®
Heat Transfer (silver)
Iron & pillow cushion
STEP ONE:
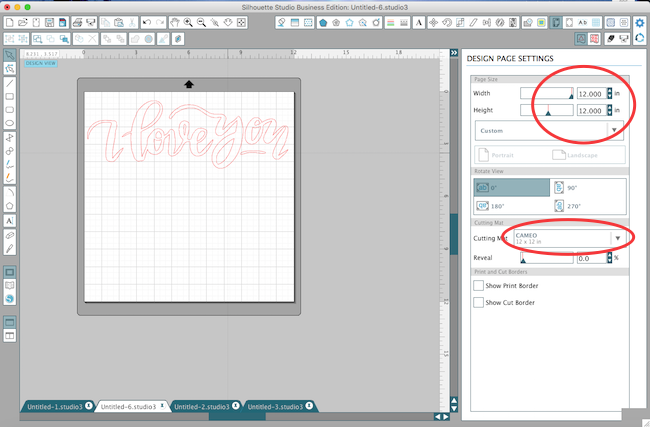
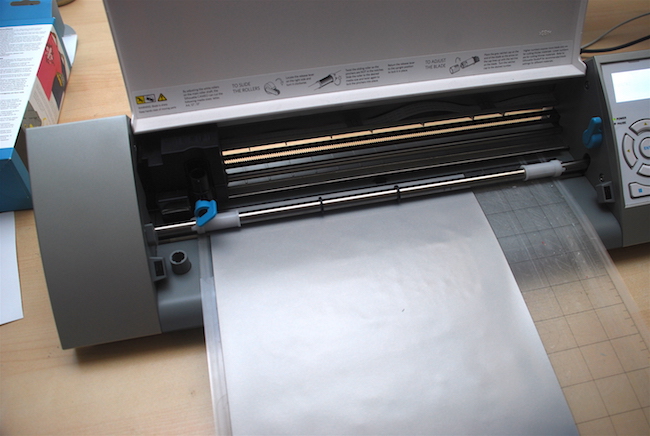
- Open up the design in your Silhouette software. Resize the image for the project you are crewing. I sized mine to approximately 11 1/2 in. x 4 in..
- Make sure your page settings are set correctly (I chose a page size of 12 in. x 12 in.).
STEP TWO:
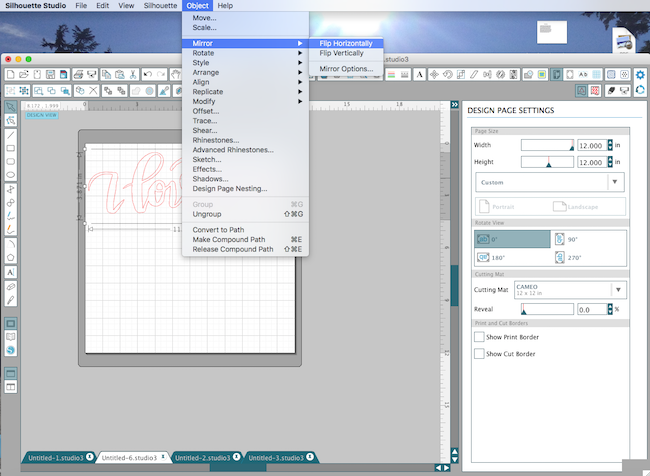
- Flip design horizontally or in other words mirror the design image. When using heat transfer you must always remember to mirror your image otherwise when you iron it on to your project it will appear backwards and you don’t want that!
STEP THREE:
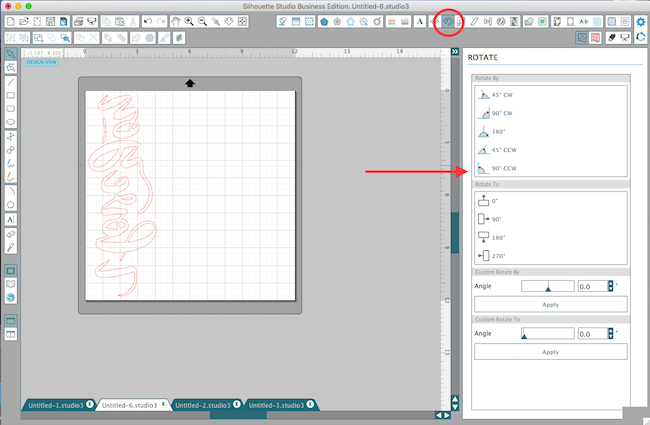
- Rotate the design.
- I needed to do this because the heat transfer I was using was only 9 in. wide. If you’re using the 12 in. wide heat transfer, you don’t need to this.
STEP FOUR:
- Head to the Cut Settings window and select “Heat Transfer Material” then make sure to change the depth of your blade.

- When using the Heat Transfer or Vinyl products you can adhere them to a cutting mat or feed them right into your Silhouette. I chose to use a mat because I like the stability of it.
STEP FIVE:
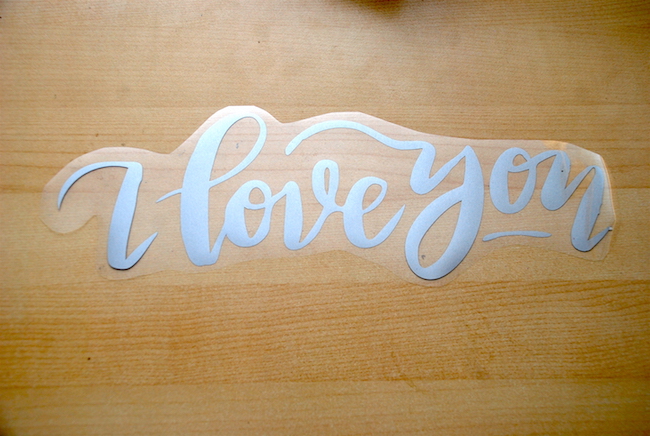
- Once the design is cut you will want to trim closely around the image. Weed out the unnecessary parts.
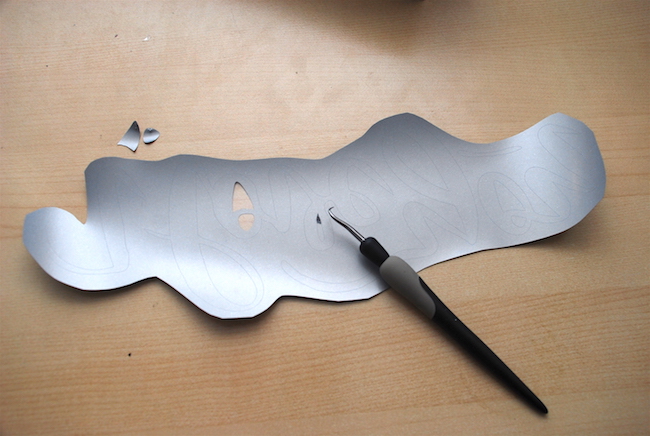

- You will then be left with your cut out design.
STEP SIX:
- Place the design (right side facing up – so you can read it) where you want it on your project, place a light tea towel over top and then iron the design onto your project.
NOTE: Make sure to read the instructions that come with your heat transfer material for appropriate heat settings and length of time to keep the iron on the design. I move my iron around rather than leaving it one place.
And don’t forget the towel, otherwise the plastic will melt and stick to your iron–and you don’t want that!
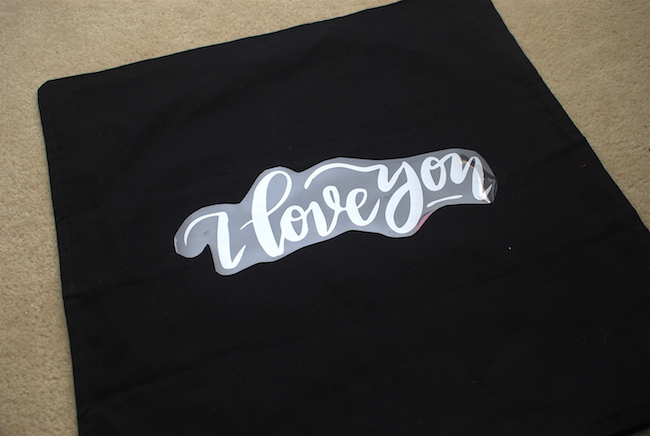
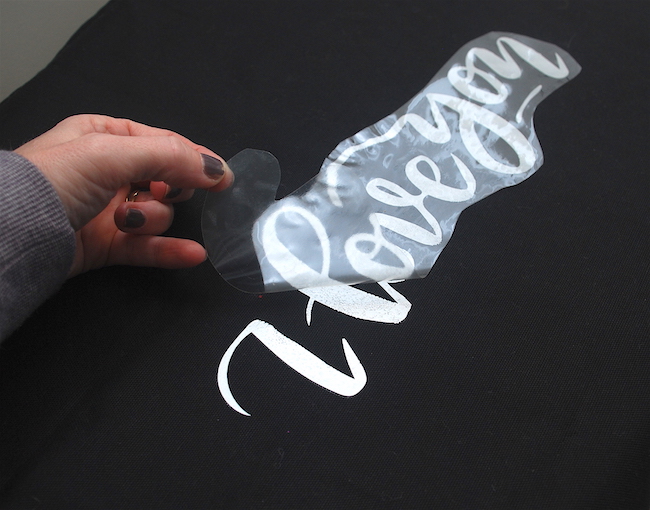
- Once the heat transfer is adhered, peel off the plastic. Be careful when doing this and be sure that the design has completely adhered to the fabric. If not, just place the tea towel back over top and iron it a bit longer.
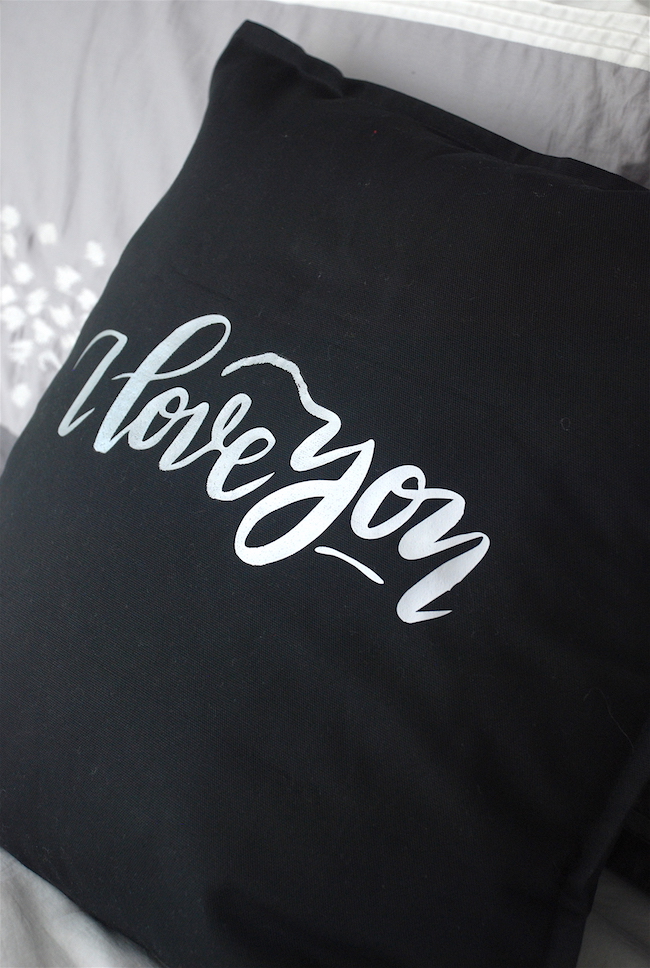
Here’s a close-up of the fun silver color.
Kelly Wayment
June 28, 2024
You can use it with vinyl as long as it is smooth and flat to allow the static charge to hold on to it. Rolled vinyl that wants to go back to its rolled shape will not necessarily work well, and it would need to be trimmed to fit the ES mat cutting area.
Kelly Wayment
June 28, 2024
Yes, you can use the heat pen while using the ES mat. 🙂
Yurii
March 2, 2024
Hello. May it be used with heat pen?
Thanks
Jerome
February 24, 2024
Hi, works this with the normal vinyl foils or only with printer papter etc?
Kelly Wayment
February 16, 2024
Once you’ve pushed the mat up against the rollers, just press the “Load” arrow button (bottom right on the display). Does a regular sticky mat load into the machine for you?
Michelle a goodall
January 24, 2024
Hello! I just got my new electrostatic mat and have watched every video i can find on it. However, what i can t find is why it wont feed into my cameo 5/ it slides right up the rollers but wont go any further. and yes- iam pushing the into button. help!