Today I’m sharing a layout with you where I used a multi colored stamp that I created using the Mint. Oh how I just adore this little machine!
Supplies:
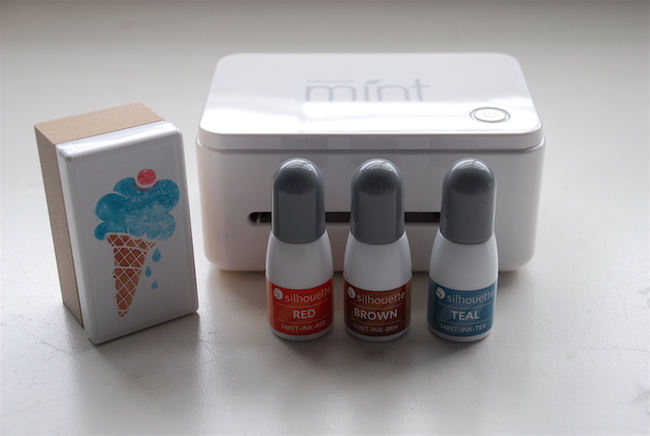
- Silhouette Mint™
- Mint Ink (3 colors of your choice)
- Mint Stamp Sheet (30 mm x 60 mm)
- Mint Stamp Mount (30 mm x 60 mm)
- Ice Cream Cone design (free with Mint Studio™)
- Other: supplies to create layout
STEP ONE: CREATING YOUR STAMP
- Open Silhouette Mint™ software
- Select the size of stamp (I chose 30 mm x 60 mm)
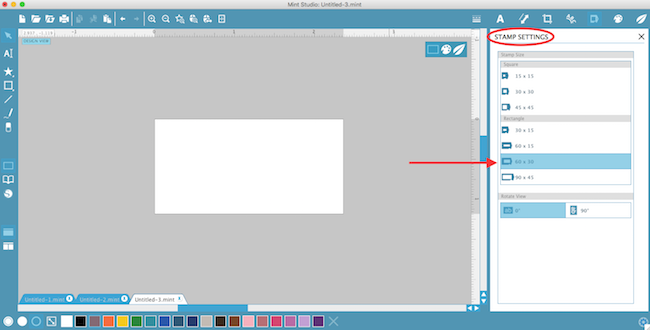
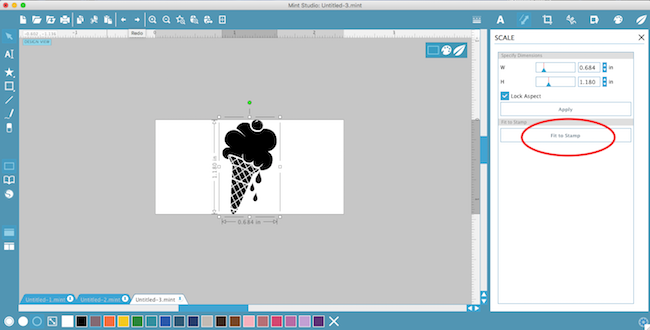
- Open up the design file (notice that mine opened up very large) and resize by using Select Scale > Fit to Stamp
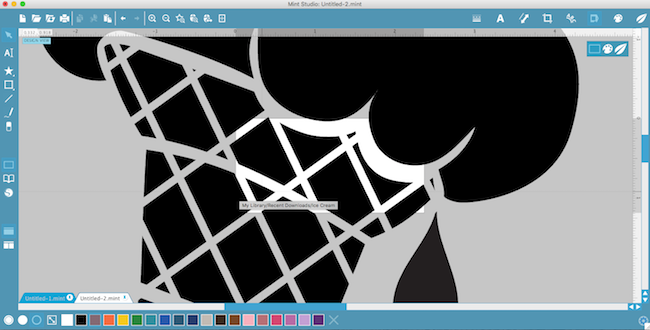
- You will notice that the image may need to be rotated to fit the dimensions of your stamp
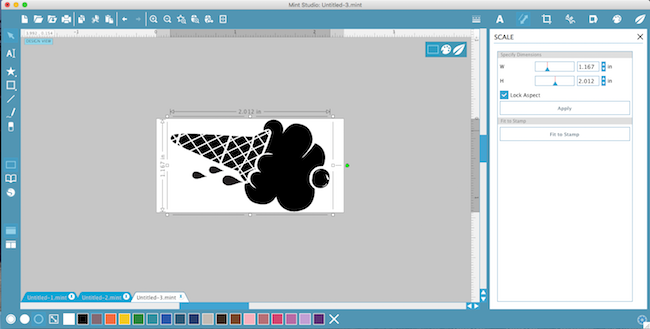
- Click on Object (top left menu) >Rotate>Rotate by 90 degrees clockwise

- Select Scale > Fit to Stamp (one more time)
- Select Object > Align > Center to Stamp
Now you see the image fits better. You can drag your mouse on the outside white boxes to pull the image larger or make it smaller.
STEP TWO: ADDING FILTERS & SENDING TO THE MINT
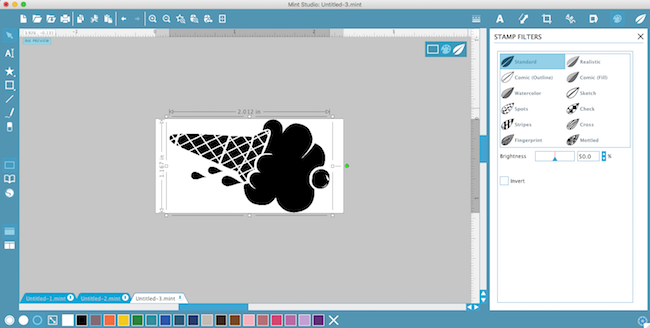
- Click on the paint palette sign (top right menu) and select a filter option.
Here is where you have the opportunity to add a filter (texture) to your stamp. I decided to leave mine in Standard (the first option in the list).
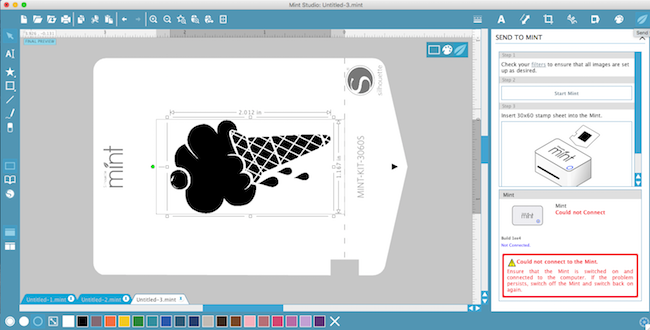
- Click on the leaf icon and just follow the instructions. (You will notice that your image has been reversed on the screen)
- Turn your Mint on and insert the stamp card through the back of the machine and watch the magic happen!
STEP THREE: ADDING INK
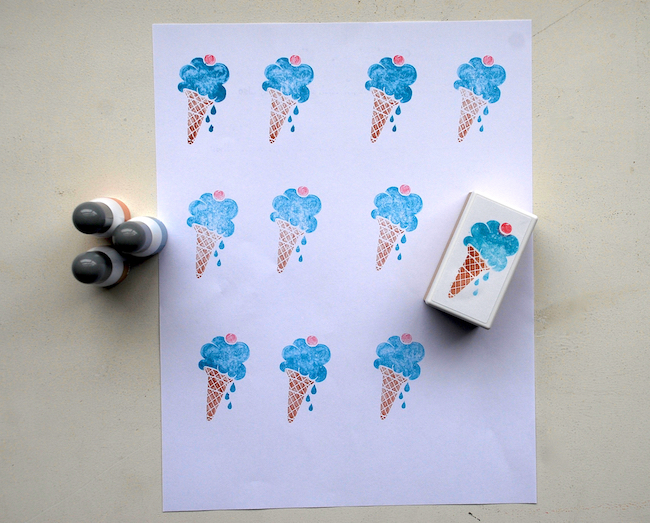
I chose three colors to use on my ice cream cone stamp. I wanted something fun and cheerful so I chose a non-traditional color for the ice cream – although my son does love bubblegum ice cream and we have this exact color around here!!
TIP: Add the ink carefully to your design making sure that the colors don’t run into the other sections.
Allow the ink to absorb into the freshly minted stamp (this takes about thirty seconds.) Then start stamping on a scrap piece of paper until you are happy with the image.
The first stamp will be very blotchy, but don’t panic! Stamp it a few more times and the image will clear up.
STEP FOUR: ASSEMBLE THE LAYOUT
I chose to create the background of my layout using the stamp that I had created. So I just stamped in various places all over the cardstock.
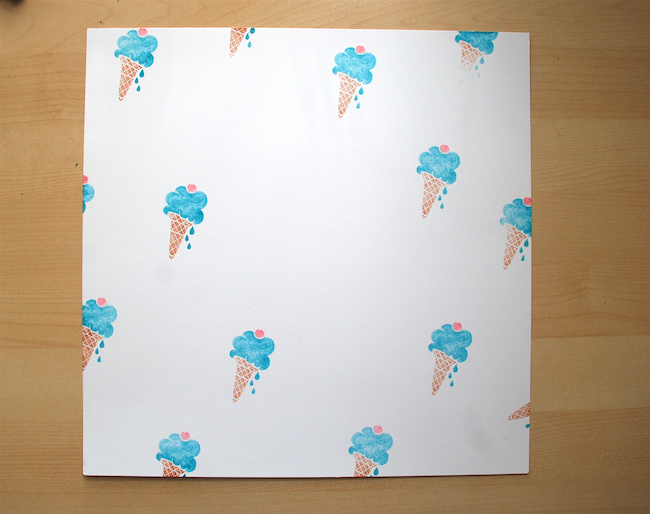
(Psst … here’s a little secret. I was actually going to leave my background paper the way it looks above but as I continued to look at it it seemed a bit bare to me. So I started stamping so that only part of the stamp showed on the edges. Then I added more in the middle section however, one of them happened to be upside down. Instantly I thought I’d ruined it! But I decided to go with the flow and added a few more upside down stamped images and I am thrilled that my happy accident happened!)
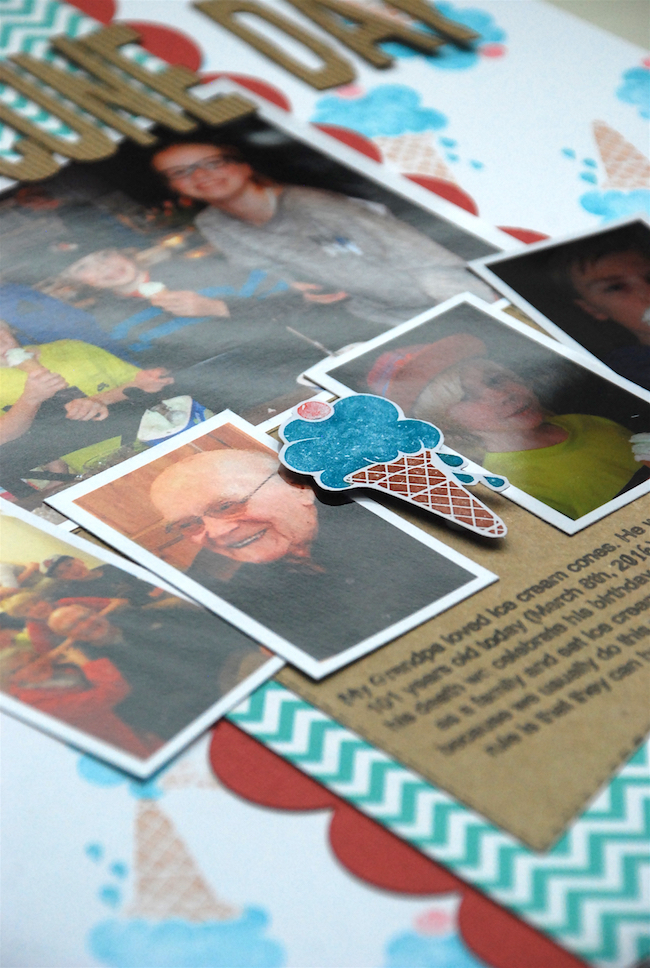
I also used the stamp to create an embellishment for my layout. I stamped on white cardstock and then cut it out. (if I were to stamp this image and cut out many of them I would use the PixScan feature to do this as it saves a lot of time and would cut the image out perfectly!)

I added a bit of texture by using the Corrugated Kraft Paper for my title.
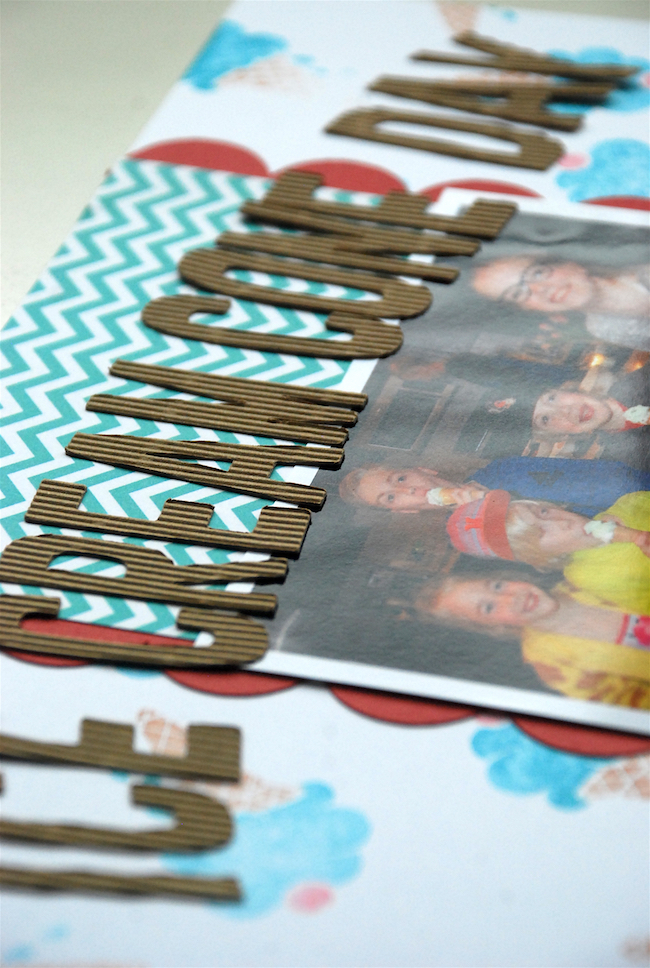
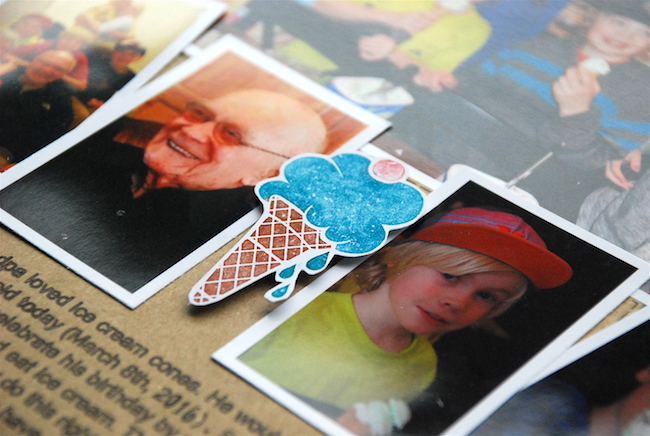
And here is my completed layout.
The journaling I created with the sketch pens. The story behind Ice Cream Cone Day (for my family, at least) is to celebrate my Grandpa’s love for ice cream cones each year on March 8th, his birthday. If he were still with us he would have been 101 years old!

Nasze Naturalne
September 3, 2025
Your authentic voice really shines through in everything you create and share
Naszenaturalne
September 2, 2025
Really love your style
Kelly Wayment
June 28, 2024
You can use it with vinyl as long as it is smooth and flat to allow the static charge to hold on to it. Rolled vinyl that wants to go back to its rolled shape will not necessarily work well, and it would need to be trimmed to fit the ES mat cutting area.
Kelly Wayment
June 28, 2024
Yes, you can use the heat pen while using the ES mat. 🙂
Yurii
March 2, 2024
Hello. May it be used with heat pen?
Thanks
Jerome
February 24, 2024
Hi, works this with the normal vinyl foils or only with printer papter etc?