
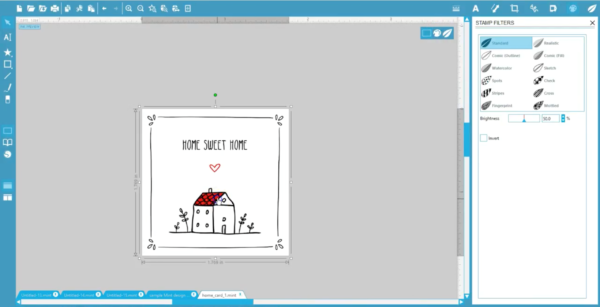
Mint Studio™ can turn various designs into stamp images, including both vector art and color or gradient-fill designs. You can open or import Silhouette Studio® files as well as PNG, JPG, BMP, GIF, and TIFF file types.

Opening Silhouette Studio® files is great because, if you have a library full of designs in Silhouette Studio®,
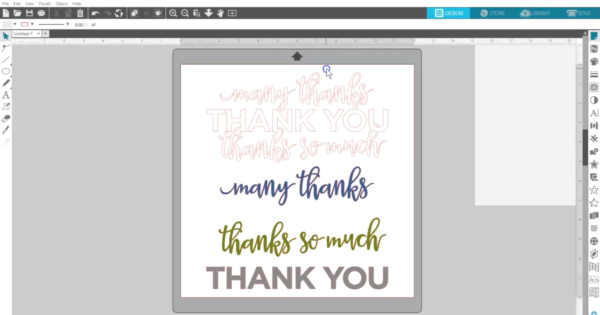
you can open and save a design in Silhouette Studio® and can also open that saved file in Mint Studio™. This preserves the vector properties of the design, so you can break it apart and otherwise manipulate it in Mint Studio™.
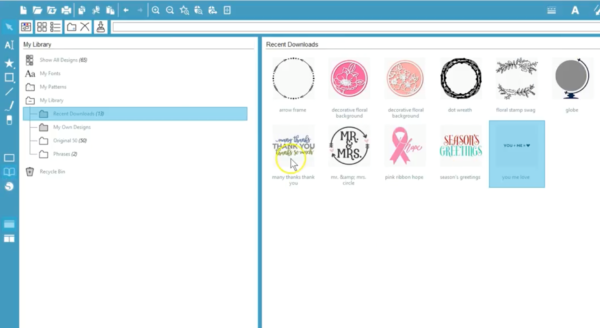
If you open the same design from your library in Mint Studio™, you are working with the image as you see it in your library thumbnail.

Mint Studio™ keeps things simple, so it’s easy to use all these image types. Simply apply a filter and adjust the options to make sure the design shows the way you want before you send it to the Mint machine.
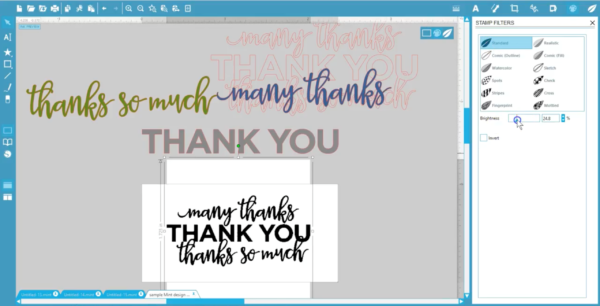
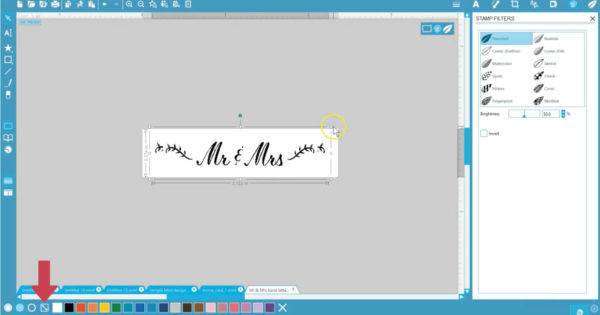
All the image types we mentioned before, such as JPG and PNG, work the same way. We will open a PNG file we’ve purchased, see how it looks in filters, and it’s ready!
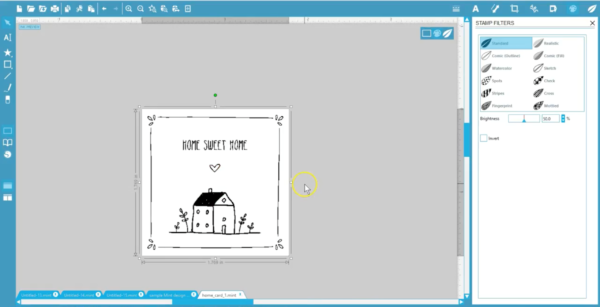
You can even open your own artwork or hand lettering. This is my lettering we’ve scanned and saved as a JPG. After resizing, we will check it in Filters, and it’s ready to become a stamp, as well.
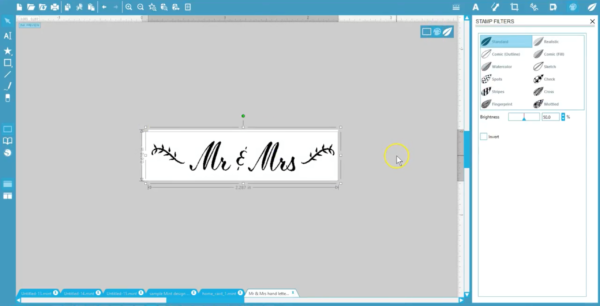
Note that you can open a design by either using the File options above or dragging and dropping the file into Mint Studio™ from the folder where it’s located on your computer, but the image may not be imported at its same size.
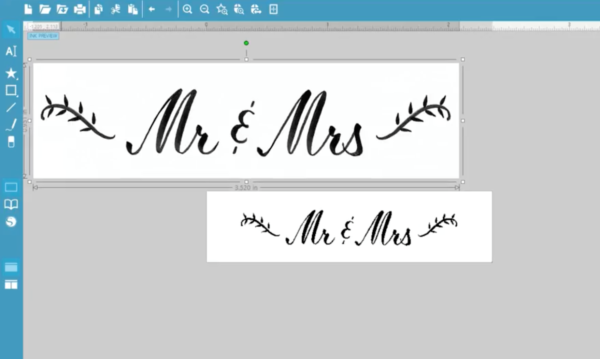
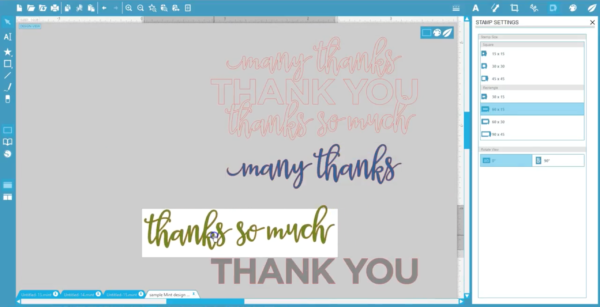
To quickly resize an image, select it and click on this Fit To Stamp icon at the bottom. Then you can further resize it with the corner handles, if necessary.
We’ll cover filters in another tutorial. In addition to all these file types that can be opened or imported, Mint Studio™ can also access any font installed on your computer.

We hope you can see how easy it is to turn a wide variety of file types into a stamp in Mint Studio™.