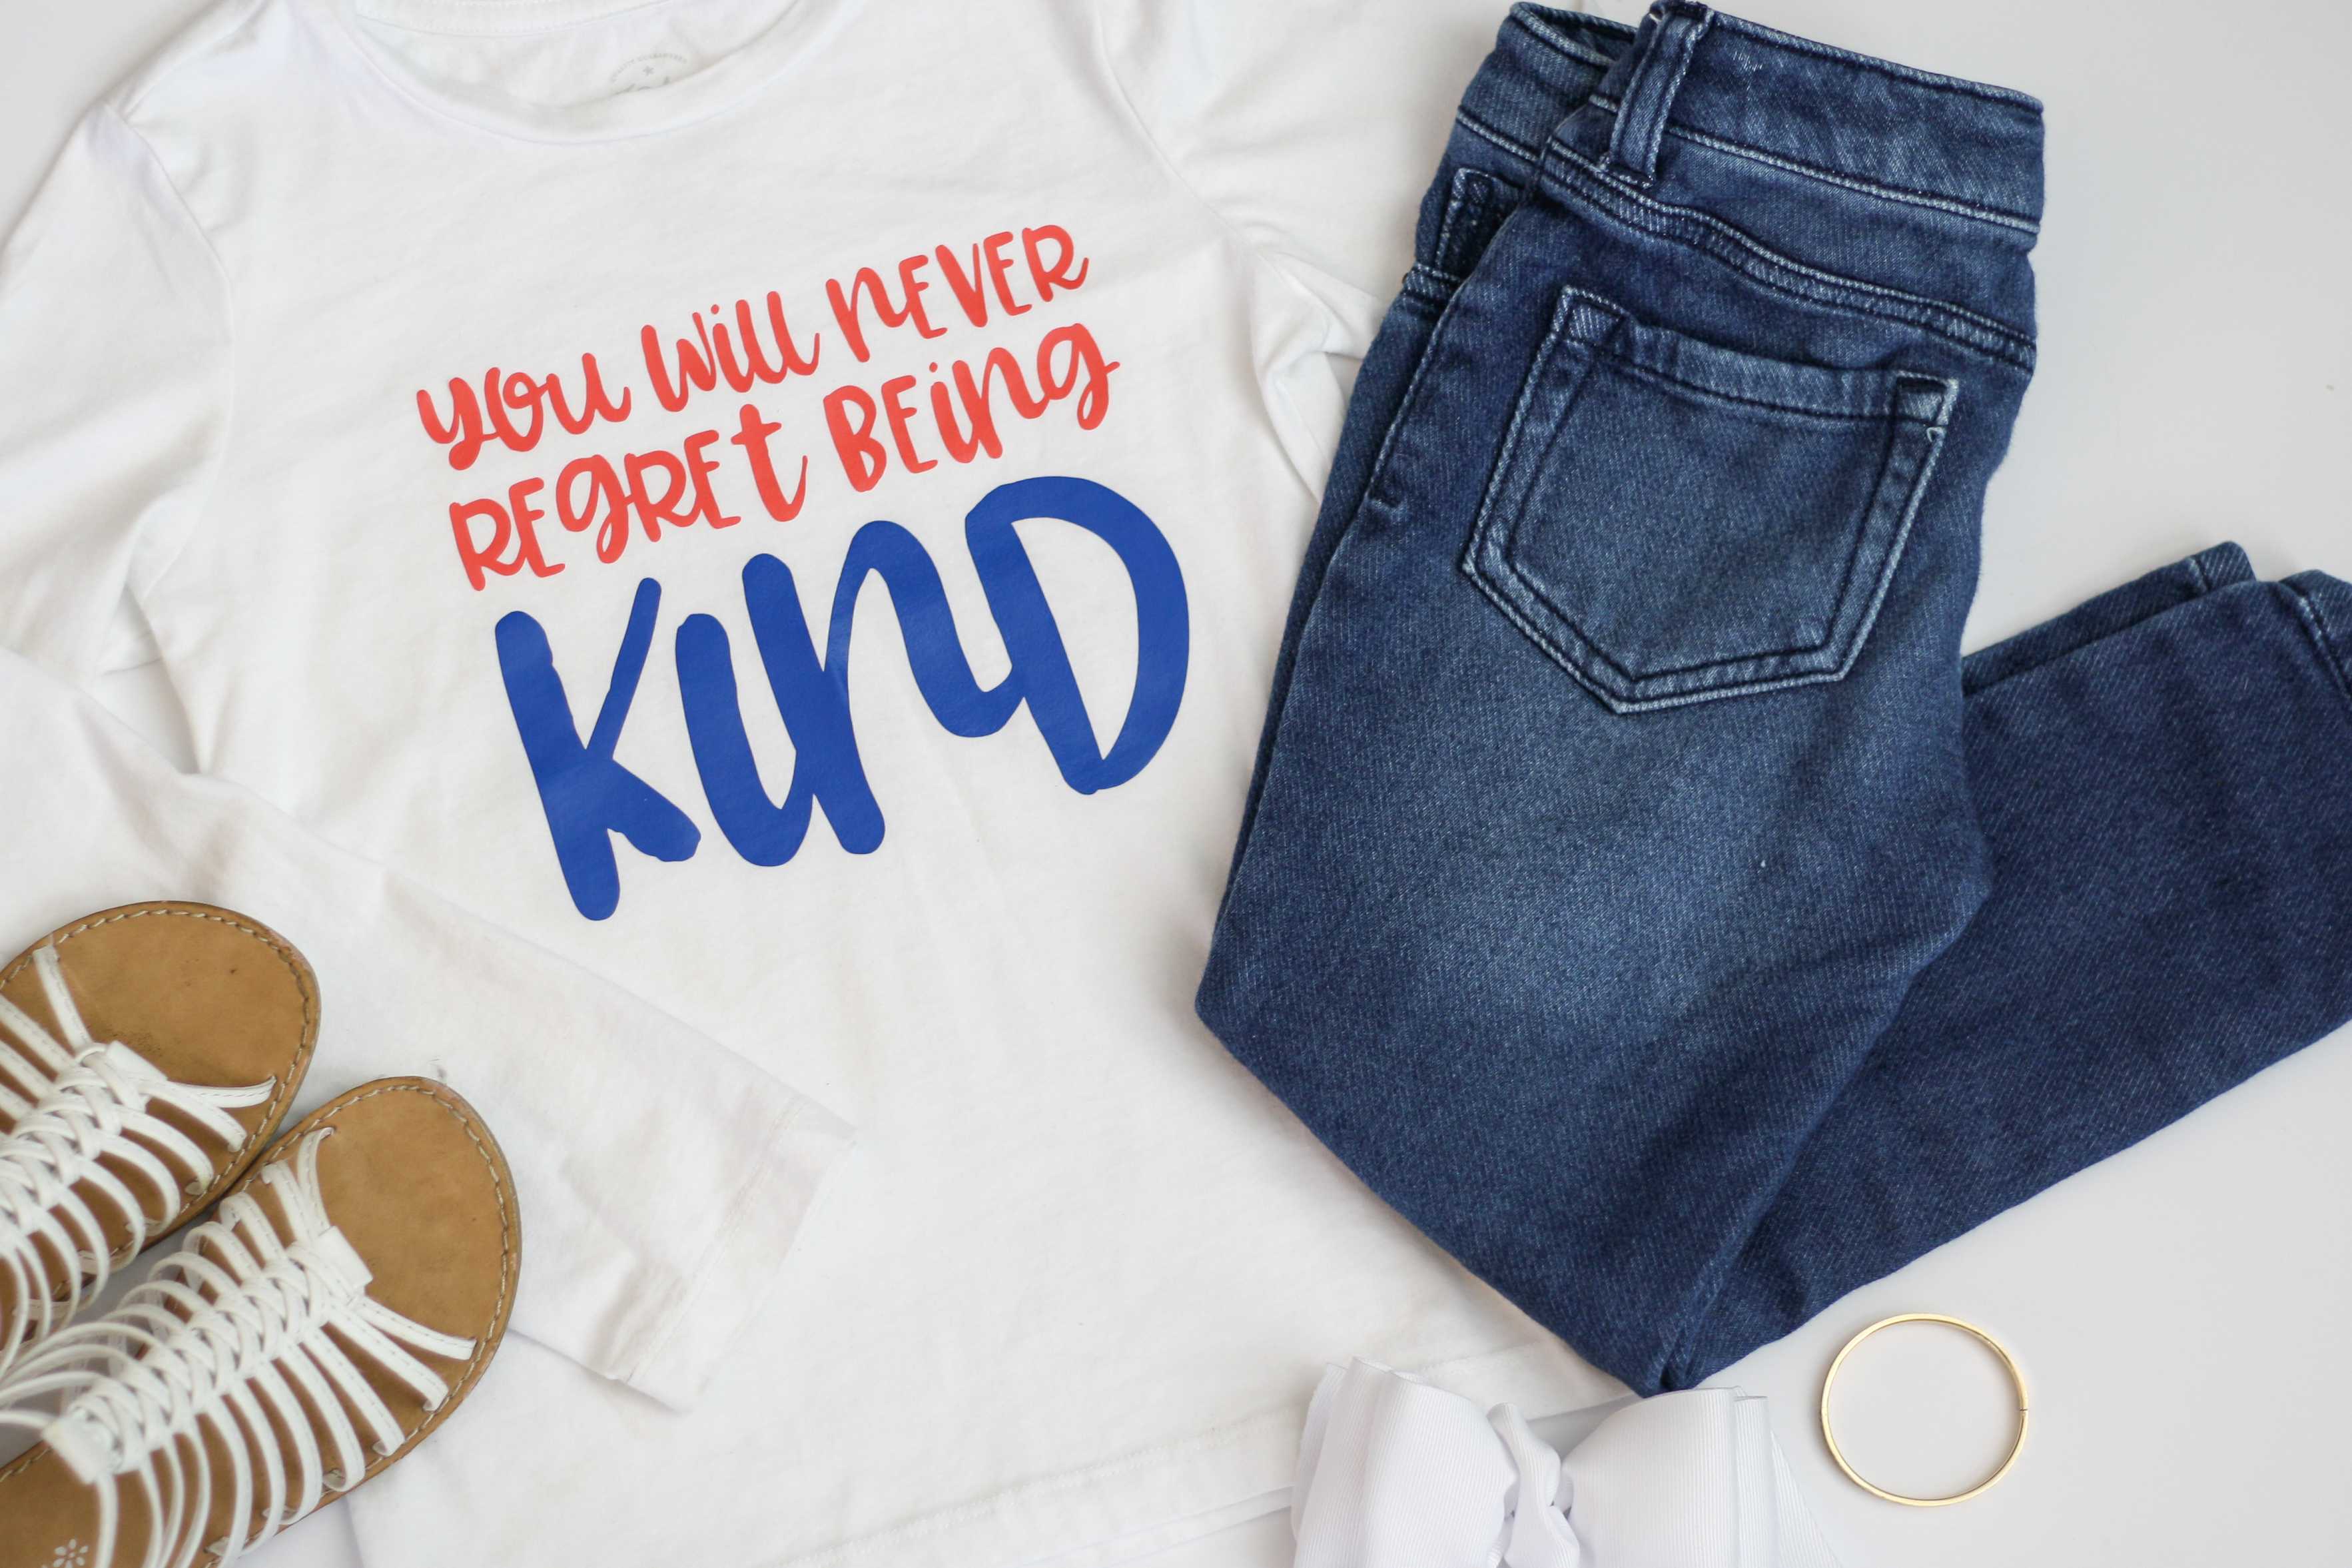
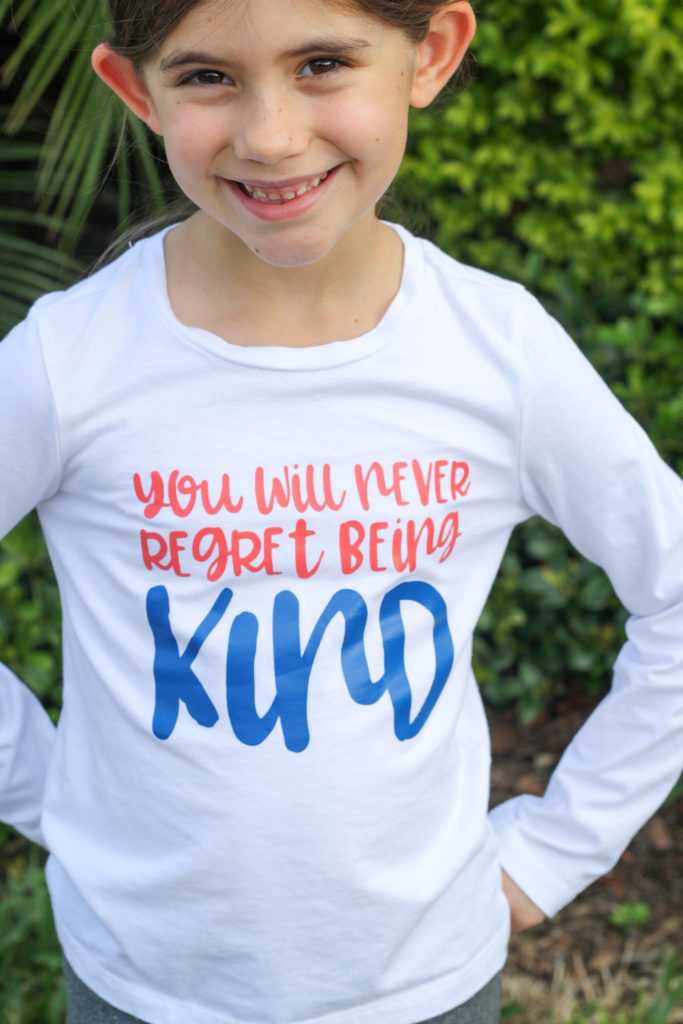
I think we could all use a little more kindness, so this shirt is the perfect fit for all of us. You can’t ever give too much, and you will never regret giving it away. This is one of my FAVORITE phrases and art in the Silhouette Design Store, and I HAD to make my daughter a shirt with this phrase on it. I think it’s a perfect statement piece in a wardrobe and fits the fashion bill. My daughter LOVED it so much, and I’m planning on making some for her friends too. To be honest, I want one now as well. A girl can’t ever have enough clothes! 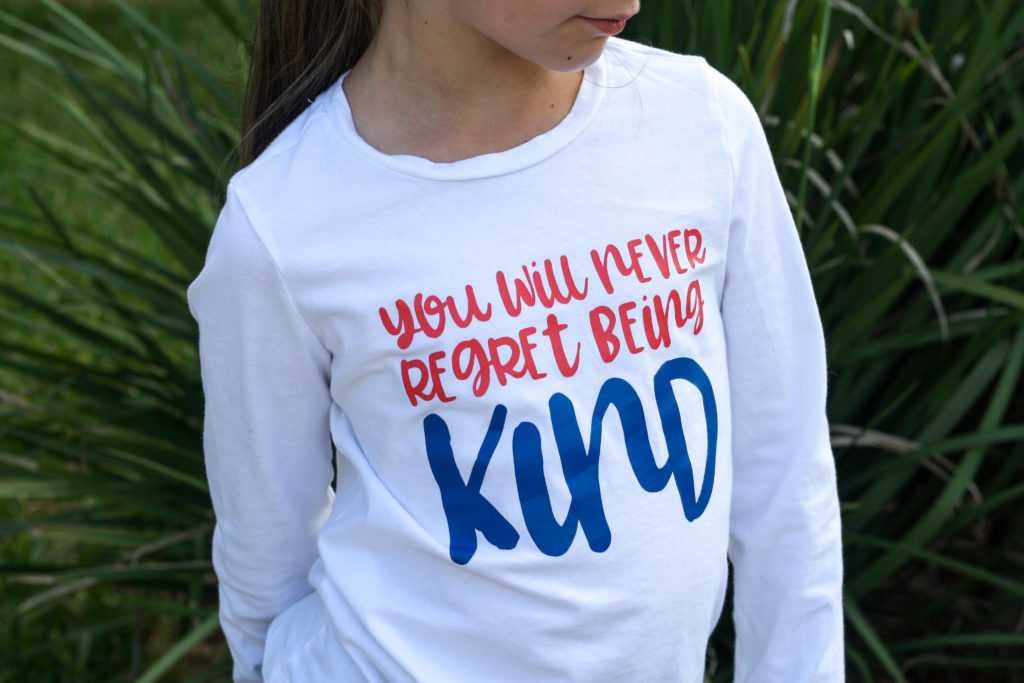
Supplies Needed:
- Silhouette CAMEO®or Silhouette Portrait® or Silhouette Curio™
- Silhouette Cutting Mat
- Silhouette Cutting Blade
- Silhouette Studio®
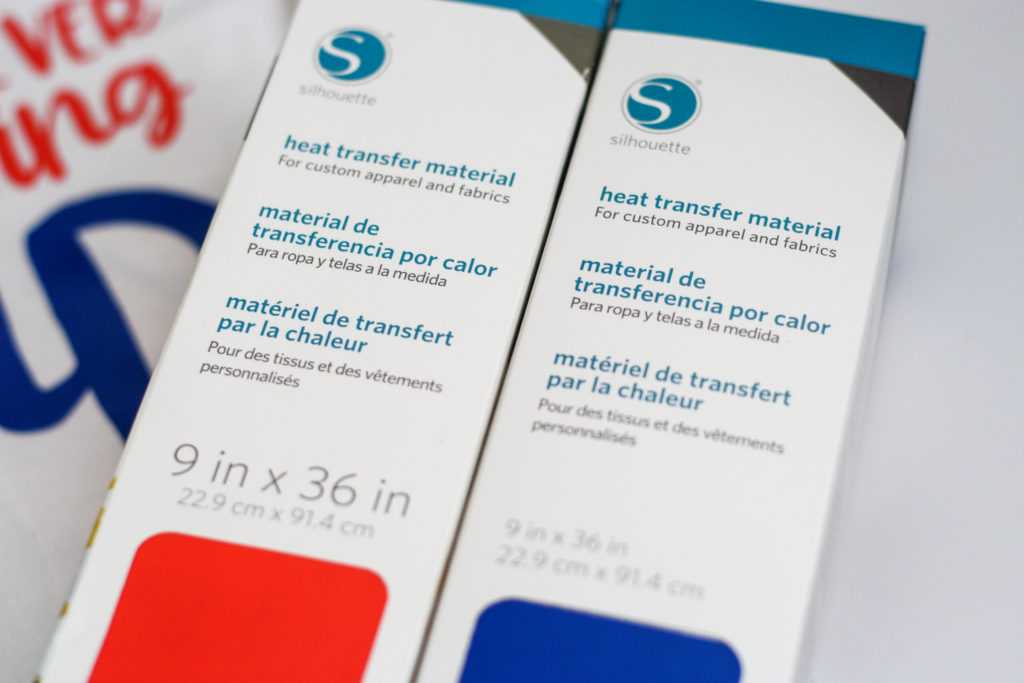
- Silhouette Smooth Heat Transfer – Blue
- Silhouette Smooth Heat Transfer – Salmon
- Silhouette Hook Tool
- Iron
- Shirt (we used a white t-shirt)
- Design ID #243157
Step One: Locate Your Design
- Locate Design ID #243157 in your library and double-click to open the design in Silhouette Studio®.
- Adjust the size of the design by selecting it entirely and dragging the outer corner to make it larger or smaller. You’ll want to adjust your shape to complement the size of your shirt.
- Now that your design is ready to go, you are all set to cut your design.
Step Two: Cut and Assemble
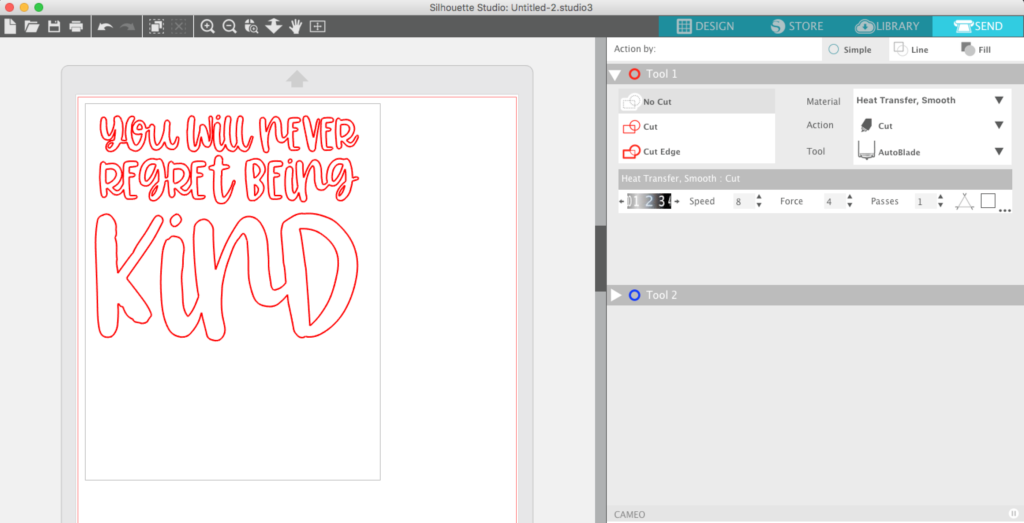
- Whenever you are cutting heat transfer, you want to make sure that you cut it correctly. Remember to mirror your image before you cut it! Thankfully I have the latest version of Silhouette Studio® and CAMEO 3, and the software asks me BEFORE it cuts whether I want to mirror the image. This is PRICELESS.
- Load your heat transfer into your machine or place it on a cutting mat. Then in the Send window of Silhouette Studio®, make sure to select the correct material (smooth heat transfer in this case). It will then tell you what to adjust your blade to. If you’ve got an Autoblade, then you don’t need to adjust your blade.
- Once your design is loaded, send it to cut.
- After your design is cut, weed the excess material away to leave only the phrase.
- Iron on your design with a cloth pressed between the design and the iron. Use a low-heat setting or a shirt press. I find that if you wait about 60 seconds for the design to cool, prior to peeling the plastic sheet off, you will have an easy time removing it from the shirt. If the design has not adhered fully, just repeat the ironing process until it is completely ironed on.
- I used two separate vinyl colors for this design so you can separate the art and print both then iron them on at the same time. It’s so easy and makes a statement with the “kind” in a bold blue color.
I hope you all LOVE this new design and hope you will use it too!
Nasze Naturalne
September 3, 2025
Your authentic voice really shines through in everything you create and share
Naszenaturalne
September 2, 2025
Really love your style
Kelly Wayment
June 28, 2024
You can use it with vinyl as long as it is smooth and flat to allow the static charge to hold on to it. Rolled vinyl that wants to go back to its rolled shape will not necessarily work well, and it would need to be trimmed to fit the ES mat cutting area.
Kelly Wayment
June 28, 2024
Yes, you can use the heat pen while using the ES mat. 🙂
Yurii
March 2, 2024
Hello. May it be used with heat pen?
Thanks
Jerome
February 24, 2024
Hi, works this with the normal vinyl foils or only with printer papter etc?