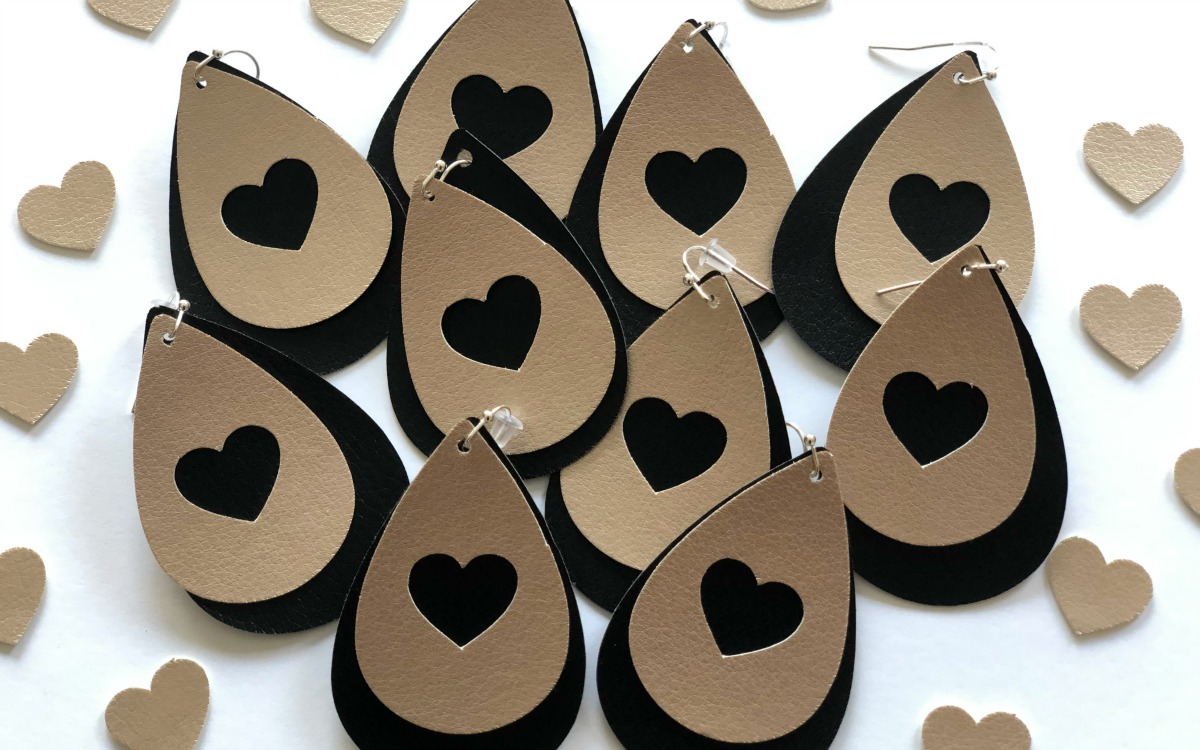
I have a bit of an obsession with teardrop-shaped earrings. They are super on-trend right now, and I’ve spent a pretty penny on them over the last year. When I realized how easy it is to make my own using my Silhouette CAMEO®, I could hardly contain my excitement! These earrings with heart cutouts would make a great Valentine’s Day gift, but you can wear them all year long.
Supplies Needed:
- Silhouette CAMEO® or Silhouette Portrait®
- Silhouette Studio®
- Silhouette Cutting Mat
- Silhouette Cutting Blade
- Silhouette Leatherette
- Earring Fish Hooks
- Plastic Earring Backs
- Needle-nose Pliers
- Design ID #280836
- Design ID #43104
Step One: Making the First Layer
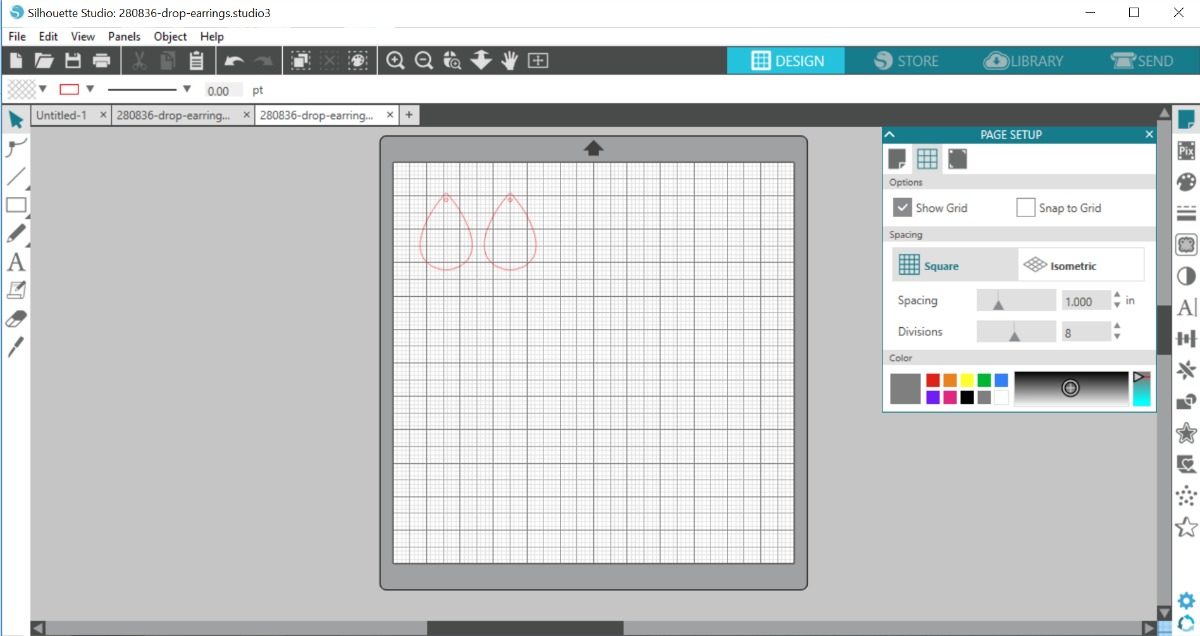
1. First, we will make the bigger, black layer for the earrings. Open the drop earrings design (Design ID #280836) in Silhouette Studio®. Resize the earrings to your preference. I sized mine 2.285 inches tall by 3.472 inches wide. Be sure to select the size of cutting mat that you will be using (you can adjust this by going to the Page Setup panel, which you can find the icon for on the right-hand toolbar).
2. Place the black leatherette material on your cutting mat and load the cutting mat into your machine.
3. Go to the Send tab in Silhouette Studio® and select “Leatherette” as your material in the cut settings. Remember to adjust your blade depth is you aren’t using an AutoBlade. When you are ready click SEND to send the design to your Silhouette machine.
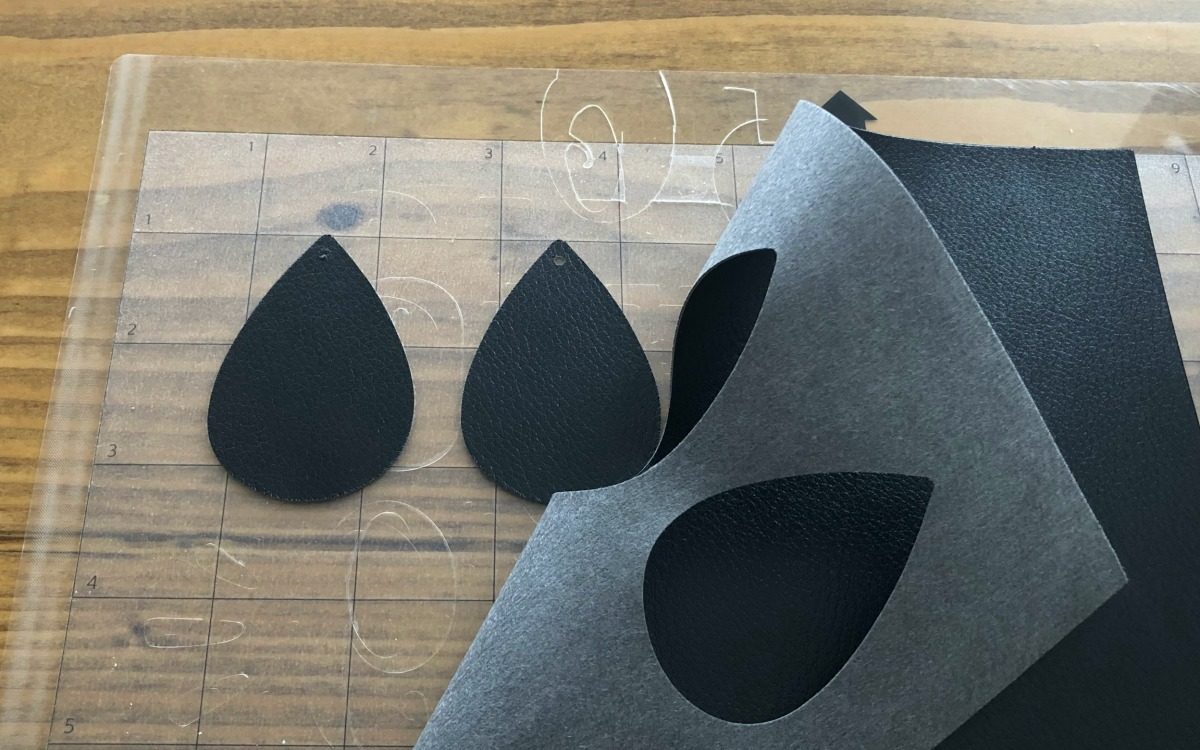
4. When your machine is finished cutting, unload your cutting mat. Peel away the excess material. The leatherette doesn’t take any effort to weed. You just pull it up and then peel your teardrop shapes off of the cutting mat. This was so fun and satisfying to do!
Step Two: Making the Second Layer
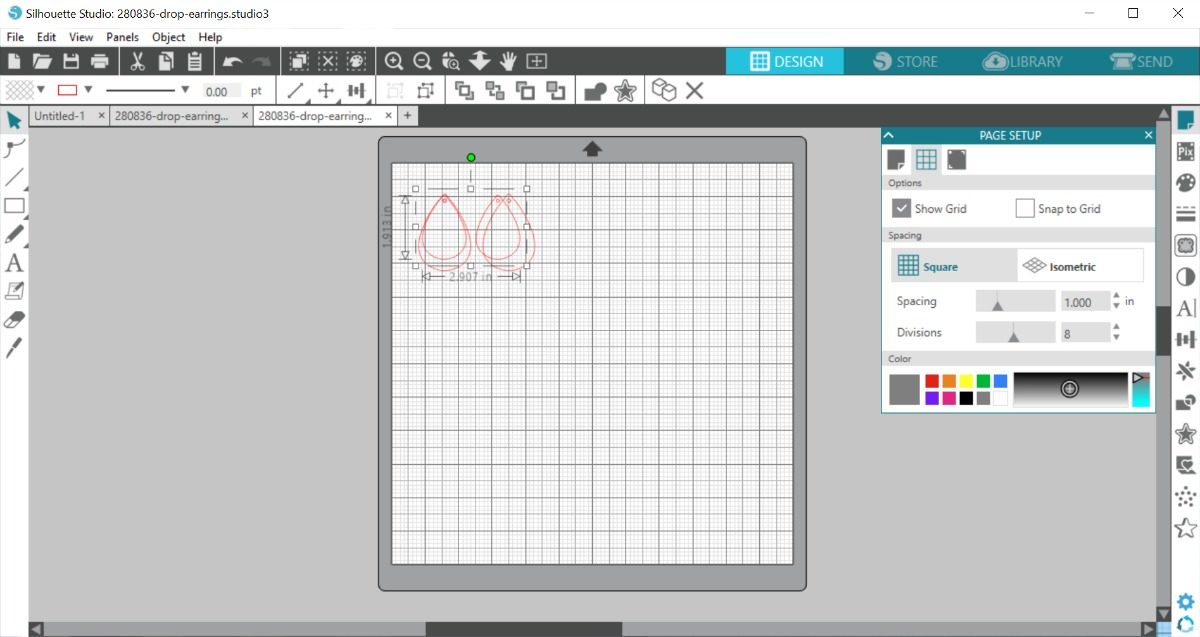
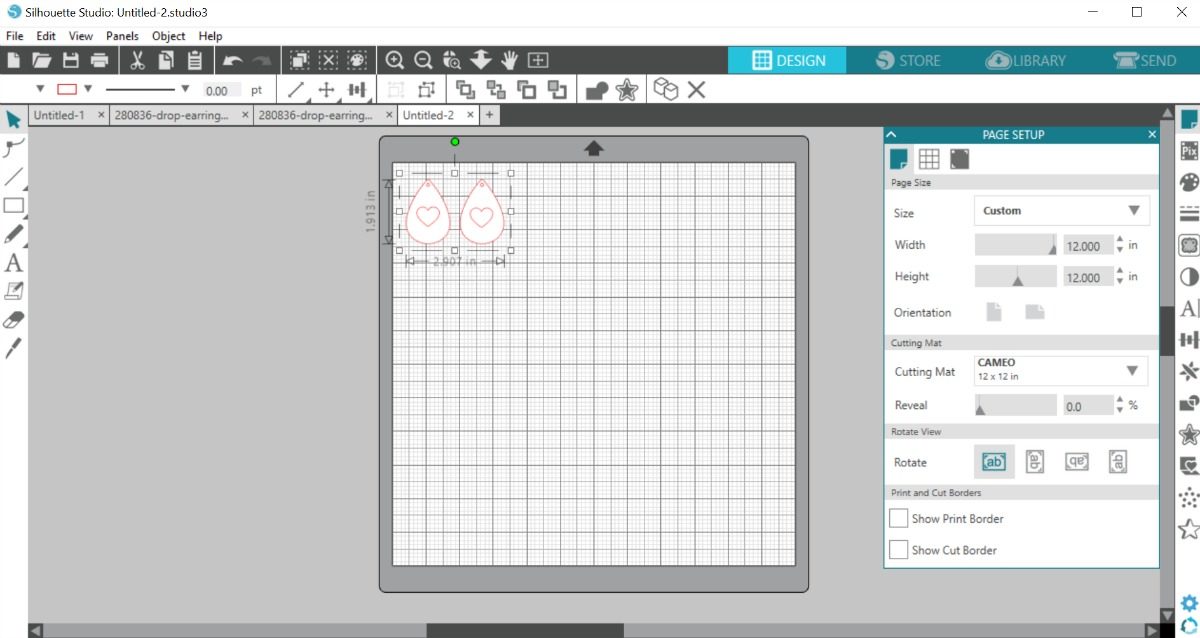
1. Start with the same teardrop earring design (Design ID #280836). We need to make this layer smaller than the first. To do this, I just copied the design, dragged it on top of the first layer, and made it smaller until I was happy with the size. Mine was 1.913 inches by 2.907 inches.
2. Delete the larger design from the back so that you are just left with the smaller teardrop shape. Now, it’s time to add the heart shape to the center. Open Design ID #43104 and copy it. Paste it into the your earring design, resize it, and move it into the center. When you are happy with how it looks, copy the heart and paste it into the other teardrop shape.
3. Place the gold leatherette material on your cutting mat and load the cutting mat into your machine.
4. Go to the Send tab in Silhouette Studio® and select “Leatherette” as your material in the cut settings. Remember to adjust your blade depth is you aren’t using an AutoBlade. When you are ready click SEND to send the design to your Silhouette machine.
5. When your machine is finished cutting, unload your cutting mat. Peel away the excess material.
Step Three: Assembling the Earrings
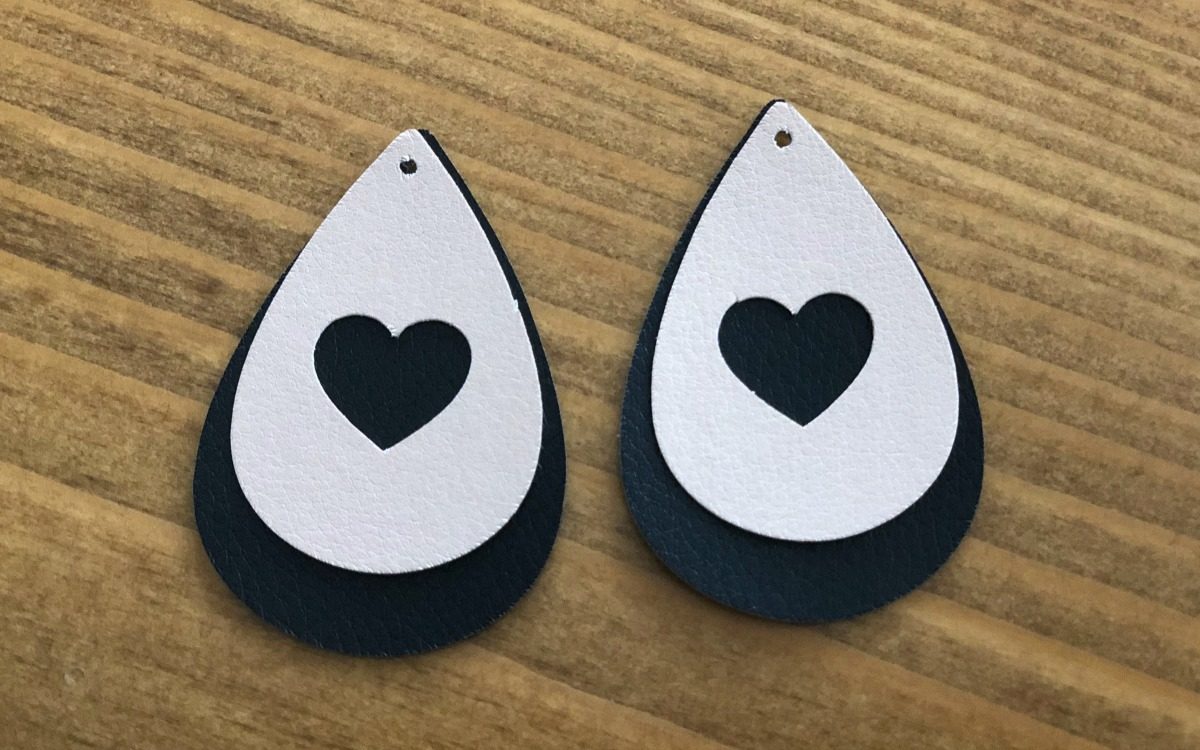
1. Place the gold layer on top of the black layer. The holes at the top of the shape should patch up perfectly.
2. Thread the wire of your earring fish hooks through the holes. Use needle-nose pliers to tighten and secure the hooks.
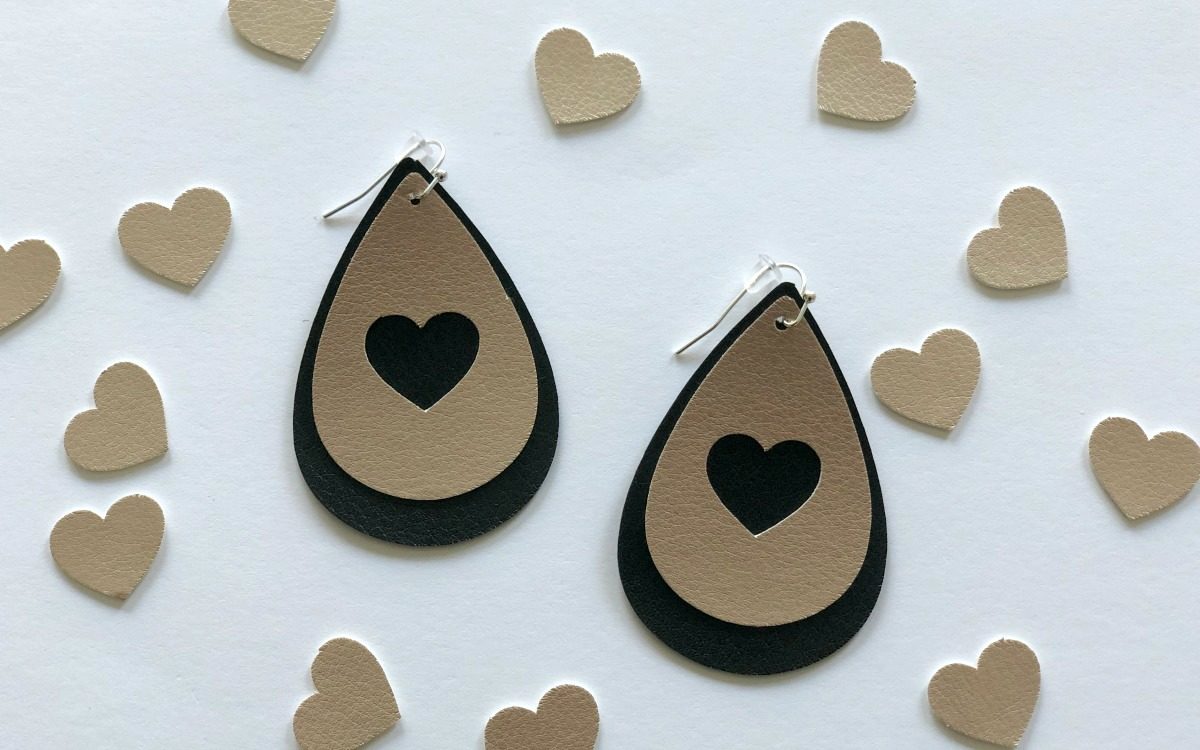
I wore these earrings out the night I made them, and I got so many compliments that I went home and made several more pairs to give as Valentine’s Day gifts. I can’t wait to try different combinations and designs!
Nasze Naturalne
September 3, 2025
Your authentic voice really shines through in everything you create and share
Naszenaturalne
September 2, 2025
Really love your style
Kelly Wayment
June 28, 2024
You can use it with vinyl as long as it is smooth and flat to allow the static charge to hold on to it. Rolled vinyl that wants to go back to its rolled shape will not necessarily work well, and it would need to be trimmed to fit the ES mat cutting area.
Kelly Wayment
June 28, 2024
Yes, you can use the heat pen while using the ES mat. 🙂
Yurii
March 2, 2024
Hello. May it be used with heat pen?
Thanks
Jerome
February 24, 2024
Hi, works this with the normal vinyl foils or only with printer papter etc?