New in Silhouette 3D v 1.2 is the ability to create lithophanes.
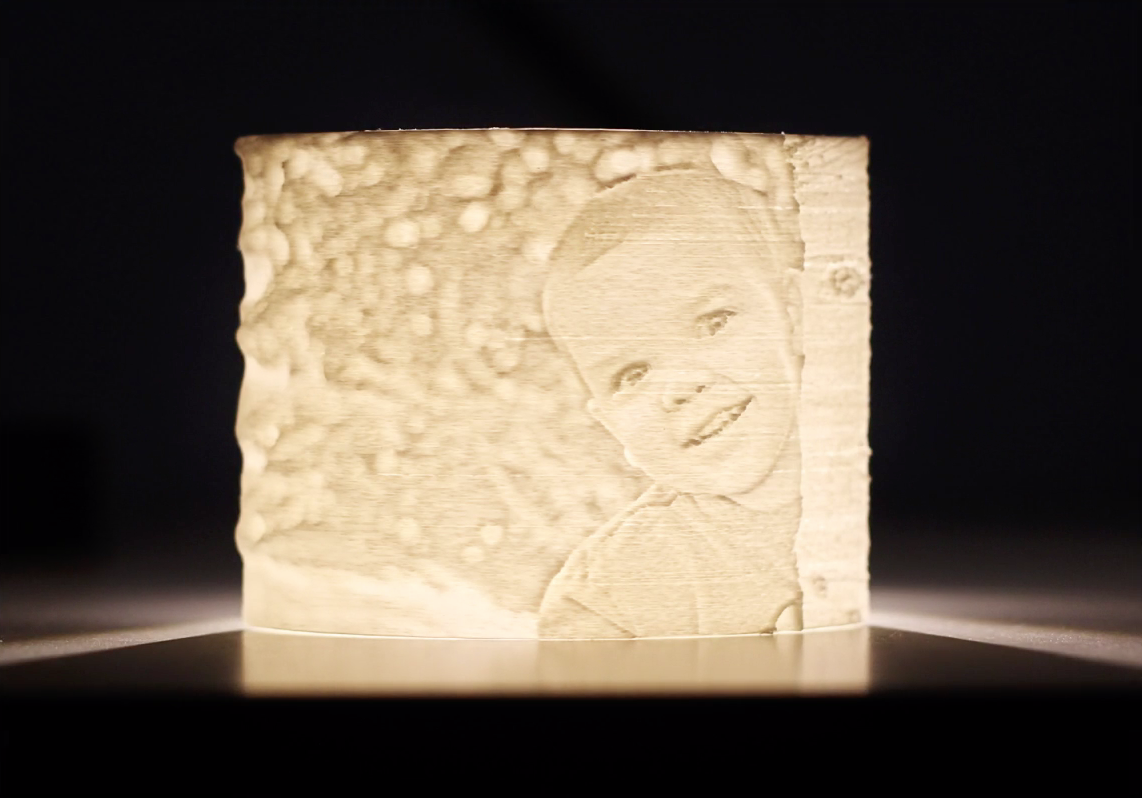
A lithophane is a 3D printed model from a 2-dimensional image. The image appears clearly when backlit.
Silhouette 3D makes this process very simple, and it’s available to all users beginning in v 1.2.
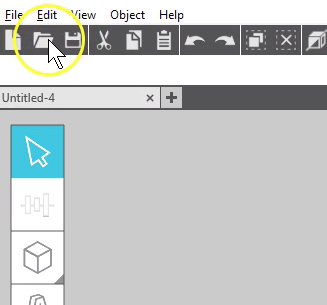
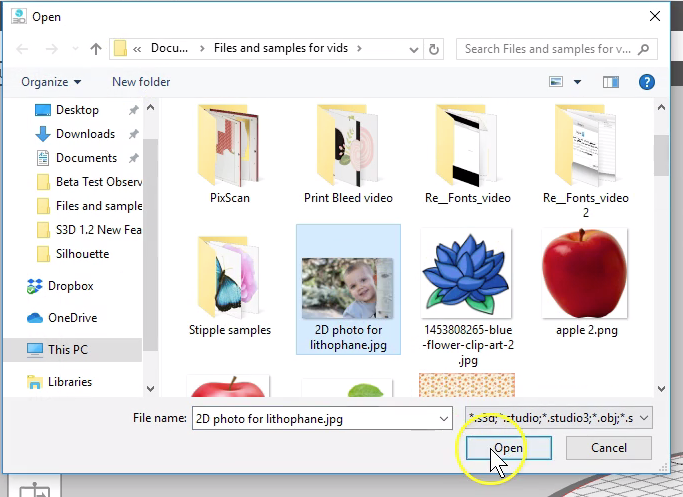
Simply click the open icon and navigate to a photograph saved on your computer.
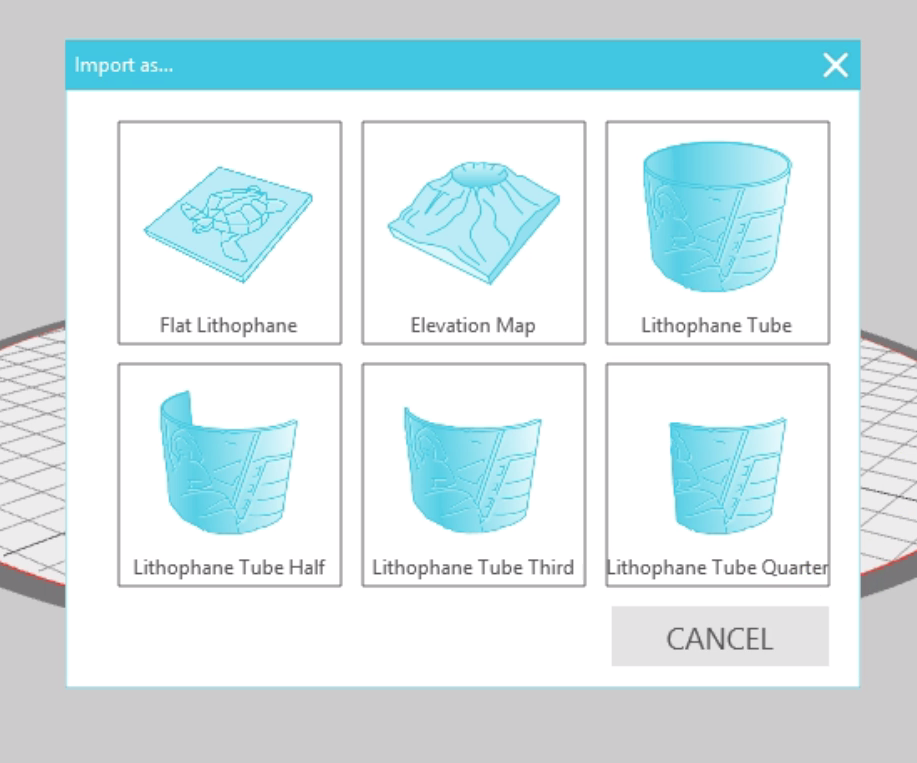
If it’s an image file type, such as a JPG or PNG, the software automatically prompts you to choose the style of lithophane you want to create.
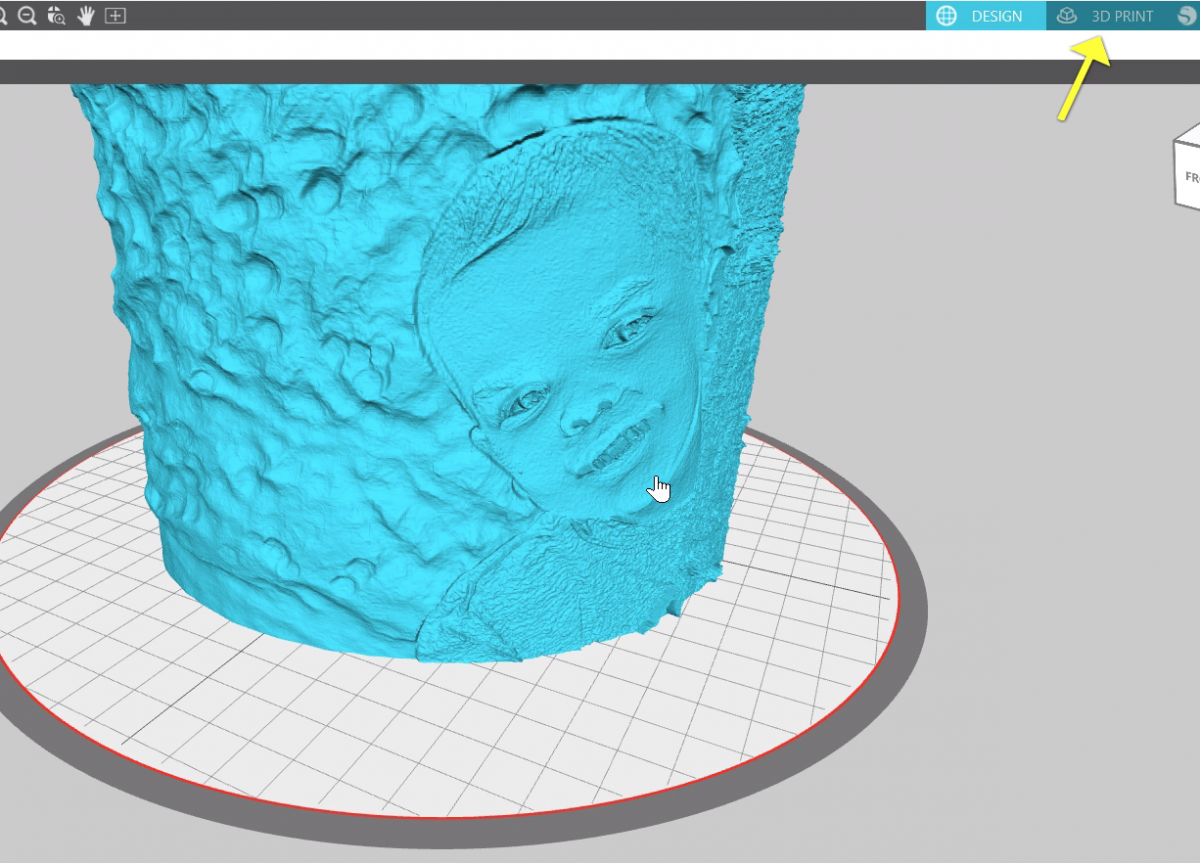
That can be flat, an elevation map, a tube, or three different curved options.
I’ll choose the one-third curve for this example.
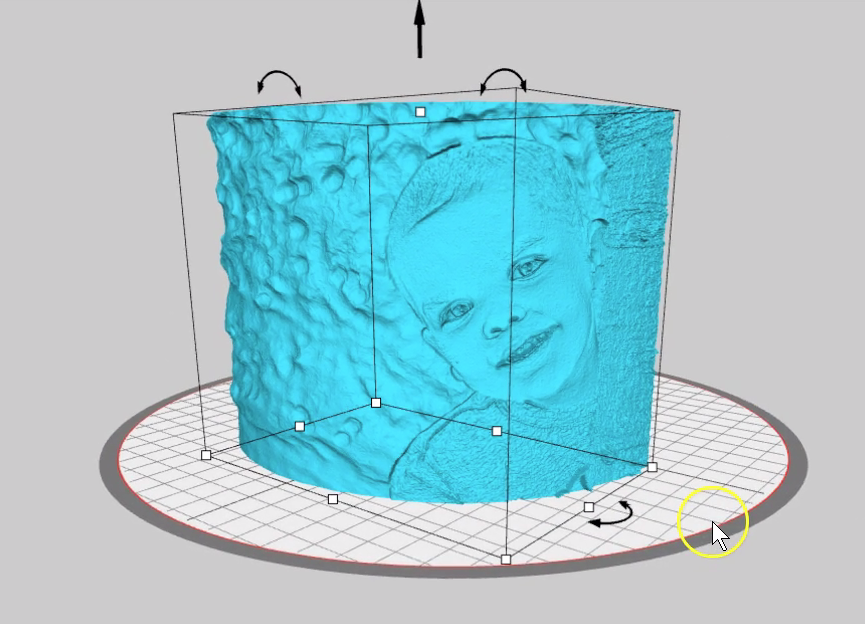
As you drag the perspective cube around (or use your right mouse key), you can see the model may look a little odd.
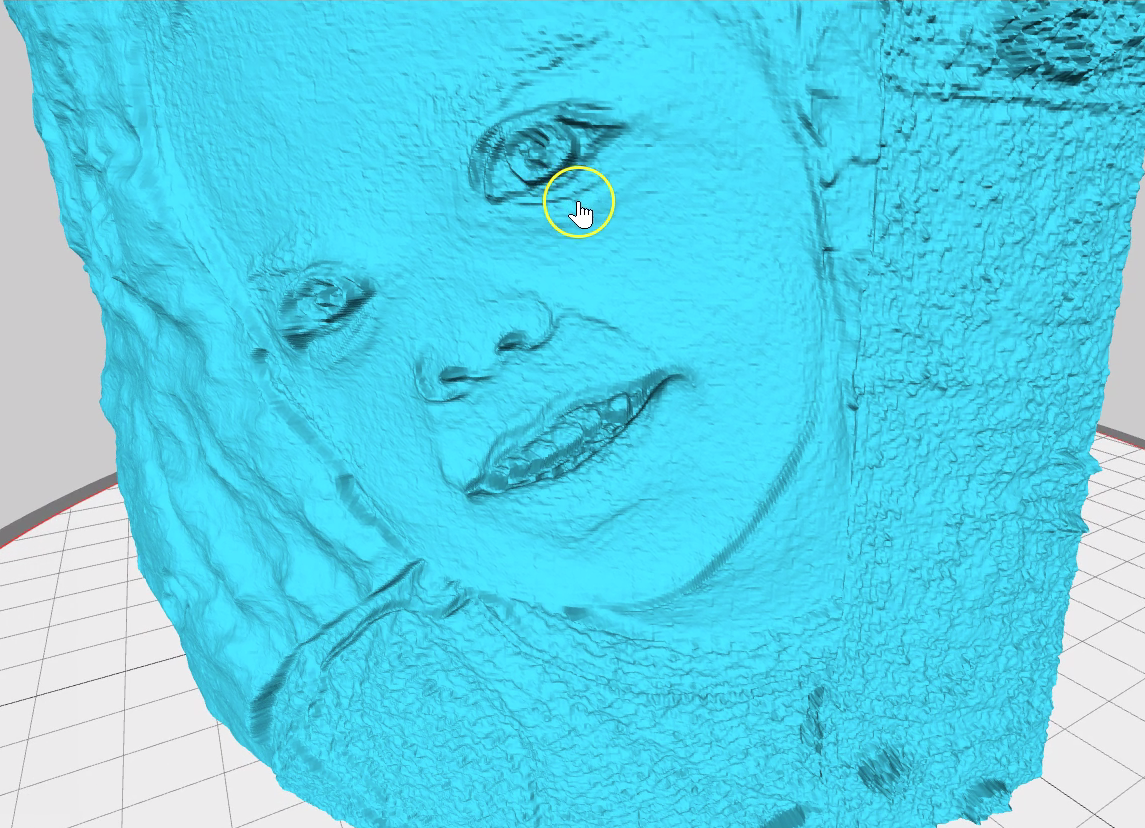
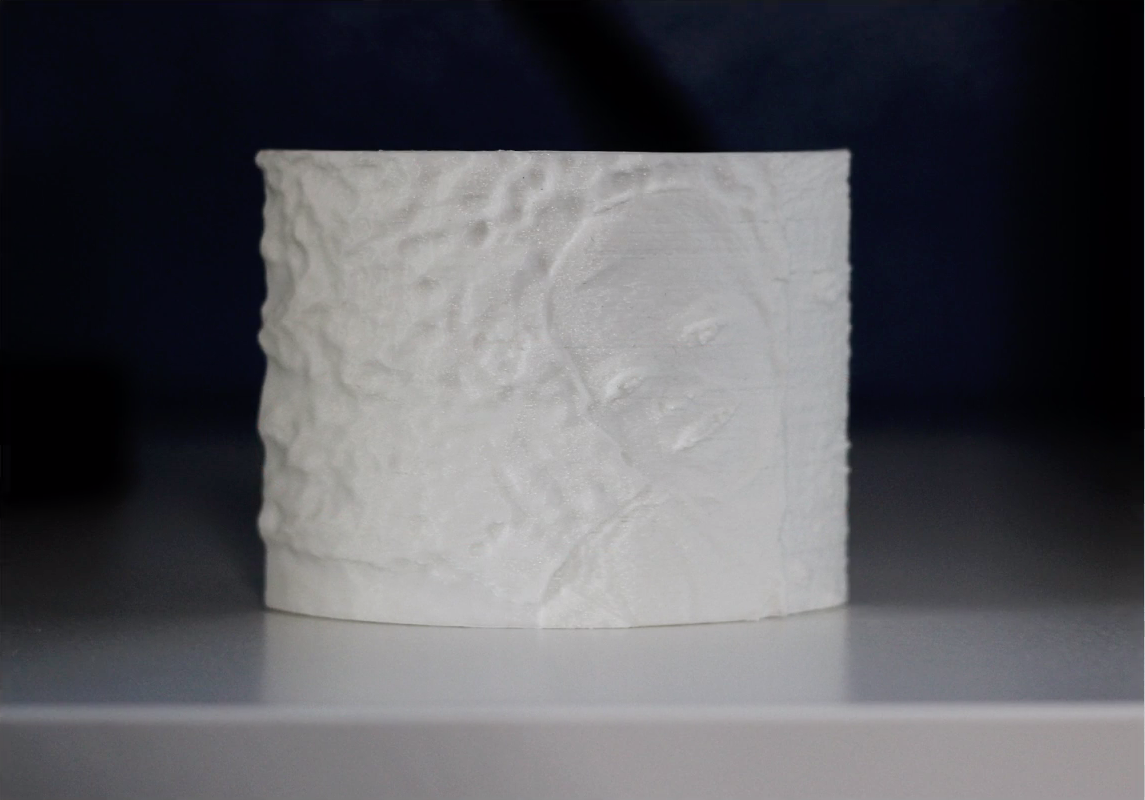
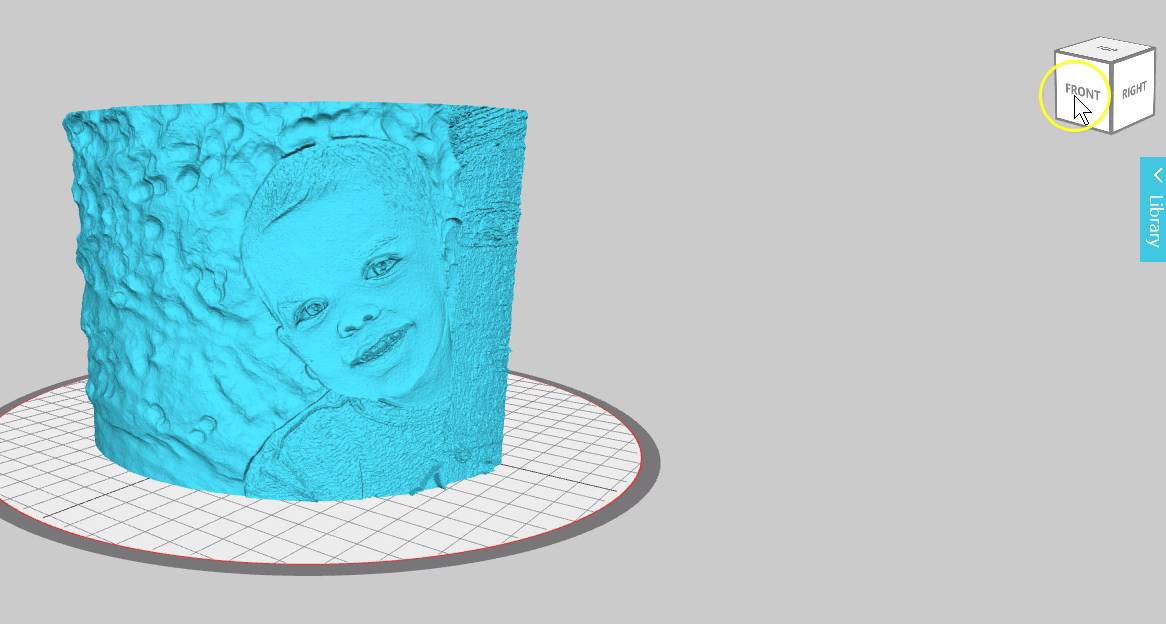
Zoom in, and you can see the model is going to print thick and thin areas to represent the contrast in the photo. The thick areas will show as dark spots, and the thin areas will be lighter when backlit.
Lithophanes are best printed with white filament to let the most light through, but you can experiment with other colors.

The 3D Print tab in v 1.2 has a Lithophane print profile that’s all ready to print your lithophane, and it can be further adjusted as necessary in the advanced print settings.
The magic really happens once your lithophane is printed and you light it from behind with a lamp or sunshine or another light source.
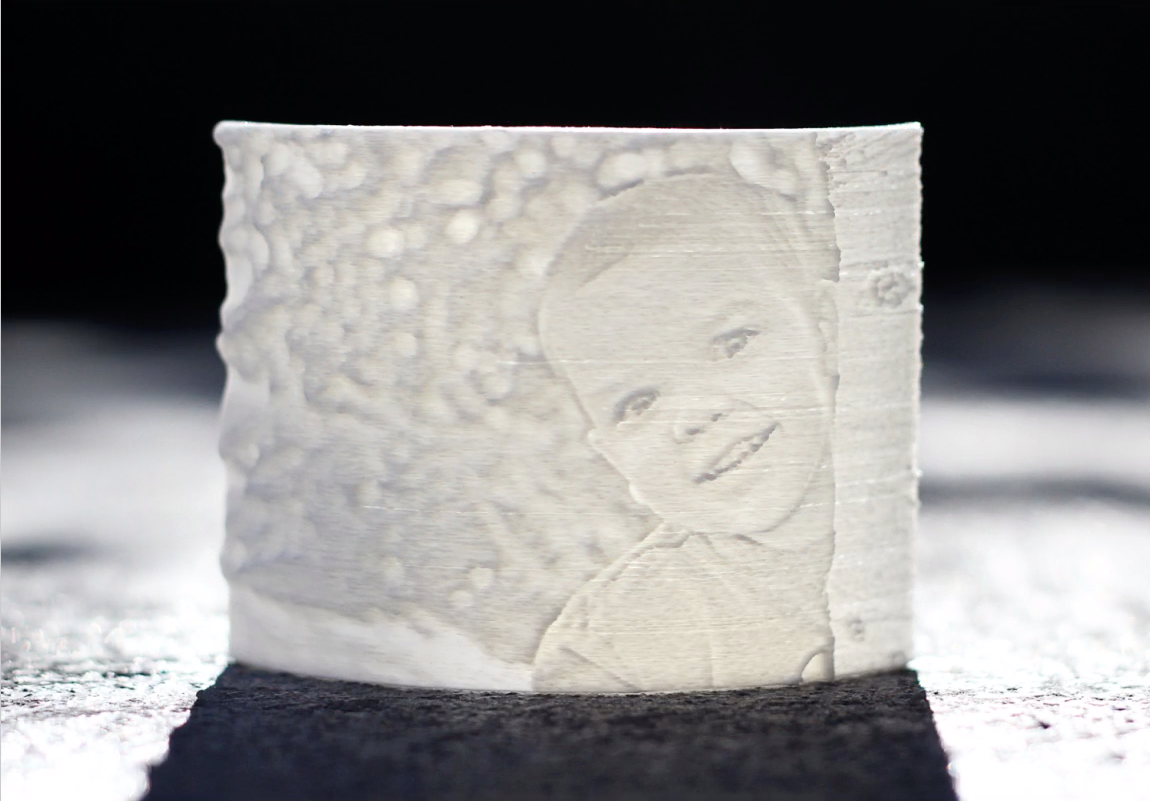
Lithophanes are a fun new way to make impressive customized projects with your Silhouette Alta in Silhouette 3D v 1.2.