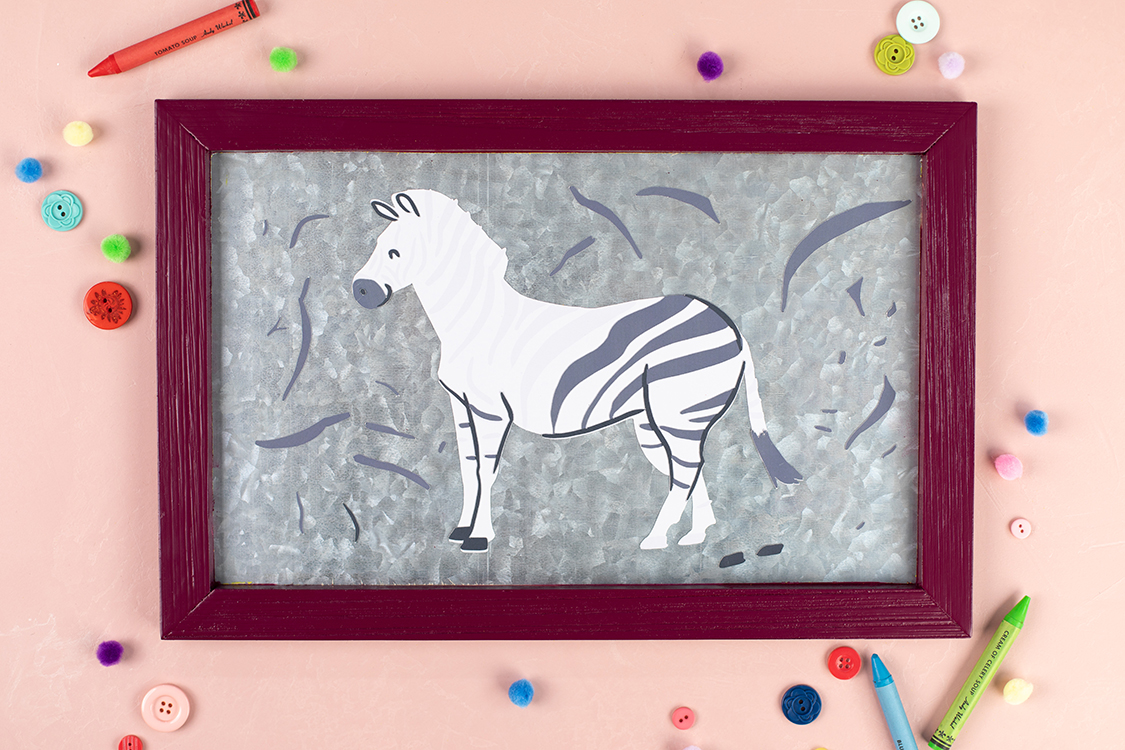
Have you tried our printable magnetic sheets? Today we are making a zebra magnetic puzzle. We will be talking about layering, changing colors of a design, the print and cut feature and cutting magnetic sheets to make a fun custom puzzle!
Supplies Needed:
- Silhouette CAMEO® or Silhouette Portrait®
- Silhouette Studio®
- Silhouette Cutting Mat
- Silhouette Cutting Blade
- Silhouette Magnetic Paper – Printable
- Printer
- Magnetic Board
- Design ID #293396
Step One: Prepare Design
1. Open the zebra design (ID #293396) in Silhouette Studio®.
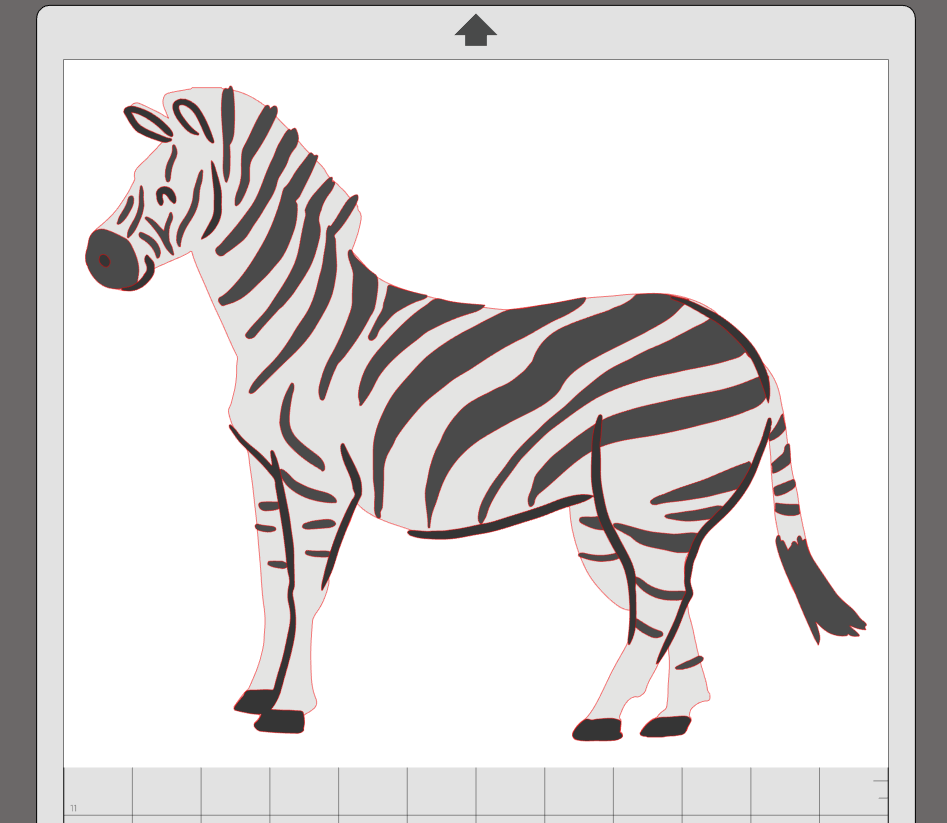
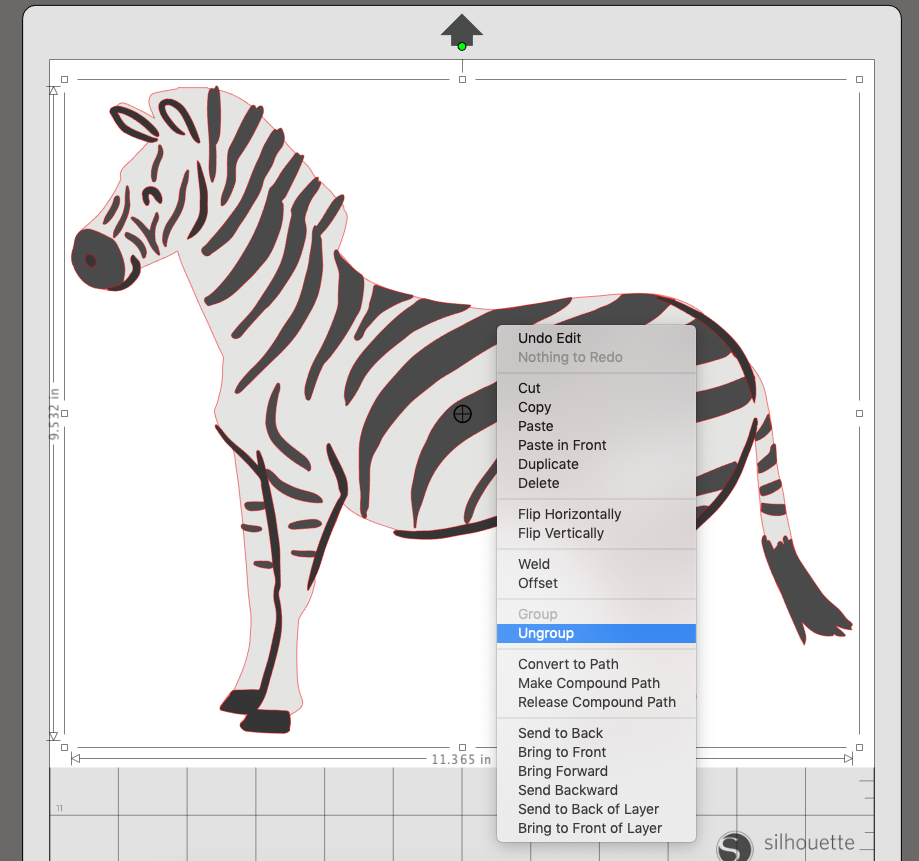
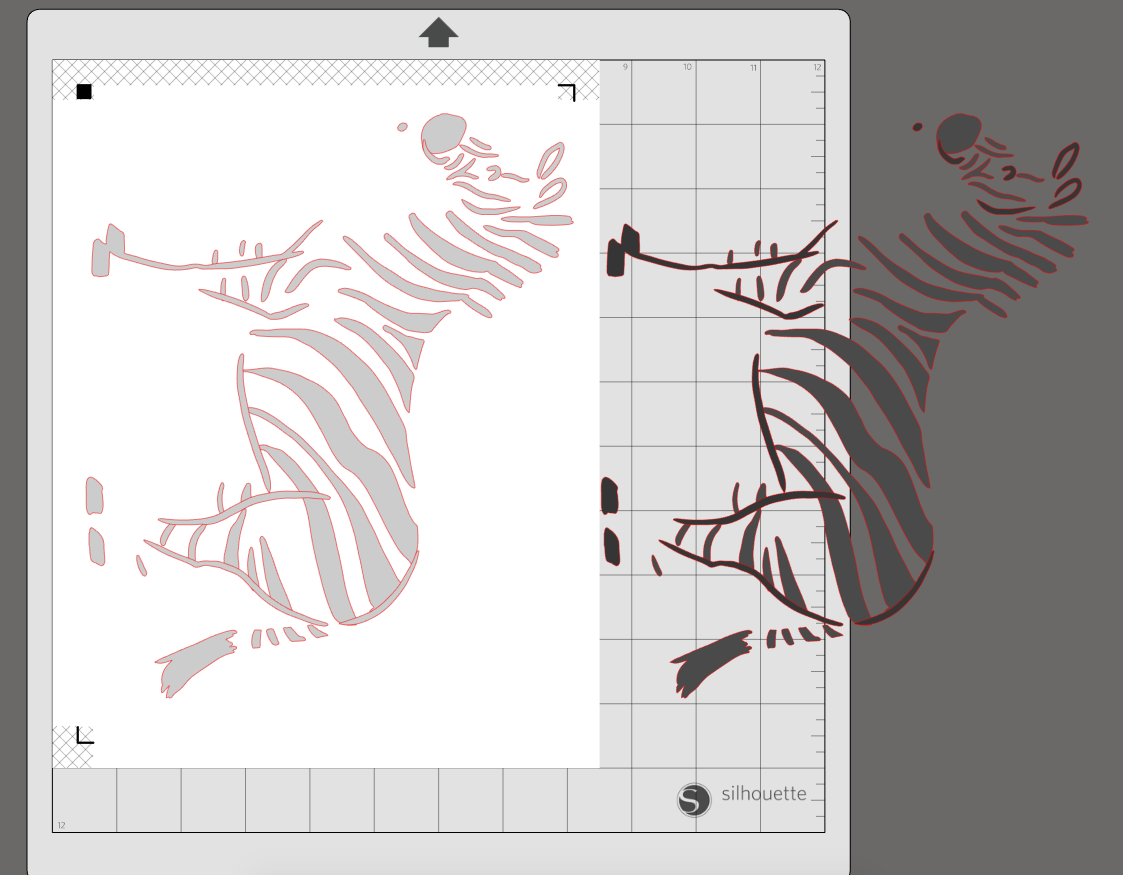
2. Ungroup the design and remove the zebra body outline.
3. Rotate the body 90 degrees and change the page style to Printer – 8.5″x11″ in the Page Setup menu. And turn on the registration marks.
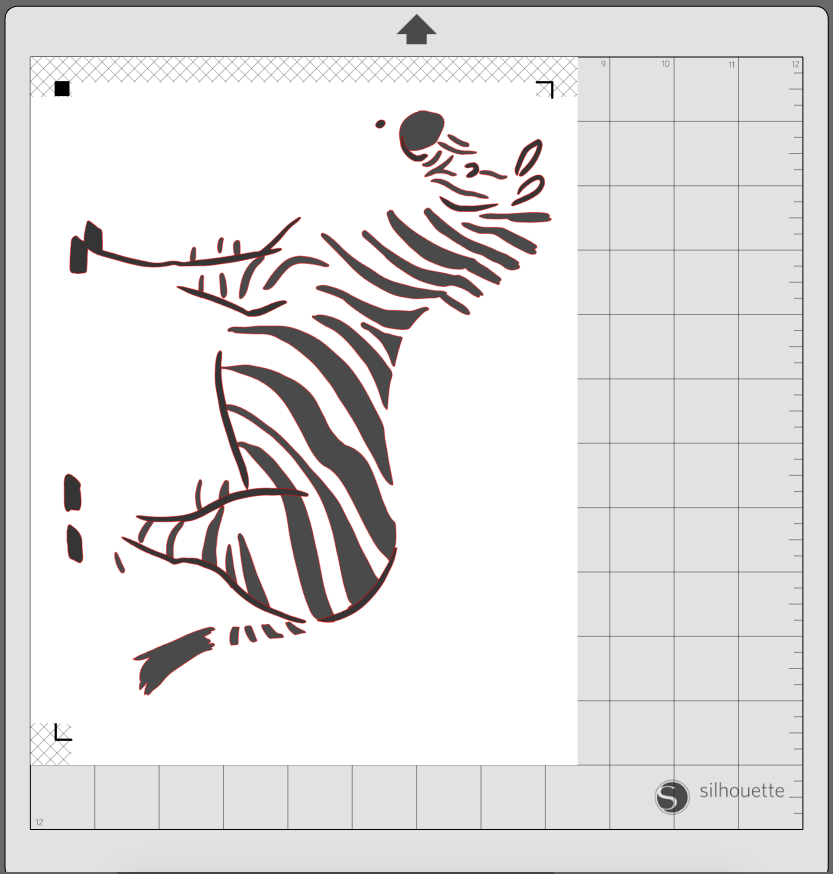
4. With just the stripes in the cut window select all and group the design by using Command-G or right click and choosing Group from the drop-down menu.
5. Print this image. Make sure that the design is centered on the page and and all the parts are within the cut field.
6. Duplicate the striped portion of the zebra and move one out of the cut window.
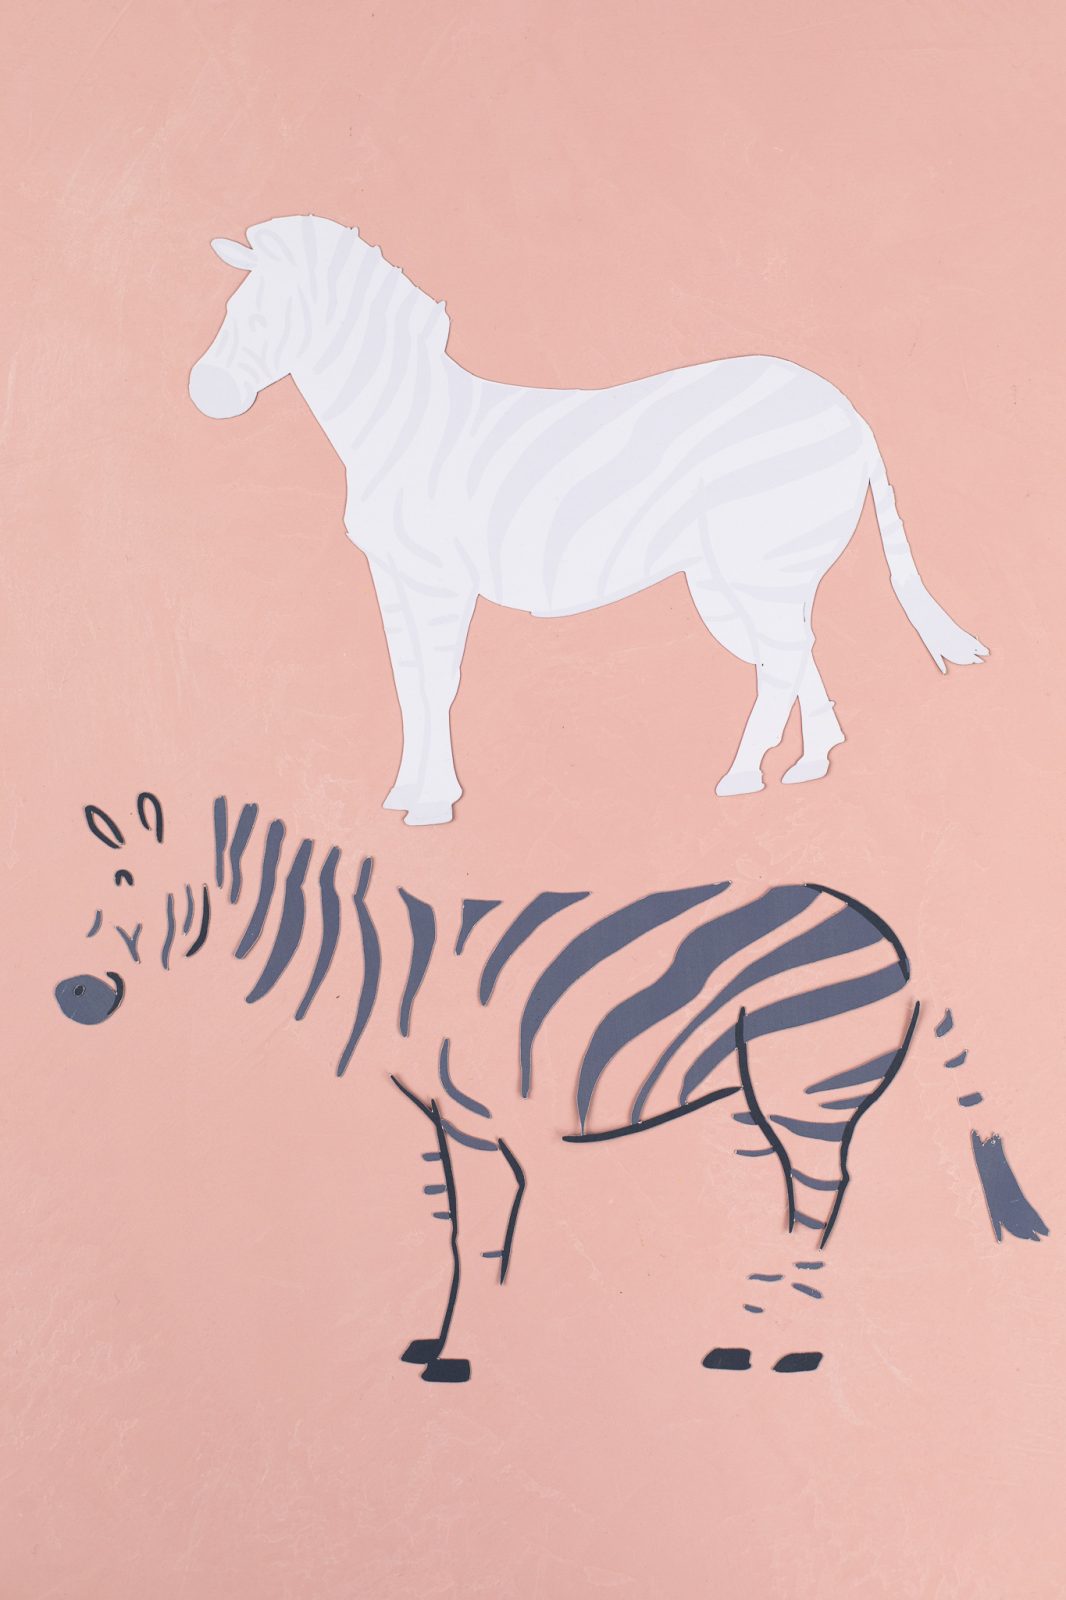
7. Select the zebra stripes and open the Fill Panel from the right hand menu and select a light grey (or any color of your choosing).
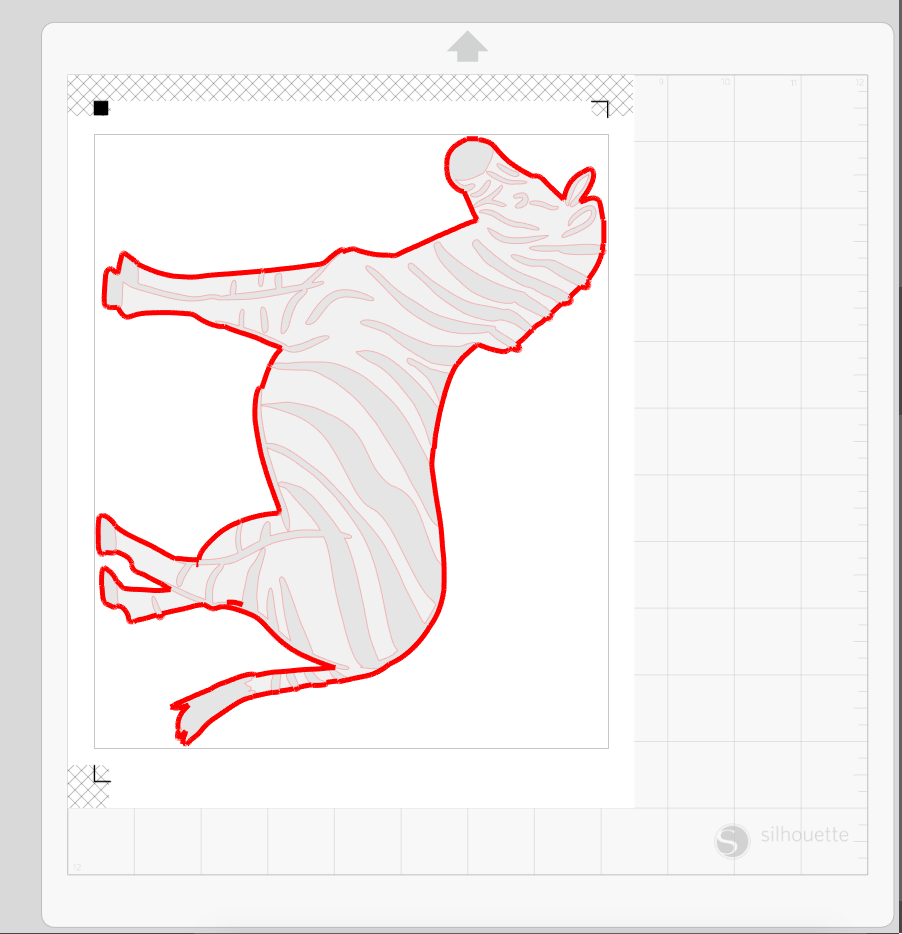
8. Bring the body of the zebra back in to the registration marks and line up with the light grey stripes.
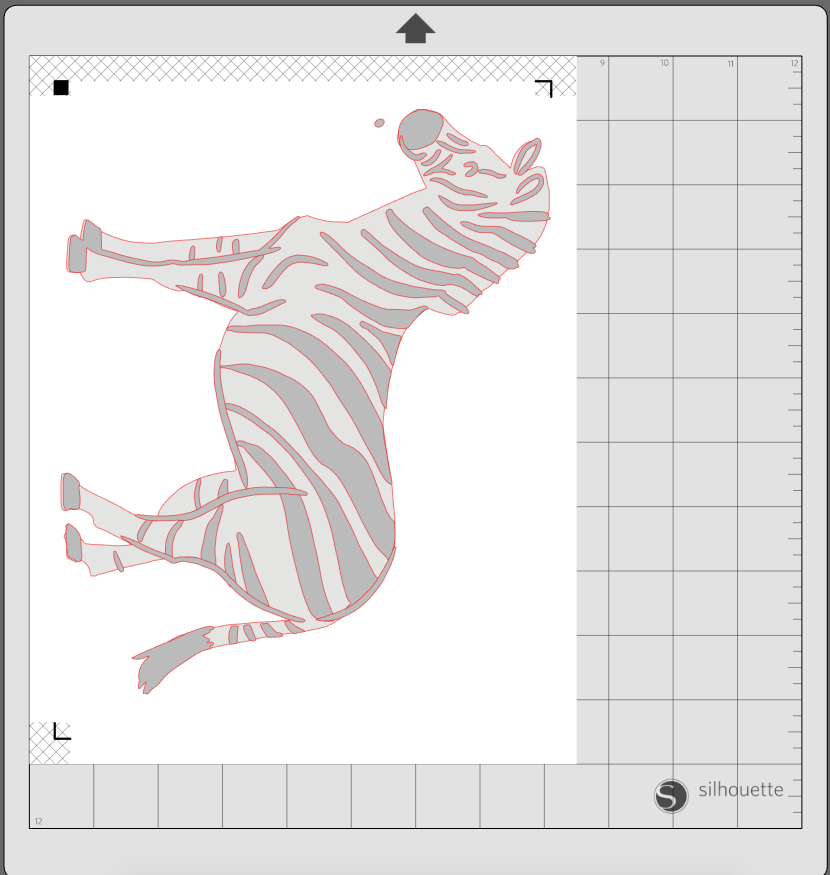
9. Select Send and adjust the cut settings to just cut the outline.
10. Then print the light grey zebra. For both of these print pages we selected the print bleed feature under the Page Setup menu.
Step Two: Print & Cut Design
1. With the print bleed the colors will come out bolder. When they are cut you don’t have any white edges.
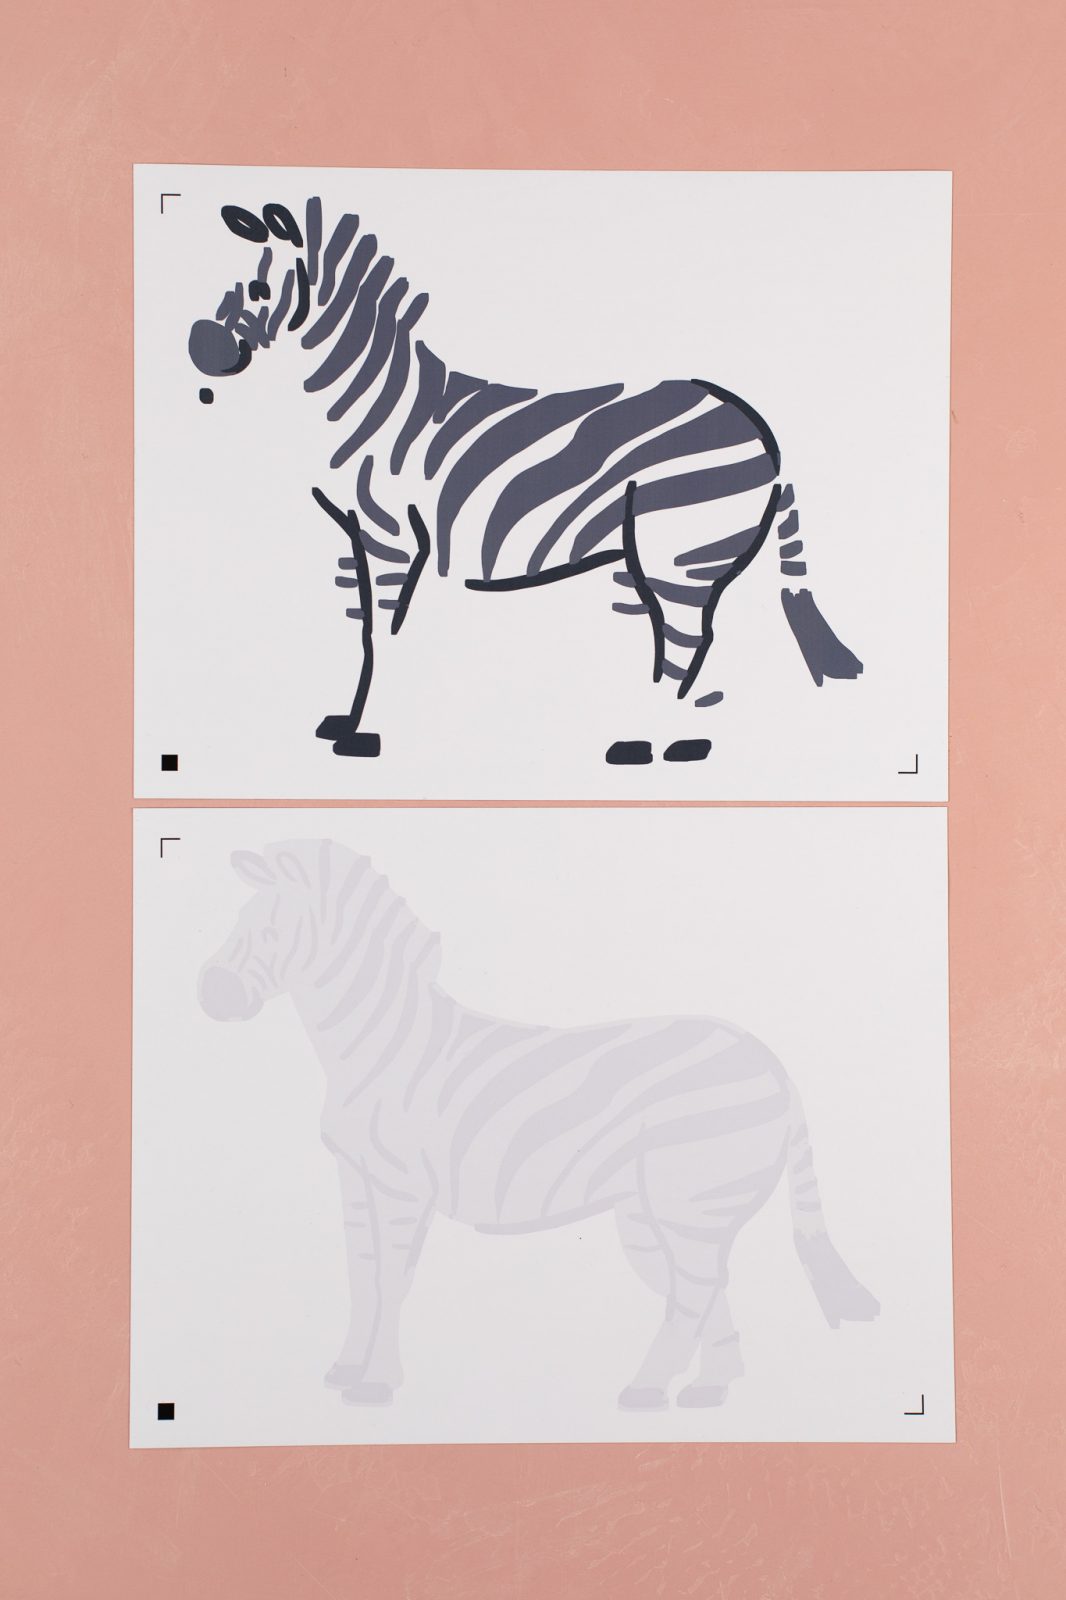
2. Send to machine using the Magnetic Paper settings.
Step Three: Assemble Puzzle
1. Now that you have all your pieces cut, you can start puzzling away! This is a perfect quiet-time activity to keep hands busy!