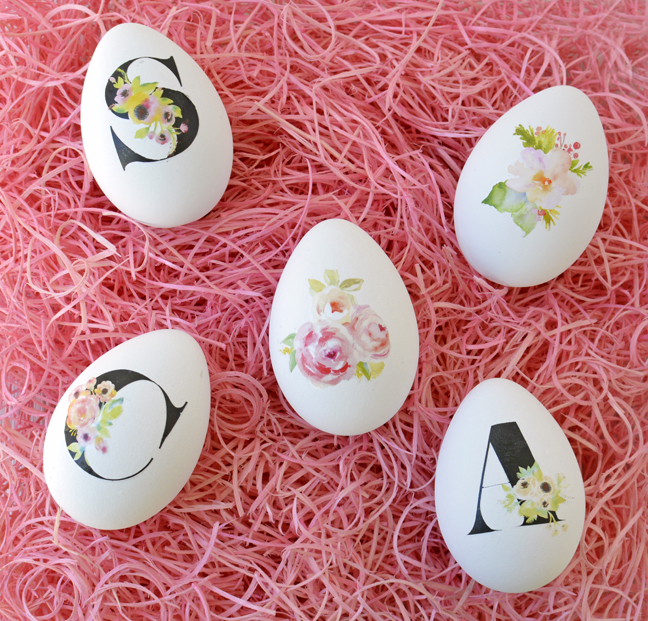
Lately, it seems like I can’t escape beautiful pictures of Easter eggs that have been hand-painted with watercolors in intricate floral patterns. What’s a girl with limited watercolor skill to do when she wants to fill her baskets with these tiny ovum artworks? Grab a pack of Silhouette Temporary Tattoo Paper and a handful of Print & Cut designs from the Design Store, and I’ll show you!
Supplies Needed:
- Silhouette CAMEO®
- Silhouette Temporary Tattoo Paper
- Scraper Tool
- Eggs – real or plastic
- Printer
Designs Needed:
- Watercolor Rose Bouquet (Design #174193)
- Cute Watercolor Flower Heart (Design #178036)
- Watercolor Flower Bunch (Design #181165)
- Floral Monogram C (Design #151883)
- Floral Monogram A (Design #151877)
- Floral Monogram S (Design #152323)
STEP ONE: PRINT YOUR DESIGNS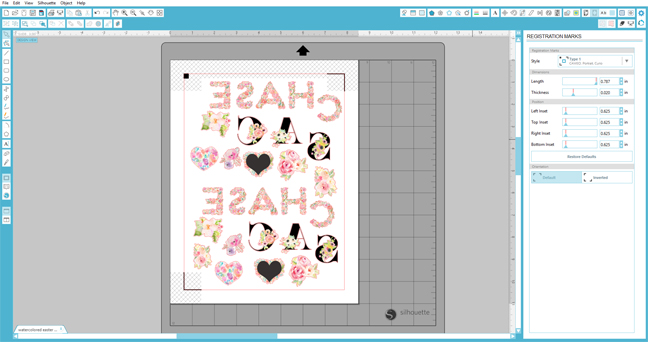
There are tons of gorgeous watercolor images to choose from in the Silhouette Design Store that are already set up for easy Print & Cut projects. I decided on a mix of pretty floral arrangements as well as several floral monogram designs. The monogram designs are perfect for both initials and spelling out a friend’s name.
Once you’ve selected your Print & Cut designs:
- Resize the images to about one inch in width. (Images much larger than this may be difficult to press evenly onto a normal-sized egg.)
- Mirror all images using either the “Mirror Left” or “Mirror Right” commands in the Replicate Window.
- Turn registration marks “ON” in the Registration Marks Window.
- Insert tattoo paper into your printer glossy side up and click the “Send to Printer” icon.
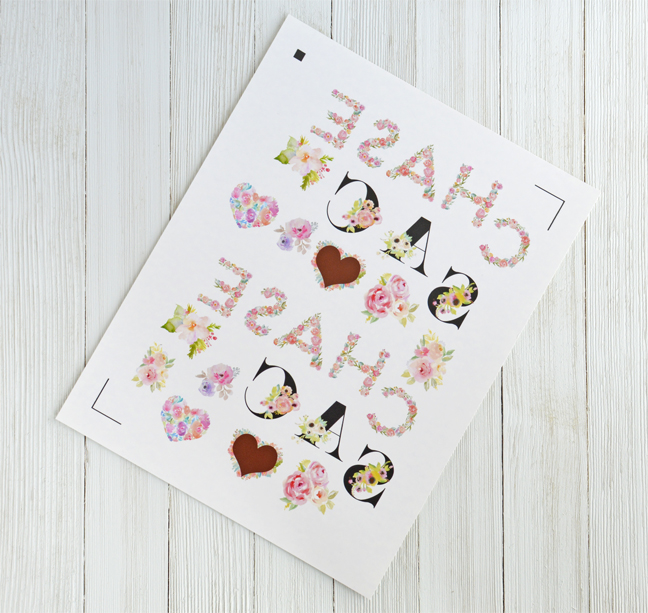
When printing is complete, ensure the registration marks have all printed fully and allow the ink todry.
STEP TWO: APPLY ADHESIVE SHEET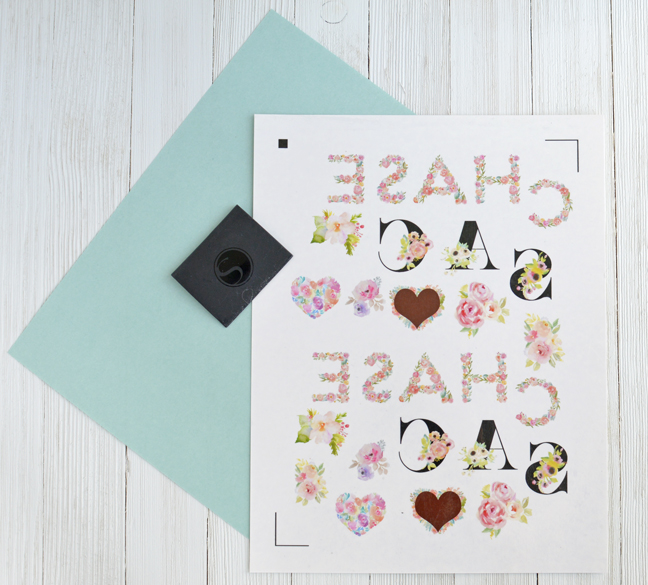
Now you’ll need to apply the adhesive sheet to the tattoo paper. To do this:
- Remove the thin green backing strip from the edge of the adhesive sheet.
- Align the edge of the adhesive sheet with the edge of the printed side of the tattoo paper and press it into place.
- Slowly remove the rest of the green backing as you smooth the adhesive sheet over the tattoo paper using the scraper tool.
STEP THREE: CUT YOUR TATTOO DECALS
Once you’ve applied the adhesive sheet to the tattoo paper, you’ll need to cut the individual tattoos out.
- Place the tattoo paper on your cutting mat and load it into your Silhouette CAMEO®.
- Open the Cut Settings Window and click on “Temporary Tattoo Material” under Material Type.
- Click “Send to Silhouette”. (If your machine has difficulty reading the registration marks, this tutorial has several good tips to help you out.)
- Carefully remove the cut tattoos from the cutting mat using the spatula tool.
STEP FOUR: APPLY YOUR TATTOO DECALS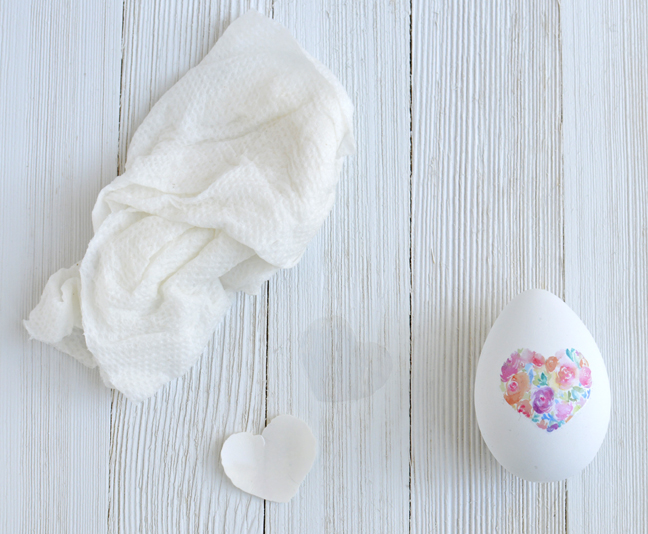
The temporary tattoo material will adhere to real eggs, but I chose to use plastic eggs from my local craft store so that I could enjoy them year after year (or at least as long as the watercolor trend lasts 😁). To apply a tattoo:
- Peel off the clear backing on the tattoo to expose the adhesive.
- Press the adhesive side onto the egg. Because the object is round, it helps to start in the center of the image and press outward from there.
- Apply a damp cloth on top for several seconds. When the paper backing begins to slide off of the tattoo, you know you’re done.

Thanks to the Print & Cut feature, you can achieve perfect cut-outs from temporary tattoo paper with your Silhouette CAMEO® and everyone will be dying to know how you hand-painted those beautiful Easter eggs!
What will you be “painting” on your eggs this year?
Connie Wilson
April 1, 2017
These are awesome Annie! I looooove them. I am impressed that they work on plastic eggs too! Even better 🙂
Annie Williams
April 2, 2017
Thank you so much Connie!
Kathy
April 2, 2017
These are beautiful! would have never thought of this. Pretty Easy for something so pretty.
I would love to know where you bought plastic white eggs that you used.
Thank you for the wonderful idea.
Kathy U:)
Annie Williams
April 2, 2017
Thank you Kathy! I’ve found the “plastic crafting eggs” in the kids crafts or Easter section of both Michaels and Walmart.
Lauren
June 6, 2017
Have you ever used these on other materials? I am hoping to find some stones that are smooth and can be used as paperweights.