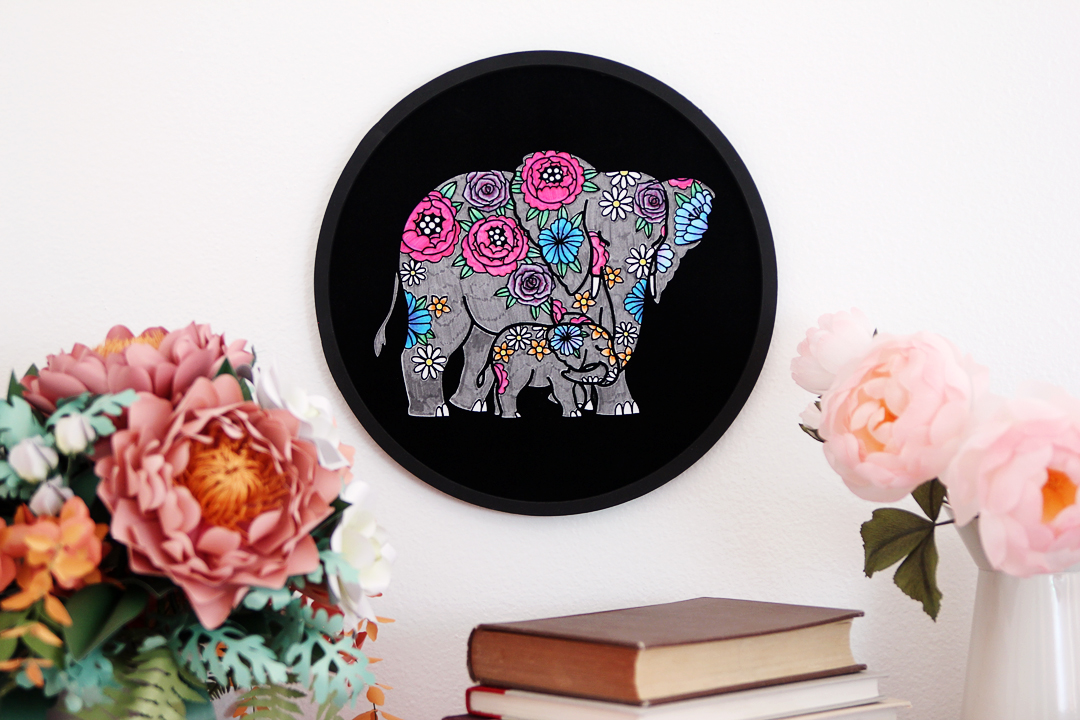
Do you remember those fuzzy coloring posters you had as a kid? In this tutorial, I’ll show you how to create your own from flocked heat transfer material! This is even better than the original posters because the fuzz does not come loose to cover your markers, and you can choose your own design!
Supplies:
- Black flocked HTV (12 in. x 12 in. piece)
- White 12 in. x 12 in. heavy cardstock or smooth watercolor paper
- Markers
- 12 in. wreath ring
- Sharp blade
- Sticky 12 in. mat
- Weeding tool
- Iron or heat press
- Silhouette Cameo®
- Silhouette Studio® software
- Design ID #320823 by La La Shiba
Step One: Create Design
In Silhouette Studio, set your Page Setup Panel as follows:
- Machine = Cameo
- Feed Type (if it shows) = Manual
- Cutting Mat = Cameo (12 x 12 in.)
- Media Size = 12 x 12 in.
Draw a circle that’s exactly 11.85 in. (Hold your Shift key while drawing.)
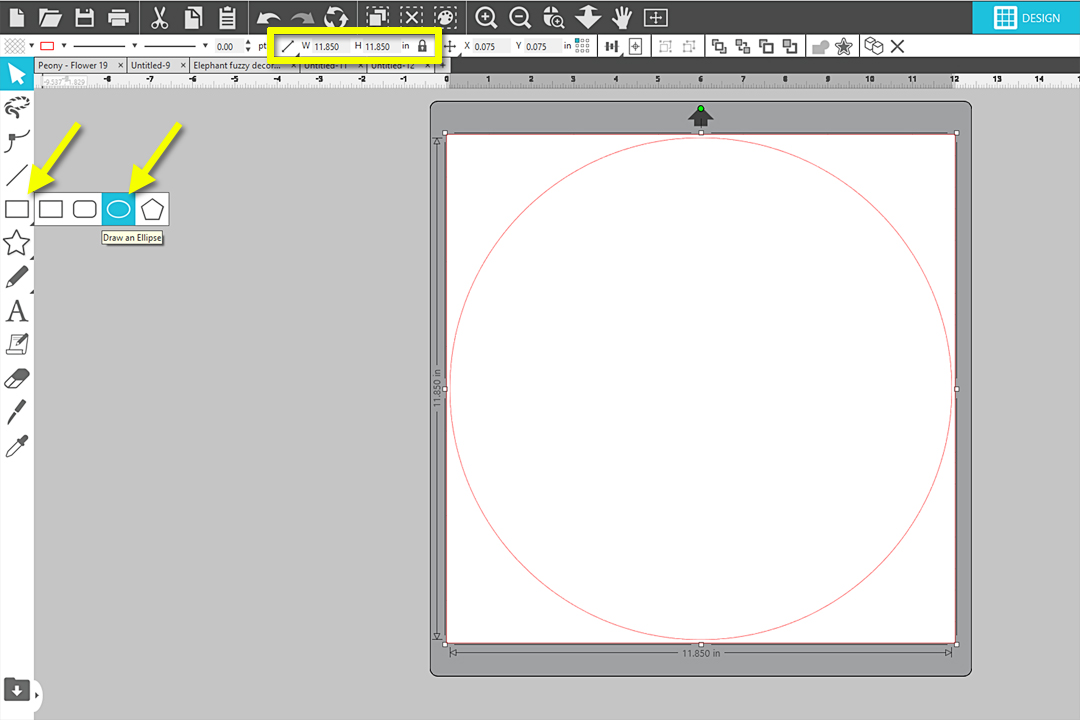
Make a copy of the circle and drag it off the virtual cutting mat.
Resize the circle on your virtual mat to 11.7 in., and center it on the page.

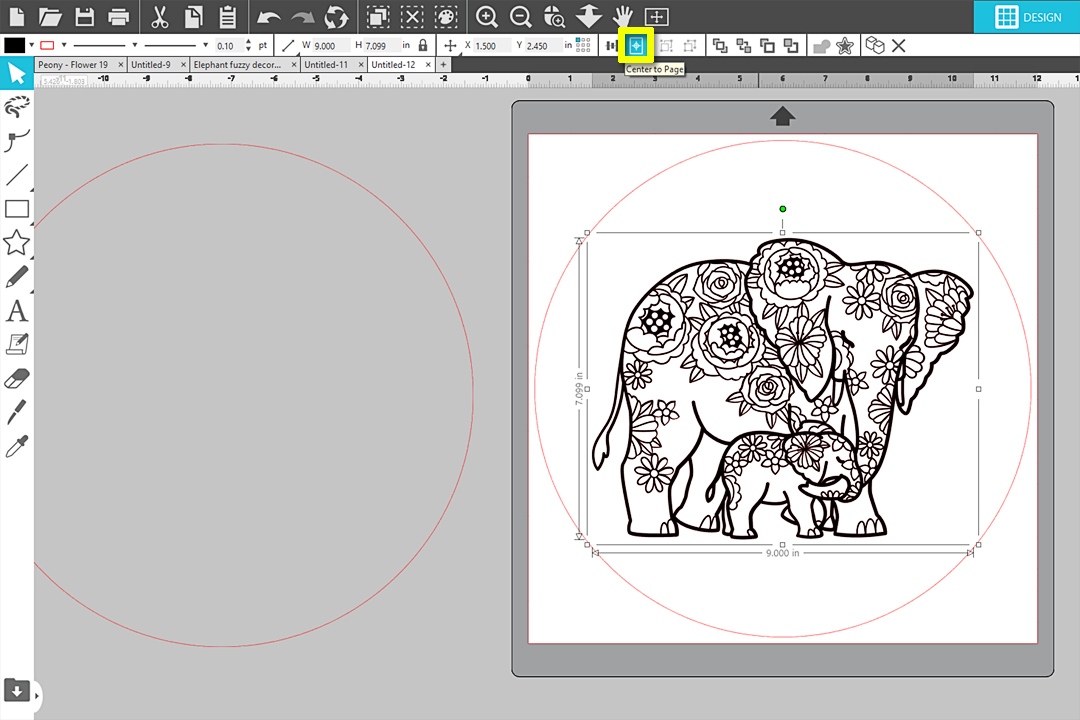
In your Library tab, open the mother elephant mandala design.
Resize this design larger, to about 9 in. wide.
Center the elephants within the circle on the virtual cutting mat.
Select the elephant, and release the compound path. (Right click + Release Compound Path) This will turn it all black as the layers separate.

Click to the side to deselect, then carefully drag away just the large background shape of the elephant.
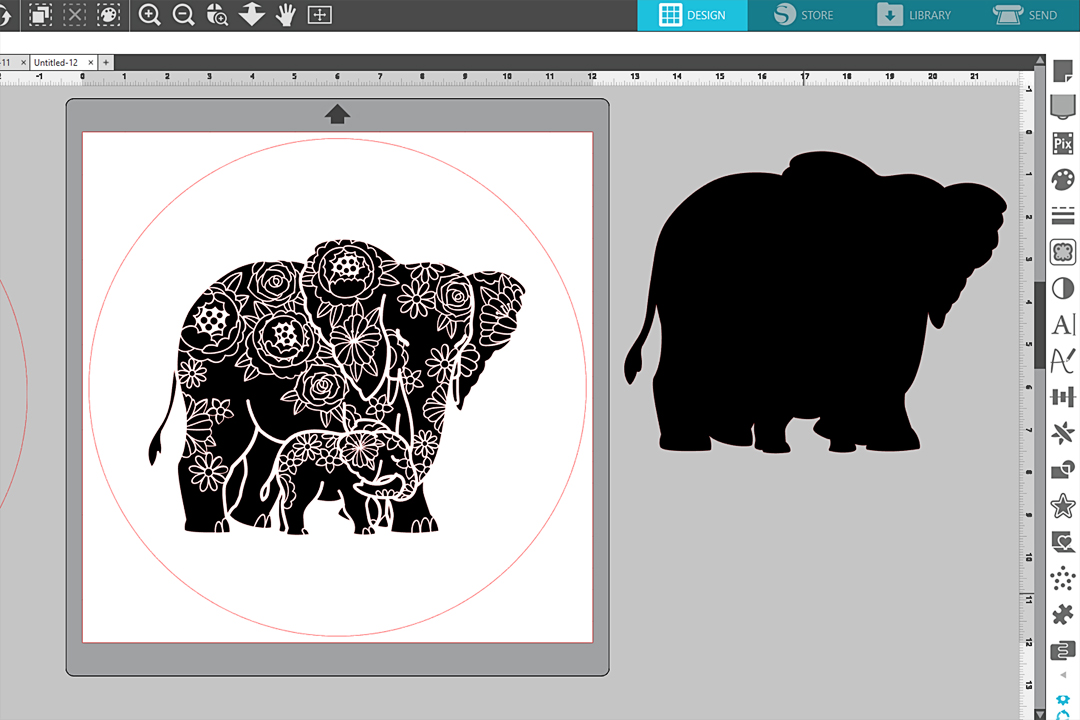
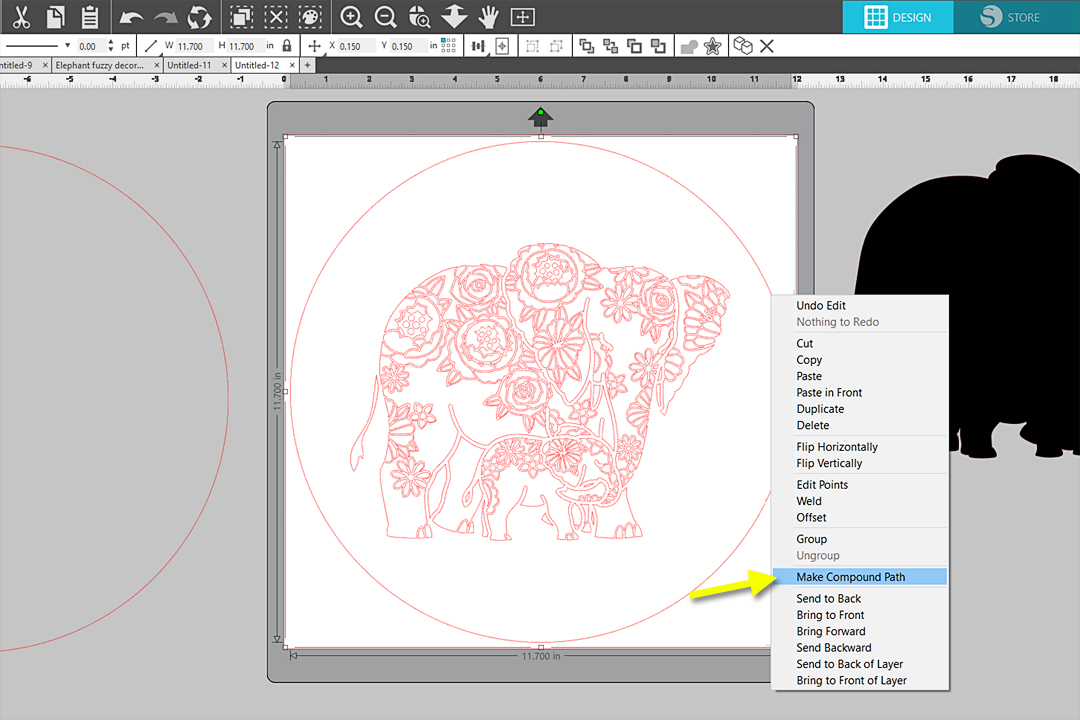
Select all of the outer circle and elephant pieces, then make them a compound path. (Right click + Make Compound Path) This will turn it clear with red line colors, and now it is a single layer.
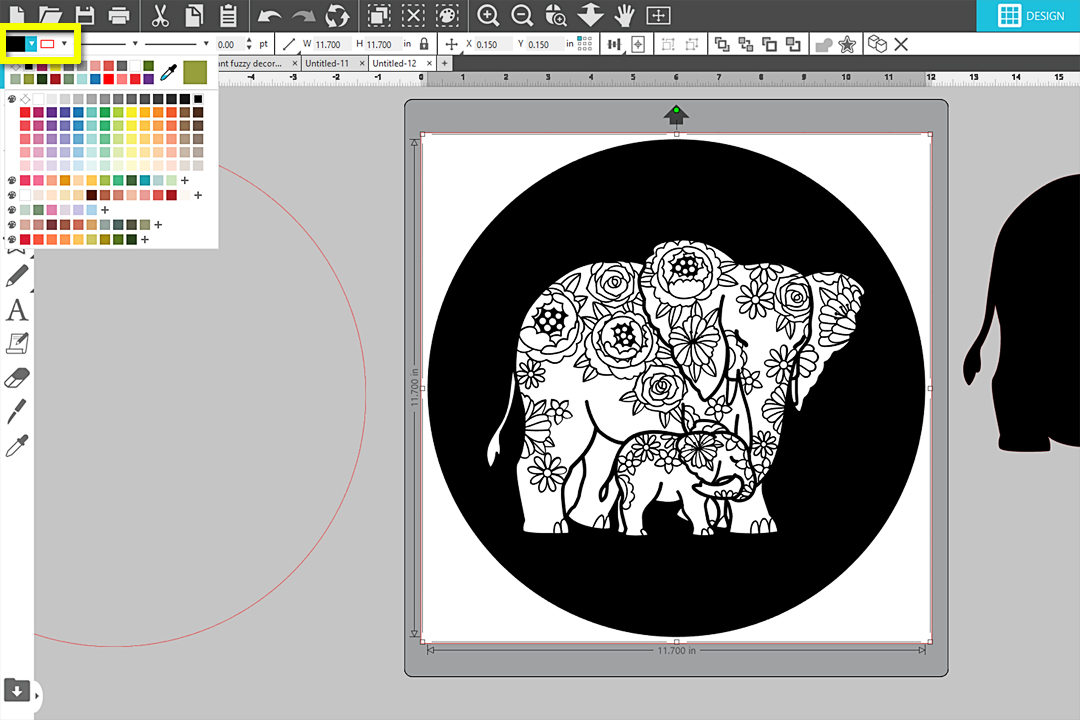
Fill the design with black. You may wish to turn the red line color to invisible.
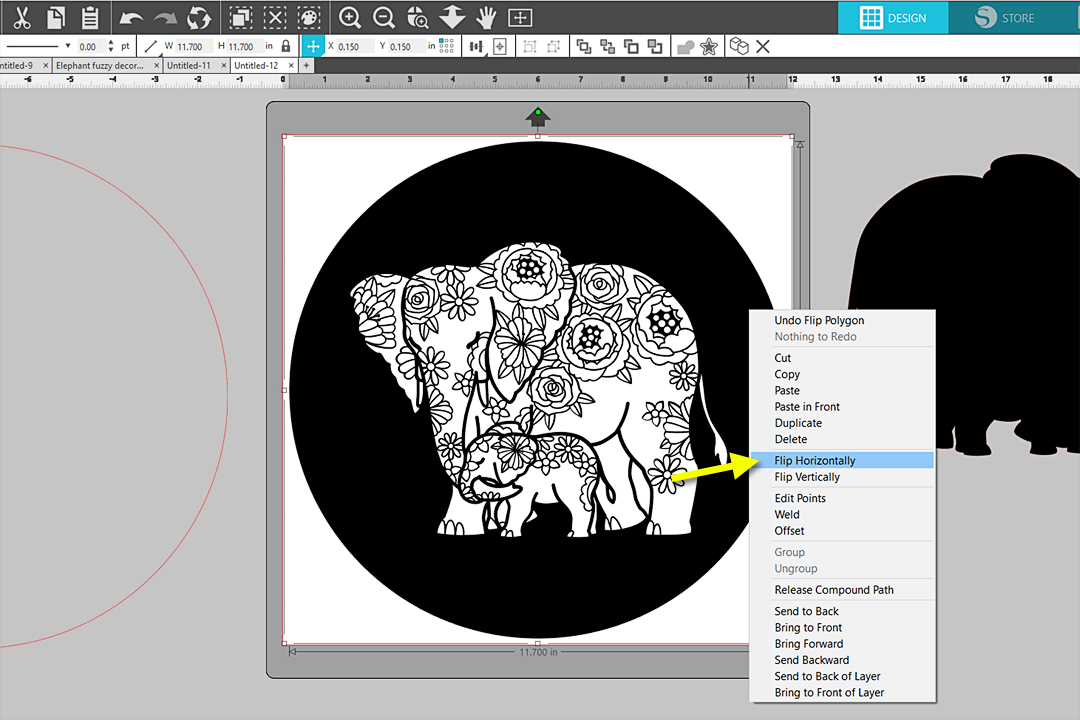
Flip horizontally, if desired. (Right click + Flip Horizontally) Whatever you see on your screen now will be mirrored once the heat transfer vinyl is applied.
Step Two: Cut Design
Go to the Send Tab and choose the following settings:
- Material = Heat Transfer, Flocked
- Action = Cut
- Tool = Autoblade (or other 1 mm blade)
Tip: I recommend doing a practice cut with an intricate shape to make sure these thin lines will cut with your current blade and settings. I found that with a sharp blade, the default flocked heat transfer settings of Blade Depth 3, Force 33, and Speed 5 were perfect.

Using a sticky mat, place a 12-in. x 12-in. piece of flocked heat transfer glossy-side down. I use a cutting mat in order to get the full width of cutting area for the material, and the mat should be quite sticky so the glossy surface doesn’t slide around.
Load the mat and click Send to cut with your tested settings.
Once it is cut, set the heat transfer aside to weed later.
Step Three: Cut Background Surface
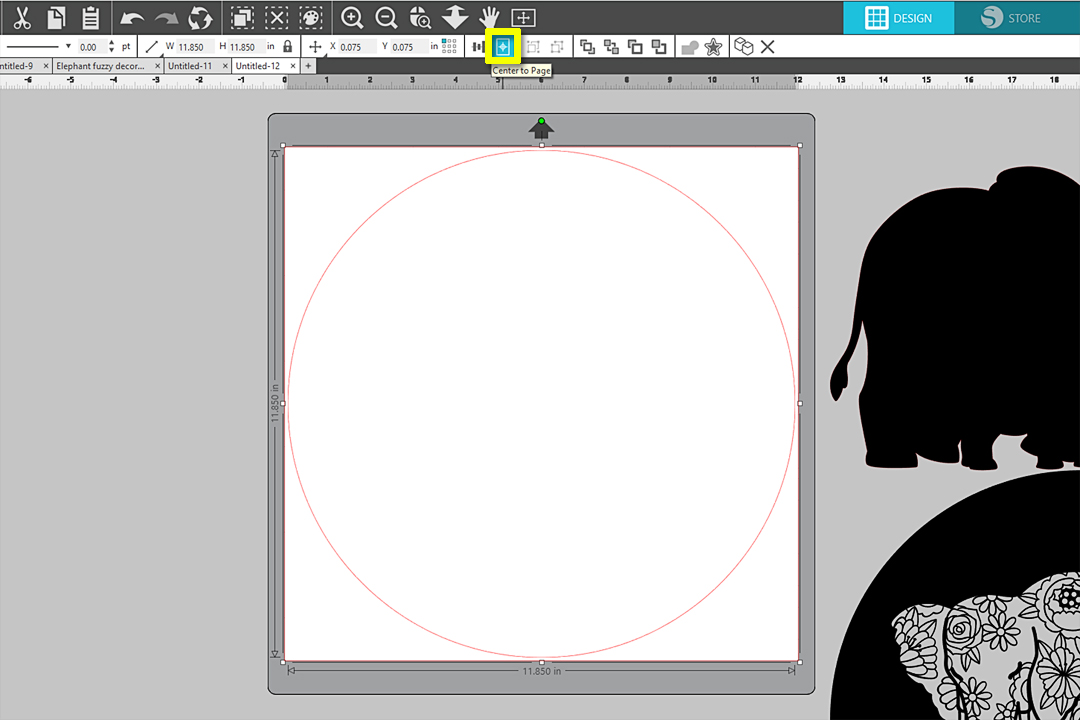
In the software, go to the Design Tab and move the elephant circle away to the side.
Move the plain empty circle onto the virtual mat and center it onto the page.
Go to the Send Tab, and change the Material setting to Cardstock, Textured – Heavy. Again, you’ll need to test it to see if the default settings work for you, and adjust as necessary.
Place the 12-in. x 12-in. piece of white cardstock onto your cutting mat, load it into the Cameo, and click Send to cut the circle.
Tip: If your coloring is likely to use a lot of blending, you may wish to use a smooth watercolor paper or other paper that will not bleed or tear.
Step Four: Weed and Apply Design
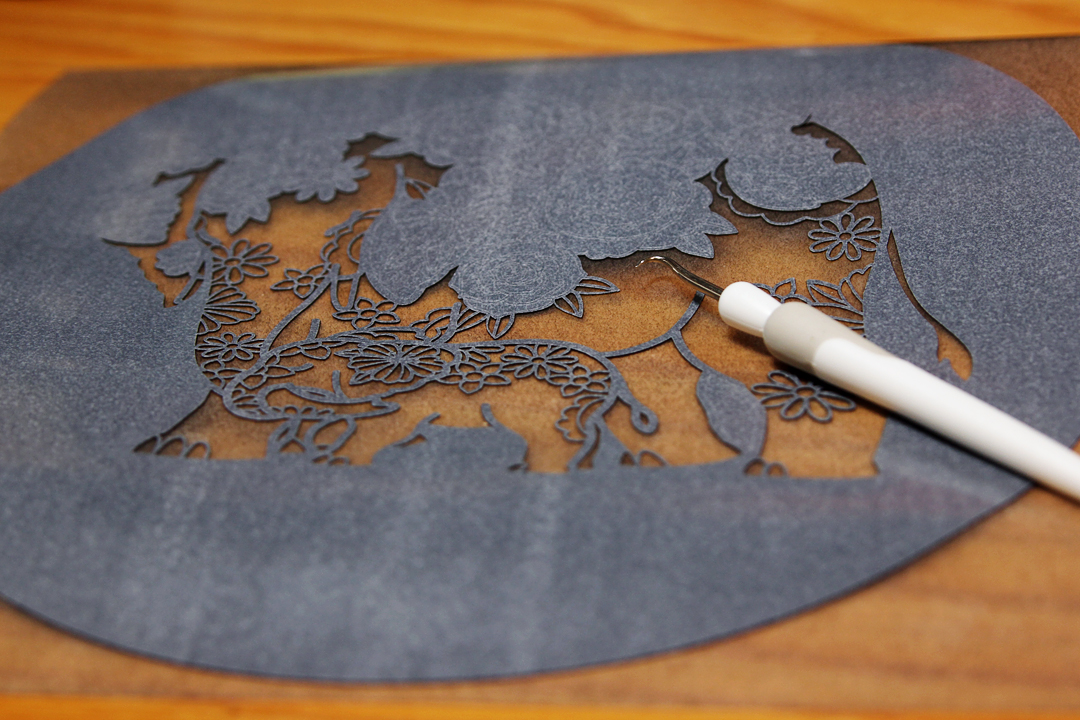
To weed the flocked heat transfer, compare it to the design in your software to make sure you are only pulling away pieces that expose the areas to be colored. If the design is black on the screen, leave it in place. Use a good weeding tool, such as this hook tool or needle-tip tweezers.
Tip: I recommend pulling away the excess heat transfer around the circle first, then start with a large area you know needs to be removed, such as a leg. Flocked heat transfer is among my favorite materials to weed!
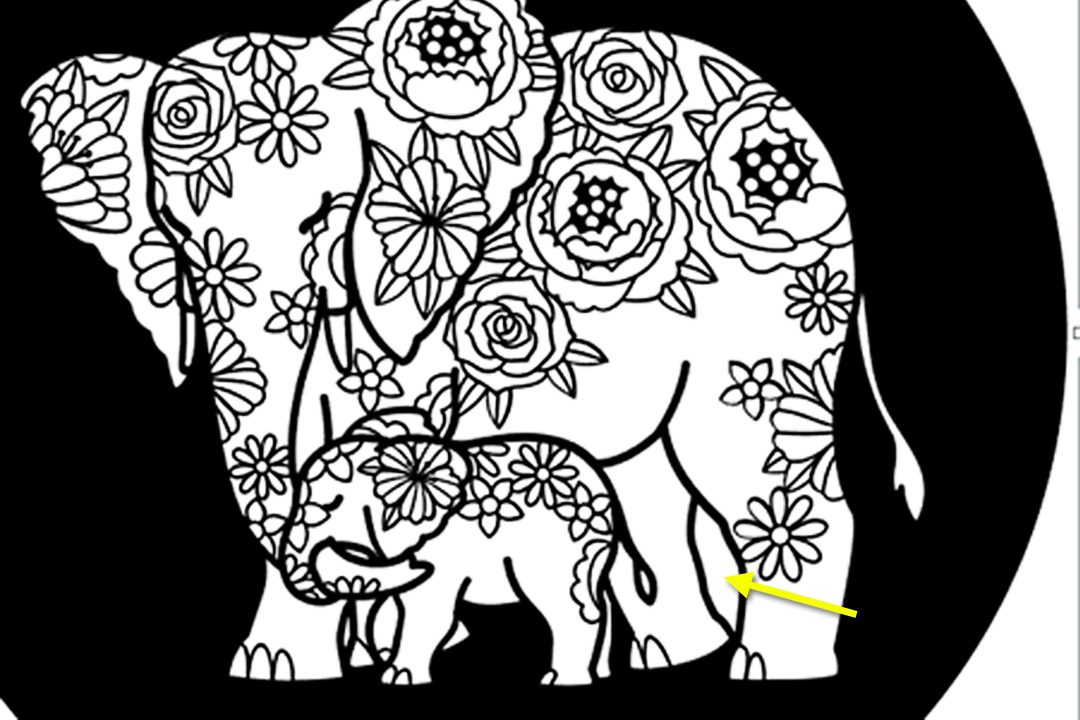
One weeding exception might be to leave this small patch in place that should be negative space. The seam will not be noticeable on the final project.
Once the weeding is complete, flip the heat transfer onto your white circle cutout. You should be able to see a narrow white border of paper, so the heat transfer does not extend beyond the paper and risk sticking to your pressing surface.
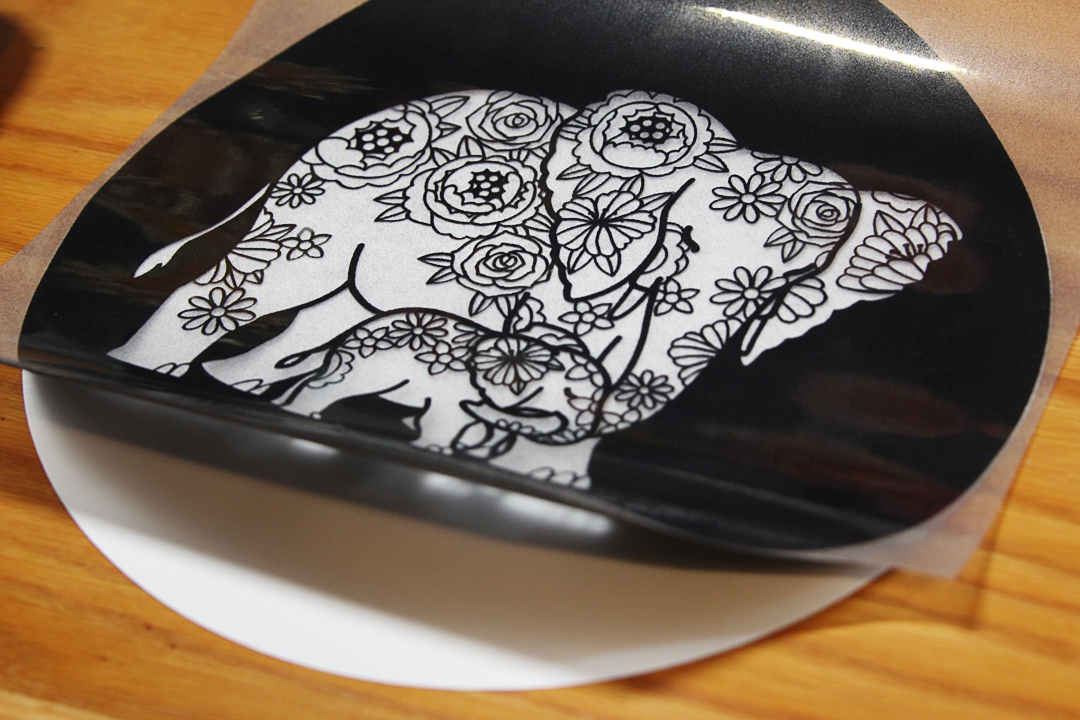
With the flocked heat transfer centered on the paper circle, press with a heat press (310 deg. F) or hot iron (cotton setting, no steam) until the top carrier sheet releases and the heat transfer sticks to the paper. About 15 seconds should be enough. Use a protective sheet when pressing, if necessary.
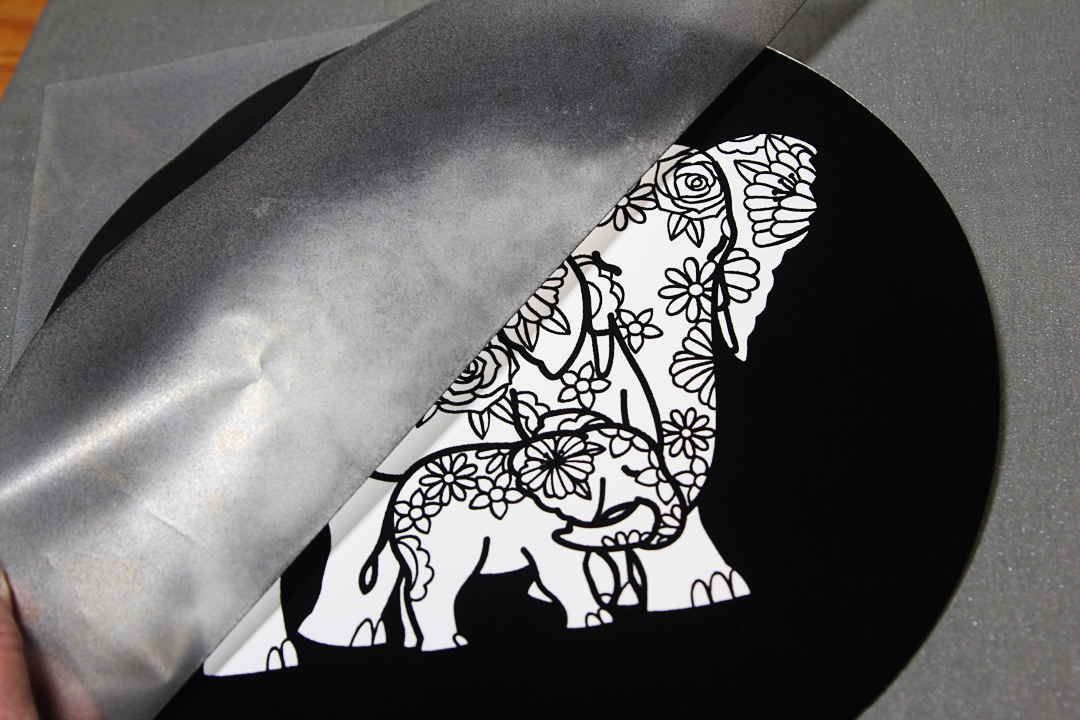
Peel away the top carrier sheet and discard.
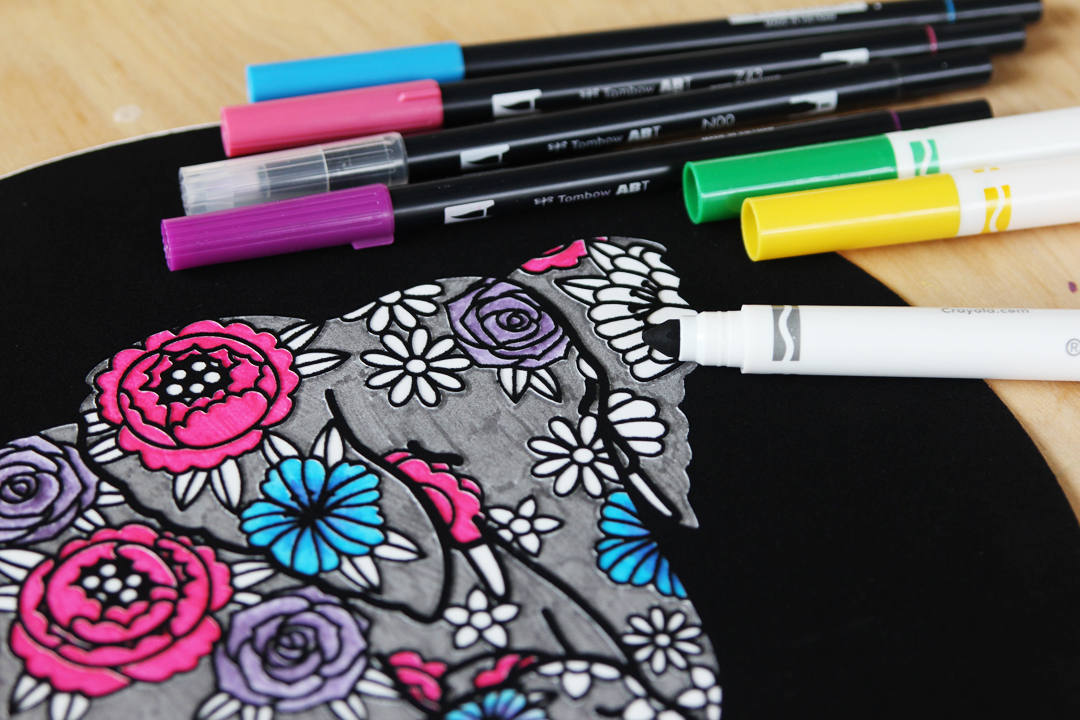
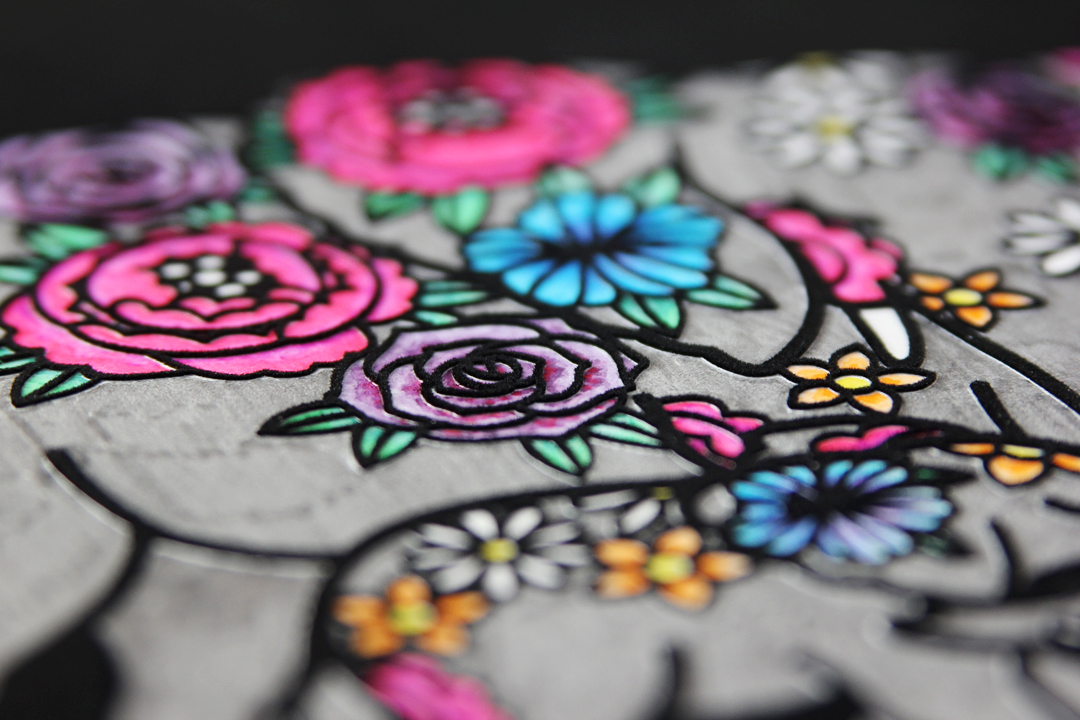
Step Five: Color
Use markers to color the design. The fuzzy barrier makes it easy to color with any marker you like, either solid colors or blended.
Hot glue to the back of a painted 12-in. wreath ring so you can display your artwork.
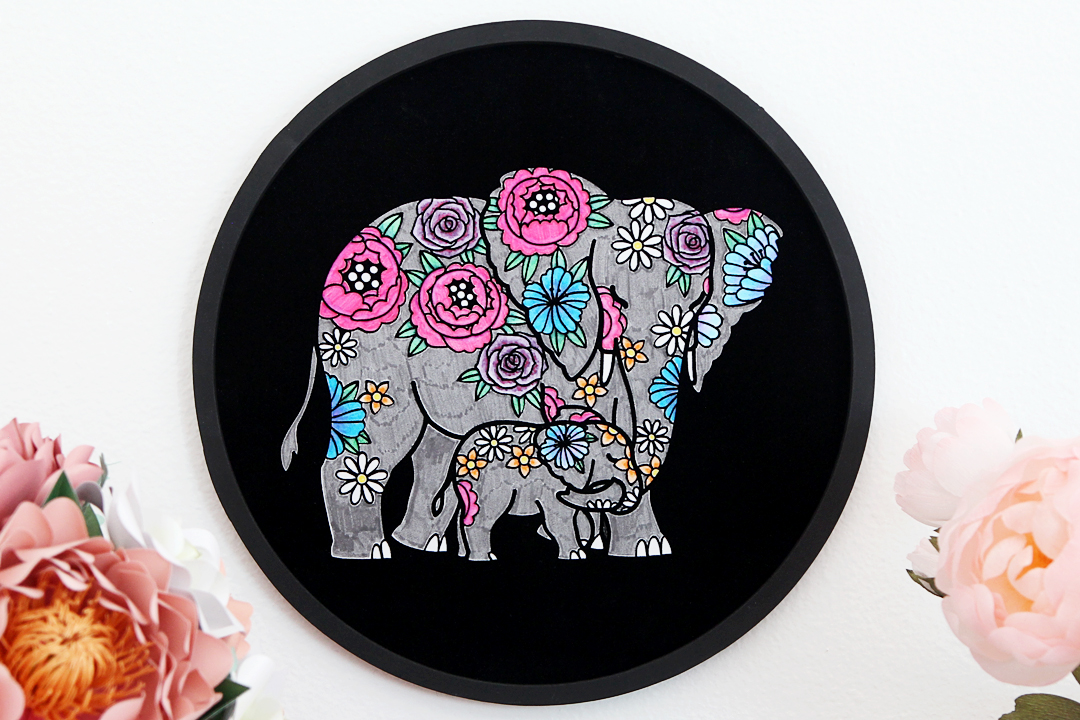
Isn’t this a fun project? For other mandala designs like this, search “floral mandala” in the Silhouette Design Store. Other designs with thick lines that divide the various color blocks are good choices, as well. I’d love to see what you make!
 Free Class - Father's Day Apron Set
  Free Class - Custom Graduation Tumbler