Hi everyone!
Today I’m sharing with you two projects and tips on how to maximize your cutting material so that you can get the most use out of it.
I’m the type of person who doesn’t like to waste cardstock. I will save the smallest pieces (well within reason, of course). But I also like to get the most out of a sheet of paper and there are a few simple ways to do this.
Here are two layouts that I created using some Adhesive Backed Cardstock, Vellum, Printable Kraft Paper and Printable Gold Foil.
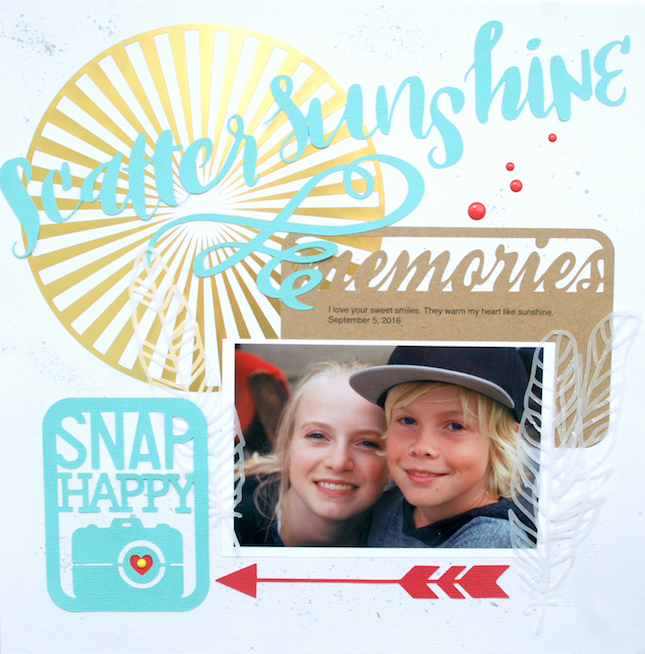
“Scatter Sunshine”
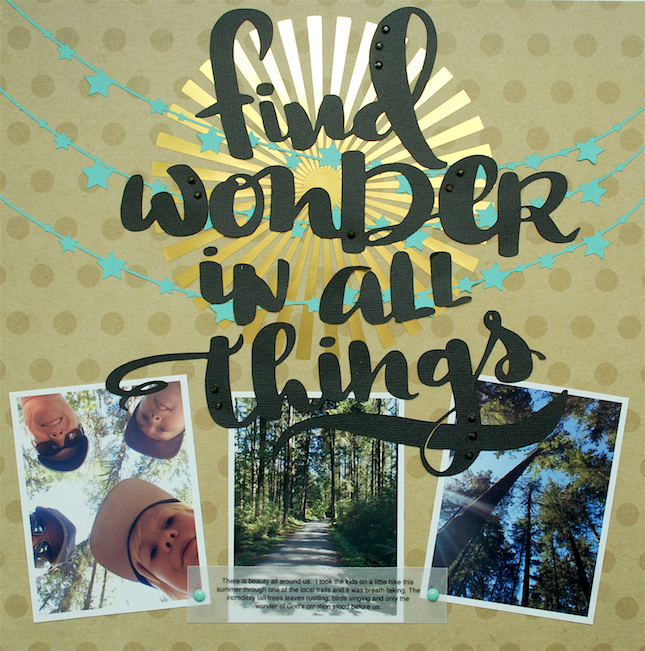
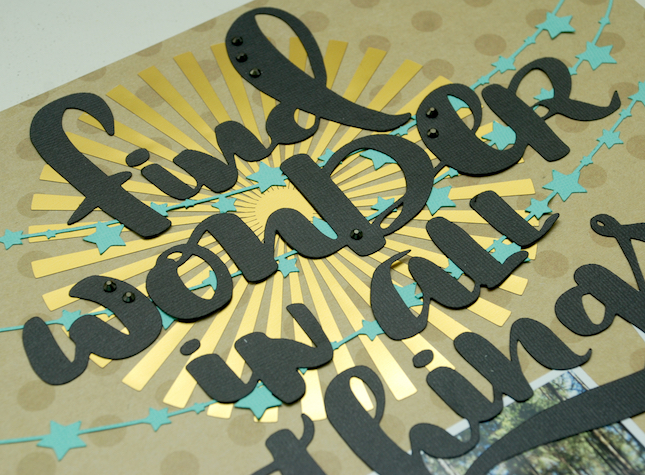
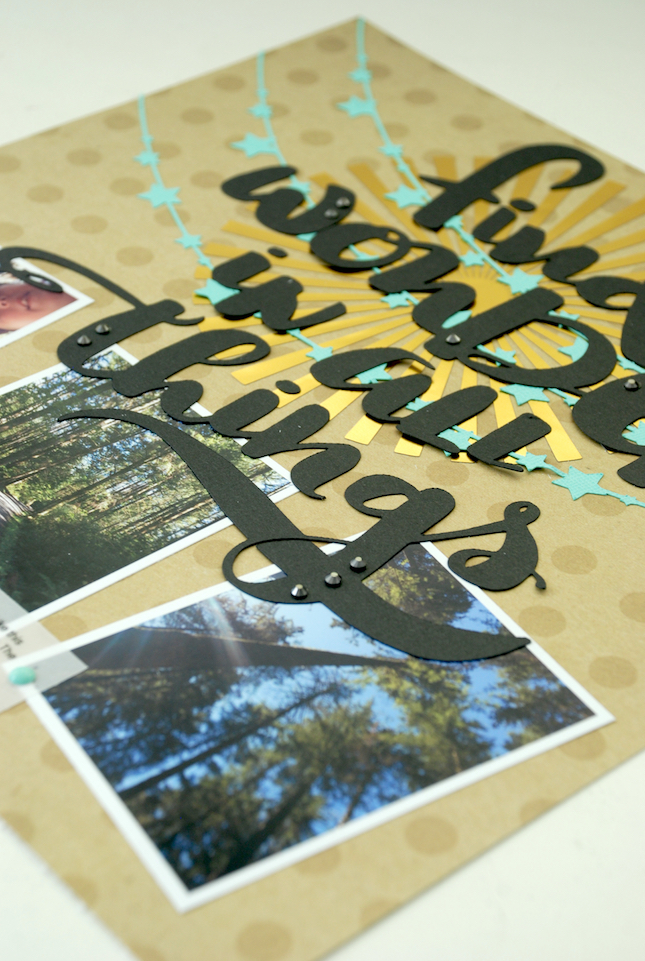
“Find Wonder In All Things”
Now let me share with you a few tips on how to get the most out of your materials so that you can use them for more than just one project.
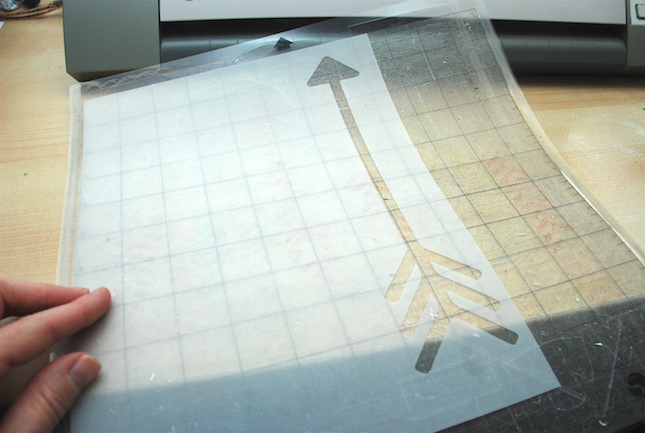
TIP 1: In Silhouette Studio, place the design near edge of cardstock/vellum not right in the middle of the sheet.
This simple tip helps you save your paper for other projects.
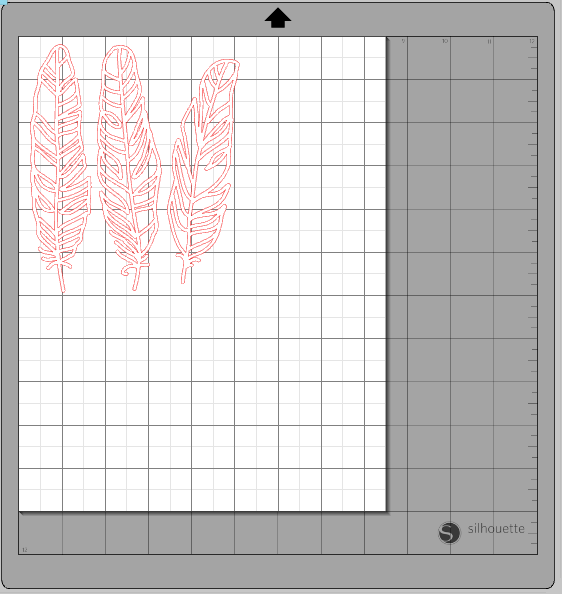
You’ll notice on this vellum sheet that I had cut out an arrow earlier. So before I cut out the feathers (above) I measured out how much room there was on the left side of the vellum. Then moved the feathers into place and cut them out.
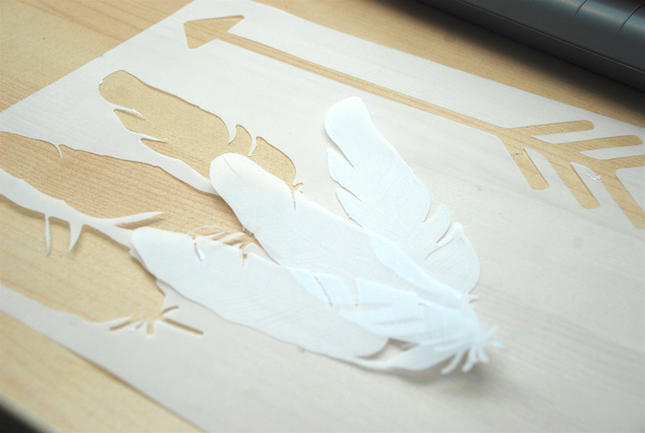
Using the tip above, you can now cut out more shapes, even ones that may not seem to fit.
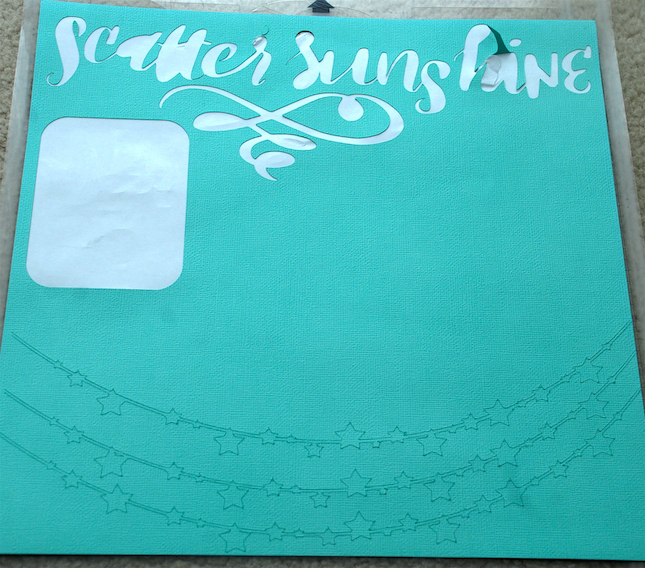
On this Turquoise coloured cardstock you’ll notice that I had already cut out a title and a camera shaped design. I still had room on the cardstock to cut out more designs.
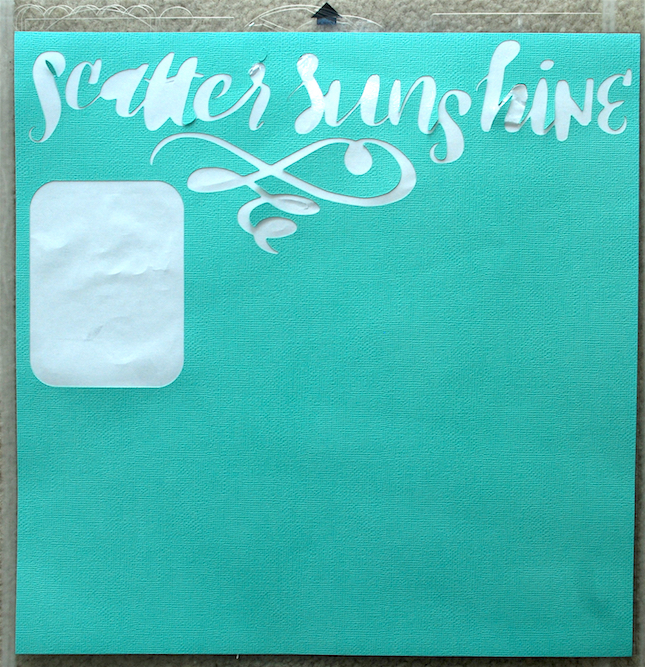
I placed the cardstock on the cutting mat and made note of the areas where there was no space to cut (basically the upper left section). I then enlarged the star banner design. Once it was enlarged I realized that it wouldn’t fit on the scrap paper that I was using.
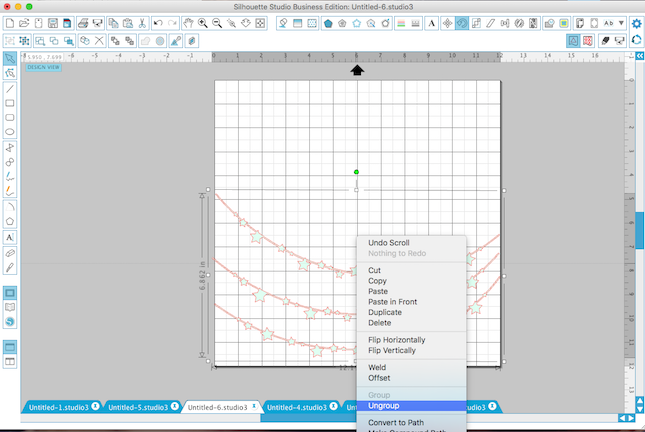
Ungroup the design and move the shapes closer together.
In order for the banner to fit across the cardtsock I needed to ungroup the design first. By ungrouping the design I could move the 3 sections of the banner closer together.
Basically, if you have a design that you can ungroup and separate in order to fit it on your paper (especially if it’s a design that is in separate pieces when you adhere it to your project) then this is a great solution to maximize your materials.
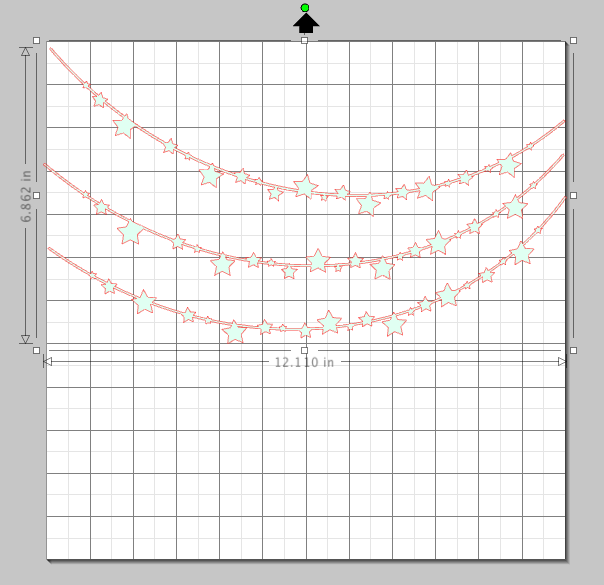
Changing the angle of a shape can also help to save space.
I realized that the strings of stars still weren’t as close together as they could be so I clicked on each image separately and then placed my cursor on the green circle at the top of the highlighted box. Keeping the cursor on that green dot you can then change the angle of the shape.
As you can see below I was able to squeeze the string of stars fairly close together and use the lower portion of the turquoise cardstock.

Another great way to maximize your material is to use the negative parts of a design.
You’ll notice that in my layout titled ” Scatter Sunshine” I used the Printable Gold Foil to cut out a circular shape.

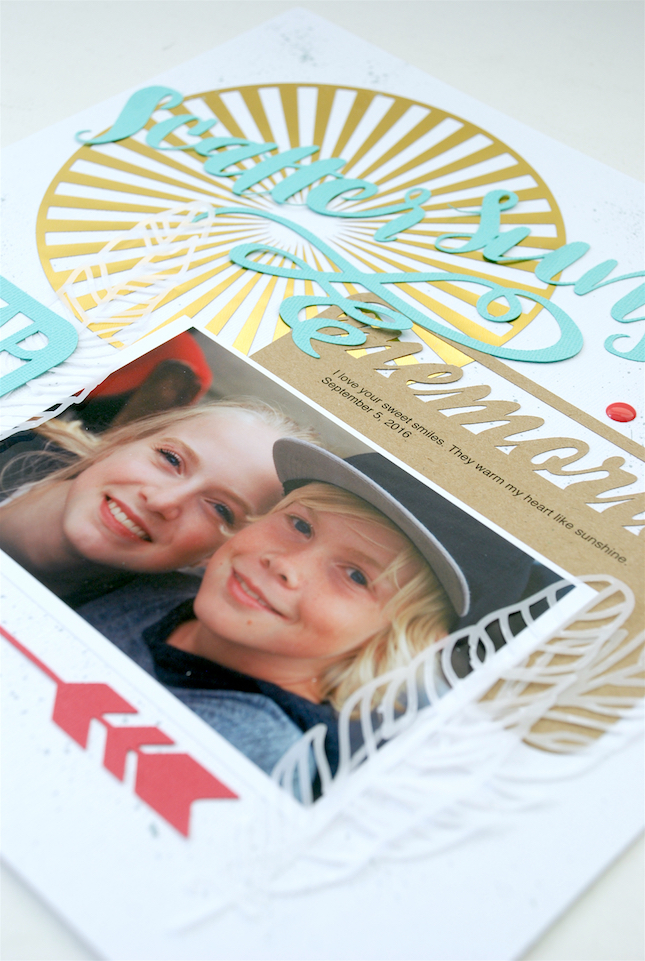
I then used the inside of the same shape (the negative part) for my other layout. Keeping the negative parts of a shape is a fun way to reuse a great design.
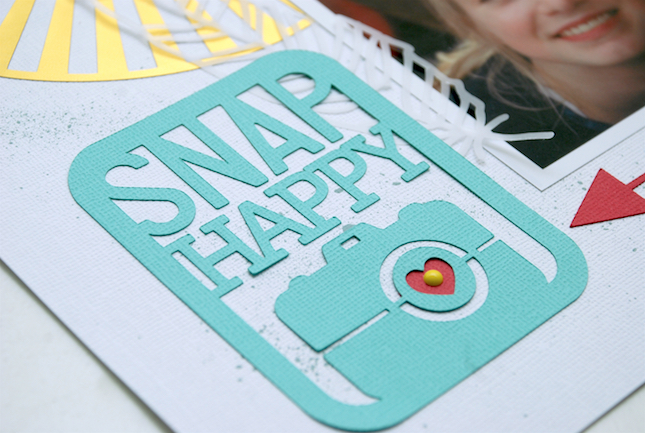
Use small pieces of cardstock or other materials to place behind a cut out design.
I often use smaller, leftover pieces of cardstock to adhere behind a cut out design. As you can see I did this on the camera design by placing a small piece of red cardstock behind the cut out heart shape. This just gives a fun pop of color.

I hope that I’ve given you some helpful tips on how to get the most out of your materials!
Thanks for stopping by!!
Nasze Naturalne
September 3, 2025
Your authentic voice really shines through in everything you create and share
Naszenaturalne
September 2, 2025
Really love your style
Kelly Wayment
June 28, 2024
You can use it with vinyl as long as it is smooth and flat to allow the static charge to hold on to it. Rolled vinyl that wants to go back to its rolled shape will not necessarily work well, and it would need to be trimmed to fit the ES mat cutting area.
Kelly Wayment
June 28, 2024
Yes, you can use the heat pen while using the ES mat. 🙂
Yurii
March 2, 2024
Hello. May it be used with heat pen?
Thanks
Jerome
February 24, 2024
Hi, works this with the normal vinyl foils or only with printer papter etc?