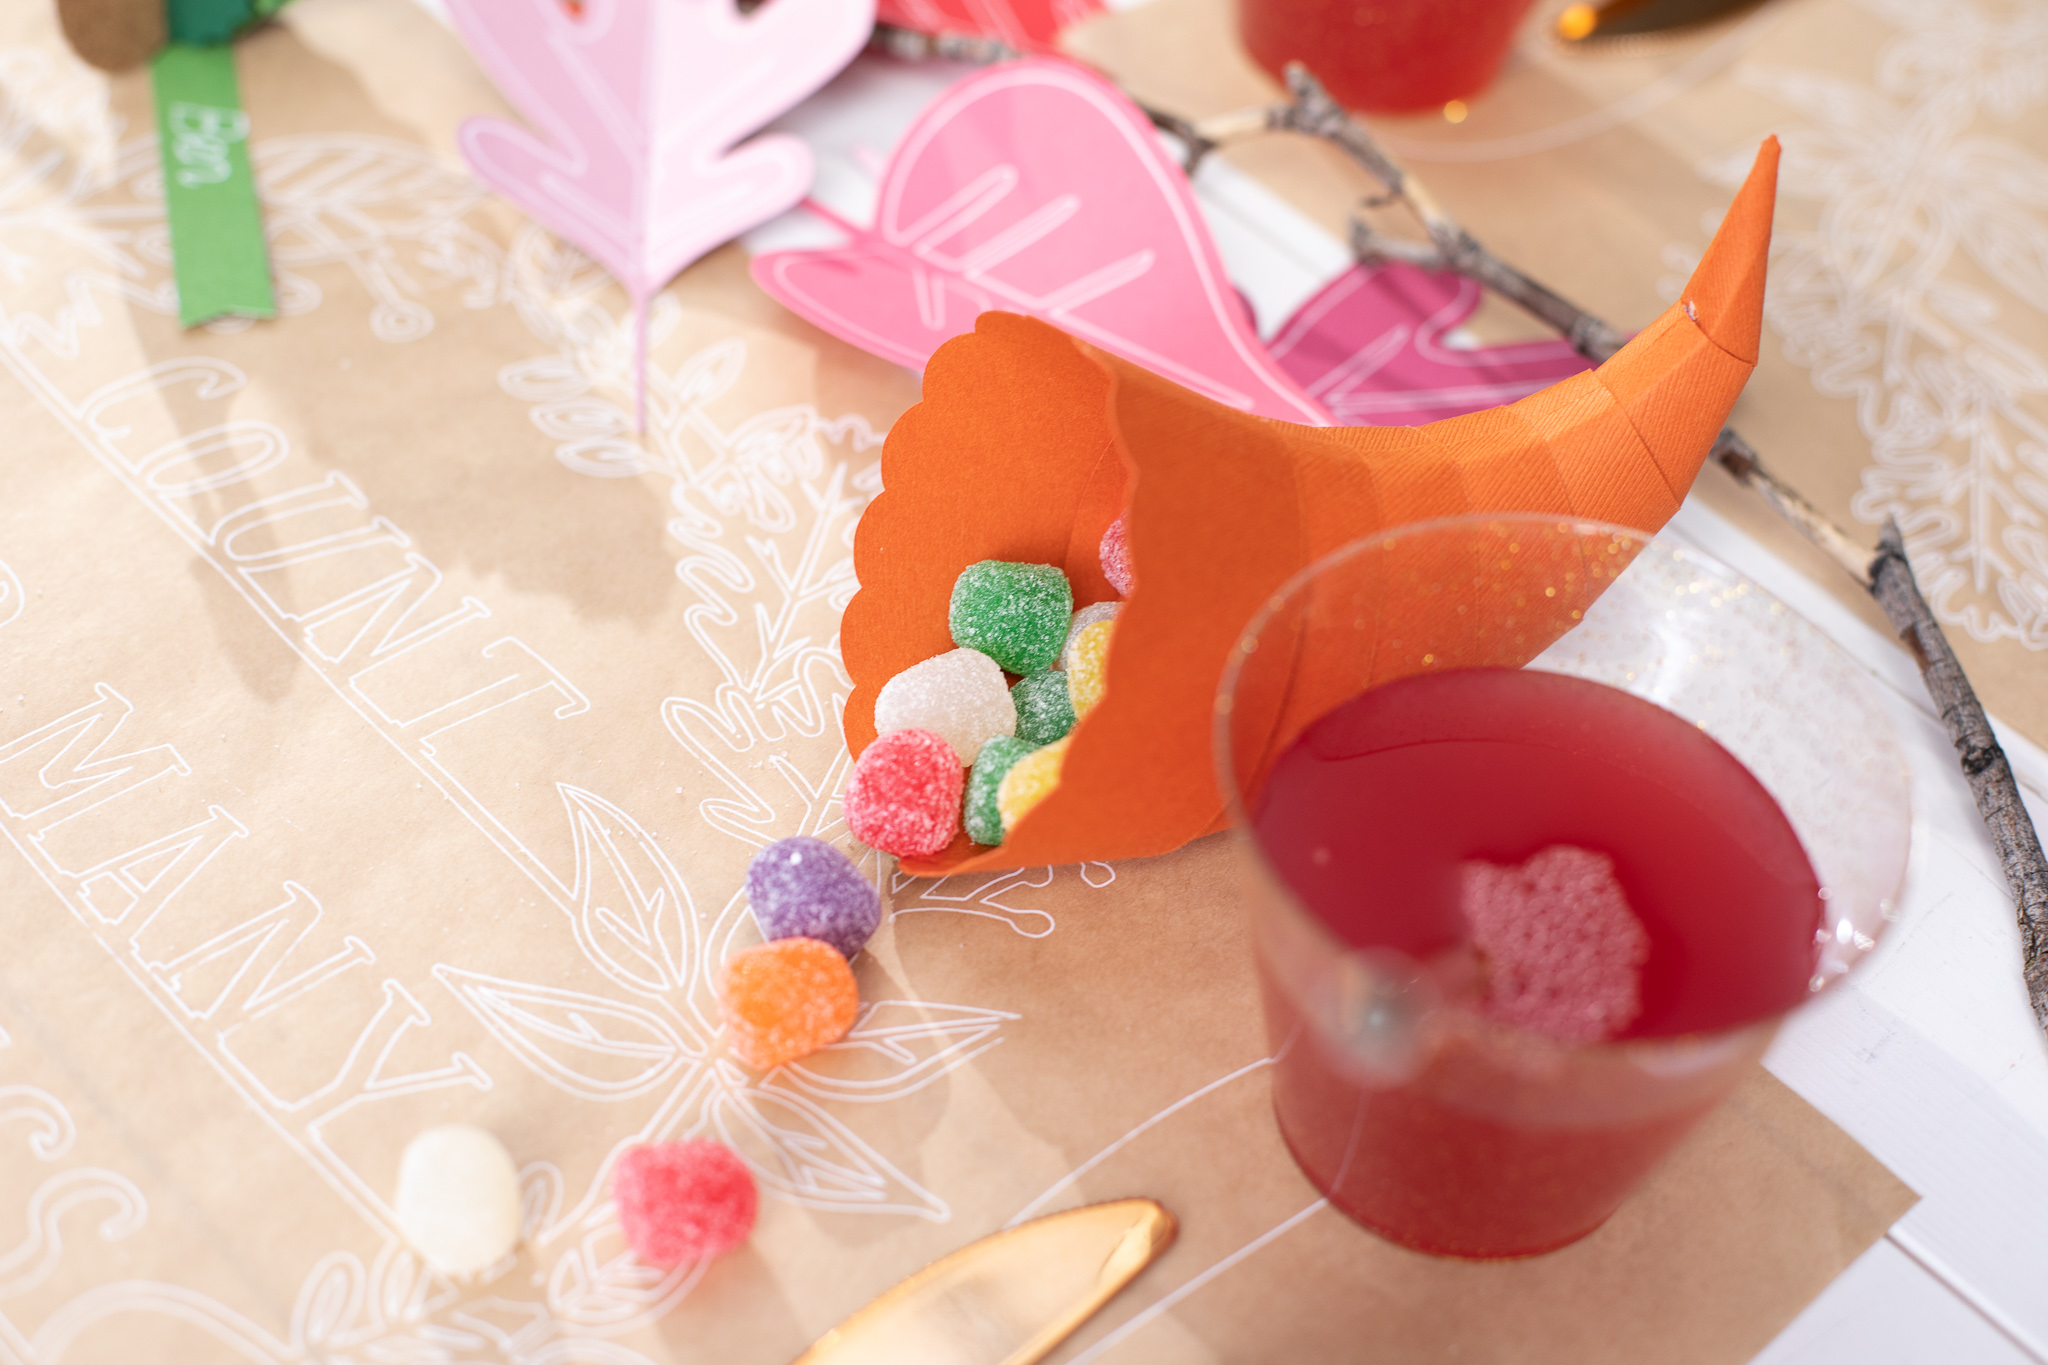
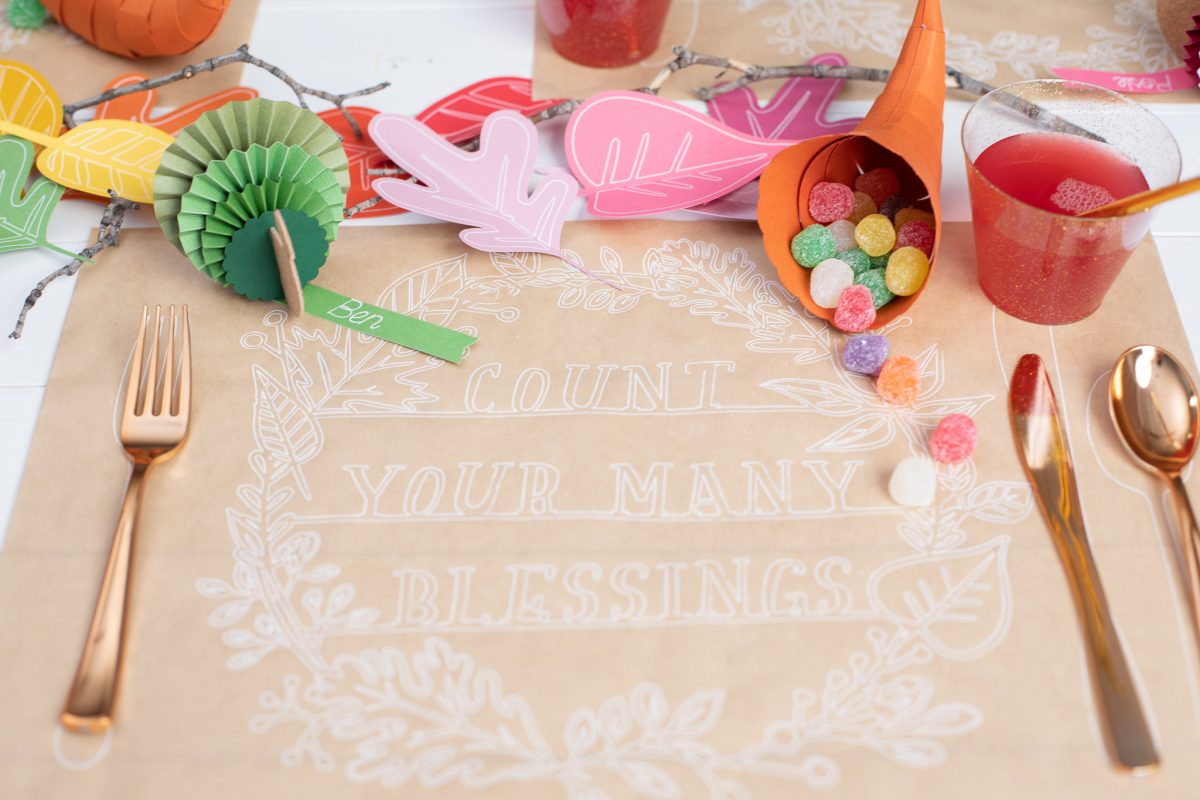
Cornucopias are traditionally filled with the season’s harvest, but what about MINI cornucopias filled with CANDY?! Chances are people will prefer this version to the original. Made with paper and glue, these are simple to put together and will look great on your Thanksgiving table!
Supplies Needed:
- Silhouette Cameo® or Silhouette Portrait®
- Silhouette Studio®
- Silhouette Cutting Mat
- Silhouette AutoBlade or Silhouette AutoBlade for Cameo 4
- Paper, thinner than cardstock works best
- Hot Glue Gun
- Liquid glue
- Design ID #34490, 3D Cornucopia by Snapdragon Snippets
Step One: Formatting the Design File
1. Open the design file in Silhouette Studio®. This file comes with decorative boarders that you can apply (Tutorial here!), but we’re just doing the plain shape here.
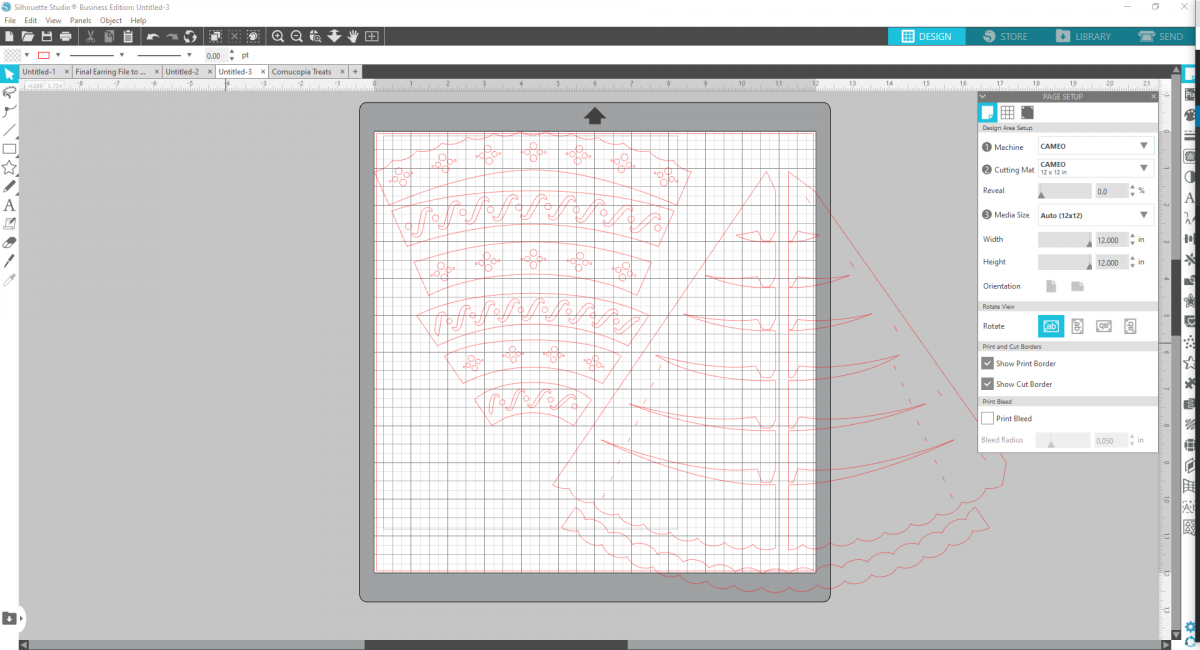
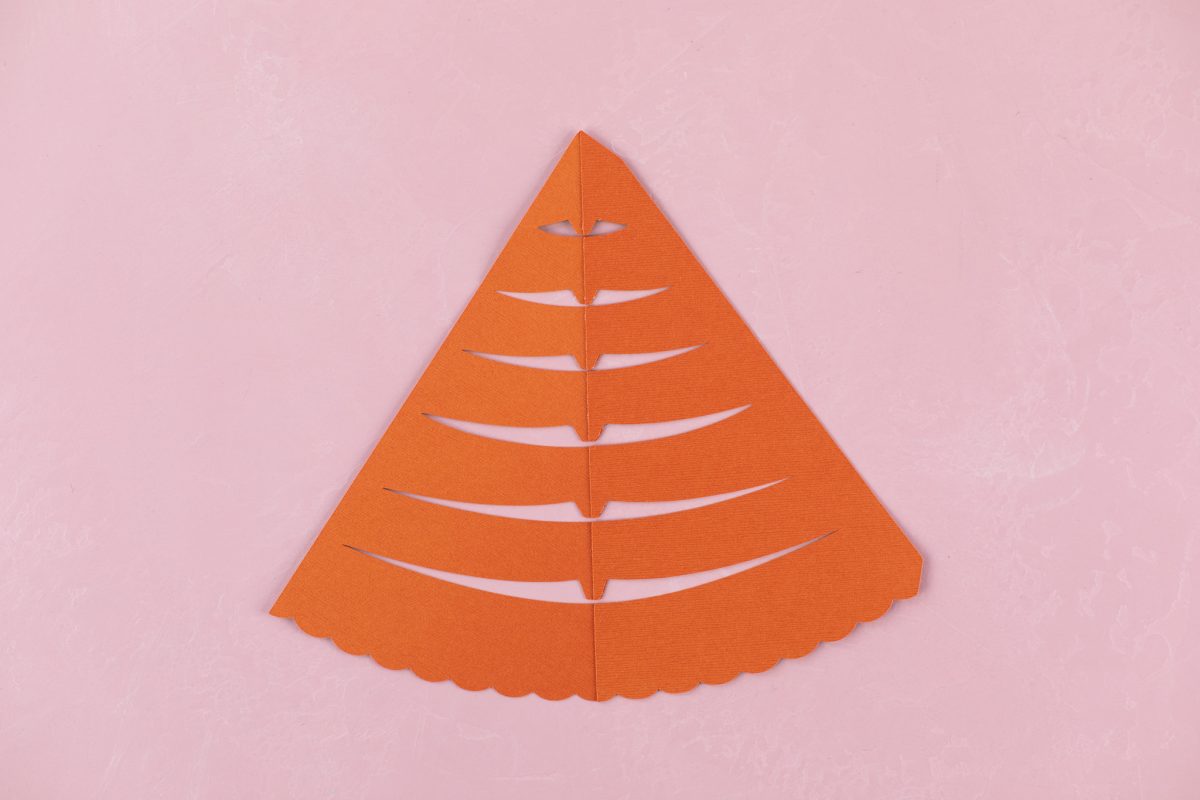
2. Ungroup the design and delete the decorative pieces. Size the remaining cornucopia shapes so that each triangle piece is about 7.15 inches tall and 4.2 inches wide.
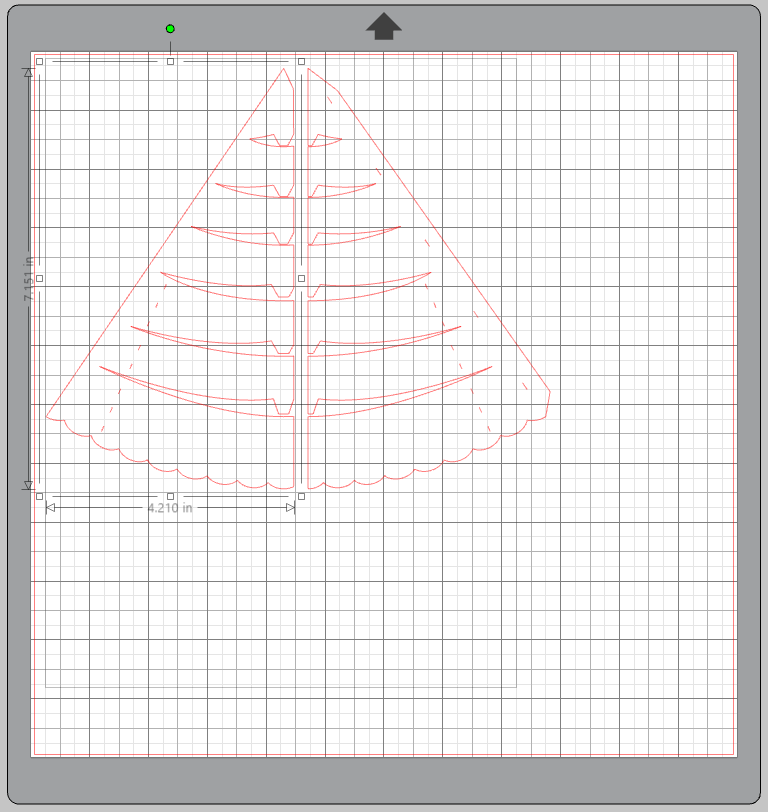
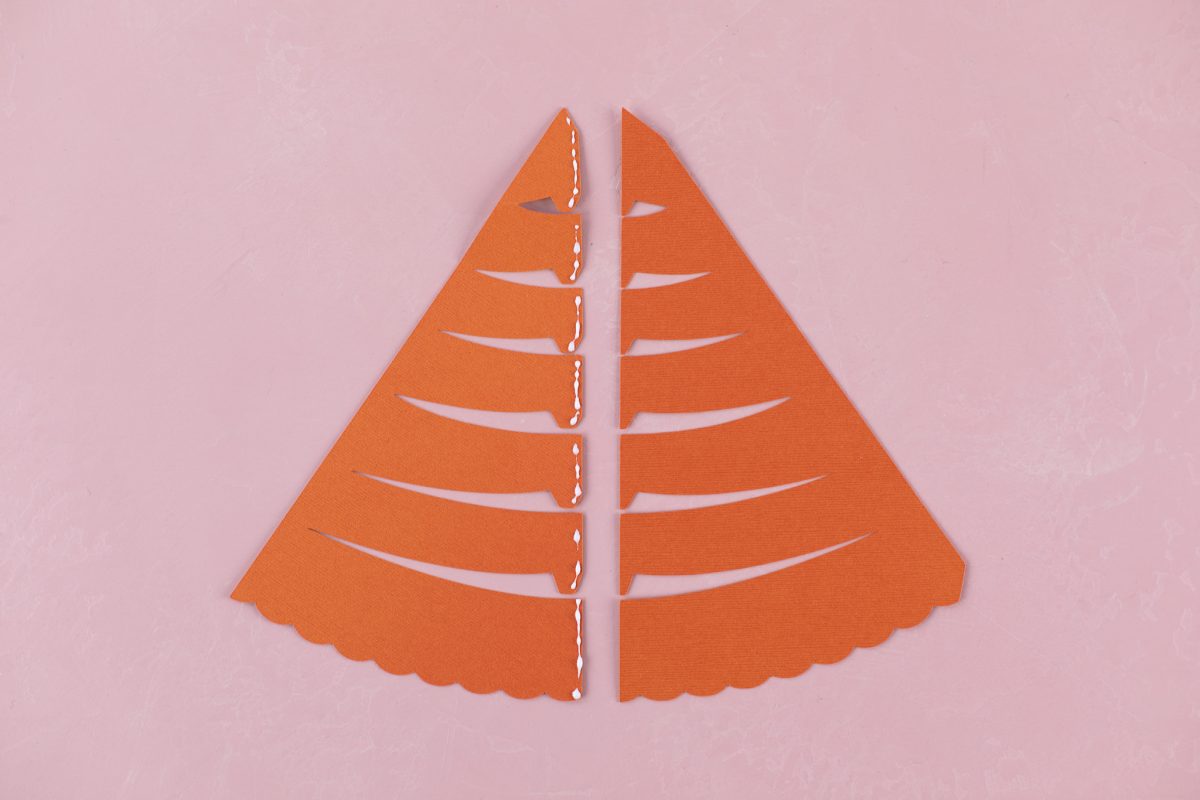
3. Now cut these two shapes out of paper. The thinner the paper, the easier it will be to assemble.
Step Two: Assembling the Cornucopia
1. Lay the two pieces out so the tabs are facing one another, as seen in the picture.

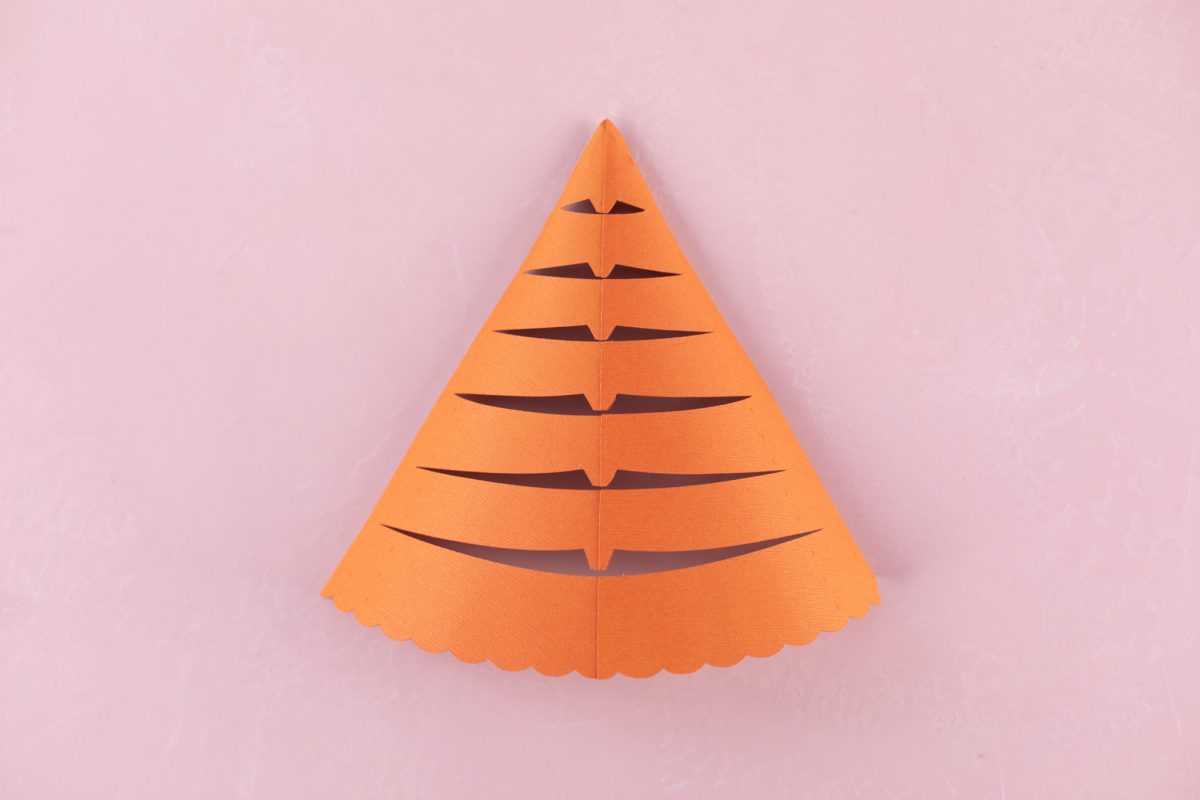
2. Place a thin line of glue along the edge of the thicker tabs
3. Then lay the thinner tabs over the thicker ones to glue together. The lines should line up right in the middle.
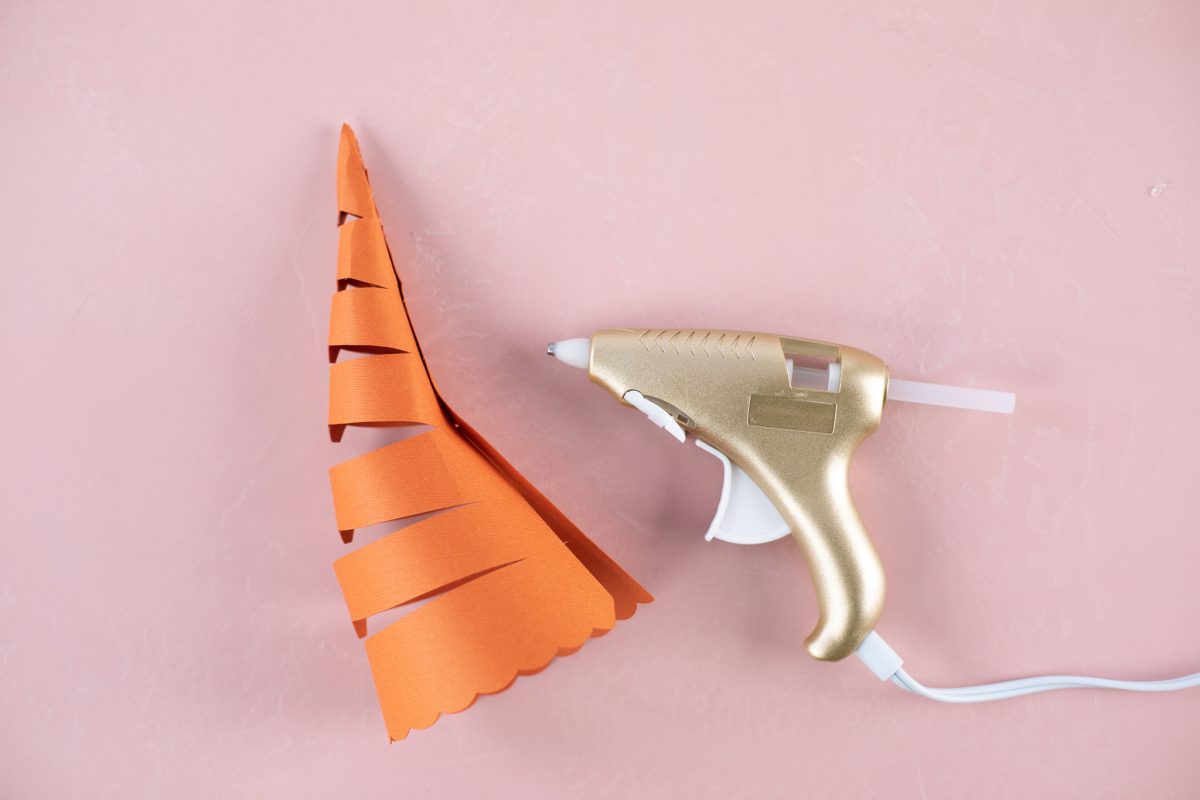
4. Once the glue drys, add some curve to your cornucopia shape by running it along the edge of a table or curling with scissors. This will make it easier to assemble.
5. Flip the shape over and begin to glue the point together. There are score lines to guide you on where to glue the two sides of the triangle shape together. Continue gluing until you’ve formed a cone shape.
6. Flip the shape over and begin gluing the tabs together starting with the tip of the cone. Add glue to a tab and slip it under the next loop and hold to secure.

7. Continue gluing all the tabs together to form the cornucopia shape!

8. Fill with candy and set at each place setting for your guests!

 Free Class - Shaker Card with the ES Mat
  Weekly Spotlight - Lori Whitlock