
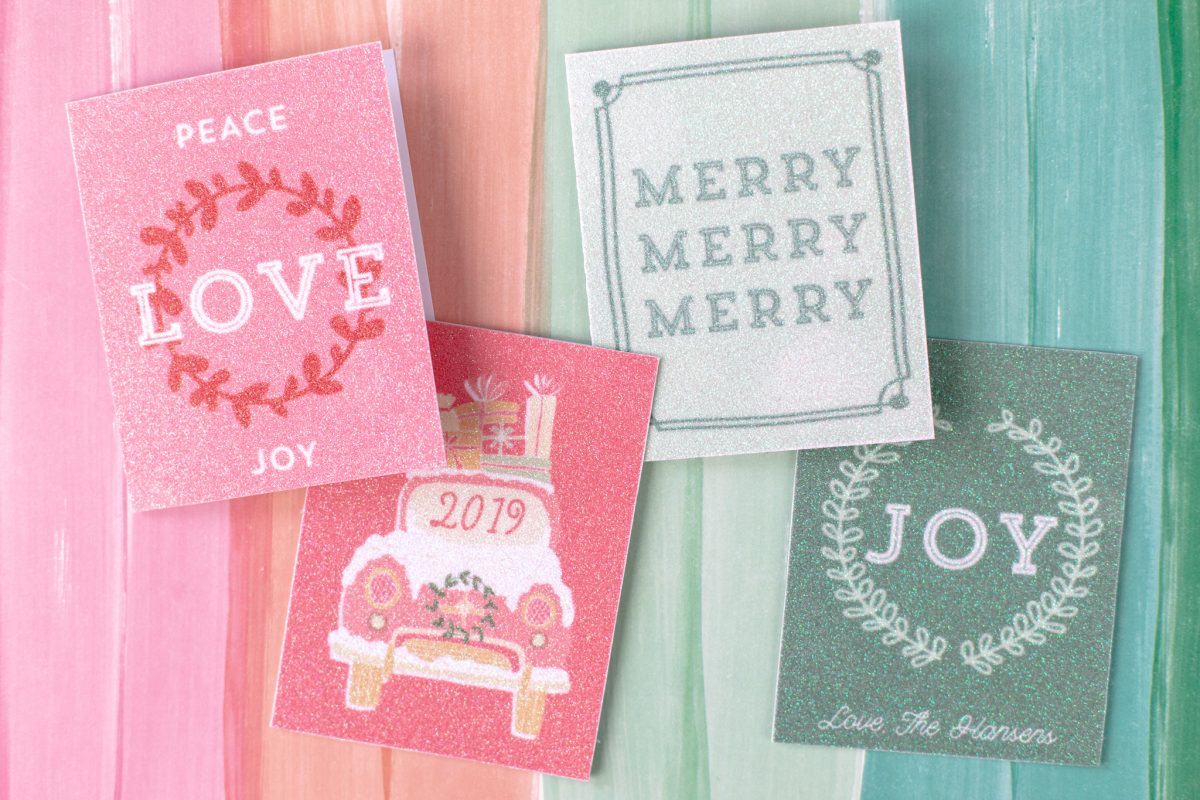
The holiday season is a perfect time to embrace all the sparkle and glitter! If you need to accompany that plate of cookies with a sweet note, these Mini Glitter Sticker Cards are the perfect touch. Made simple with the Print and Cut feature on Silhouette Studio, you can easily customize the images with the year or your name.
Supplies Needed:
- Silhouette Cameo®
- Silhouette Studio®
- Silhouette Cutting Mat
- Silhouette AutoBlade or Silhouette AutoBlade for Cameo 4
- White Glitter Sticker Sheets or Silver Glitter Sticker Sheets
- Paper or cardstock in your choice of color. I used white.
- Design ID #108886 and #102682 by Sarah Ehlinger
Step One: Formatting the Designs
1. Set your media size to letter to accommodate the sticker paper dimensions. Turn on the registration marks as this will be a print and cut project.

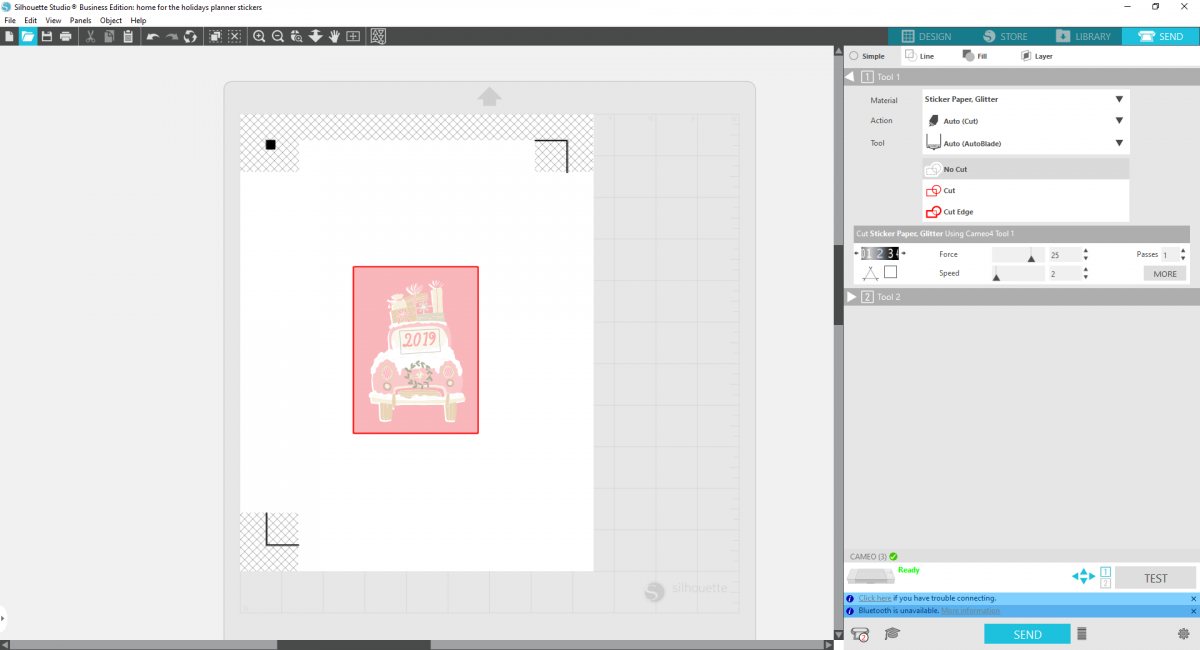
2. Insert Design ID #108886 into Silhouette Studio. Select the Design and the cut lines (They are two separate pieces) and group them together. Adjust the size of the images to your desired sizes. I left them as is at 3 x 4 inches.
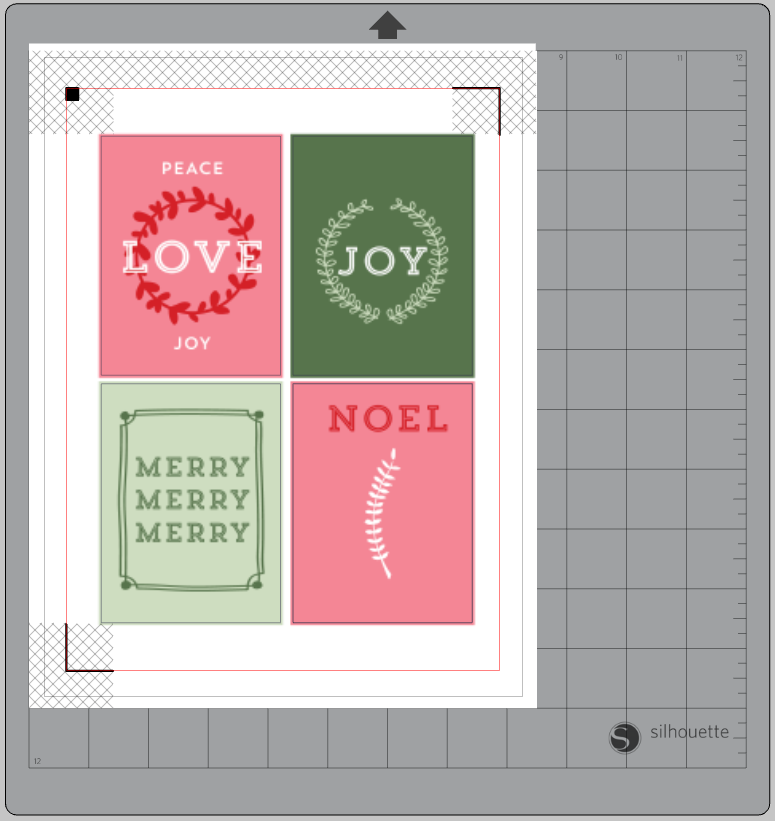
3. Now load your glitter sticker sheet into your printer and print out your designs! The designs should only cut around the edge of the cards. Once printed, load into your machine and set your cut settings for the appropriate glitter paper!
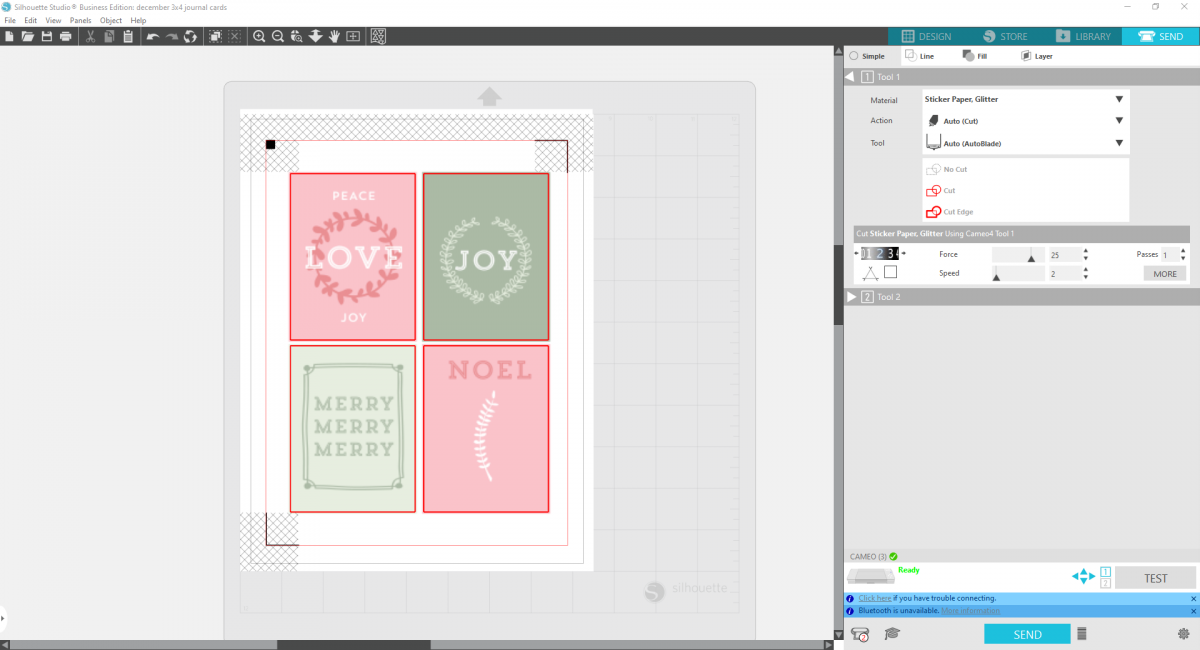
4. If you’re using the new White Glitter Sticker Sheets, make sure the settings are as follows: Blade:3; Force: 25; Speed: 2; Passes: 2. The Silver Glitter sheet settings are as follows: Blade: 2; Force: 25; Speed 2; Passes: 1.
5. If you’d like to add a personalized touch to the images prior to cutting, I’ll show you how to do that with the second design! The process will be the same on either design.
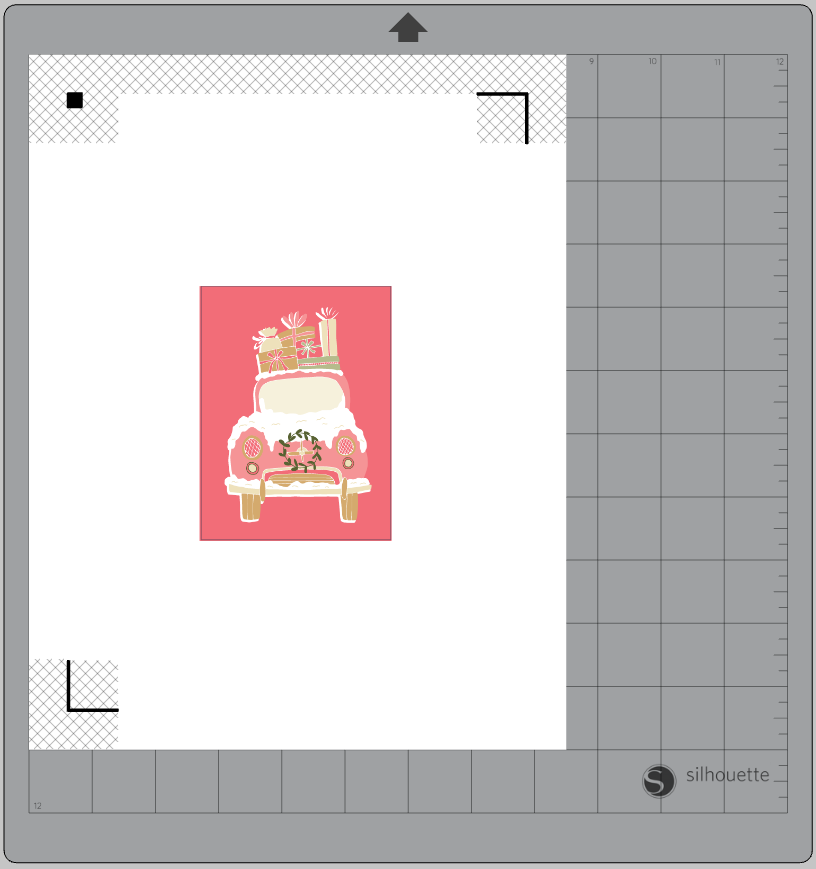
6. Insert the second design into Silhouette Studio. With this design I just wanted the little car journaling card, so use the knife tool to cut out just the car design. Make sure you cut through the entire design to separate the car. Adjust the size of the card to 3 x 4 inches.
7. To add custom text to the image, open the Text tool on the left-hand side and type a word or message.

8. Change the font and text color as desired and position on the design. I used the Delight font and use the eye-dropper tool to find a corresponding color for the font.
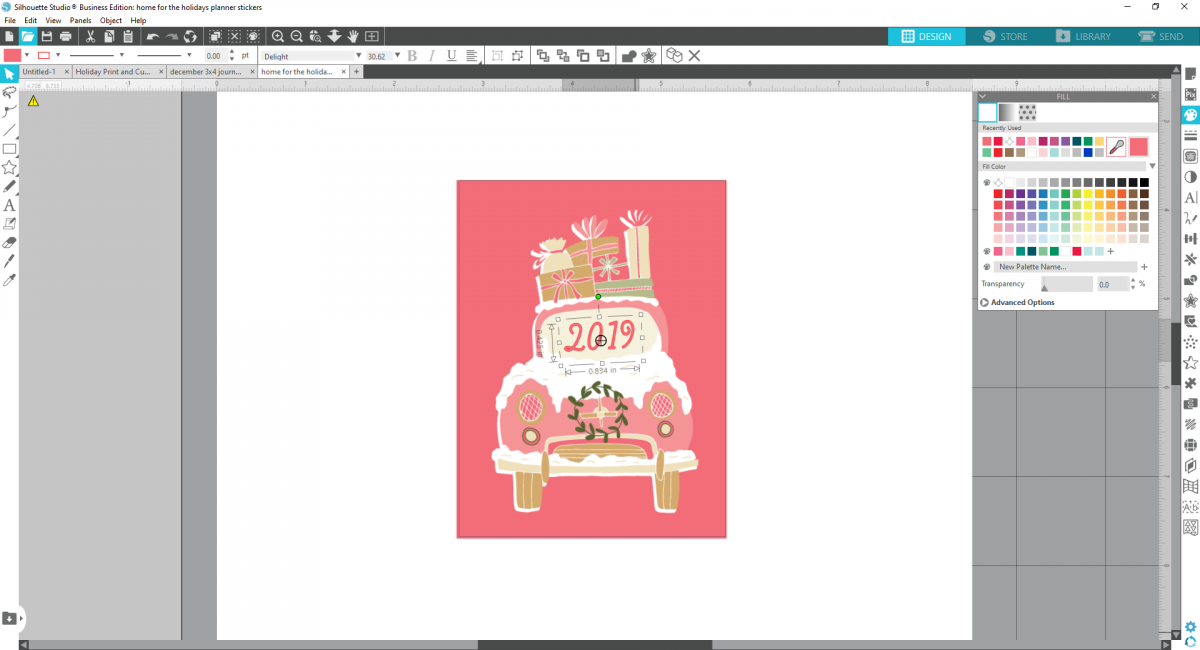
9. Now you can go ahead and print and cut like we did before! Remember that when cutting, make sure you’re only cutting around the card and not the added text you included. You may need to select the text and click “No Cut” to remove the red lines that signify it will try and cut. You should only have a red line around the design box.
Step Two: Cutting out the Cards
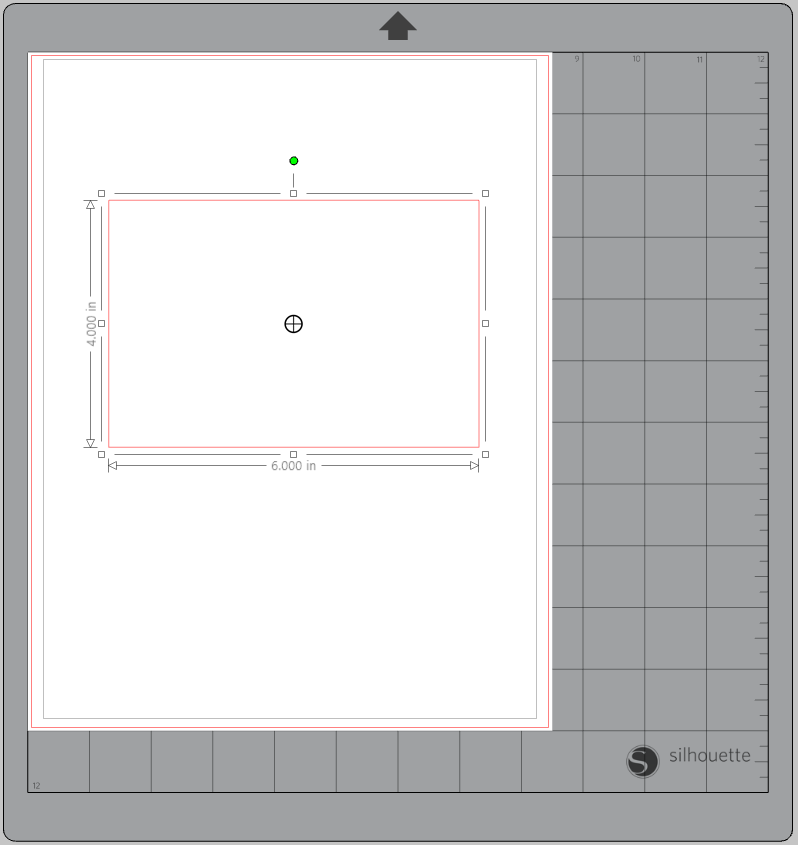
1. Once you have all your stickers printed and cut, you can cut out the cards you will apply the stickers to! Do this by making a rectangle with the Drawing Tool on the left-hand side, with the dimensions 6 inches wide by 4 inches tall.
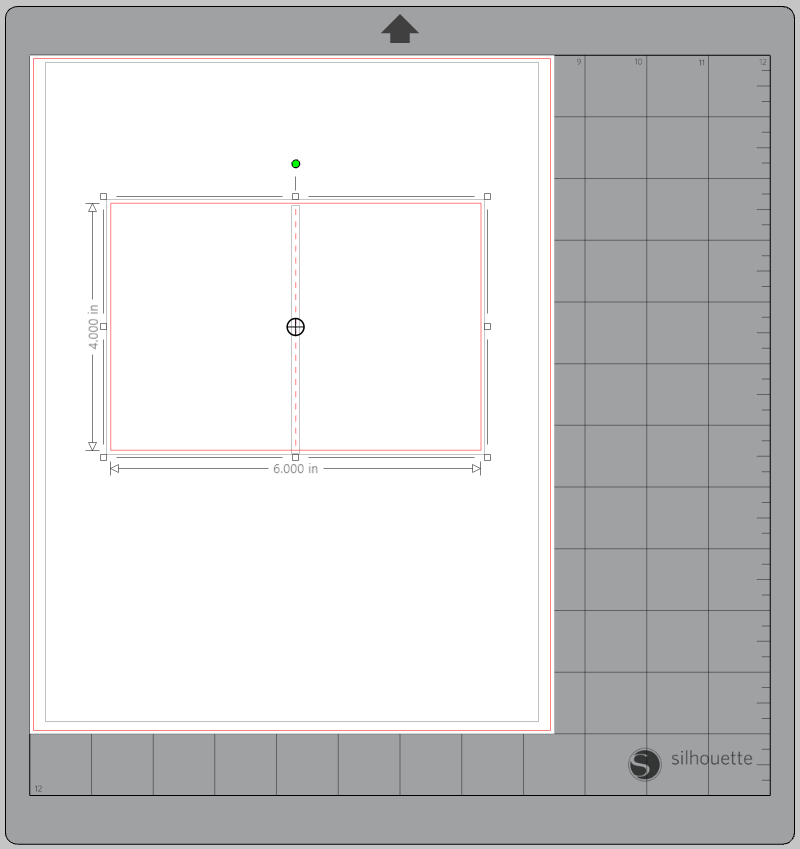
2. Now create a straight vertical line, 4 inches tall, and change it to a dashed line using the line settings on the upper tool bar. This will turn the line into a fold line for your card. Center the line to the rectangle using the align tools.
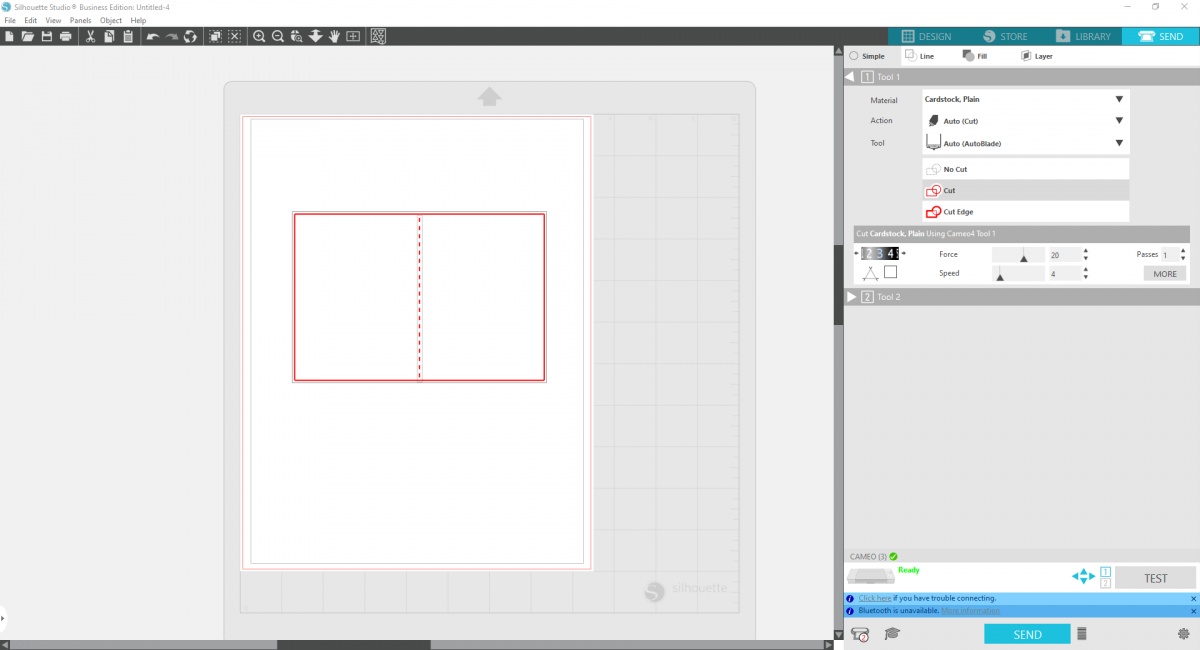
3. Now you can cut out the design on paper of your choice for as many cards as you like! Then simply stick on the sticker designs to the front of the card!
People are sure to love these custom festive cards!
 Free Class - Foiled Gift Tags with the Heat Pen
  Design Store - Over 300,000 Designs to Bring Your Creative Vision to Life