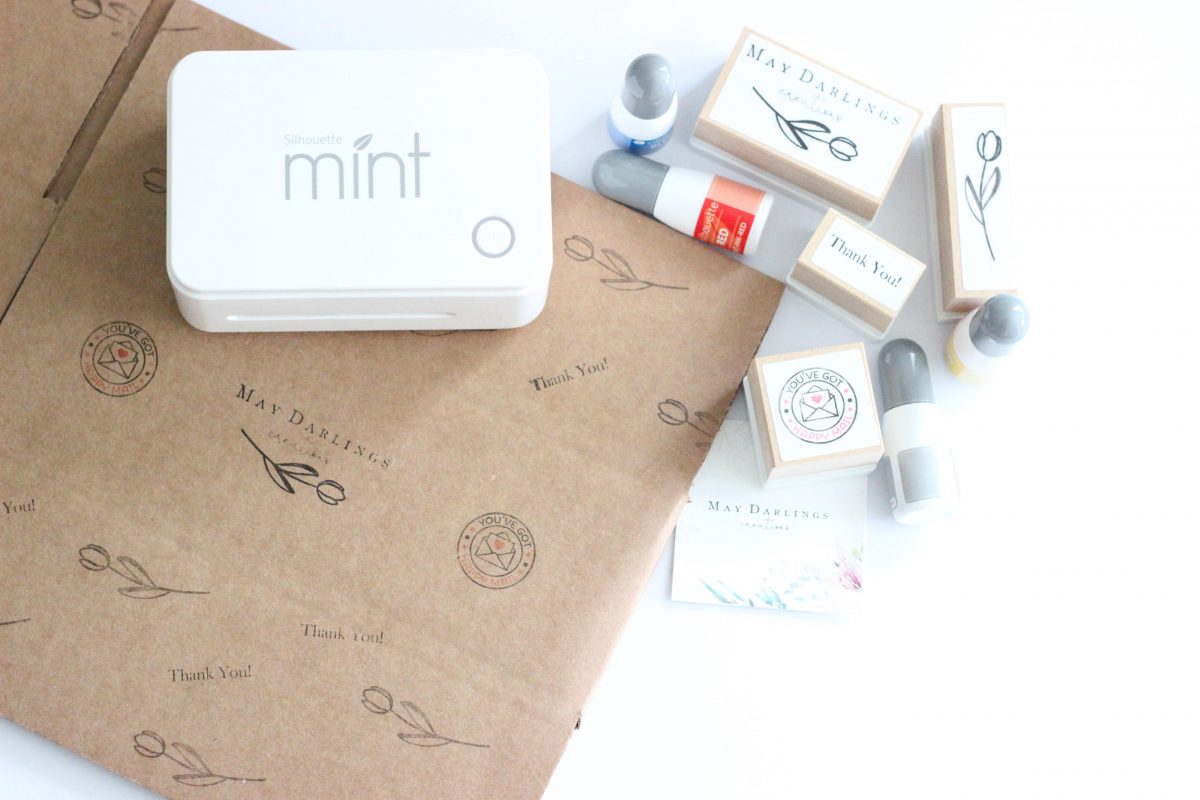
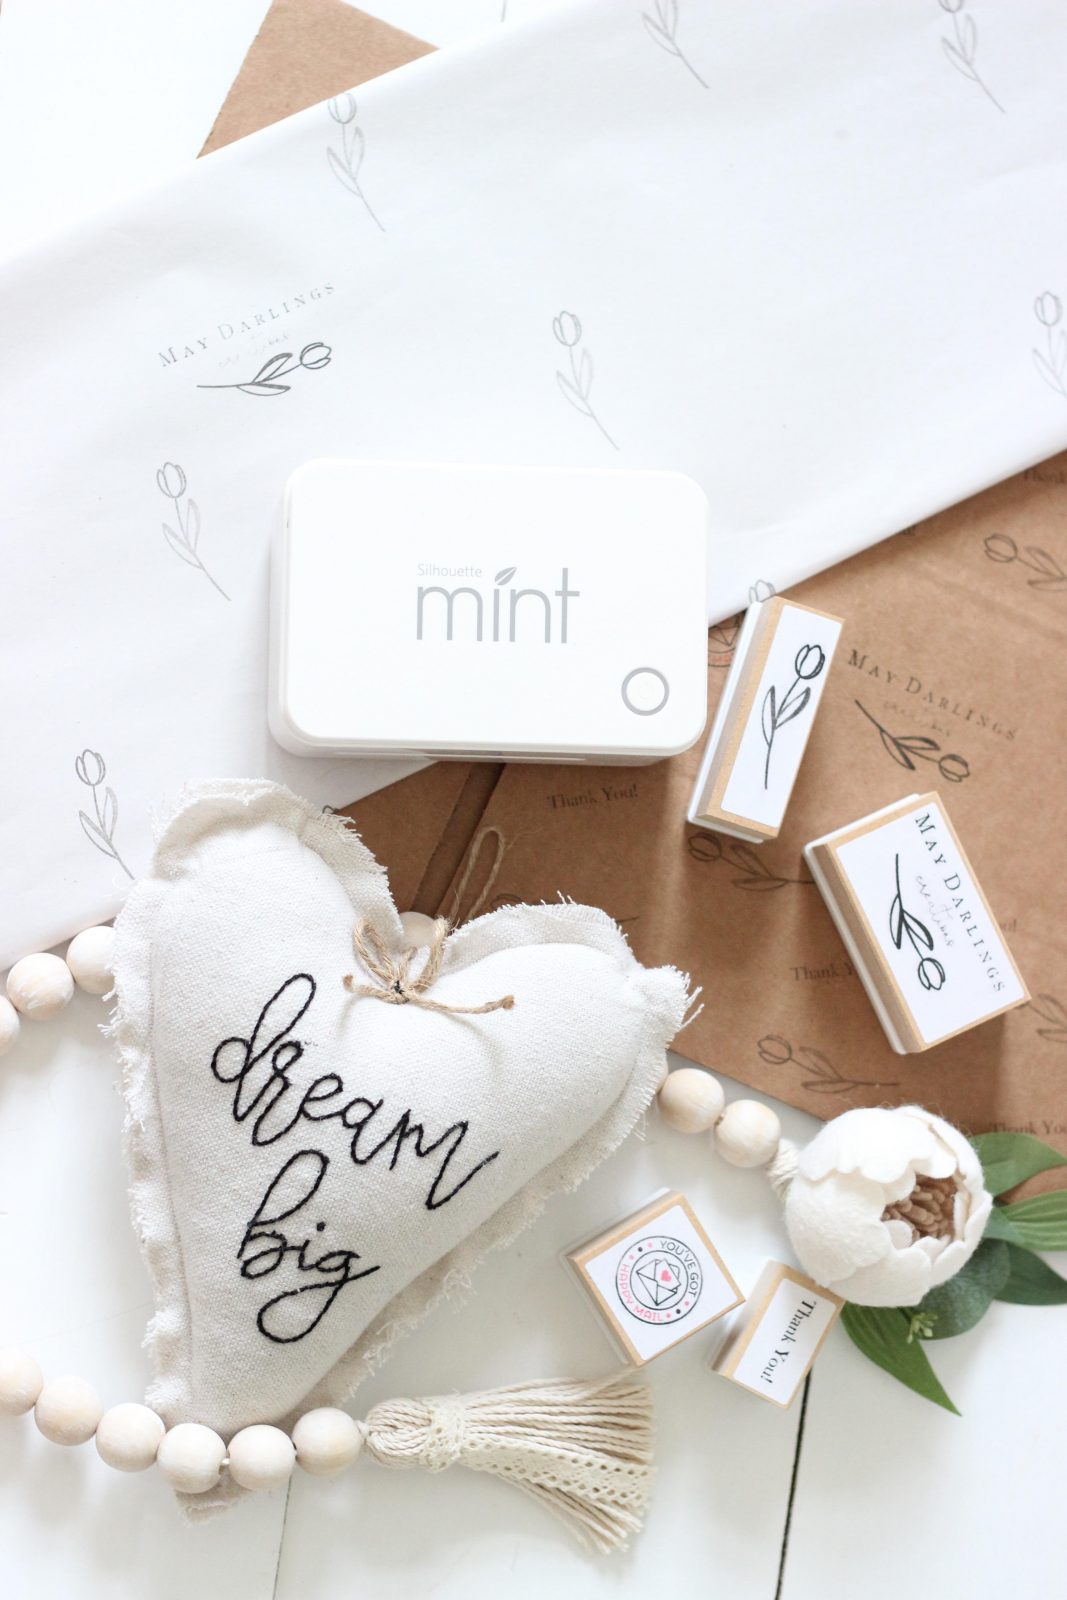
I know how hard it can be for small businesses to invest on shipping supplies. At the same time, you want to show how much you care about your customers, and your packages can reflect this well. So it is time to add that little something special when you send a product away. Keep reading and learn how to create and personalize your own stamps without spending a fortune using Silhouette designs, your own logo, and the Silhouette Mint™.
Supplies Needed:
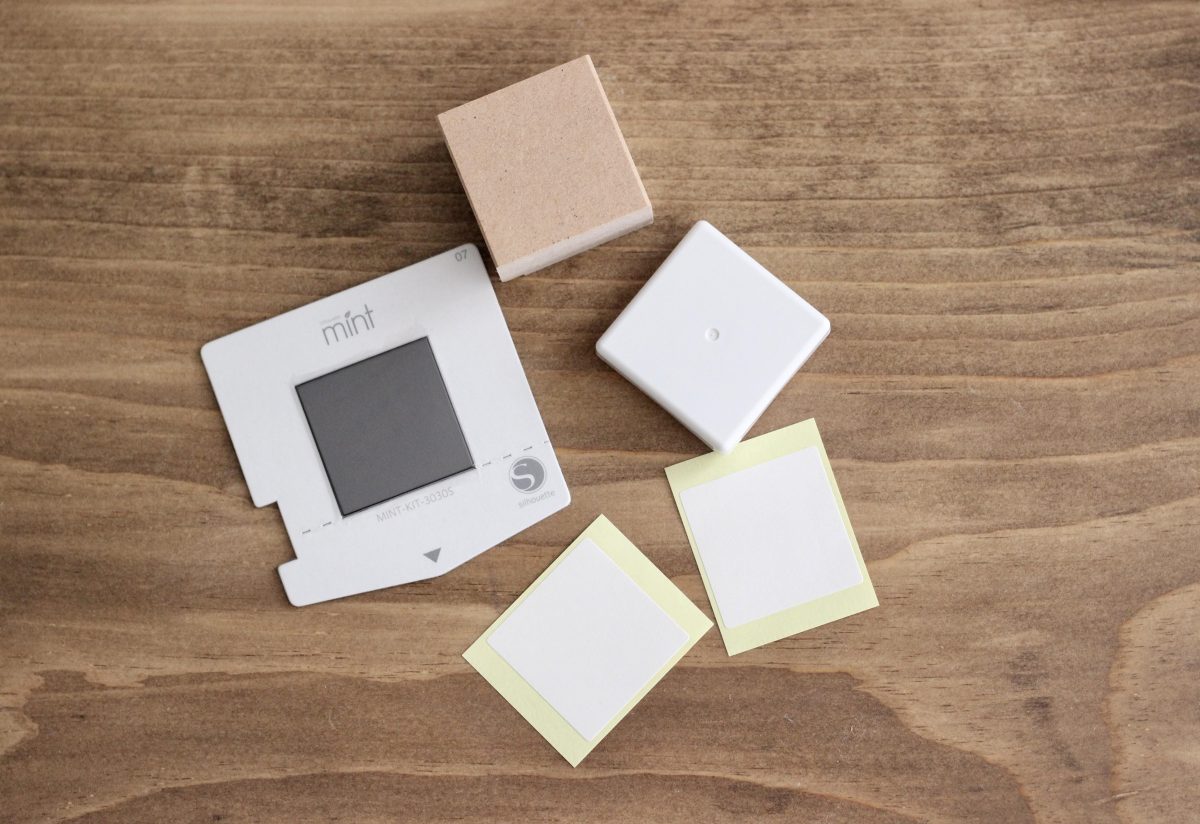
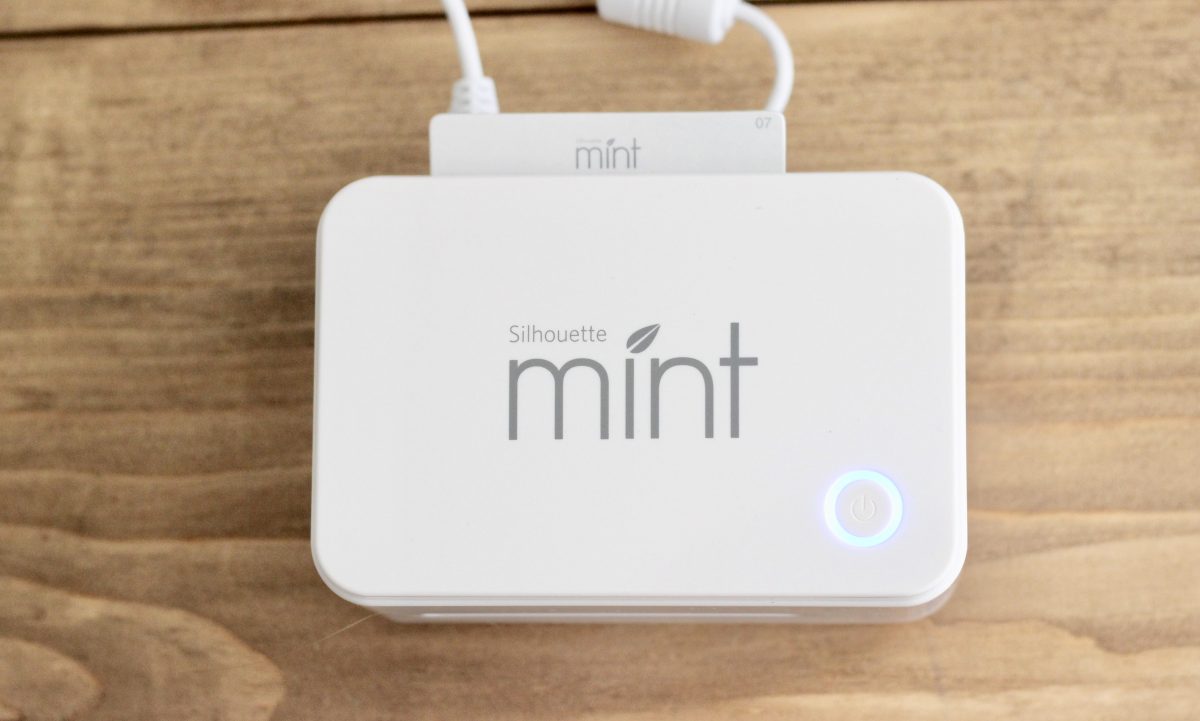
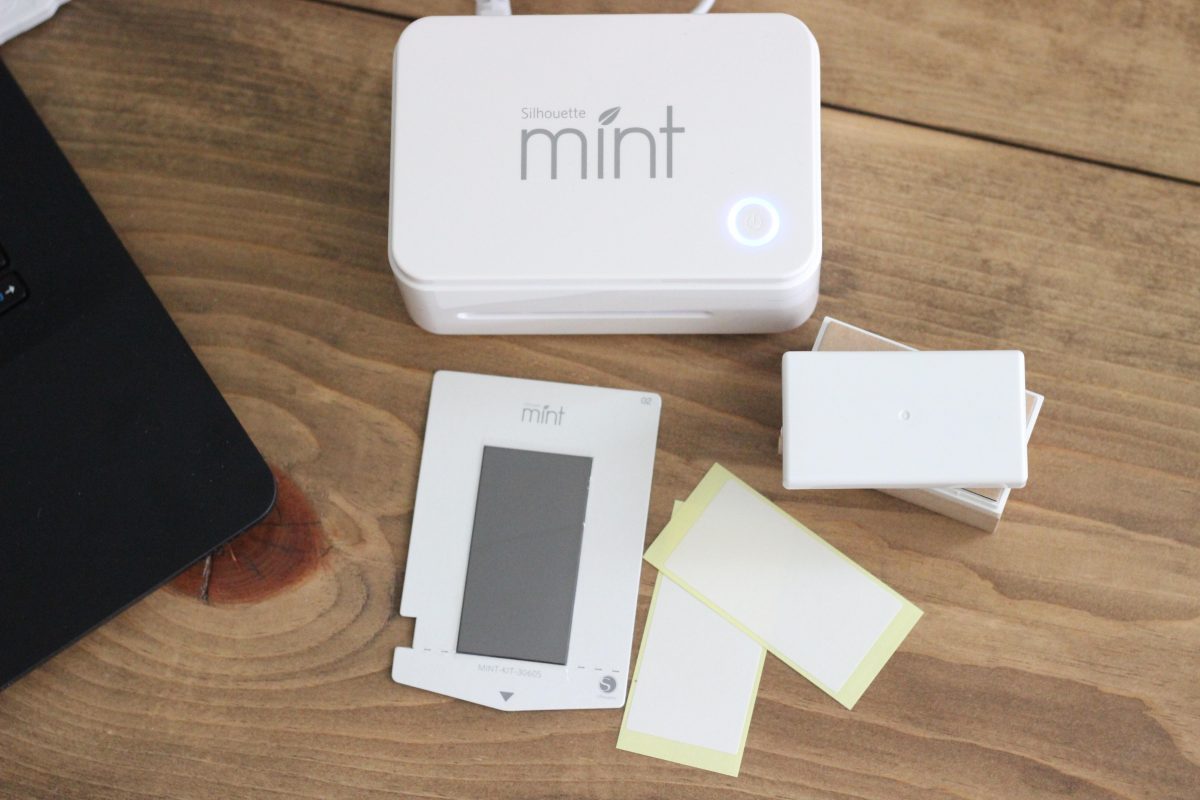
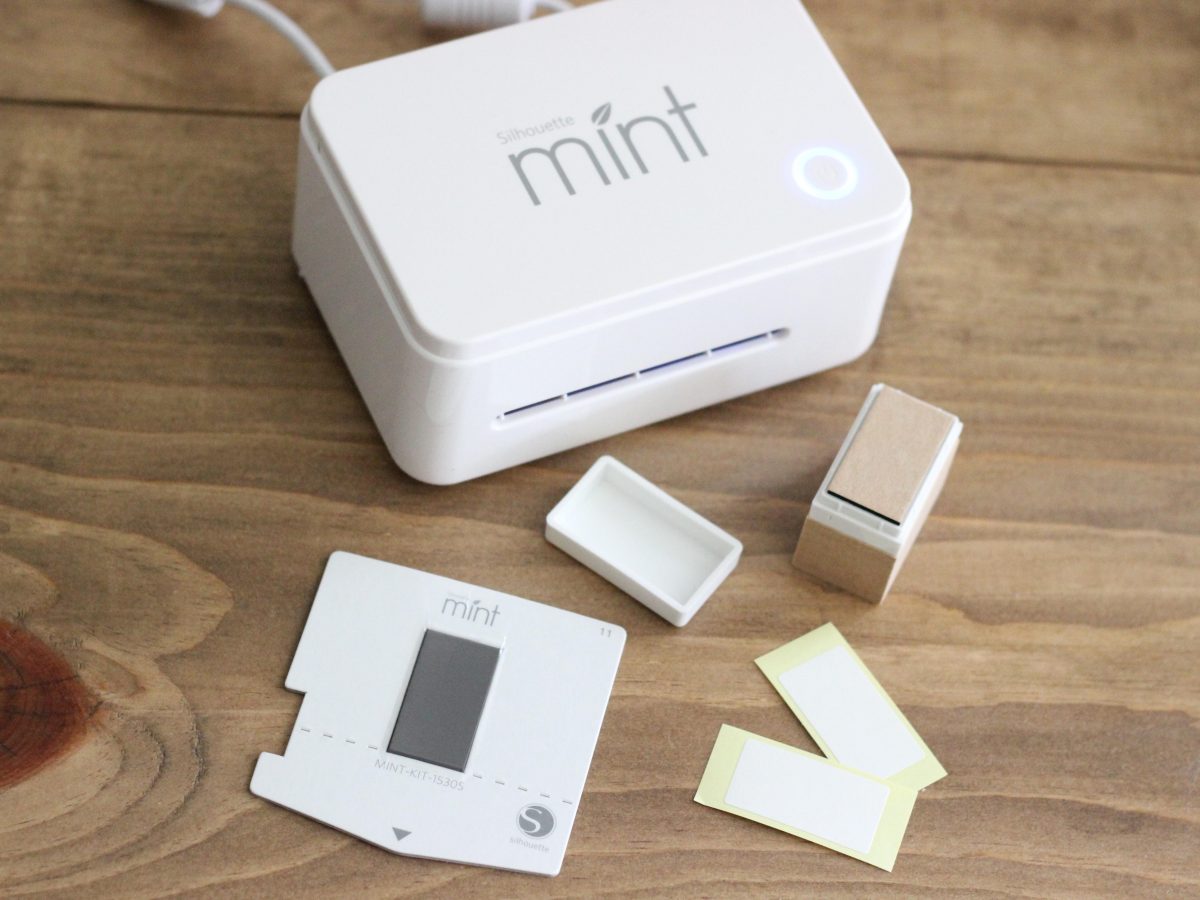
- Silhouette Mint™
- 1 Silhouette Mint™ stamp kit 30 mm x 30 mm
- 1 Silhouette Mint™ stamp kit 30 mm x 60 mm
- 1 Silhouette Mint™ stamp kit 15 mm x 60 mm
- 1 Silhouette Mint™ stamp kit 15 mm x 30 mm
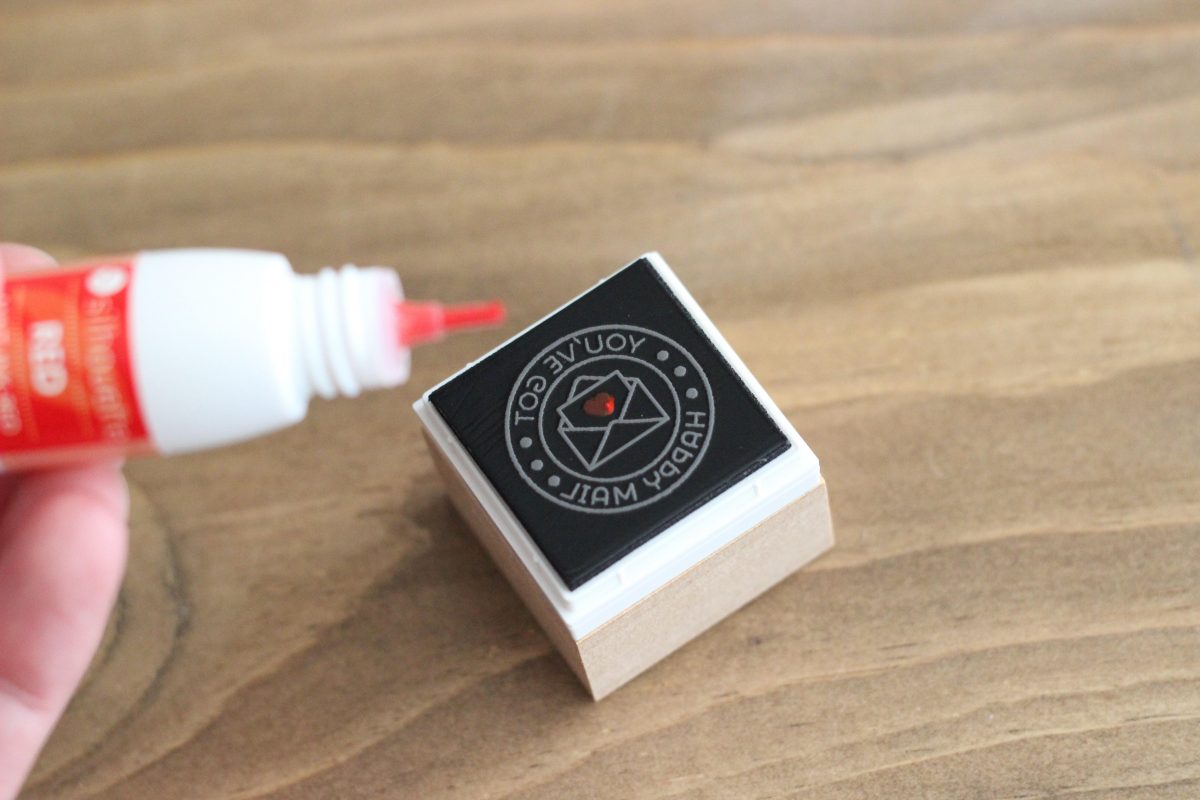
- Silhouette Mint™ Red ink
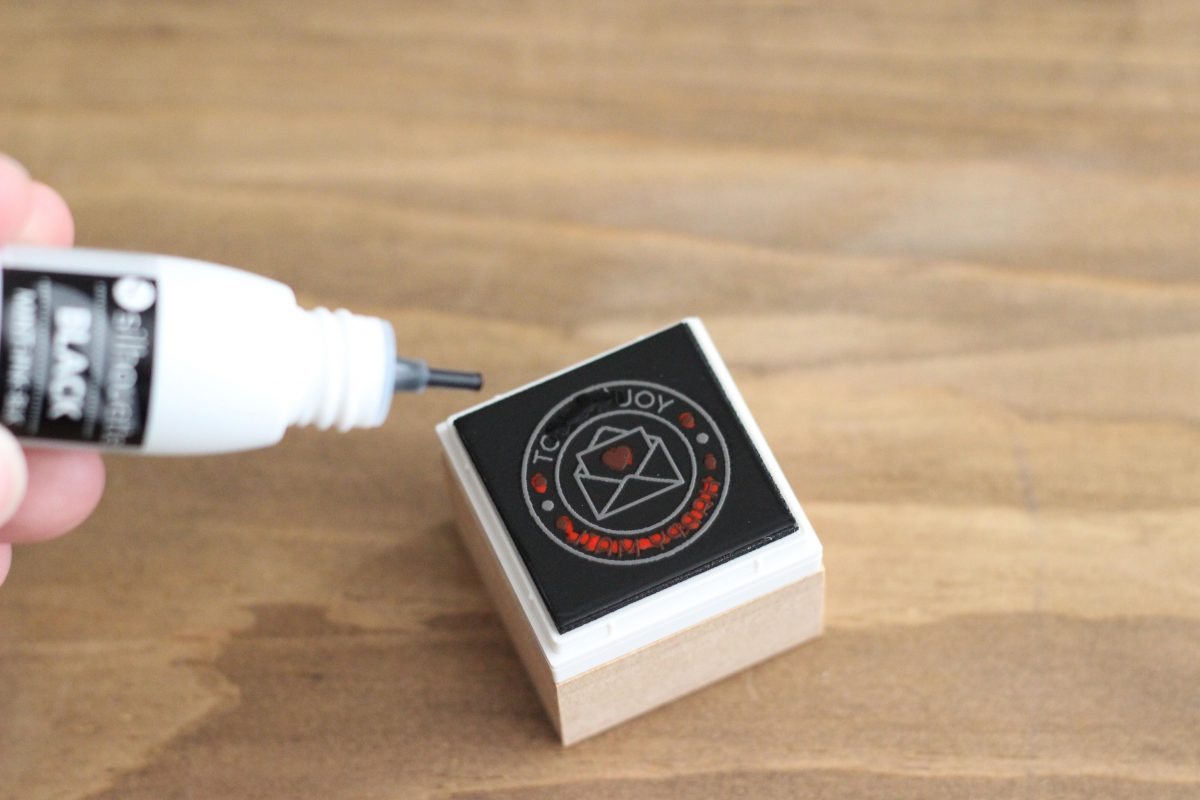
- Silhouette Mint™ Black ink
- Design ID #211265
- Design ID #288761
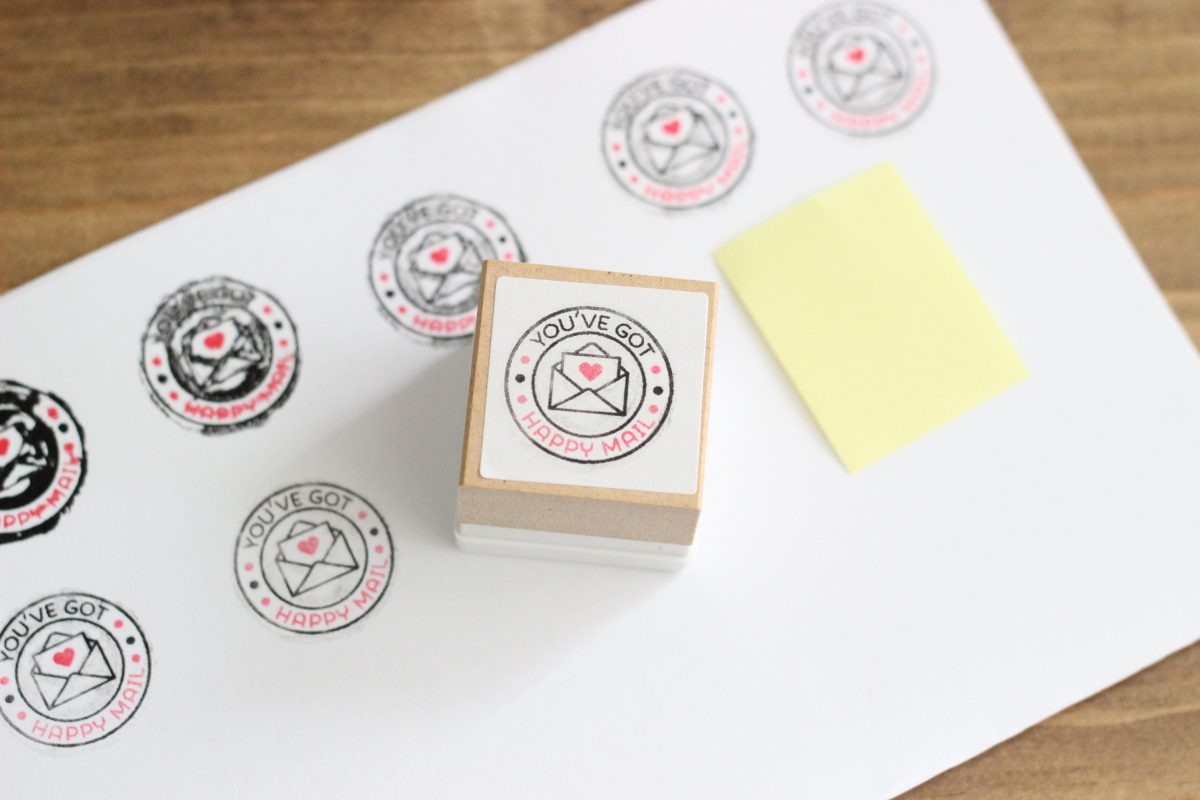
Stamp One: You’ve Got Happy Mail
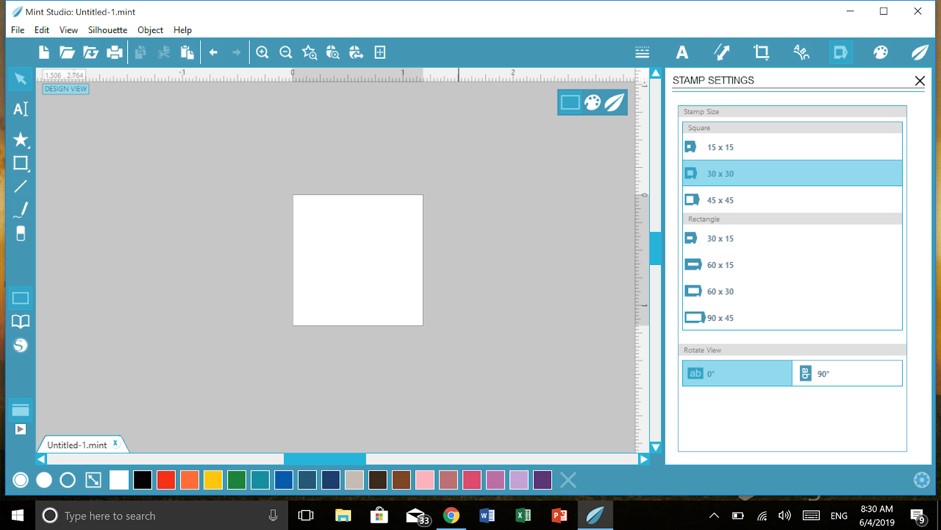
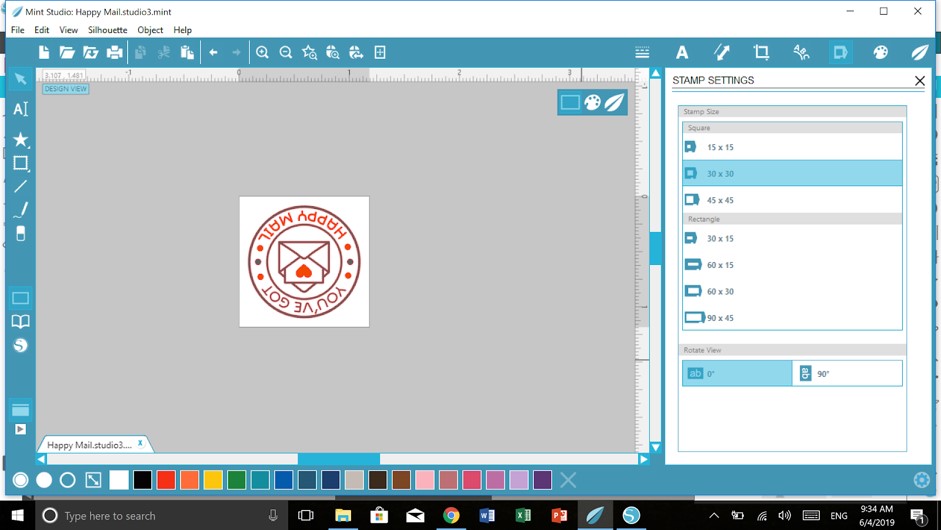
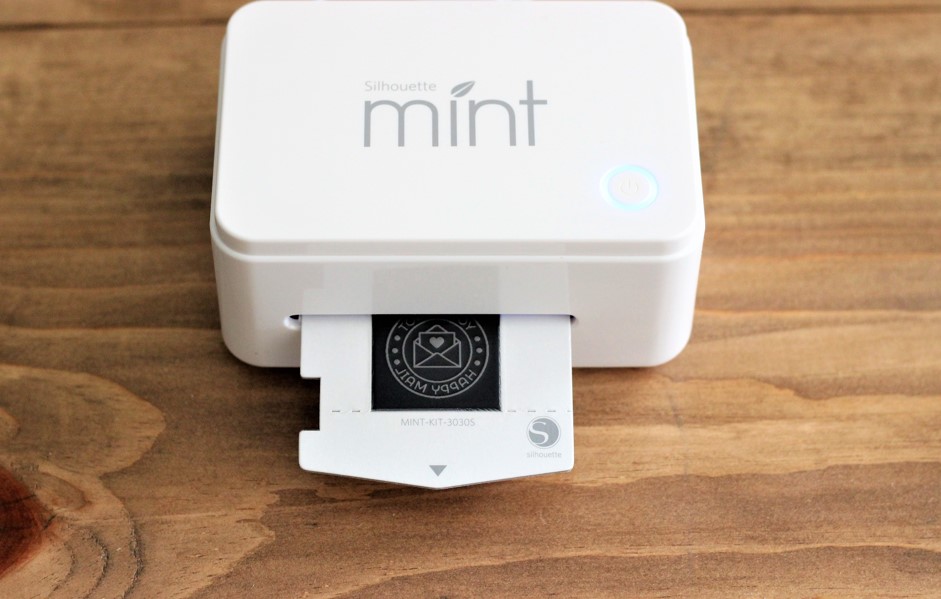
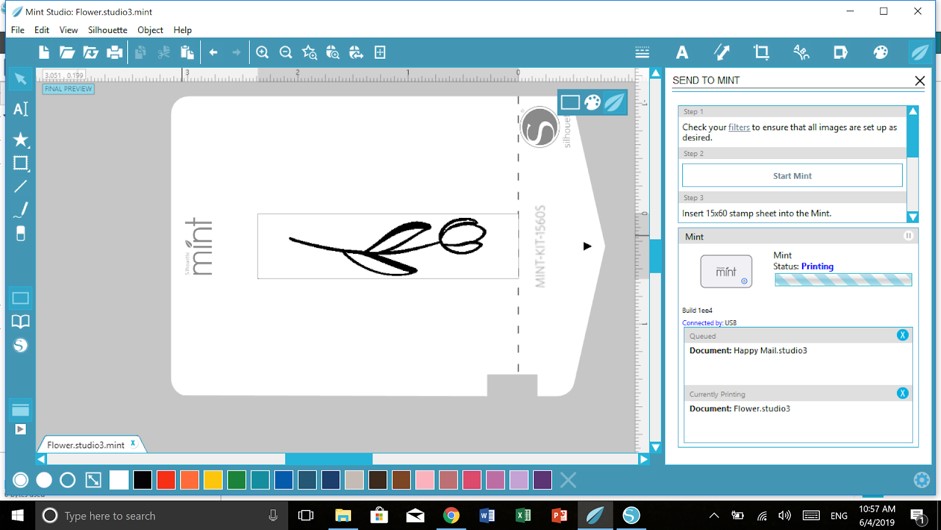
1. Open the design area on Mint Studio™ and go to stamp settings panel and choose 30 mm x 30 mm stamp size. Then open the happy mail design (Design ID #211265). Resize it to fit the stamp area, and then place it within the stamp work space. In Mint Studio™, click the leaf (Send to Mint) icon in the right corner. Mint Studio™ will automatically flip your stamp so that you don’t have to worry about it.

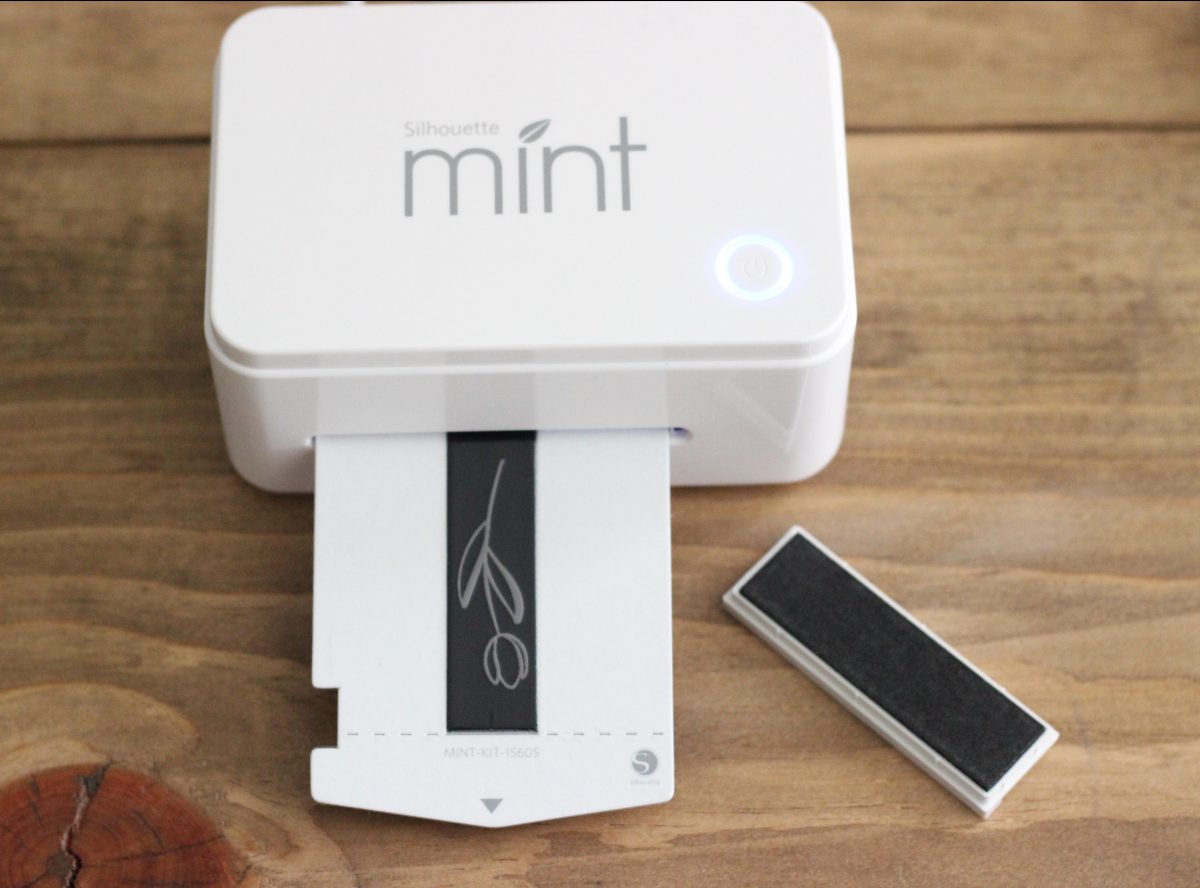
2. Unwrap your stamp sheet from its packaging. DO NOT remove the plastic layer covering the rubber.
3. Click “Start Mint” on the right and Insert the stamp sheet through the back slot of the Mint arrow first. You will feel the stamp catch inside the machine. Pull out your stamp once it has finished printing.
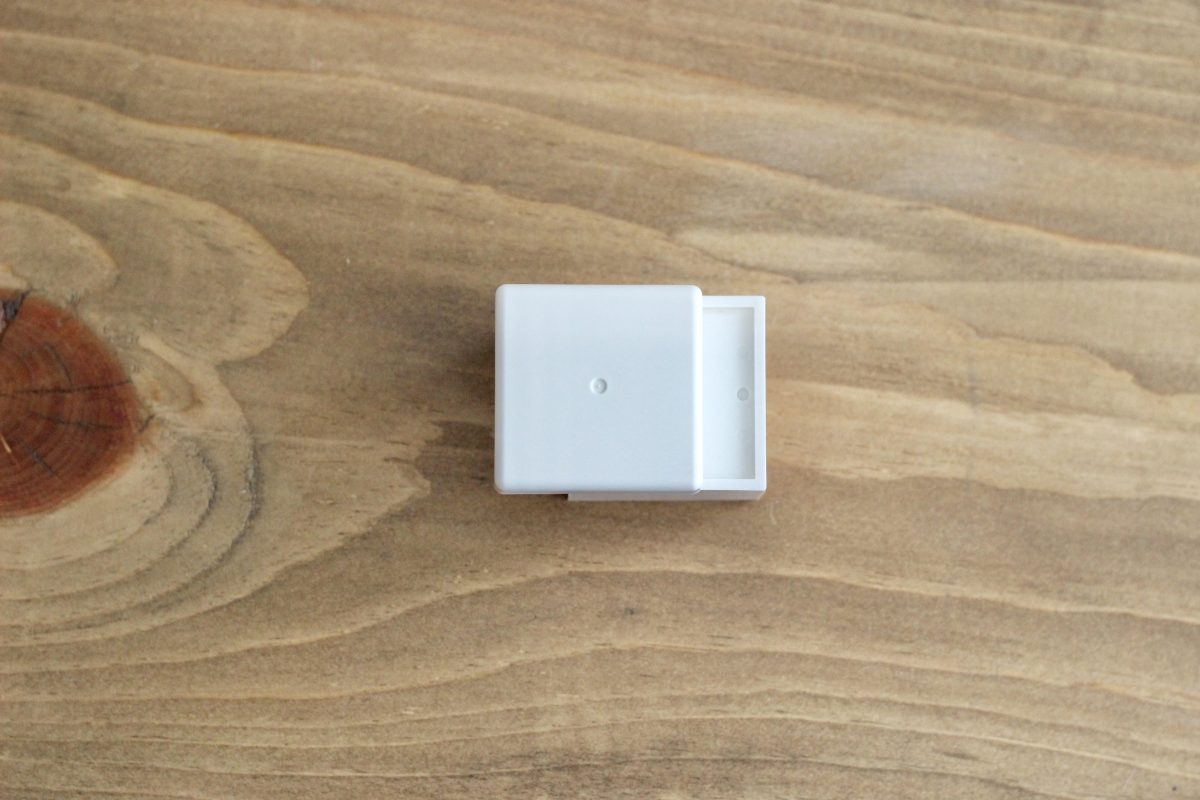
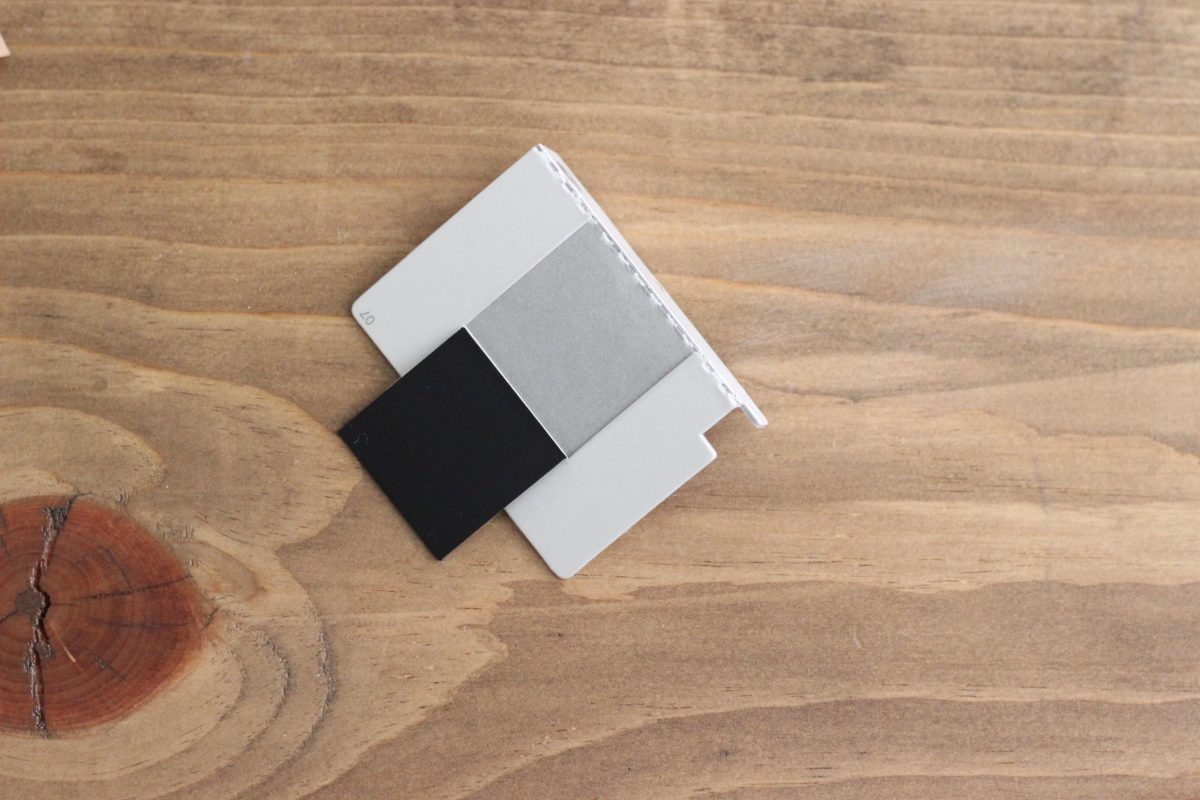
4. Assemble your block by sliding the top into place. Remove the lid from the block. Pull off the brown protective sheet to reveal the adhesive mat.

5. Take your 3D relief in hand, peel off the plastic, and remove the cardboard surrounding it. There are perforated lines across the cardboard that help make removing the stamp easier. Stick your stamp to the interchangeable base, which has a sticky adhesive for easy application.

6. Using Mint Inks, apply ink directly to the stamp. The inner reservoir on the stamps will absorb the ink only where the stamp is printed. Using this method of applying the ink directly to the stamp, the color goes only where you place it. After you apply the ink, wait 5–7 minutes before stamping.
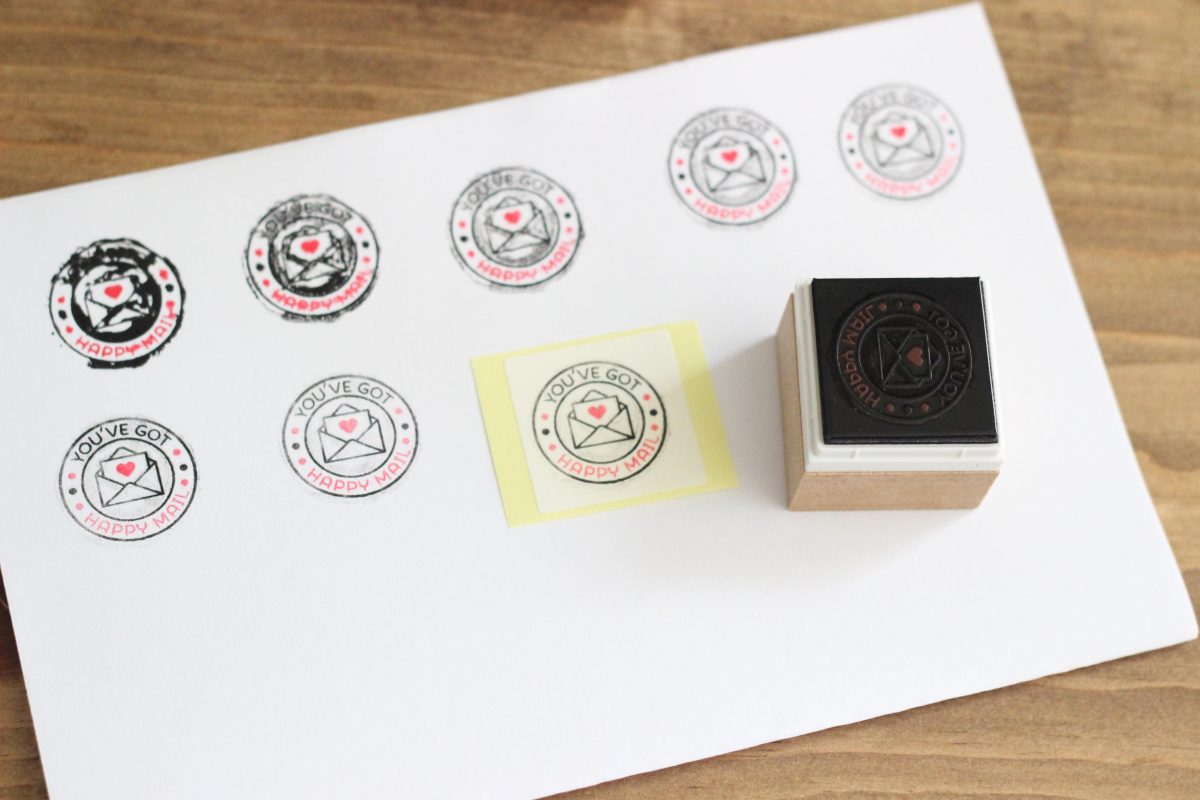
7. The first couple of times you use your stamp, the design will be blurry. The excess ink just needs to be stamped off. Use a scrap piece of paper and stamp repeatedly. When the excess ink blots off, your stamp will be crisp and clear and ready to be used many times. At least 50 times before you have to reink it. And don’t forget to stamp the labels to identify each stamp. Make sure you stamp the design in the right direction too.
Stamp Two: Tulip Flower
1. Now, let’s create another stamp! You can use this one to decorate plain white wrapping paper or your own shipping boxes.1. Repeat all the steps from the first stamp, but this time open the Design ID #288761 and adjust it to fit a 15mm x 60mm stamp.
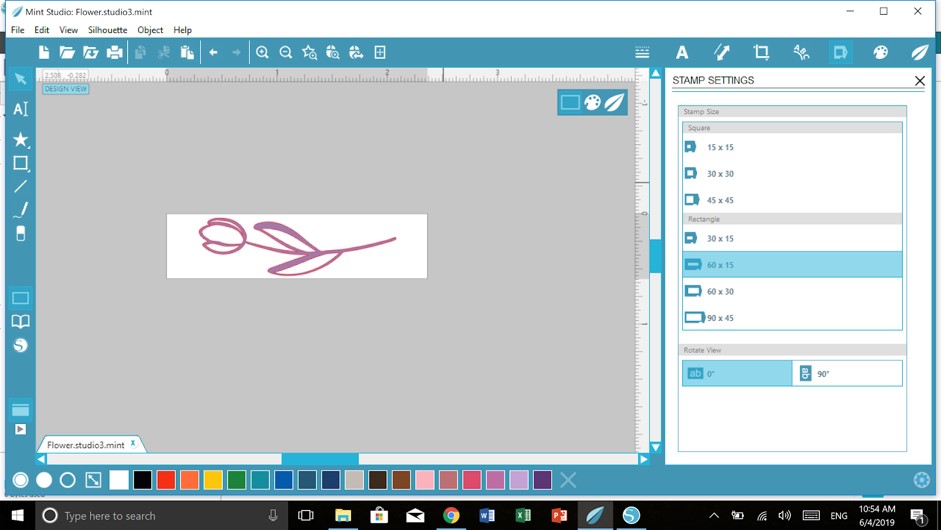
2. Send it to Mint and voila!


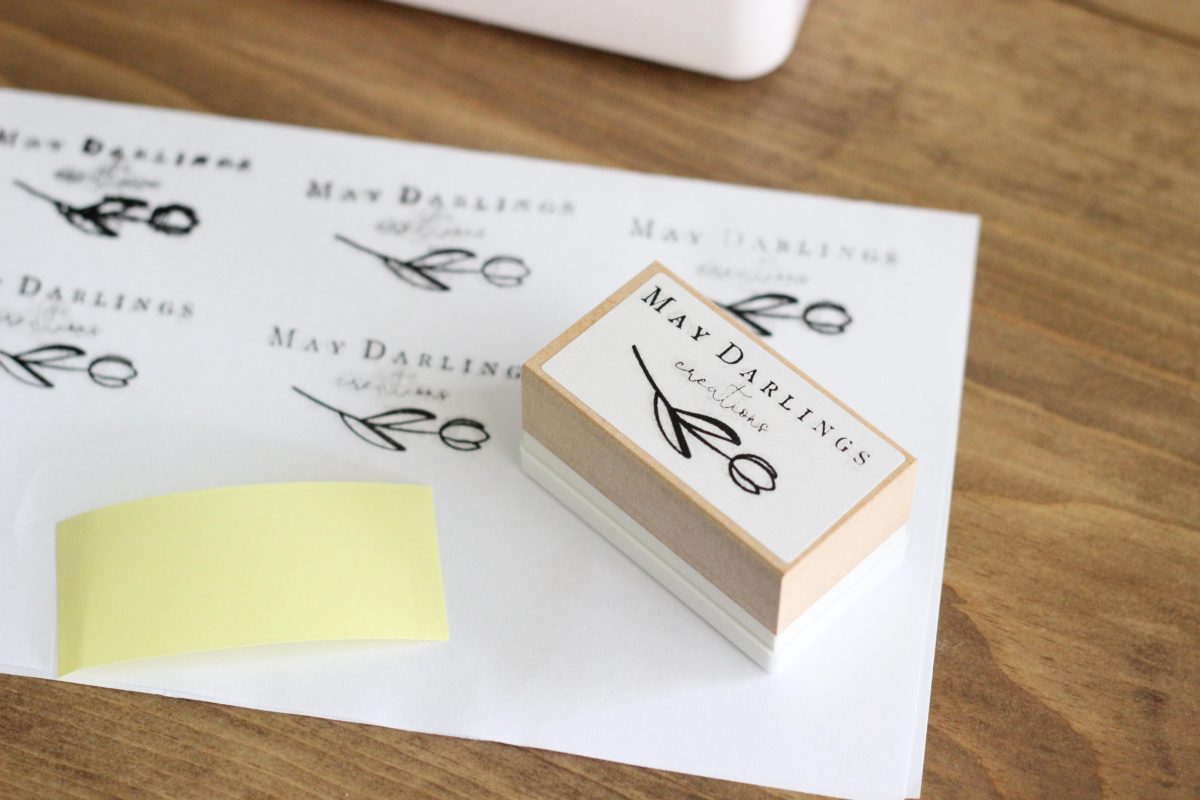
Stamp Three: Your Own Logo
Next, let’s make a stamp using the tulip design above (Design ID #288761) and your own logo file that can be uploaded from your computer.
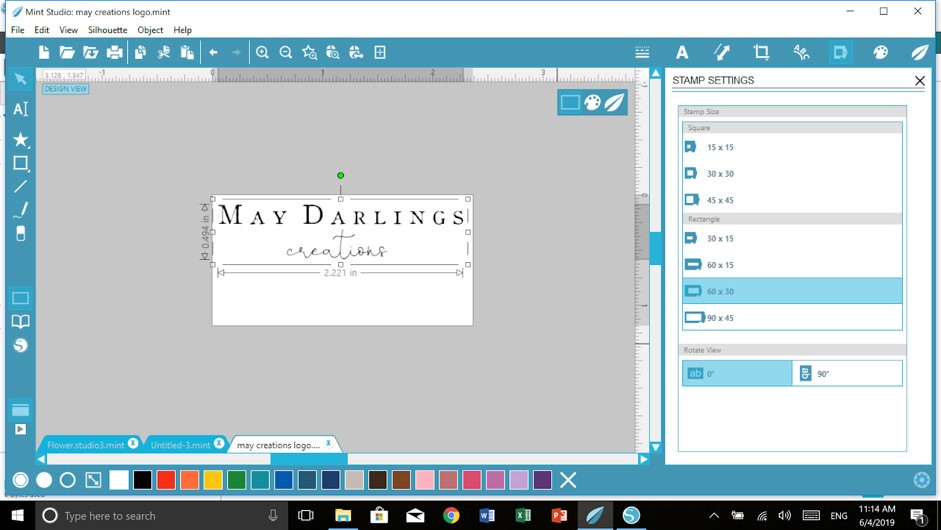
1. Choose the desired stamp size. In the case here I am using the size 60mm x 30mm.
2. Go to file on the left top corner of your Mint Studio™ and add your logo file. Adjust size to fit stamp.
3. Open the flower Design ID #288761 again. It will open on another file tab. You can then copy and paste it to the logo stamp file and adjust it to fit as desired.
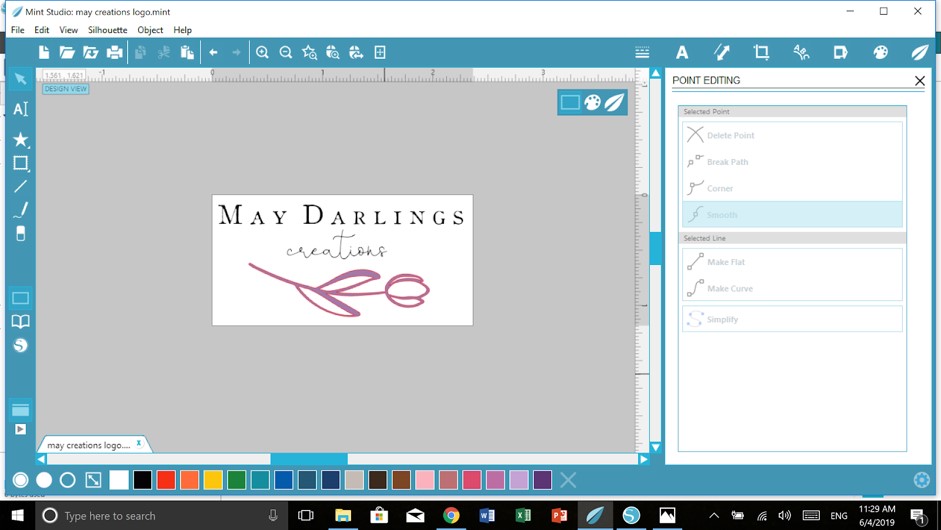
4. Select all images then group them. Now, you are ready to send your logo design to Mint and print.
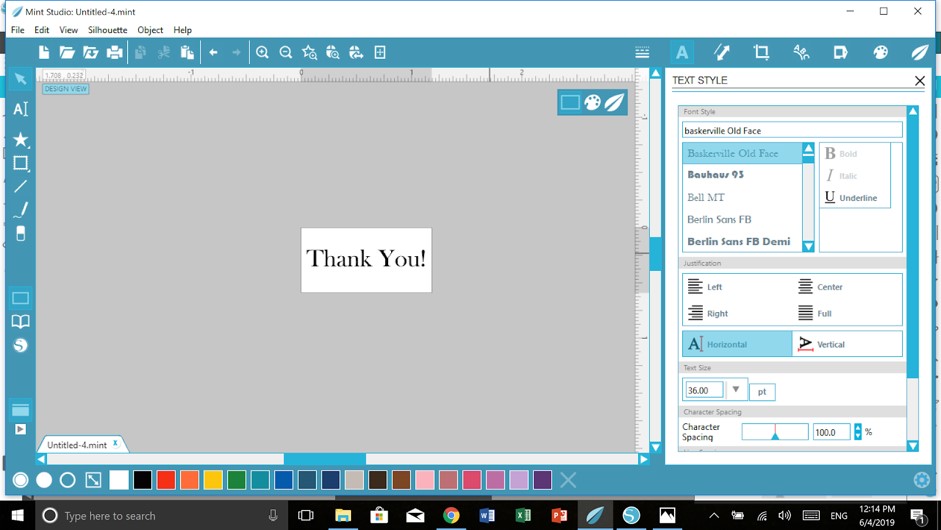
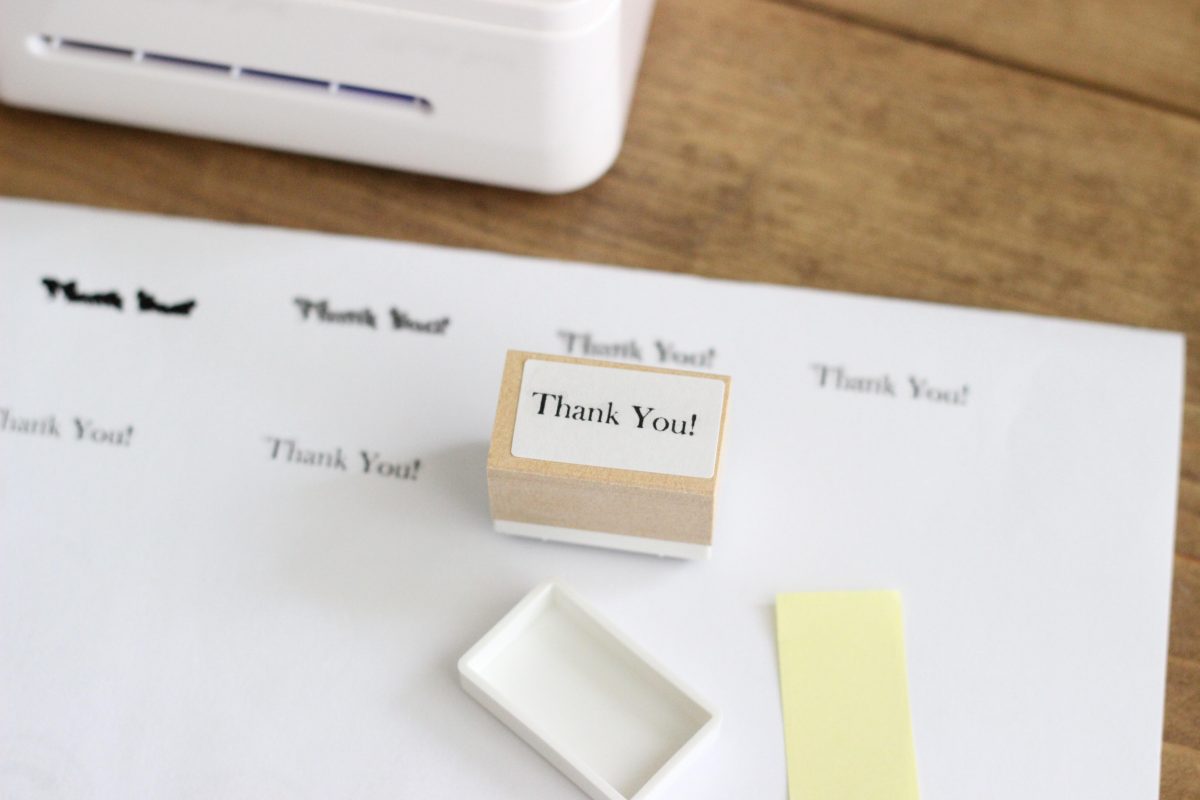
Stamp Four: Thank You!
Lastly, a simple way of making a stamp is also using your computer own fonts. Here I just needed a plain but nice “ thank you” that can go well together with the other stamps, but you can very well use a Silhouette design as well.
1. Just open the desired stamp size (for this tutorial I am using the 15mm x 30mm).
2. Click the text icon on the left and choose the desired font. That’s it! Now you are ready to send it to the Mint and print!
Now you are all set and the sky is the limit for your Mint machine! Enjoy your goodies.