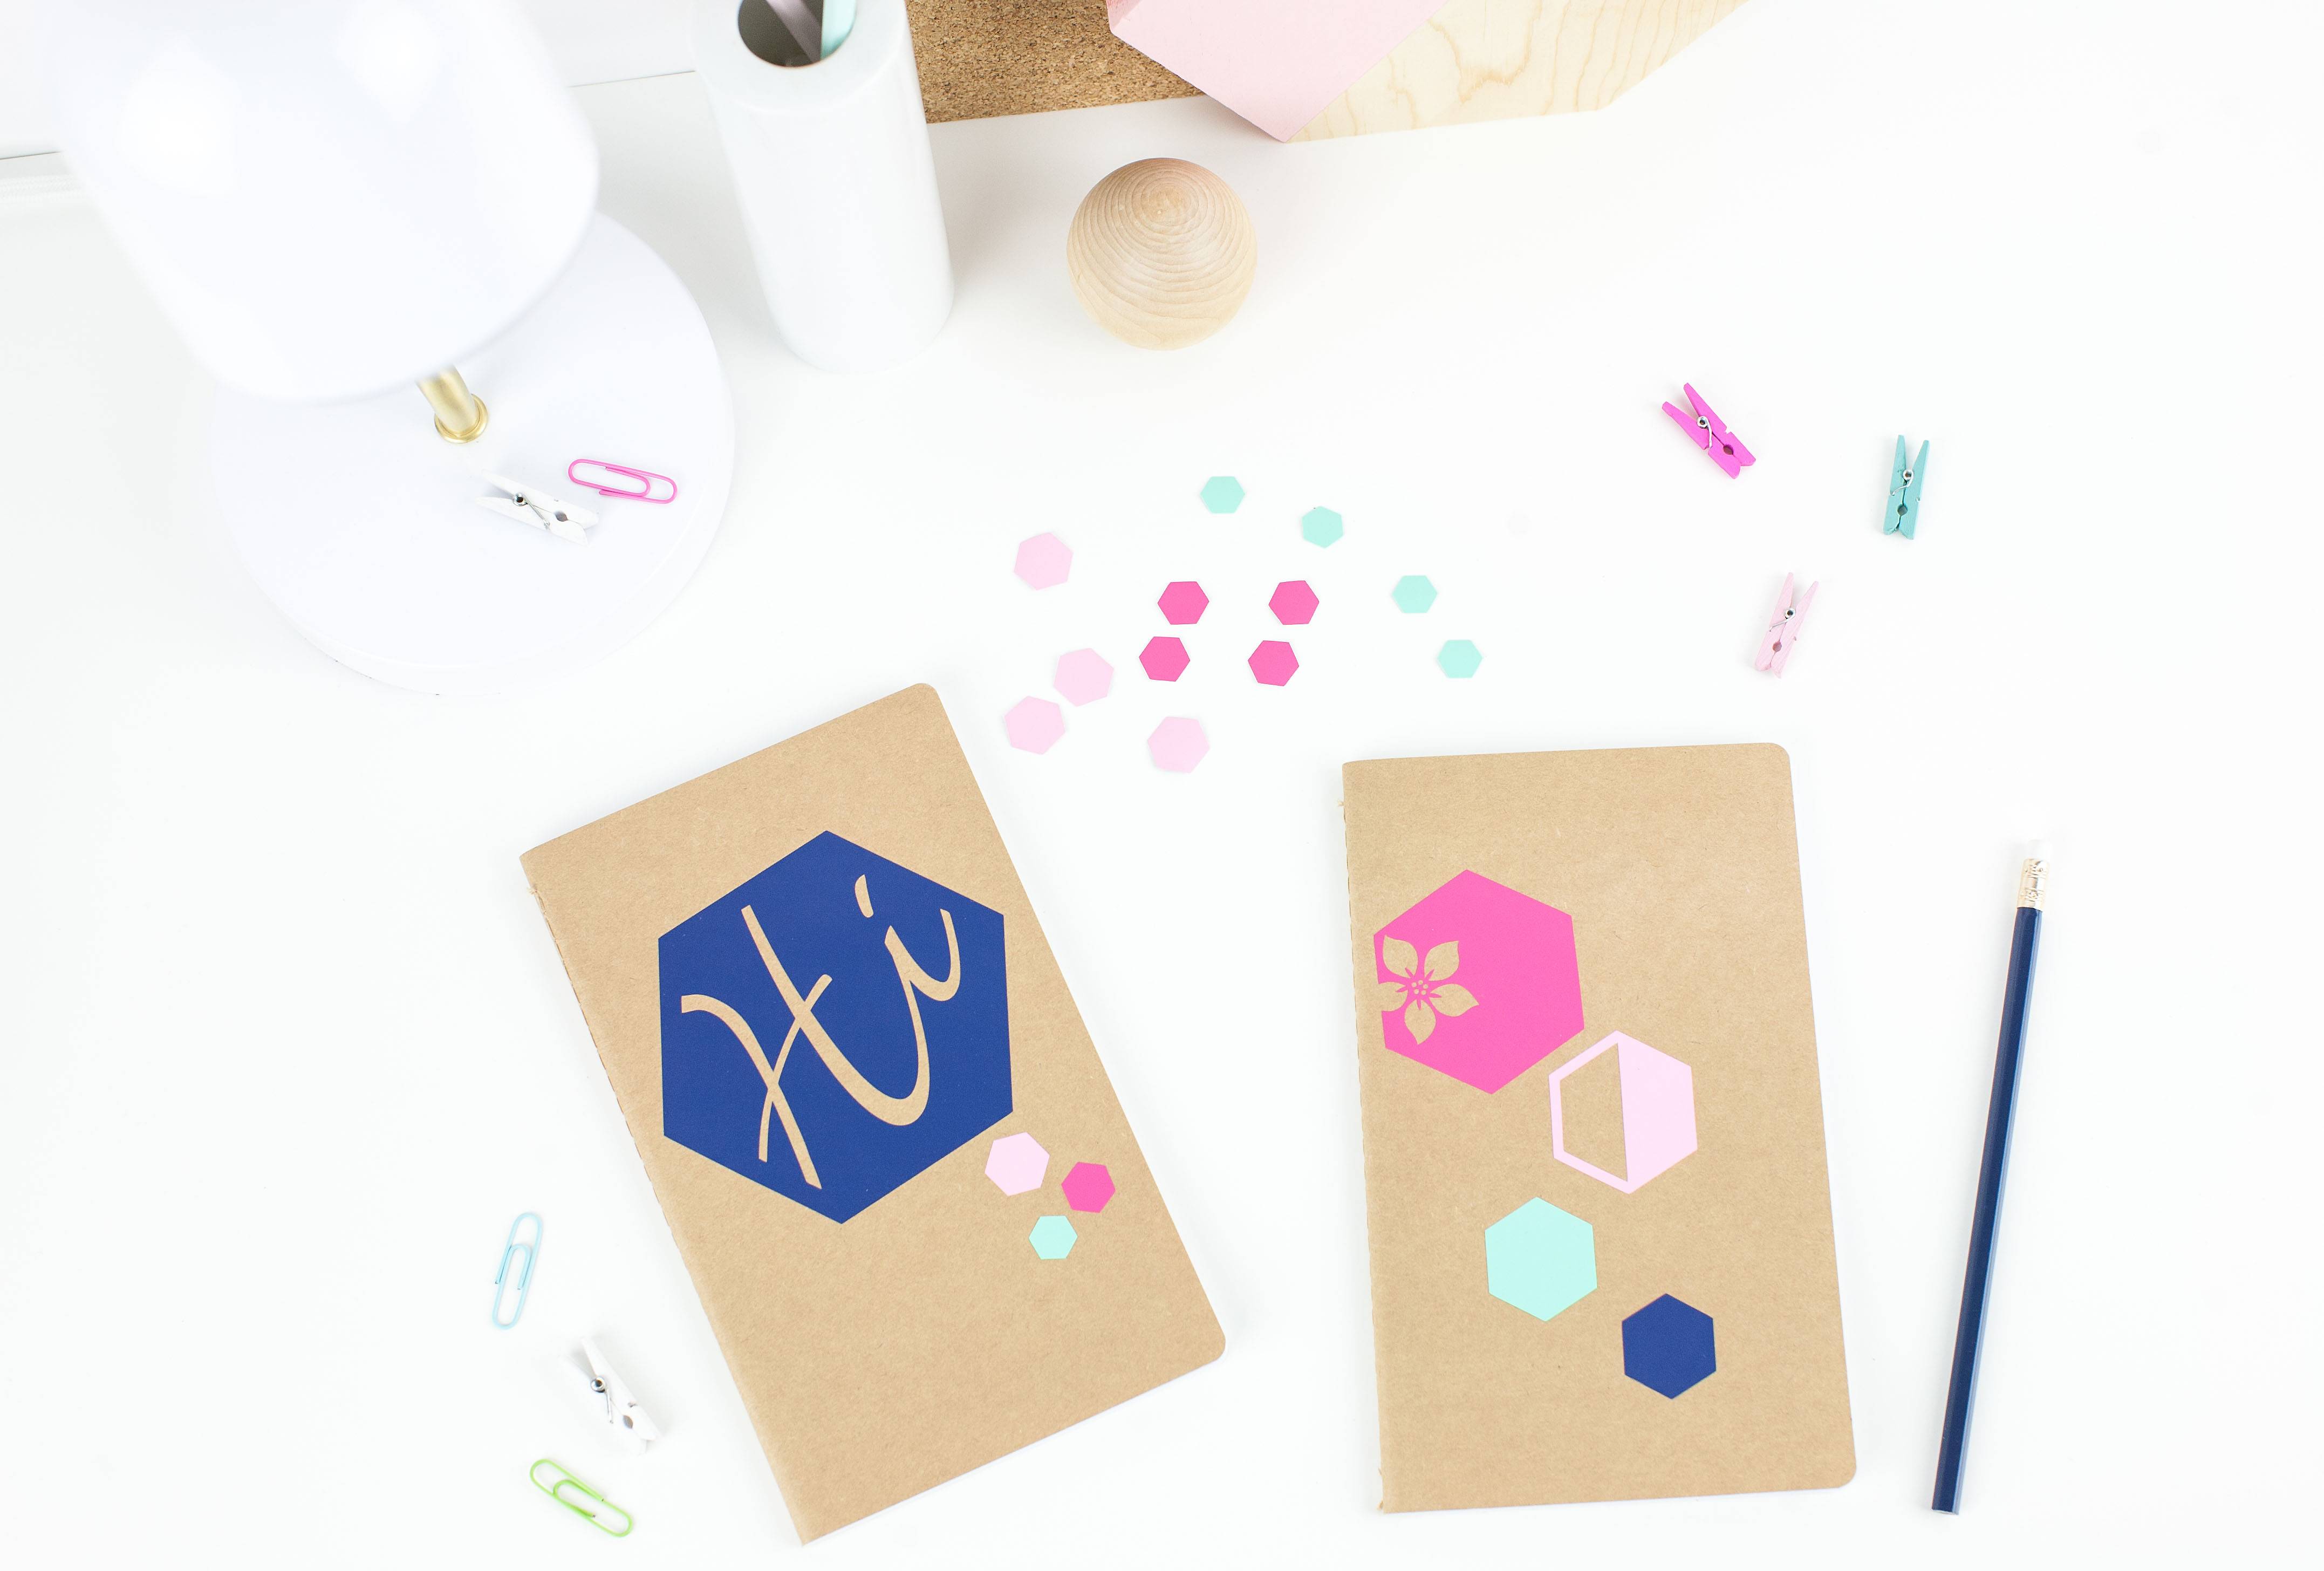
I can’t resist a set of notebooks, no matter what size, material, or color. I always carry one with me at all times. When I came across these neutral notebooks at Target, my home away from home, I knew I wanted to create a modern design for them. They came in a set of 6, which was great because that meant I had enough to gift to friends. I wanted to design a few different notebooks that would coordinate with each other, so naturally, I headed over to look at all the wonderful designs offered by Silhouette! Once I decided on my embellishments, it was time to think of a theme and design for my new notebooks. These notebooks would make great gifts, especially with the holidays coming up!
Supplies Needed:
- Silhouette CAMEO® or Silhouette Portrait® or Silhouette Curio™
- Silhouette Cutting Mat
- Silhouette Cutting Blade
- Silhouette Studio®
- Silhouette Bright & Bold Vinyl Sampler Pack
- Silhouette Transfer Tape
- Silhouette Scraper Tool
- Notebooks
- Design ID #38551

Step One: Set Up The Design
- Start by choosing your notebook design. I used Design ID #38551.
- Select the Page Setup window (this icon can be found on the toolbar on the right-hand side of your page) and adjust your width and height to the dimension of your machine.
- Adjust the size of the design by selecting it and dragging the outer corner to make it larger or smaller. You will want to measure your notebook so you know how large or small your designs need to be.
- Once you have your designs to the desired size, select the colors of vinyl that you’d like them to be cut out of.
Step Two: Cut And Assemble
- In Silhouette Studio®, select the Send window in the top right-hand corner. Select your entire design and make sure the Cut option is selected.
- Load your first color of vinyl into your machine.
- In the Send window, select vinyl as the material and select Send. (Remember that if you don’t have an AutoBlade, you will need to adjust your blade.)
- After your machine is done cutting, unload the vinyl from your machine and weed away unnecessary parts of the design. Repeat the first 4 steps with different colors of vinyl.
- Place transfer tape over your design so that you can move it.
- Slowly peel away the white backing from the vinyl.
- Position your vinyl onto your notebooks. Use the Scraper Tool to burnish the vinyl to the notebook. Slowly peel away the transfer tape to reveal your adhered design.
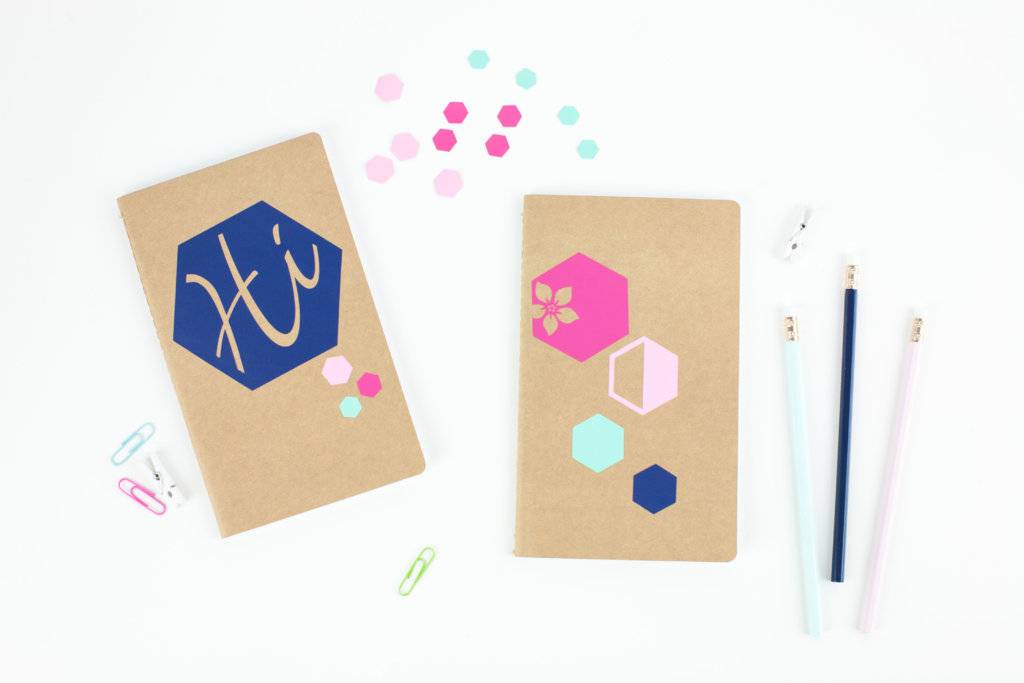
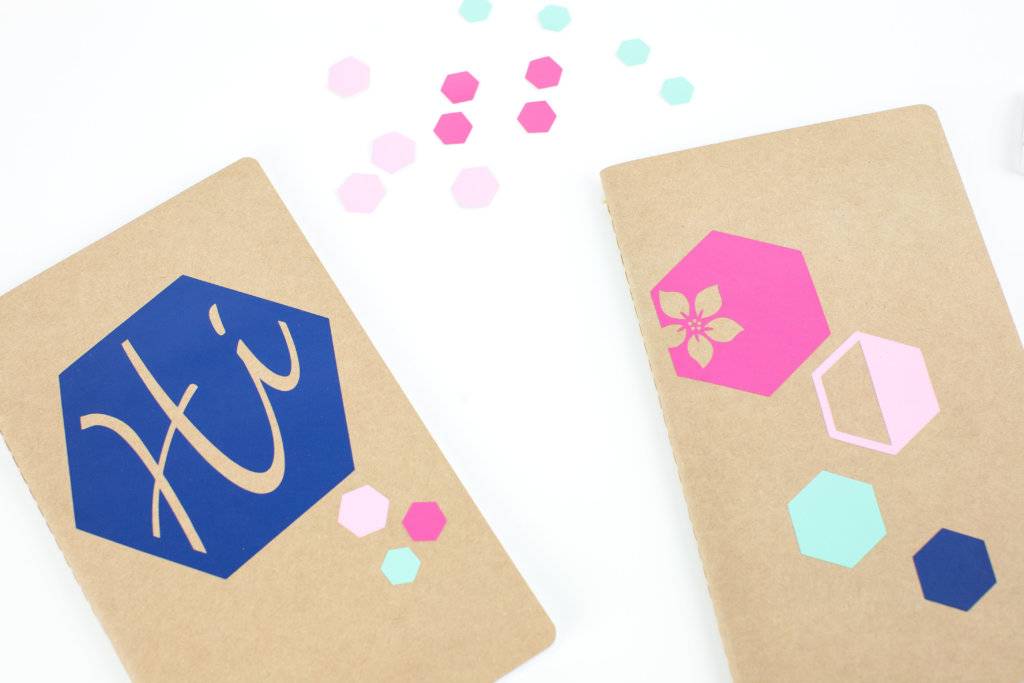
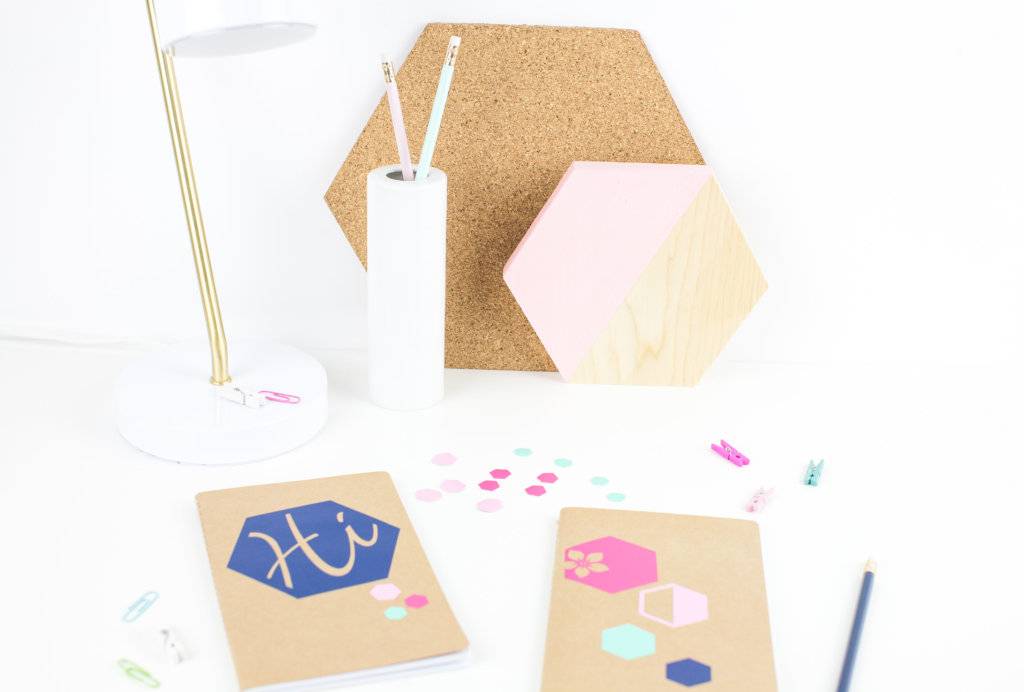
It’s that simple, and the notebooks are sure to make a great addition to your collection! Everyone I know may get one of these notebooks in their stocking this year!
What kind of design would you choose for your notebook?!