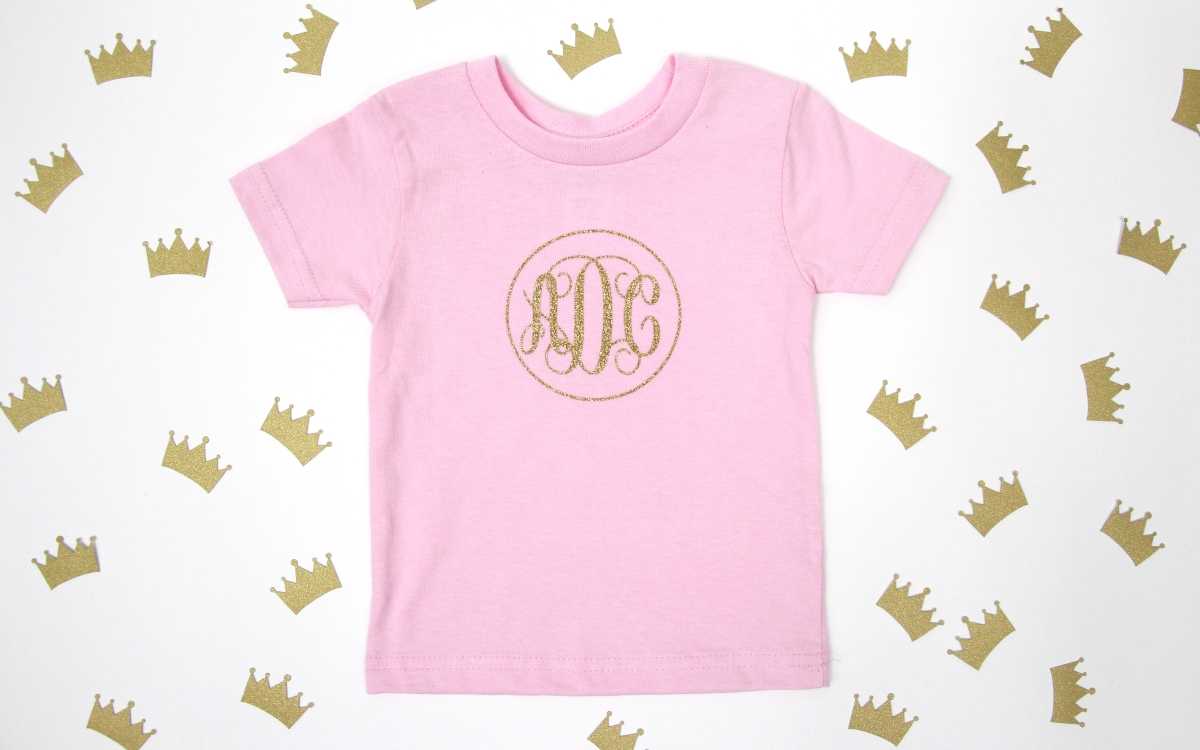
Making custom clothing with my Silhouette Cameo for the little kids in my life is so much fun! My sweet hair stylist recently had a baby girl and I decided I needed to give her something monogrammed and with glitter, of course.
This monogrammed toddler t-shirt was easy to make and will make a great gift for any occasion. I love the timeless look of this design with the circle border.
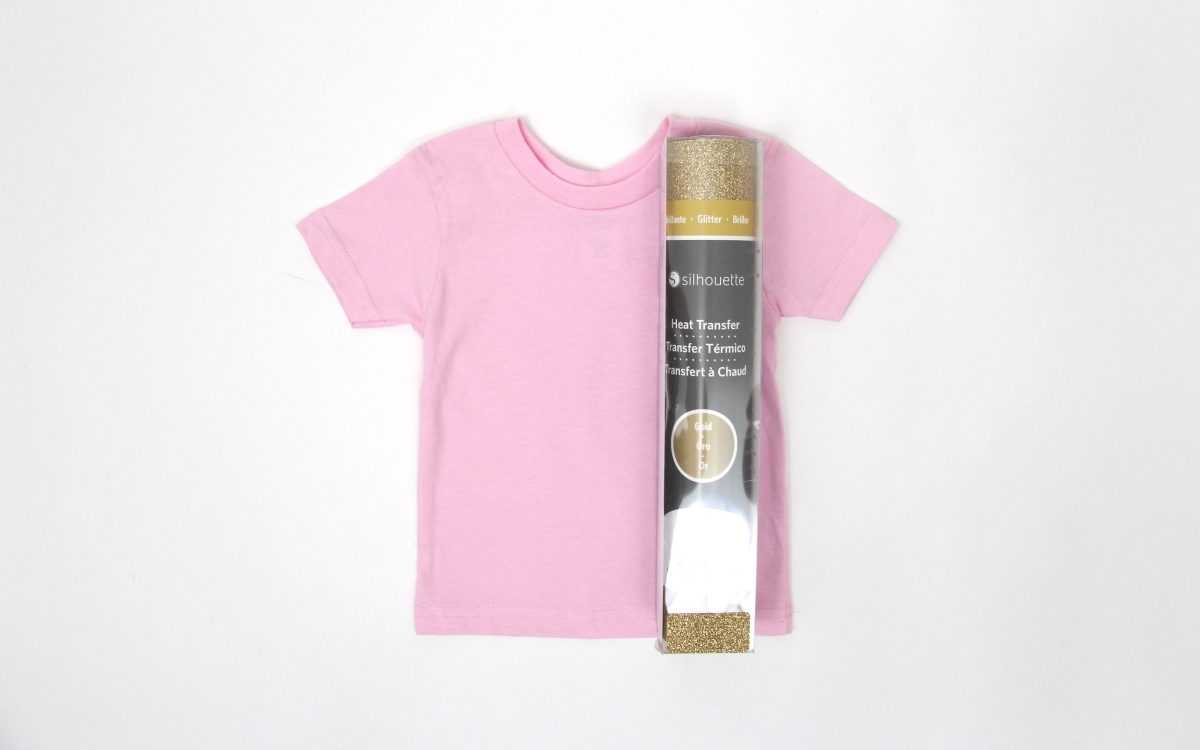
Supplies Needed:
Silhouette Cameo
Cutting mat
T-shirt
Glitter heat transfer vinyl
Iron and ironing board
Clean towel
Monogram Design #81300
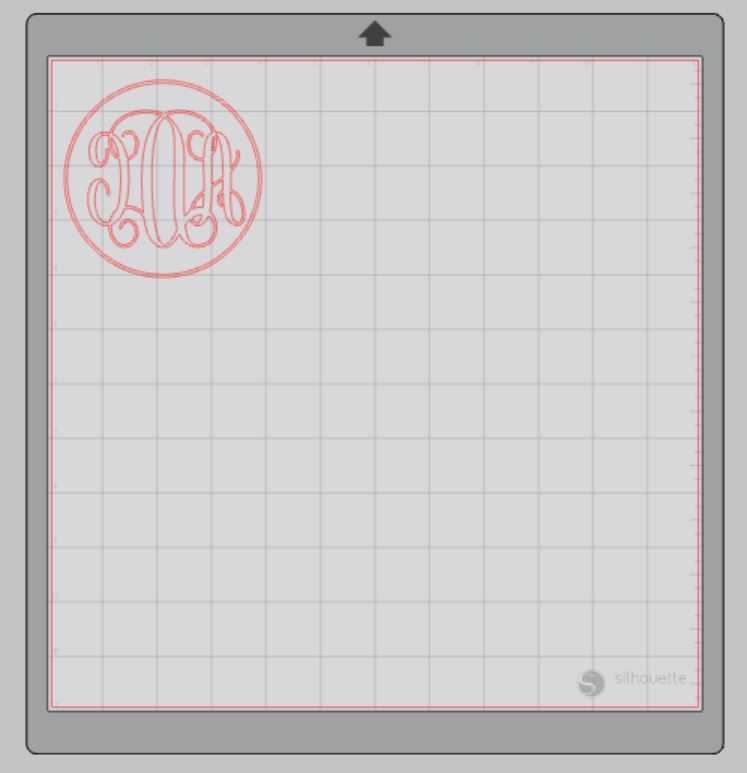
Step One: Creating Your Design
1. Open up your Silhouette Studio®.
2. Select the Page Setup Window and adjust your cutting mat size to 12×12 (or the sized mat you are using).
3. Download/open your design under “fonts” in the menu.
4. This font requires you to write the monogram letters in the following order: First, Last, Middle. The First and Middle should be entered as lowercase letters and the last initial as a capital (using the shift key). This keystroke is how you will get the letters in the design circle. For example, my monogram would be entered like this: “aDc”
5. Select your whole design and right click. Select “weld” and watch how your letters mesh together to avoid lines cutting across one another.
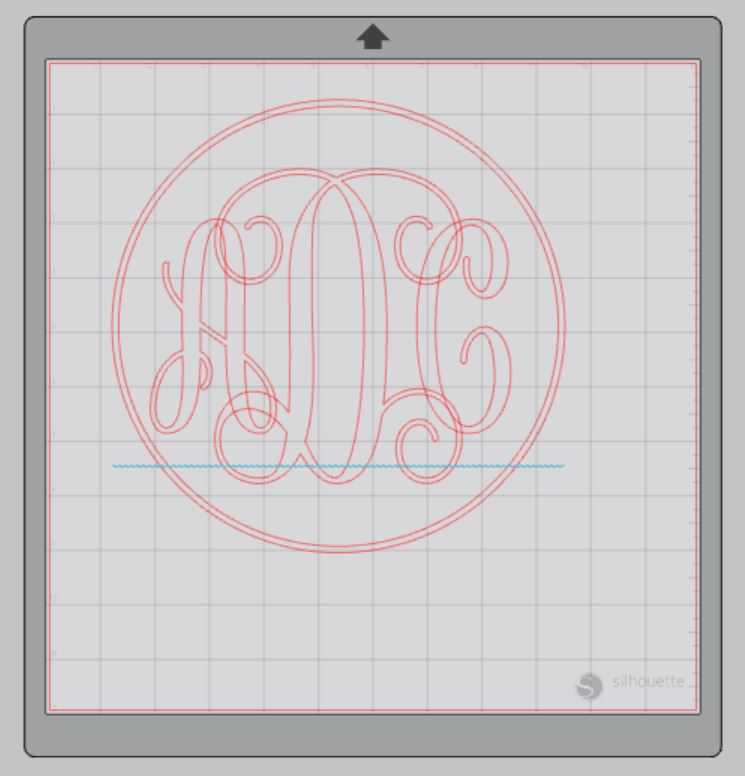

6. Adjust the size of the design to fit your t-shirt.
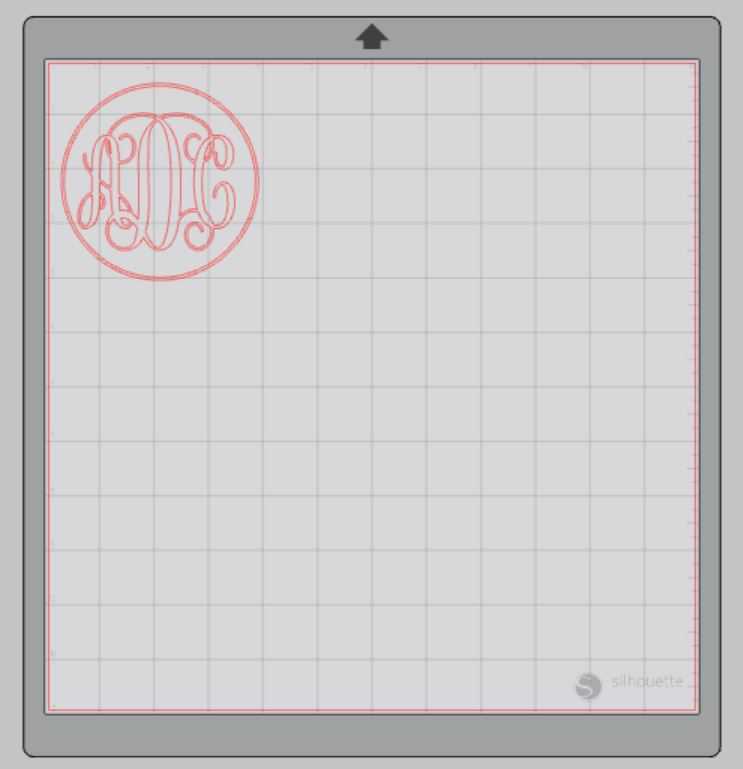
7. To make a heat transfer design you need to flip your design over so that it cuts backwards – don’t worry, it will be right-side-up when you iron it. To do this, select your whole design again and select “object” then “mirror” and “horizontally”.
7. Attach your Heat Transfer Vinyl (HTV) to the cutting mat, color/glitter side down, and load into your machine.
8. Follow the prompts in the Design Studio to adjust your blade (if using a ratchet blade) for Heat Transfer Vinyl (be sure to select the correct texture) and double check to make sure your design has been selected to cut.
9. Select “Send” to start cutting.
10. Select “Unload” when your machine has finished cutting your design to remove the cutting mat from the machine.
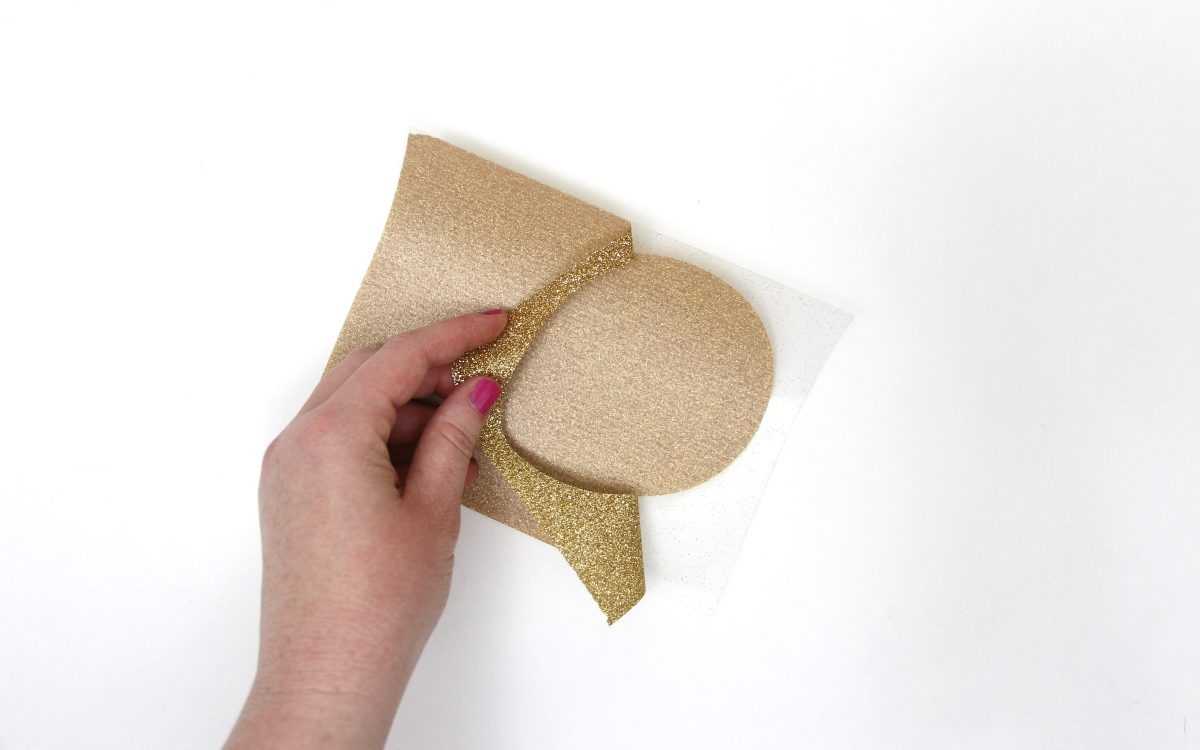
Step Two: Preparing Your Design
1. Remove your sheet of HTV from the cutting mat
2. Use your fingers or a wedding tool to remove the excess vinyl. Be sure to leave your design on the clear carrier sheet.
3. Carefully remove the centers of the letters and swirls. The letters can be delicate, so take your time.
Step Three: Creating Your Monogrammed T-shirt
1. Heat up your iron or heat press. I use my clothes iron with medium heat and NO steam.
2. Place your t-shirt on your ironing board and make sure it is flat.
3. Place your weeded glitter design face up on top of the t-shirt.
4. Cover your design with a clean towel and apply firm pressure with your iron.
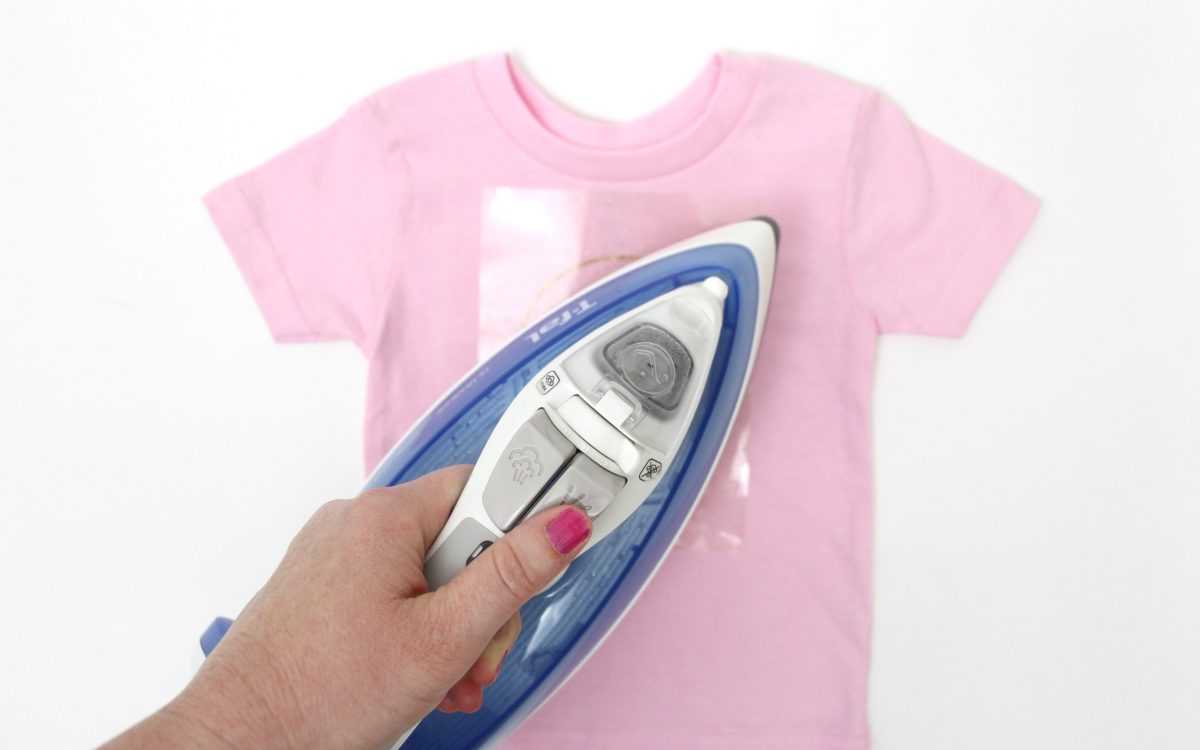
5. Spot test your design to see if it sticks to your t-shirt when you pull up on the clear carrier sheet.
6. Once your design has transferred, remove the clear carrier sheet and discard.
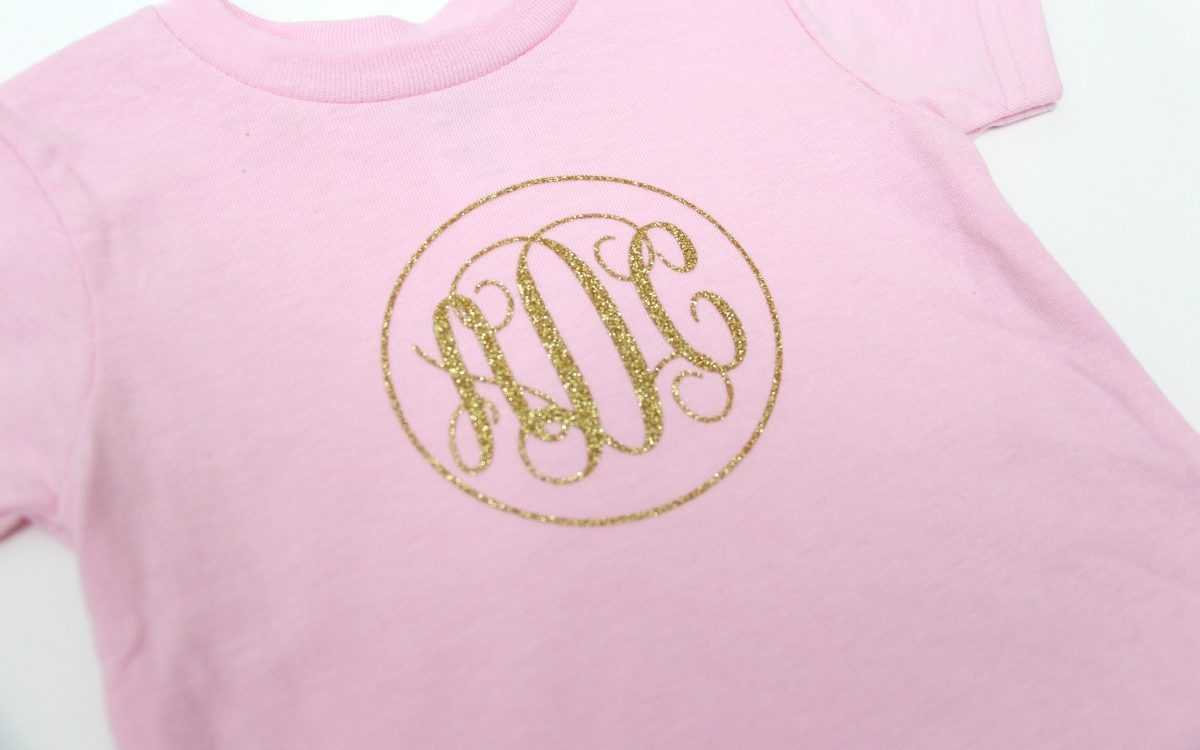
I can’t wait to give this t-shirt to my newest little friend.