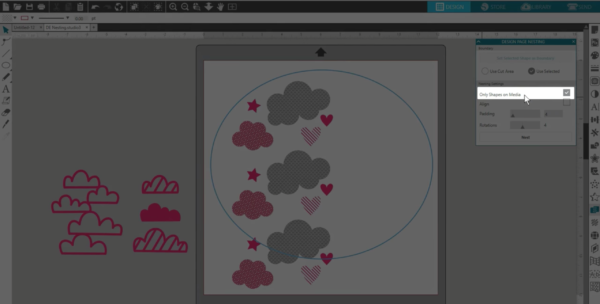
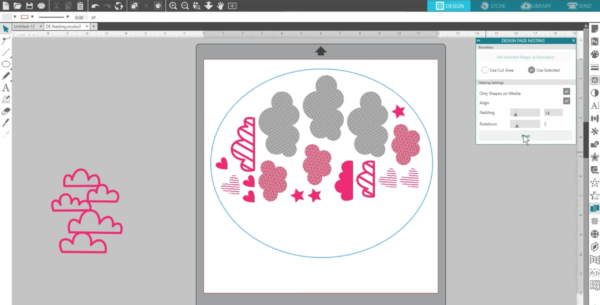
Silhouette Studio® Designer Edition has a feature called Nesting that takes your shapes and automatically rearranges them on your work page to minimize the amount of space required to cut those designs. You can find the Nesting panel, which looks like interlocked combs, in the software (Designer Edition or higher) along the right-hand side of the page.
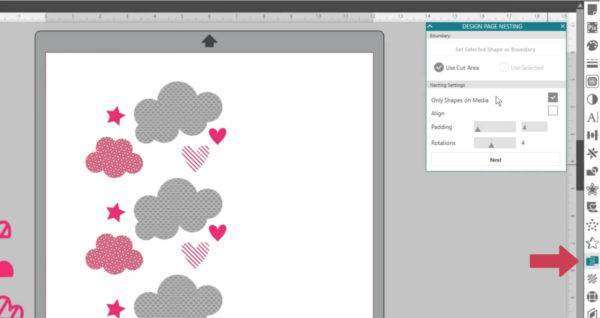
You have the option to either use the Cut Area or to make your own boundary into which you want your shapes to fit. The Cut Area will be your page size or the cutting area of a Print & Cut.
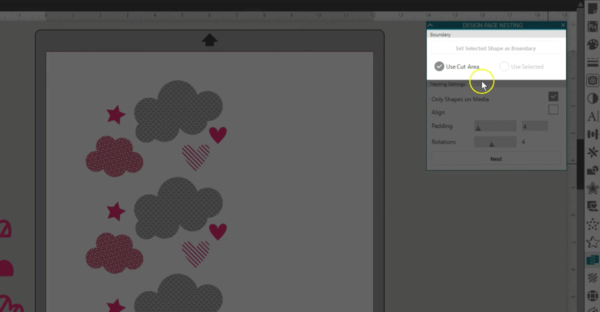
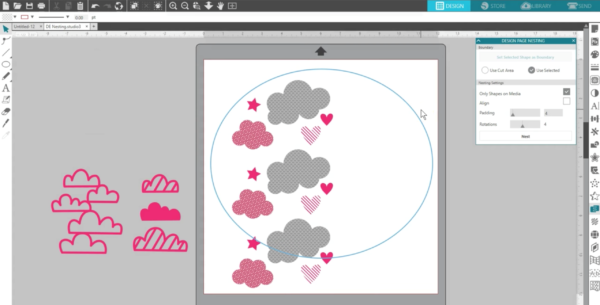
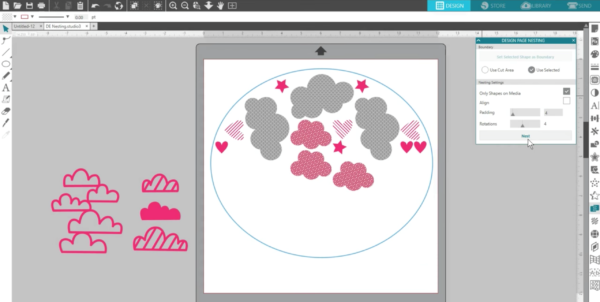
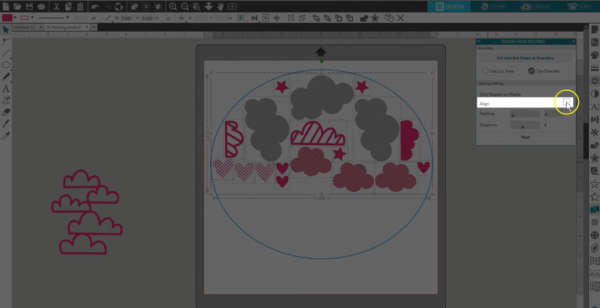
If you want to make your own boundary, simply draw a shape and choose “Set Selected Shape as Boundary,” and you’ll see it change to a blue outline.
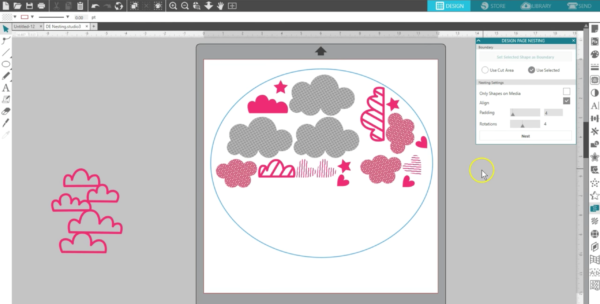
Now you have a few ways to choose which shapes to Nest. If you don’t select any designs and check the box for “Only shapes on media” then only those on your virtual mat will nest. Click Nest, and you’ll see how they fill the nesting boundary.
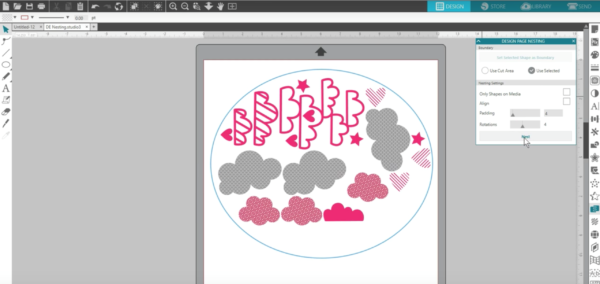
If you uncheck “Only shapes on media” then all shapes you have open will nest.
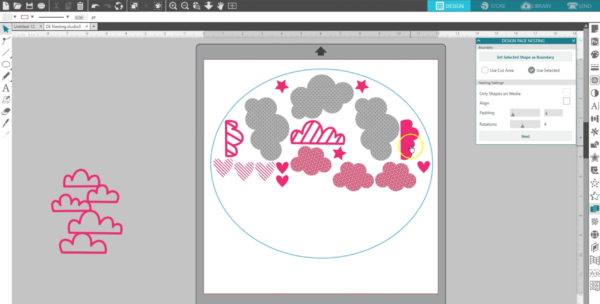
Finally, you can select just the shapes you want to nest.
Checking the box for Align will take similar shapes and attempt to sort and align them as efficiently as possible.
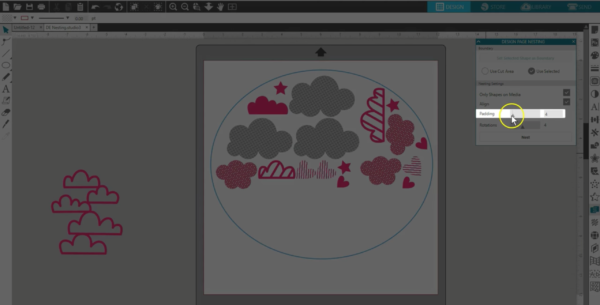
Padding puts additional space between each nested image as the setting is raised.

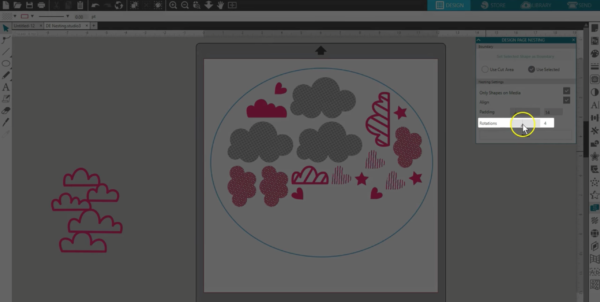
Rotations restricts or allows additional rotation angles. While the highest setting may attempt to make the most effective use of space, you might want to keep it lower to hold images in a certain angle.
And that’s how you use the Nesting feature in Silhouette Studio® (Designer Edition and higher).