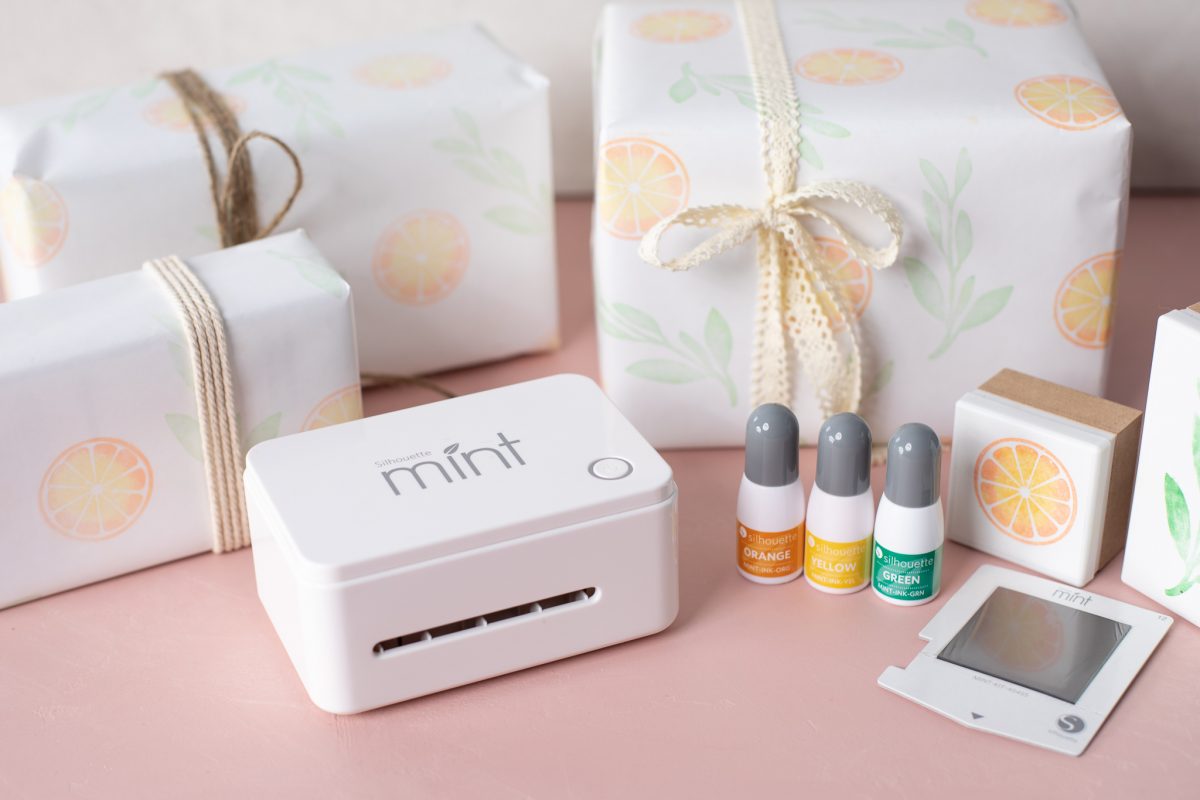
We love making our gifts unique and special, and what better reason to whip out the Silhouette Mint™?
Supplies Needed:
- Silhouette Mint™
- Silhouette Studio®
- Mint Studio™
- Mint Ink – orange, yellow, green
- Mint Stamp Kit 30 x 30mm, 45 x 90mm
- White wrapping paper
- Toothpicks
- Design ID #147359, 226068
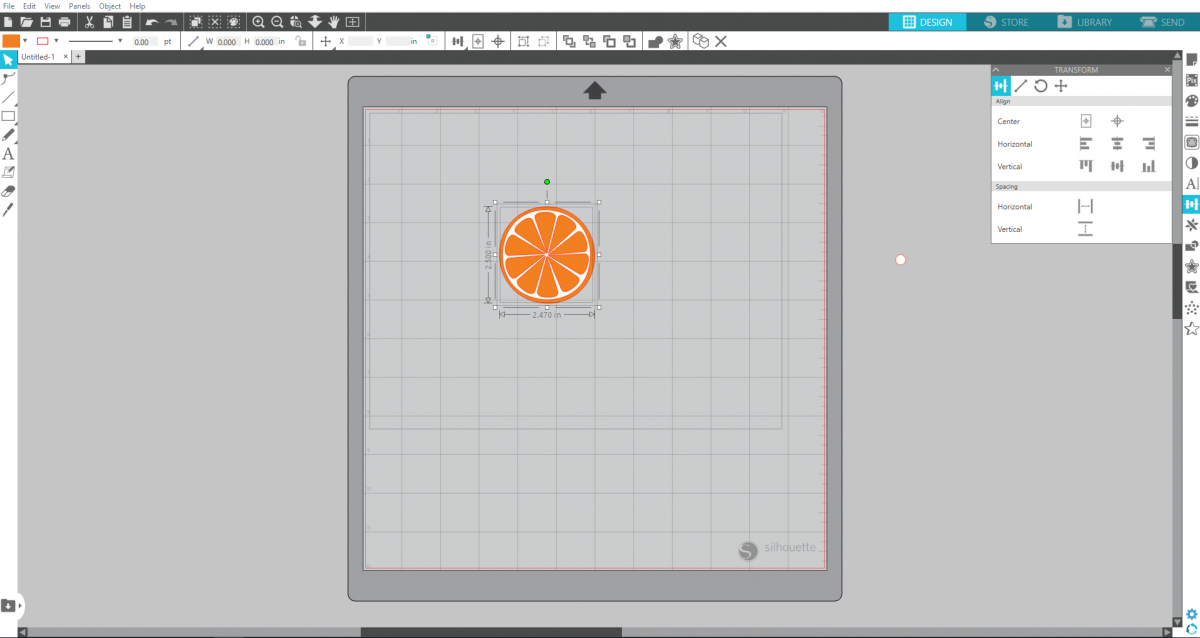
Step One: Preparing the Design
1. Search for Design ID #147359 and click it into your design space in Silhouette Studio®.

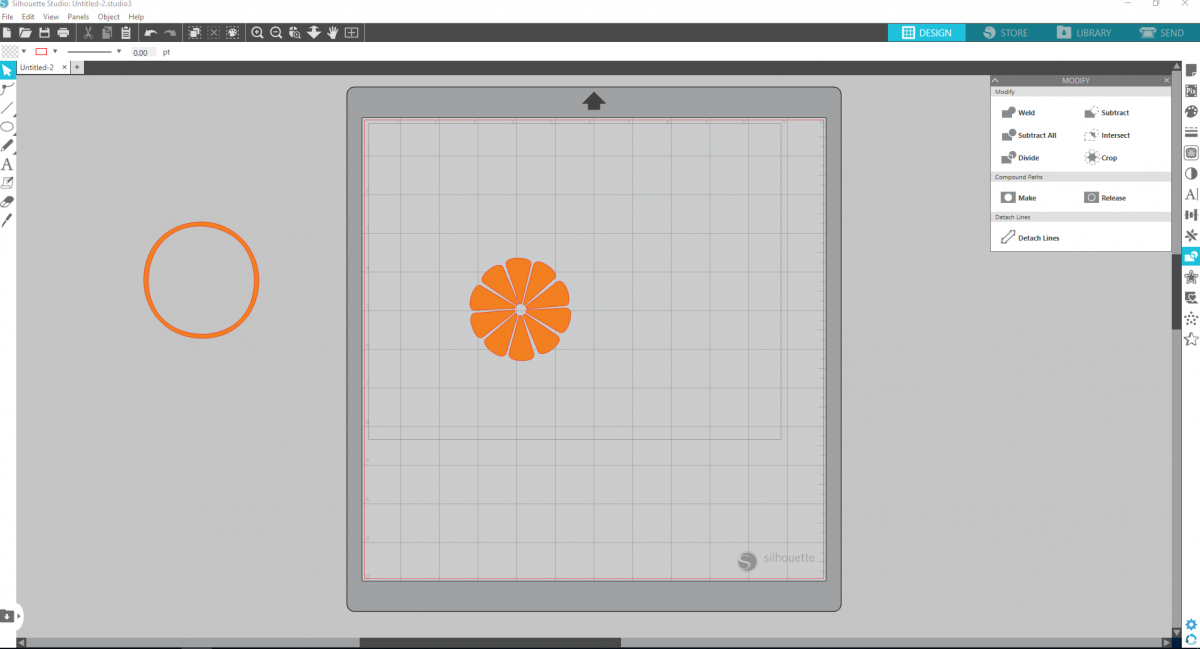
2. Ungroup the design and just keep the white circle rind and the orange circle and the white circle for the inside on the rind on your space.
3. Place the rind on the orange and open the transform panel. Select both designs and click on the center tool to get the rind centered perfectly on the orange circle.
4. Keep both images selected and open the Modify panel and select Subtract. This will make the white rind into white space, allowing you to stamp.

5. Place the white circle in the center of your design. Remove the outer ring. Select the slices and the inner circle and click Subract from the Modify panel.
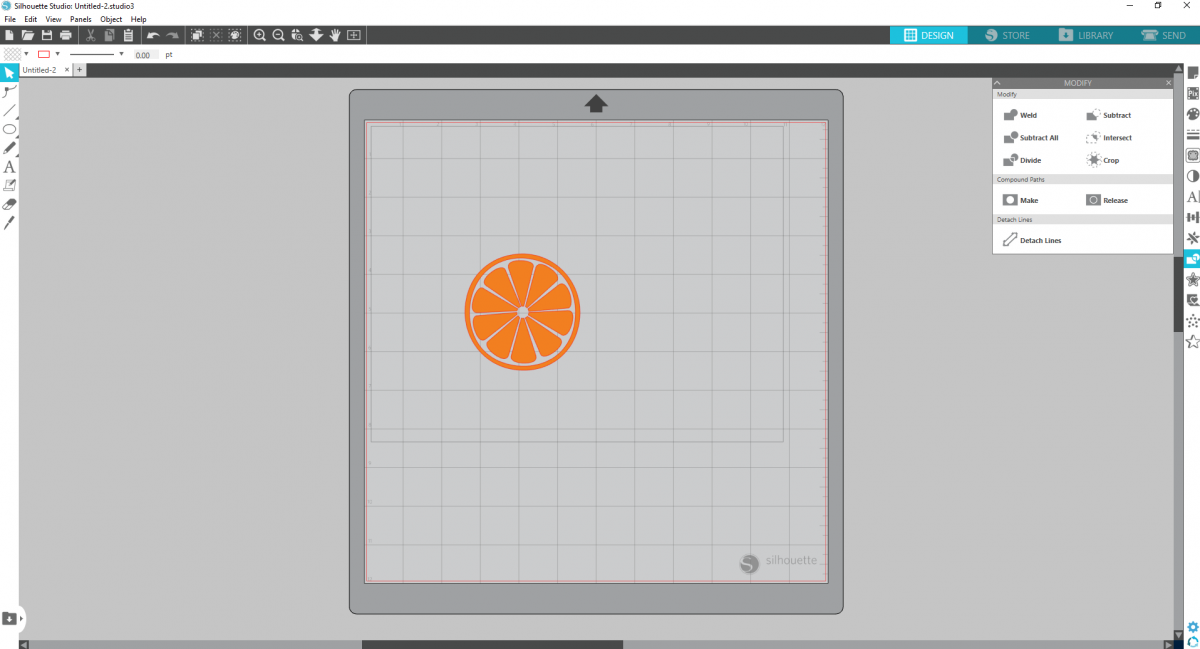
6. Set the ring back around the slices to complete the design and select and group all aspects of the design.
7. Save your design.
Step Two: Mint Your Stamp
1. Open the saved Silhouette Studio® design by going to File>Open and selecting all files on Files of type.
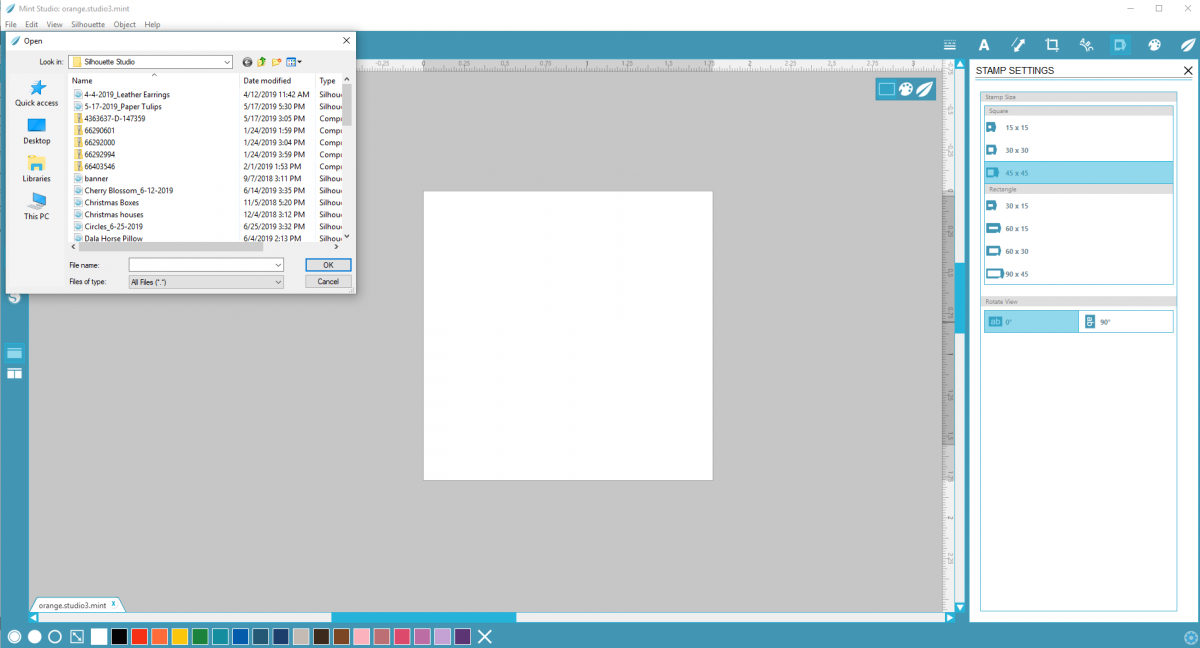
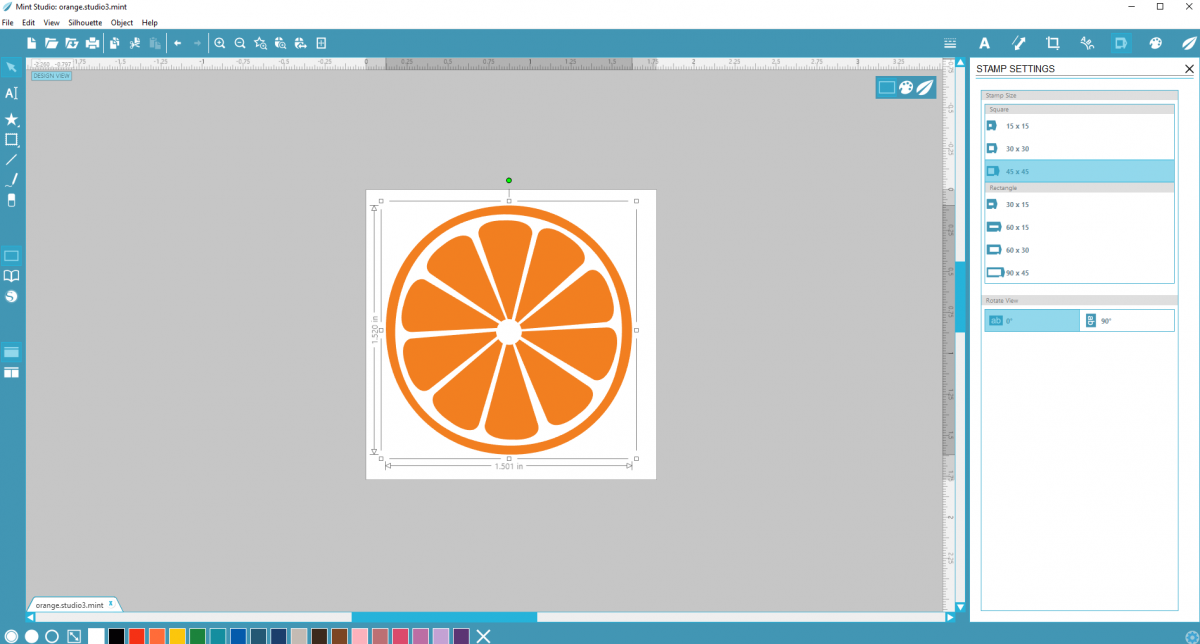
2. In stamp settings, make sure to select to 45 x 45mm. Resize the design to the size you would like your stamp.
3. Make sure your Mint is on and head to the Send panel and select Start Mint.
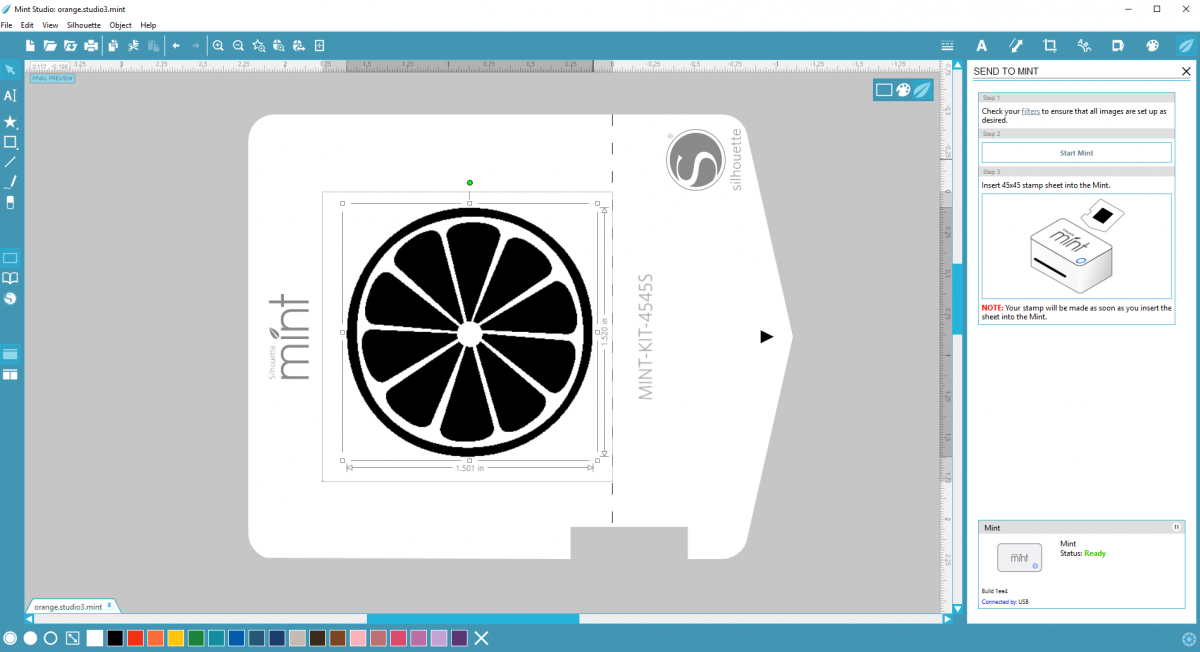
4. Feed the stamp sheet, black side facing up, into the back of the machine with the plastic wrap still on.
5. Once the machine finishes, tear away the cardboard and plastic and set the black part onto the wooden stamp kit.
6. Repeat this process with Design ID #226068 making sure the stamp size is 45 x 90 mm.
Step Three: Ink Your Stamp
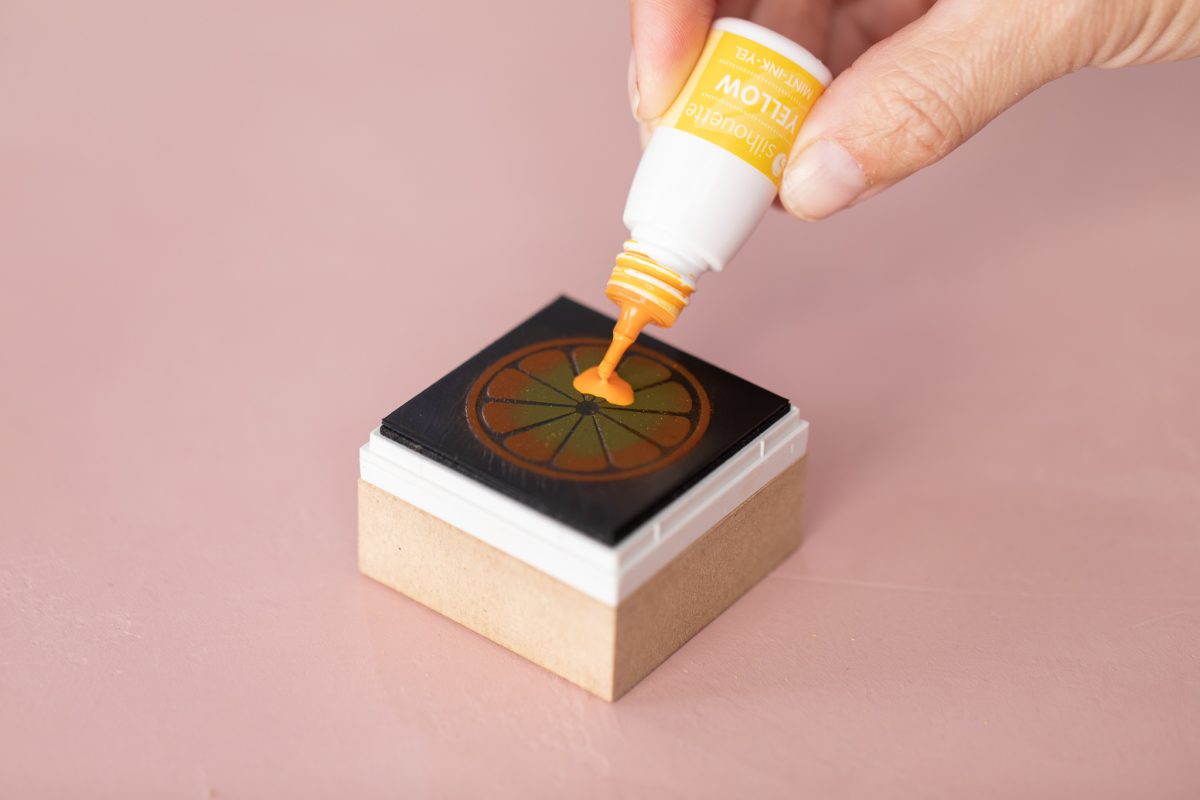
1. Start with the yellow ink in the center placing a good amount in the middle so it won’t soak through too quickly.
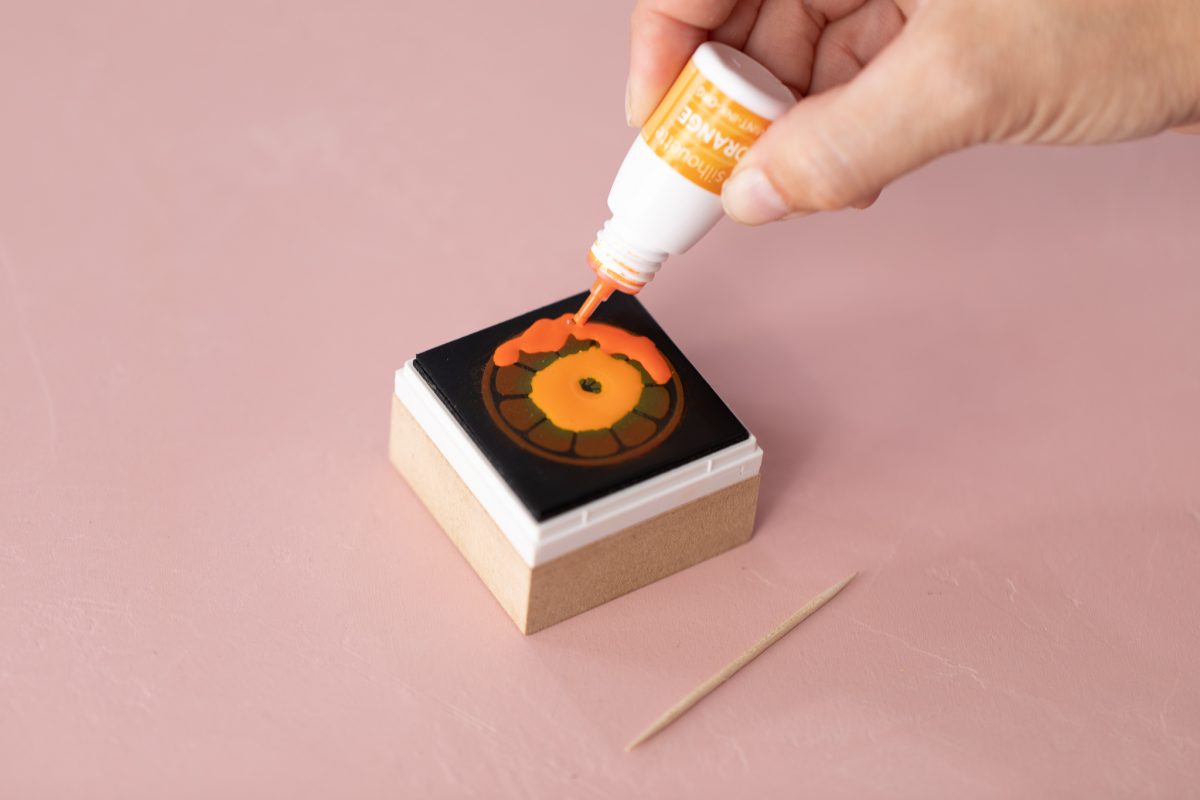
2. Place the orange ink around the rim and move in slightly.
3. Using a toothpick, swirl yellow and orange together to make an ombre effect.
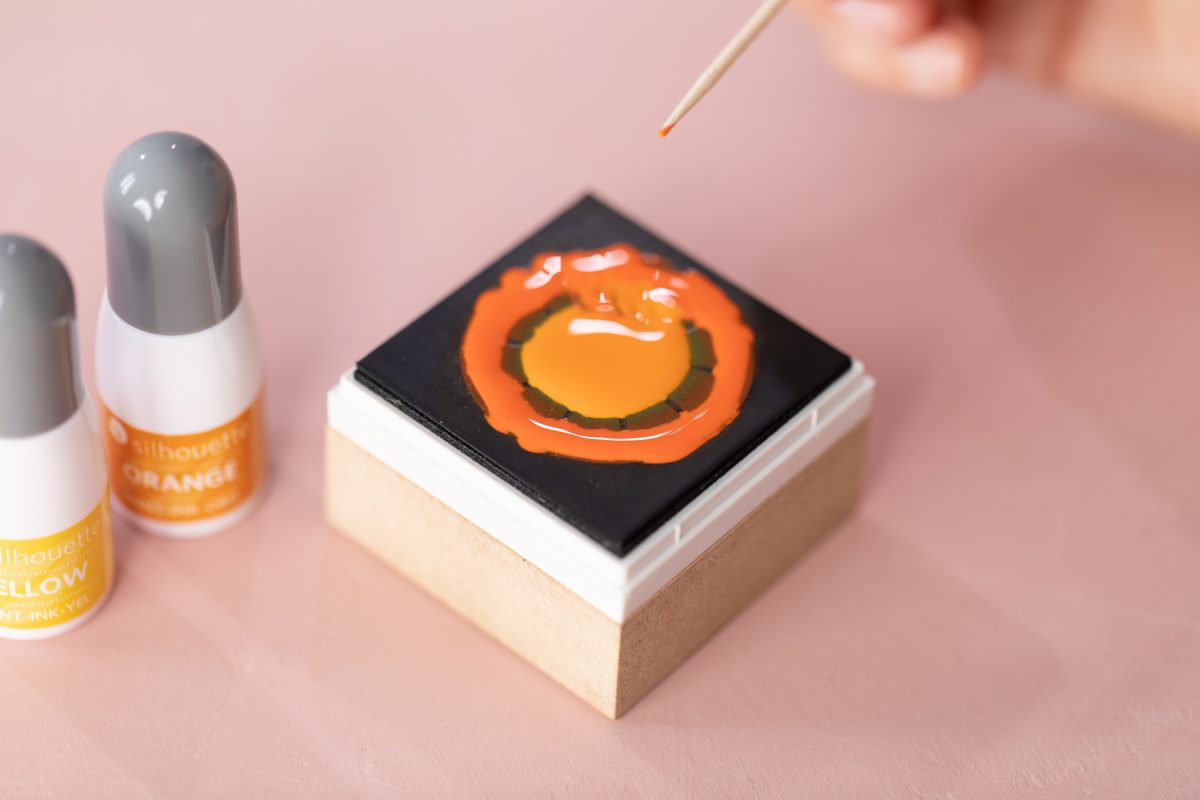
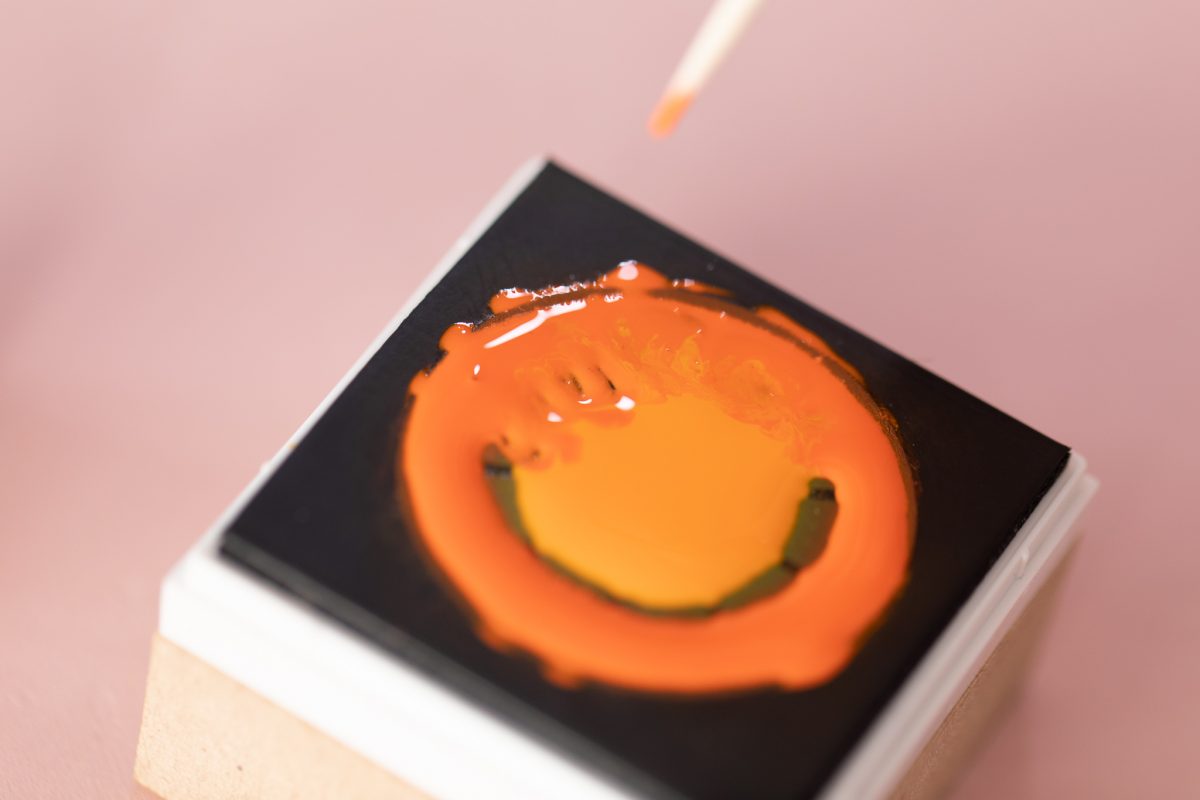
4. Let the ink set for five to eight minutes.
5. Grab a spare sheet of paper and blot the ink until you get a clean stamp.
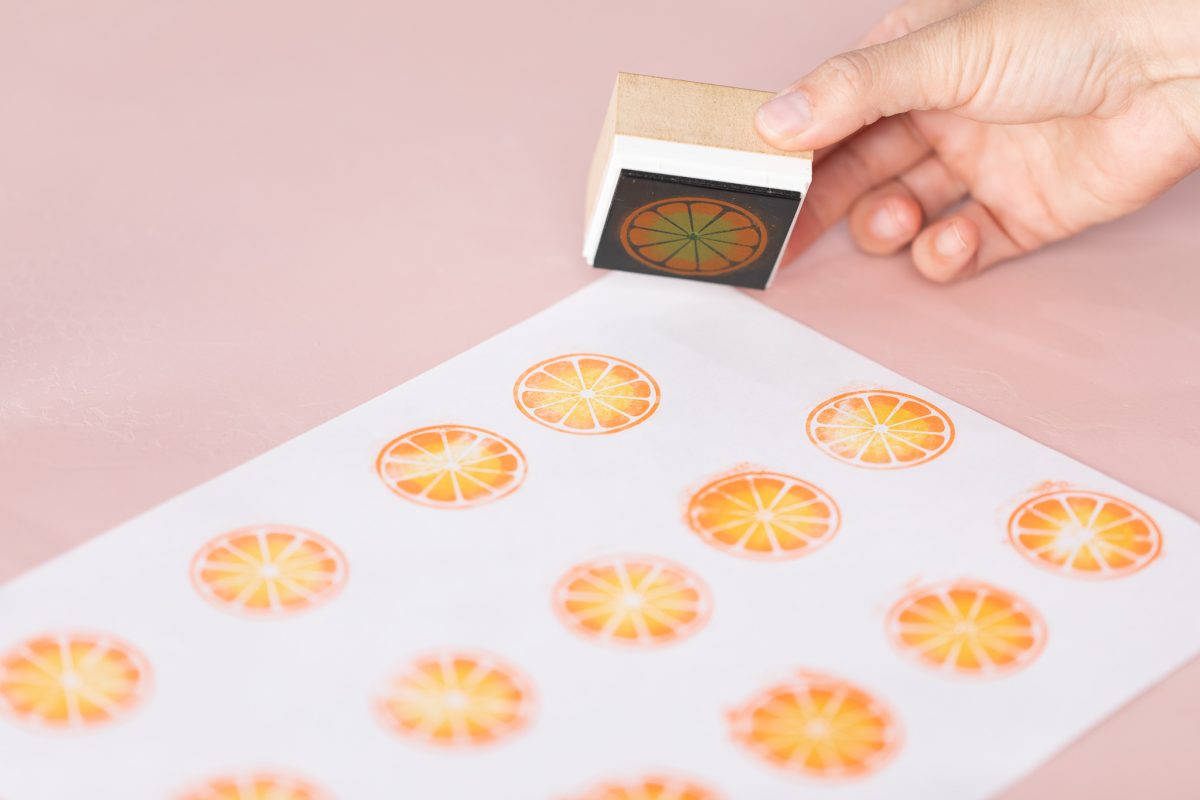
6. Repeat the same process using the green ink on the leaf design.
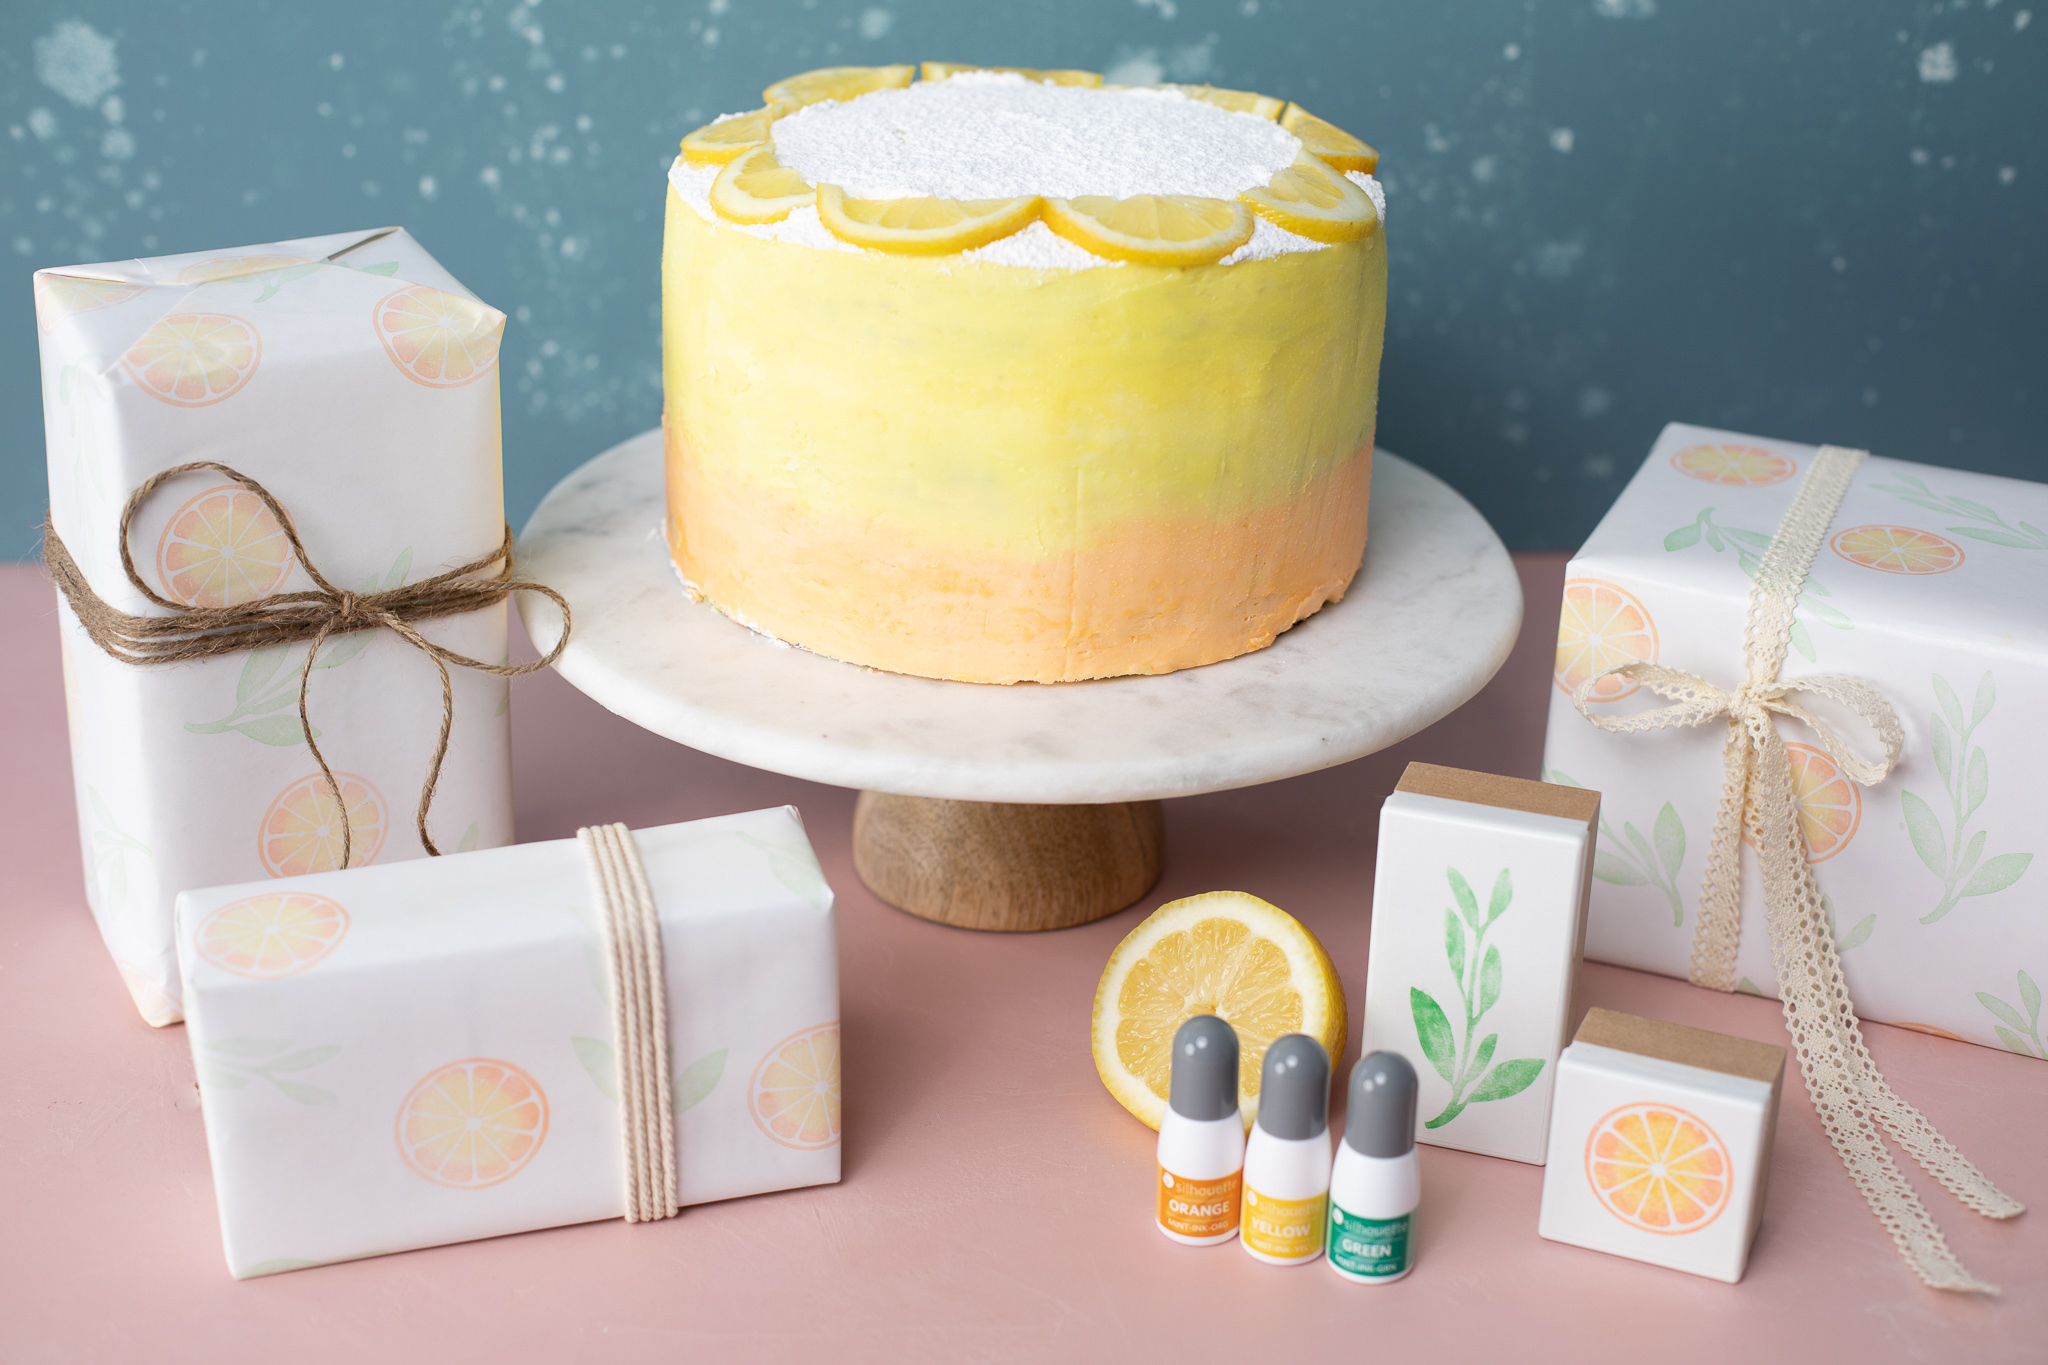
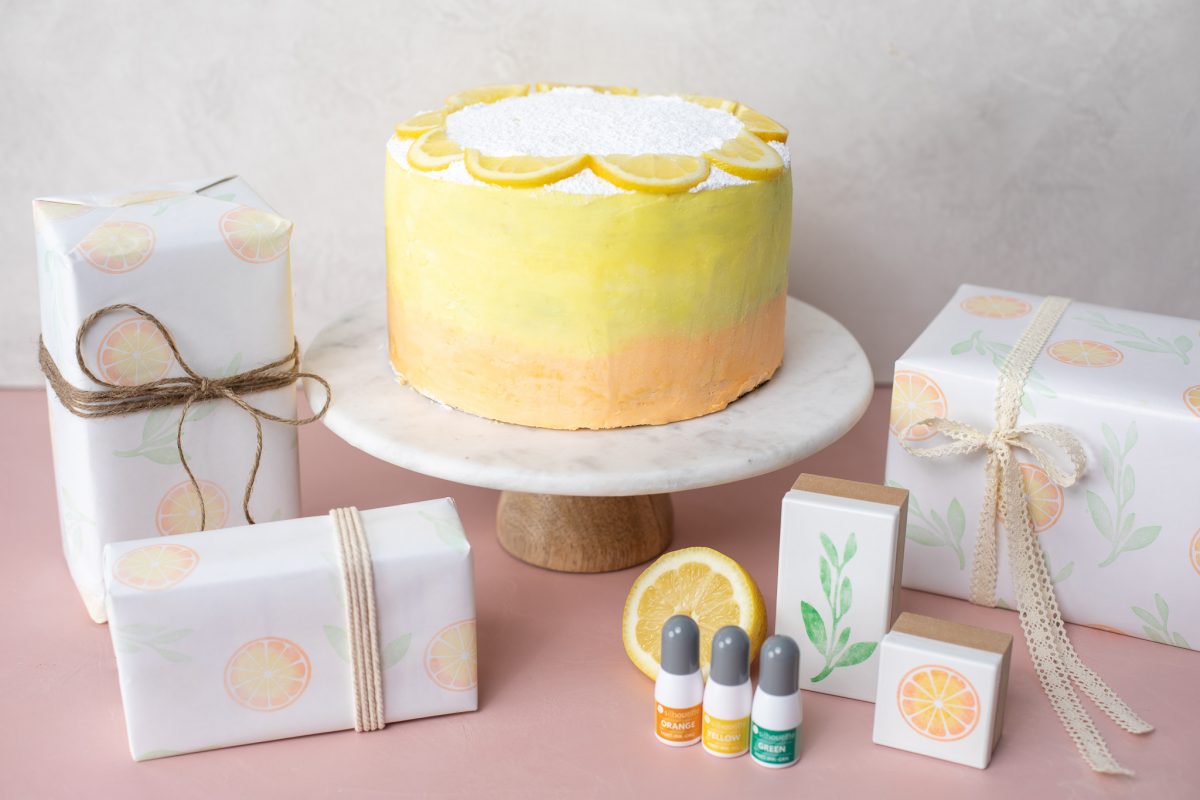
7. Stamp the wrapping paper getting the look you want.
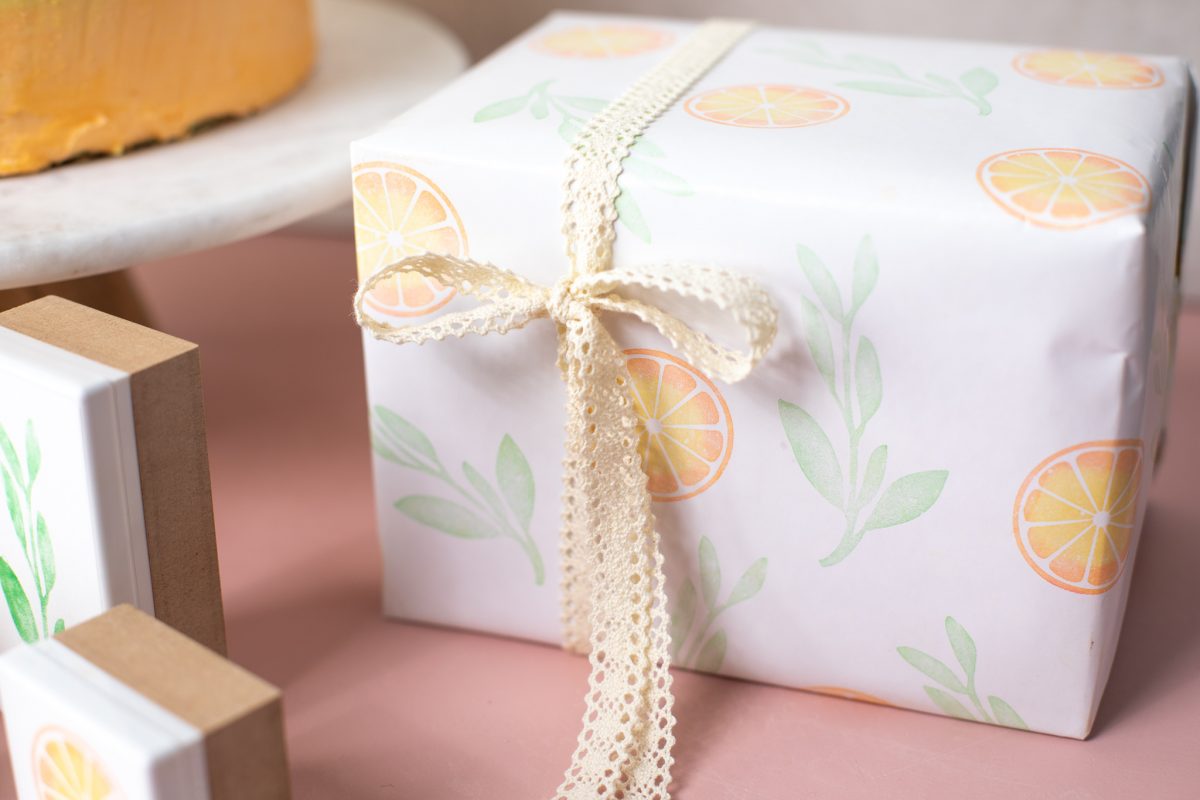
Then wrap your beautiful, uniquely wrapped gifts! We used Cake by Courtney’s recipe to make this yummy lemon bar cake!