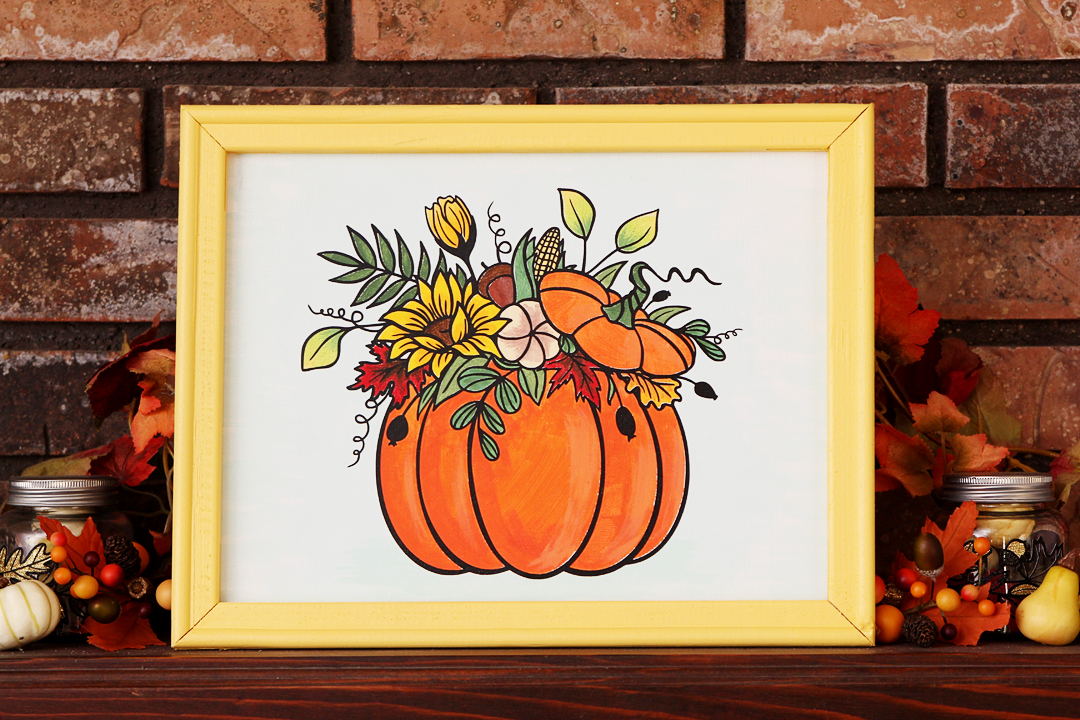
Here’s a fun project you can make for your fall décor that uses a reverse canvas technique. You get to paint the design however you like using vinyl as a stencil, and then use a layer of heat transfer to tidy up the design!
This can be a relaxing project for yourself, or you can get the kids involved with the painting! You can also use this technique with other line-style designs to create similar projects.
Supply List:
- Silhouette Cameo® 4 or Portrait® 3
- Silhouette Studio® – Basic Edition or higher
- Glossy vinyl – any color
- Transfer tape
- Smooth black heat transfer vinyl
- Acrylic craft paint – various colors
- Paint brush
- Paint or stain for frame
- 11 x 14 in. stretched canvas
- Pencil
- Tape measure or ruler
- Hook tool
- Spatula tool
- Scraper tool
- Pliers
- Scissors or craft knife
- Hot glue gun
- Iron or heat press
- Design ID #388206 by Your Magic Line
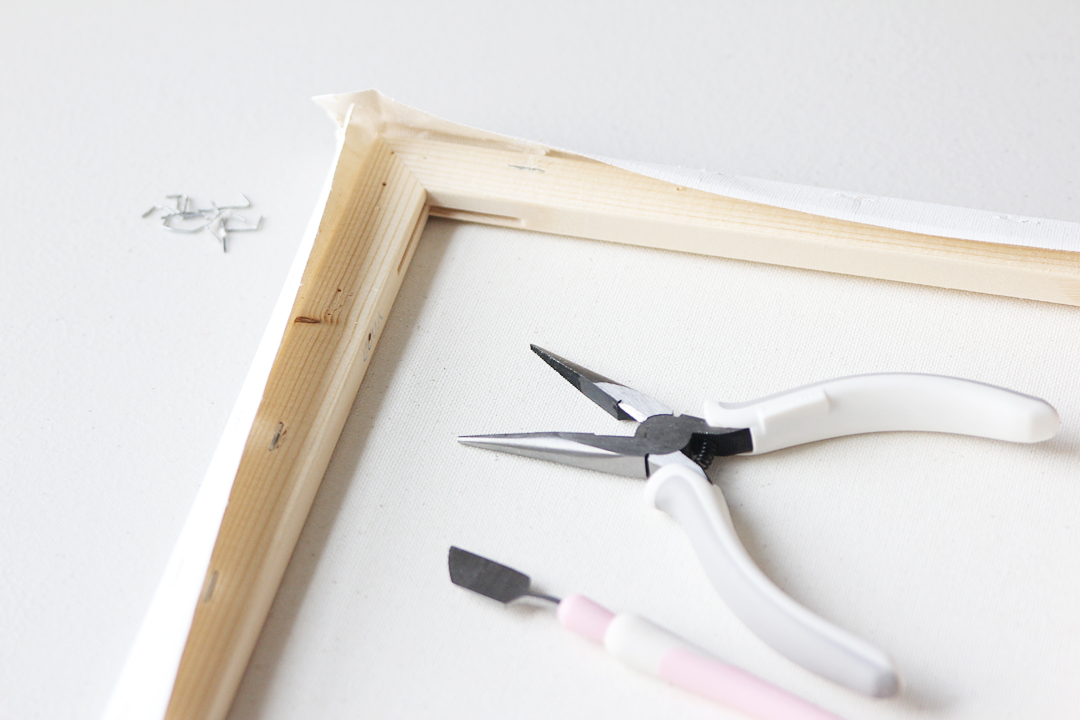
Step One: Prepare Canvas and Frame
Remove the staples from the back of your 11 x 14 in. stretched canvas to separate it from the frame. If the staples are too tight to pry up easily, you can slice the canvas at the staples and leave them in the wood.
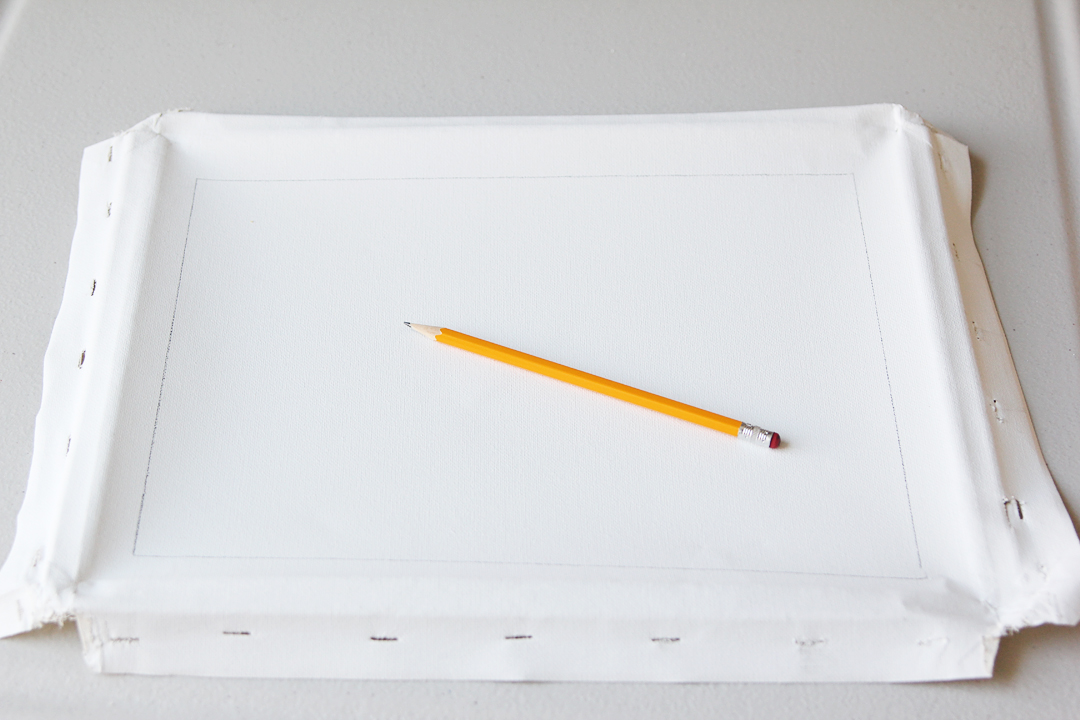
Measure the frame opening. My 11 x 14 in. frame has a 9 x 12 in. opening.
Place the frame on top of the canvas, and with a pencil, trace the inside opening onto the canvas.
Set the canvas aside and paint or stain the frame. Let it dry completely while proceeding with the rest of the project.
Step Two: Prepare Design
In Silhouette Studio®, use the rectangle drawing tool to draw a rectangle the size of the frame opening (9 x 12 in. for my example).
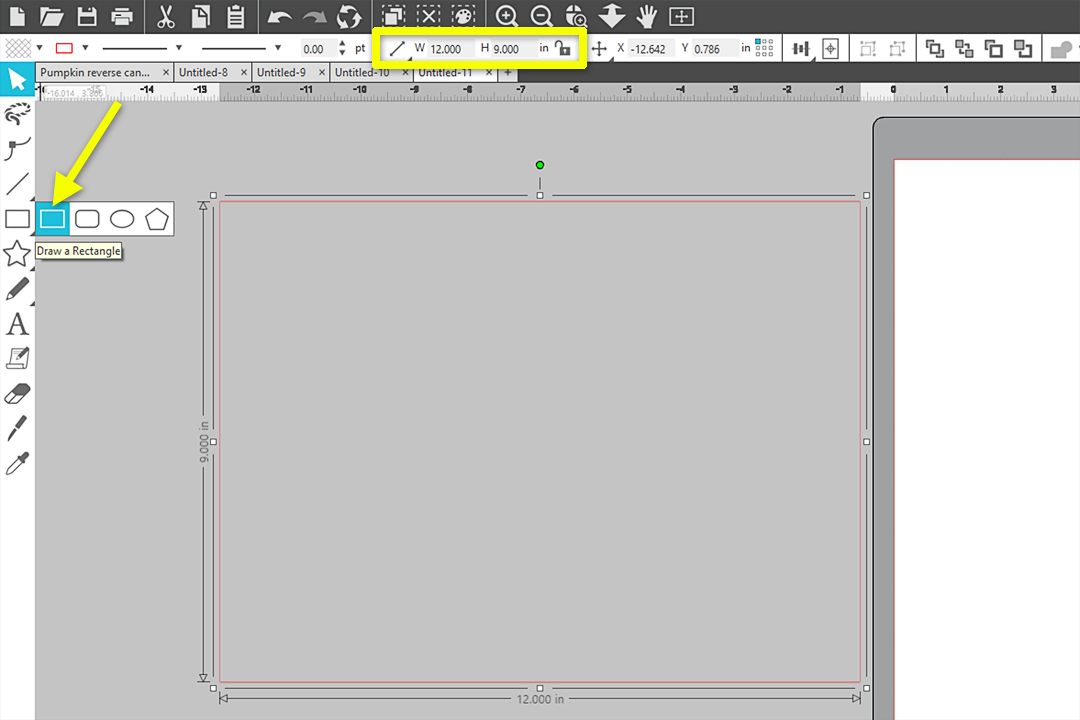
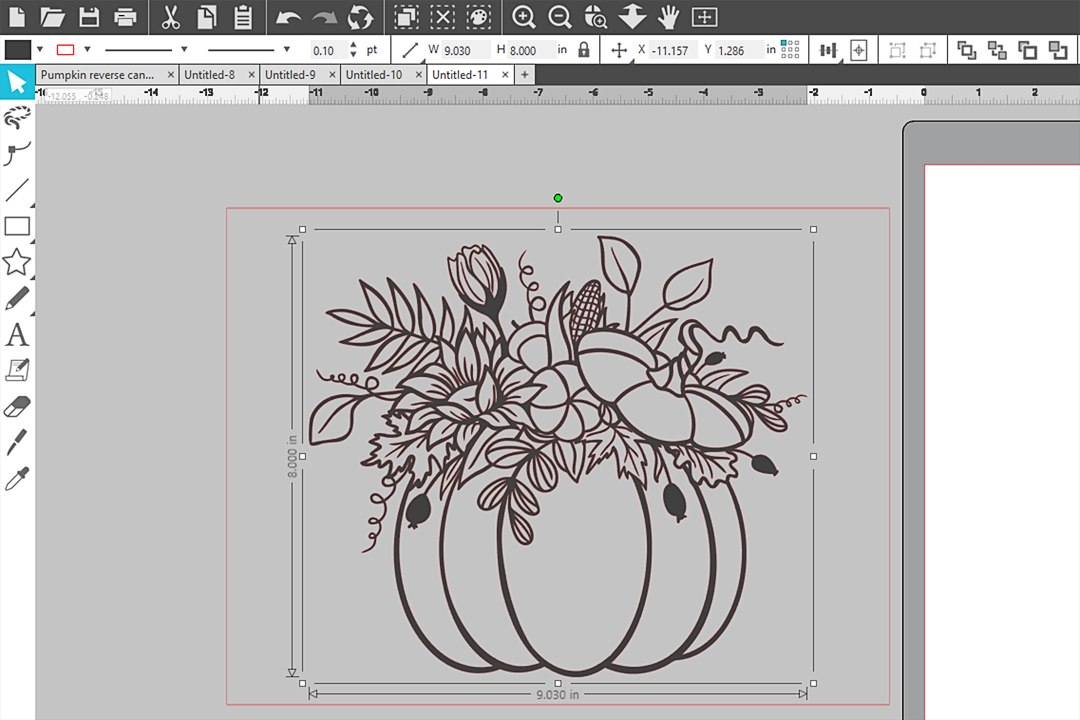
Next, open the pumpkin design. Resize it with a corner handle or the Scale function to fit the design into the 9 x 12 in. rectangle. I usually make my designs one inch smaller than the closest edge. For this project, I resized the design to 8 in. tall so it is one inch smaller than the 9 in. height of our rectangle. Reference the image below to see how I scaled my pumpkin.
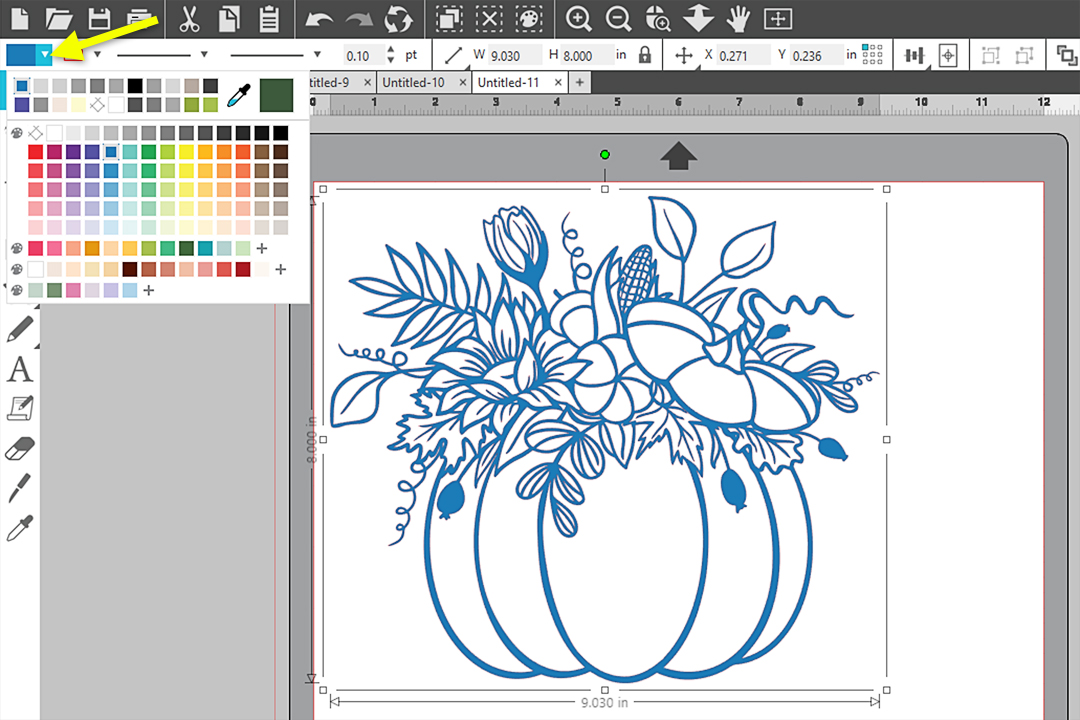
We will use this design for cutting a vinyl stencil piece. I’ve colored mine blue to represent the blue vinyl I’ll cut it with.
Now, make a mirror copy for the heat transfer (HTV) piece by using “Mirror Right” in the Replicate Panel.
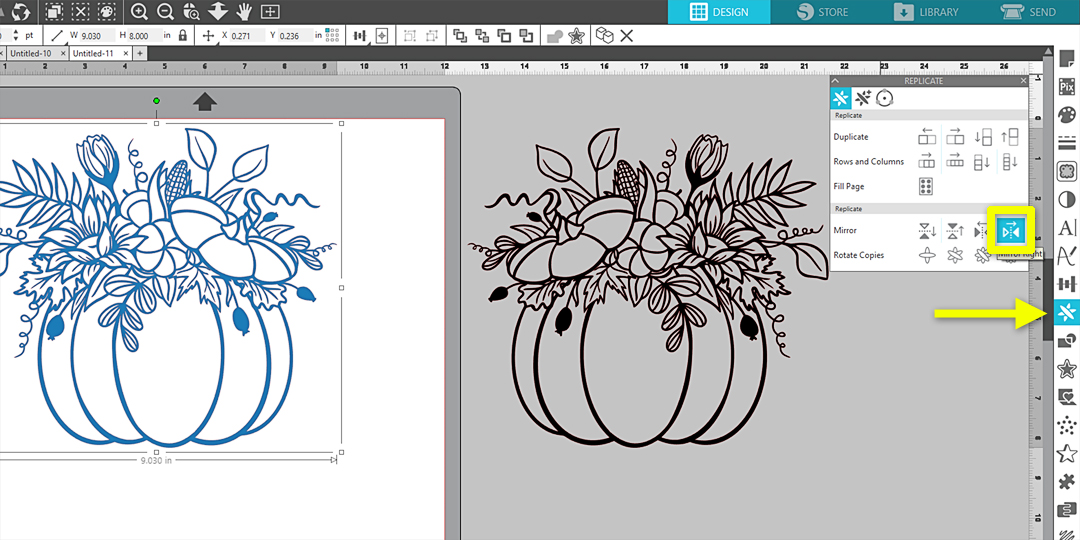
Color it black to represent the black HTV we’ll cut it with. Recoloring the pumpkins will help me remember which material to cut with the different mirrored versions. I recommend this step if you need the extra reminder for the different materials.
Move the black mirrored pumpkin to the side of the virtual cutting mat. You can delete the 9 x 12 in. reference rectangle.
Step Three: Cut Vinyl and HTV
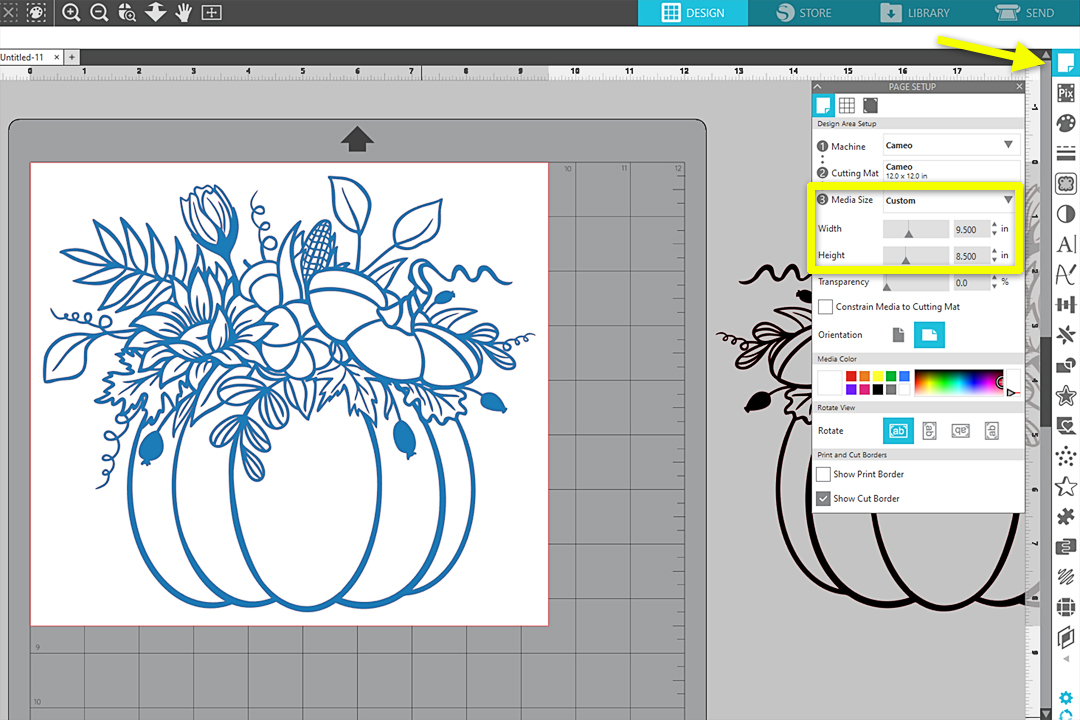
Adjust the Media Size in the Page Setup Panel to tightly fit the design. I made mine 9.5 x 8.5 in.
Trim your glossy vinyl down to match the virtual media size (9.5 x 8.5 in.) and place it onto your cutting mat, colored side up. Position it in the upper left corner of the grid, exactly as the virtual media shows on the virtual cutting mat.
In the Send Tab, use the “Vinyl, Glossy” material settings. Load your mat, and click Test Cut to verify your settings; I prefer my vinyl settings to be Blade Depth 2, Force 8, and Speed 9. Adjust your settings and repeat test cuts until you feel the settings are right for cutting cleanly through the vinyl but only skimming the paper-backing layer.
Click Send when ready to cut your loaded vinyl. When your machine has finished cutting, unload the cutting mat and weed the excess material.
Back in the Design Tab, move the vinyl pumpkin off to the side, and move the HTV mirrored copy to the center of your virtual media, using the same dimensions.
Trim your black HTV to match the virtual media size (9.5 x 8.5 in.) and place it on your cutting mat, glossy side against the sticky mat and dull side facing up.
Go to the Send Tab and use the “Heat Transfer, Smooth” material settings. Test your cut settings in the same way as you did for the vinyl. I like to use Blade Depth 2, Force 4, and Speed 8. Adjust and repeat test cuts until you feel the settings are right for cutting cleanly through the heat transfer but not through the clear backing layer.
We’ve already mirrored the design, so we’re ready to click Send and have the machine start cutting. Once it’s finished, unload and weed your heat transfer design.
Step Four: Apply Vinyl and Paint
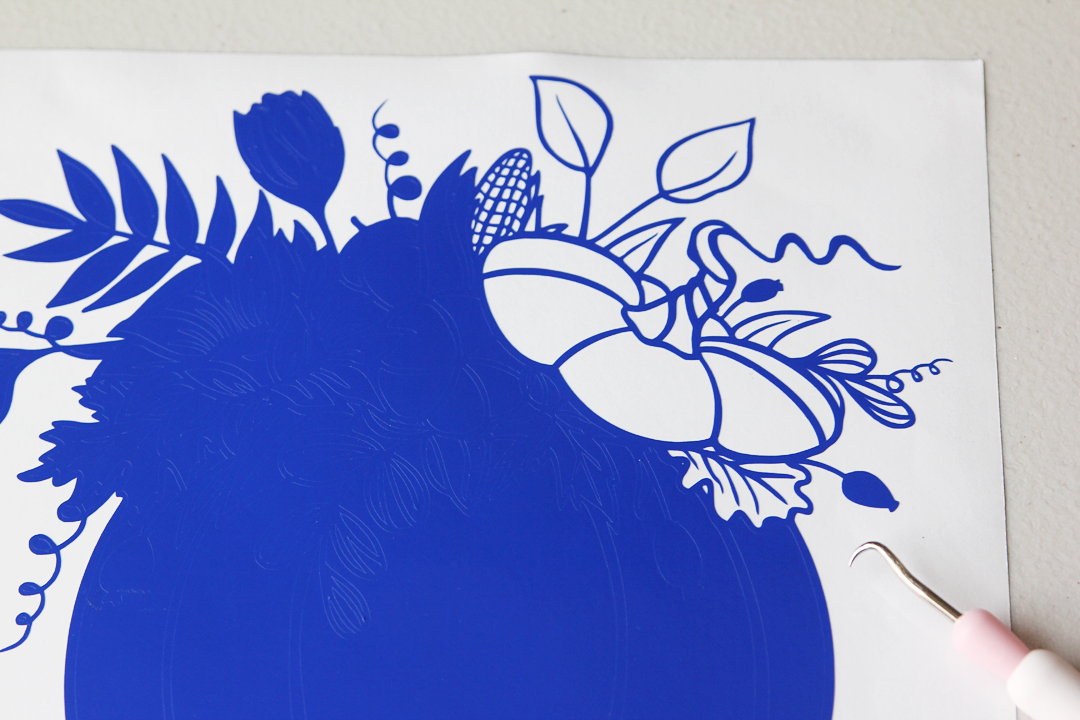
Now comes the fun part! I’m going to add my vinyl stencil to the canvas so I can start painting.
Use transfer tape to pick up the weeded adhesive-vinyl design. With the pencil-drawn rectangle on the canvas as a guide, place the vinyl design so it’s centered within that rectangle and remove the transfer tape.
This is a temporary stencil, just so we know where to apply the colors of paint. You can erase the pencil guide lines or paint over them.
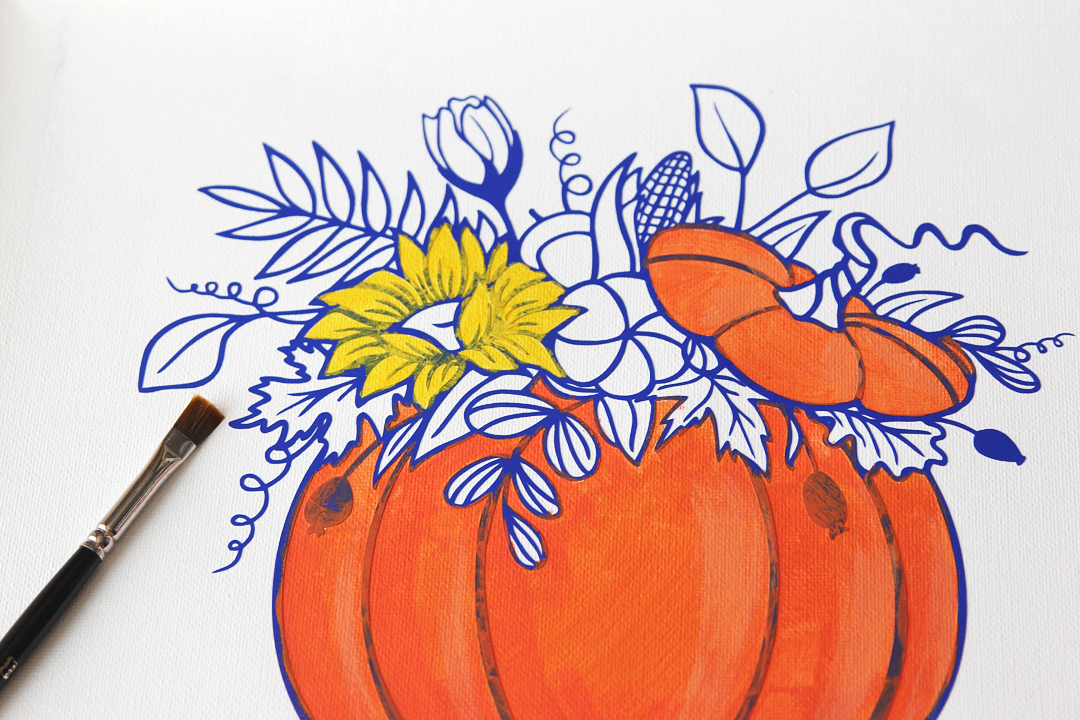
Add acrylic paint to the canvas in the areas you want to color. Here’s where your creativity comes into play. You can make this clean and detailed or messy and abstract.
Tip: Because you’ll be placing the main design back on top of the painted area later with heat transfer, this can be an ideal project for your kids or grandkids. Let them do the painting! Don’t worry about a perfect stenciling technique.
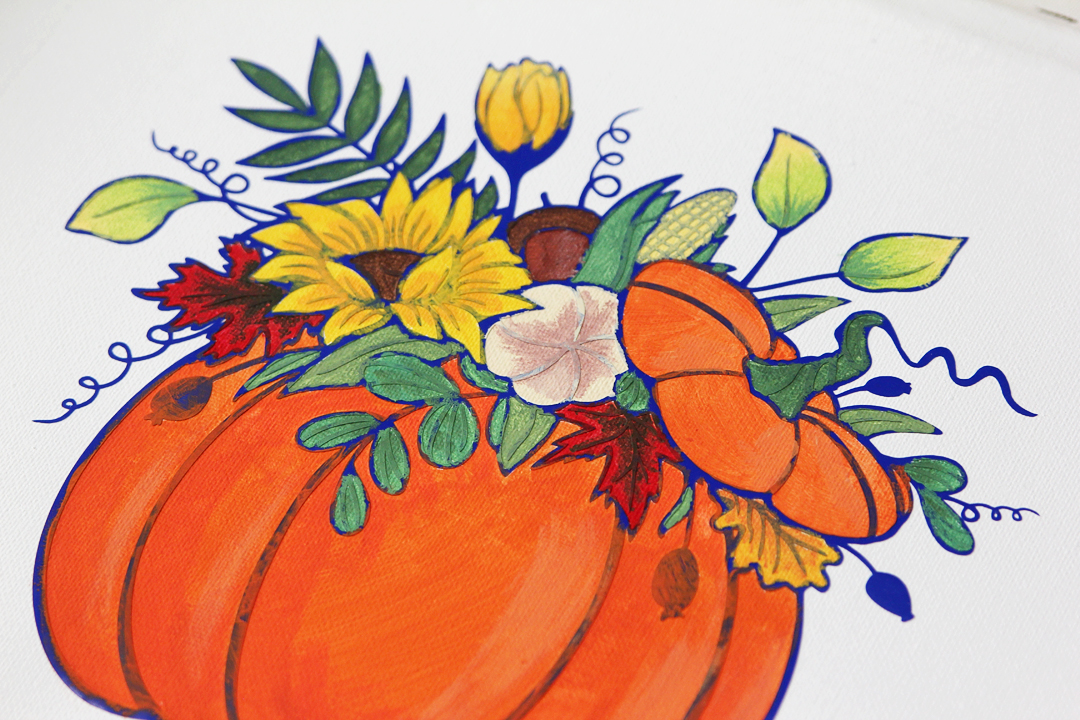
When you’re finished, let the paint dry completely. Then, remove and discard the vinyl stencil.
Step Five: Apply Heat Transfer
Now that the paint is dry, you can add the black heat transfer to clean up the painting’s outlines. Place the heat transfer where the vinyl previously was, so it aligns with your painting.
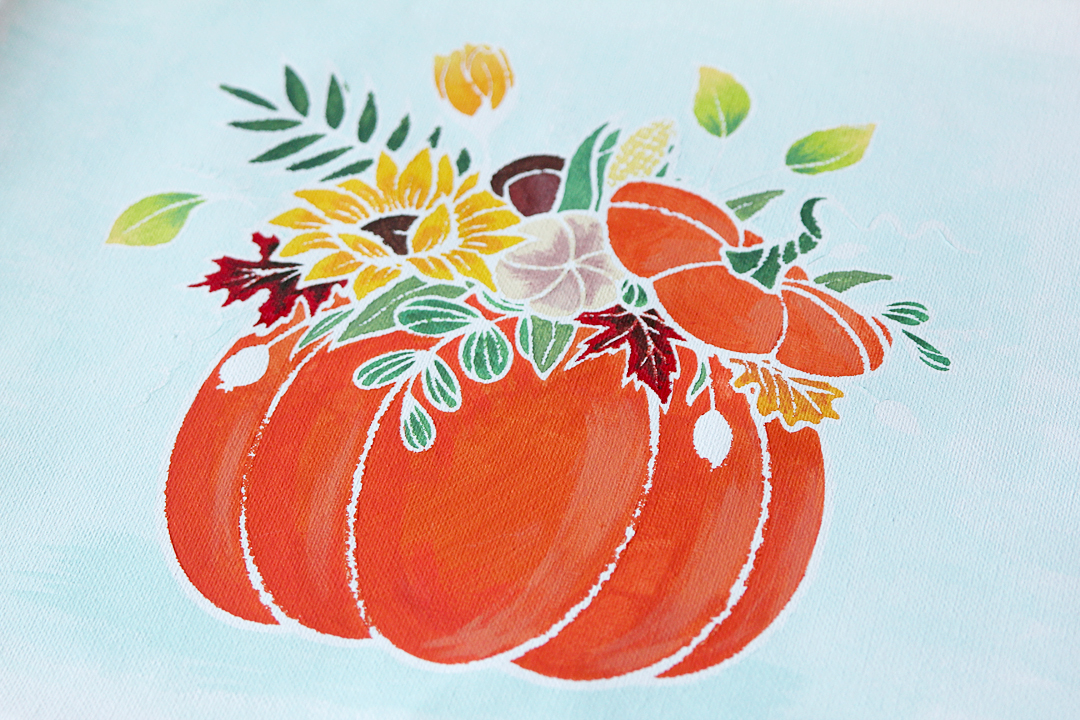
Apply heat and pressure with a household iron, using the cotton setting and no steam. If you’re using a heat press, set it to 305 degrees. Hold the iron or heat press in place for 10-15 seconds.
Remove the backing slowly to leave the heat transfer in place. If the heat transfer doesn’t release easily or comes up with the backing, place the HTV back onto the painting and press it again.
Step Six: Trim and Frame
Place the painted or stained frame onto the canvas so the design is centered in the frame.
Use a pencil to draw on the canvas around the outer edge of the frame. Then, use a straight edge and craft knife to cut just inside the pencil line, leaving about 1/4 in. margin. This margin is important because you don’t want to have any canvas sticking out of the back edge when you’re done.
Use staples or hot glue to attach the canvas to the back of the frame.
Tip: I find it helpful to attach the canvas to the back of the frame with thumb tacks first, so nothing slips while hot gluing a section at a time. You can see this process in the last twelve minutes of this Michaels class I did with Silhouette last year.
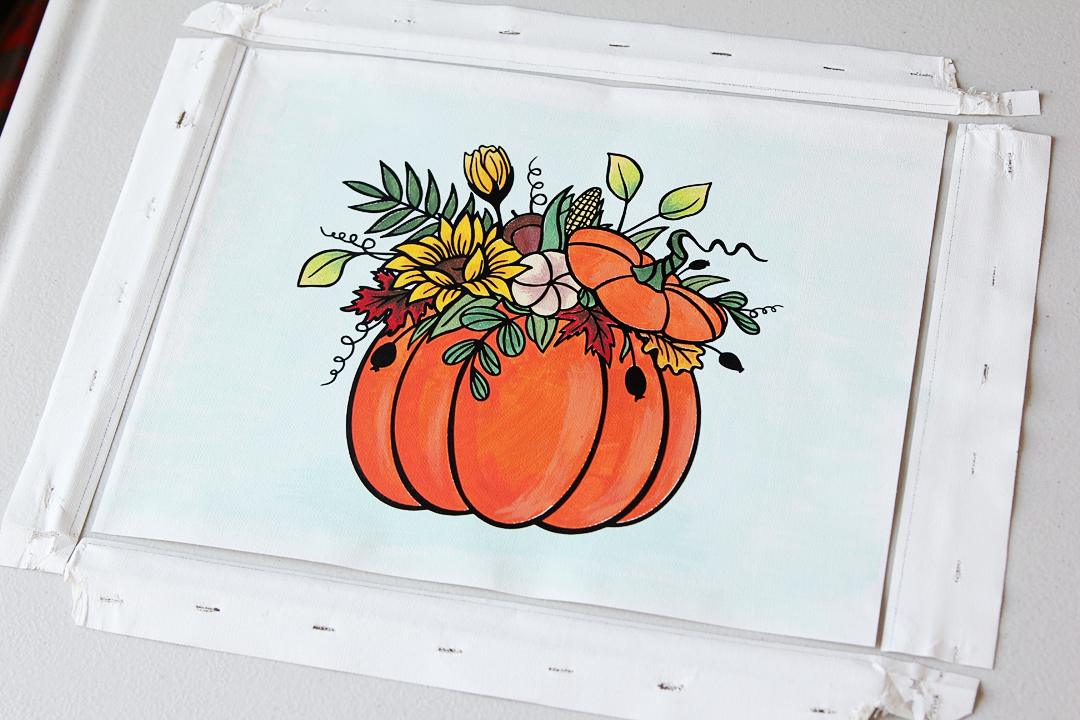
Now you’ve got a simple framed piece of your own artwork to display this fall!

 Free Class - Father's Day Apron Set
  Free Class - Custom Graduation Tumbler
Nasze Naturalne
September 3, 2025
Your authentic voice really shines through in everything you create and share
Naszenaturalne
September 2, 2025
Really love your style
Kelly Wayment
June 28, 2024
You can use it with vinyl as long as it is smooth and flat to allow the static charge to hold on to it. Rolled vinyl that wants to go back to its rolled shape will not necessarily work well, and it would need to be trimmed to fit the ES mat cutting area.
Kelly Wayment
June 28, 2024
Yes, you can use the heat pen while using the ES mat. 🙂
Yurii
March 2, 2024
Hello. May it be used with heat pen?
Thanks
Jerome
February 24, 2024
Hi, works this with the normal vinyl foils or only with printer papter etc?