
Amaryllis blooms are the unsung hero of holiday flowers! Often overlooked by Poinsettia, these tropical bulbs typically bloom indoors in the winter. However, if you’re looking to try your hand at some paper flowers, this is a great one to display into springtime! The best part? This beauty will never wilt or die. Merry Christmas to all!
Supplies Needed:
- Silhouette Cameo® or Silhouette Portrait®
- Silhouette Studio®
- Silhouette Cutting Mat
- Silhouette AutoBlade or Silhouette AutoBlade for Cameo 4
- Paper in Reds, pinks, or whites, and green for the leaves.
- Floral wire
- Paintbrush or other slim object to curl the petals
- Floral Tape
- Hot glue gun
- Design ID #56215 for the 3D Columbine Flower by Jaime Lane Designs and #58993 for the leaves by Silhouette.

Step One: Formatting the Design
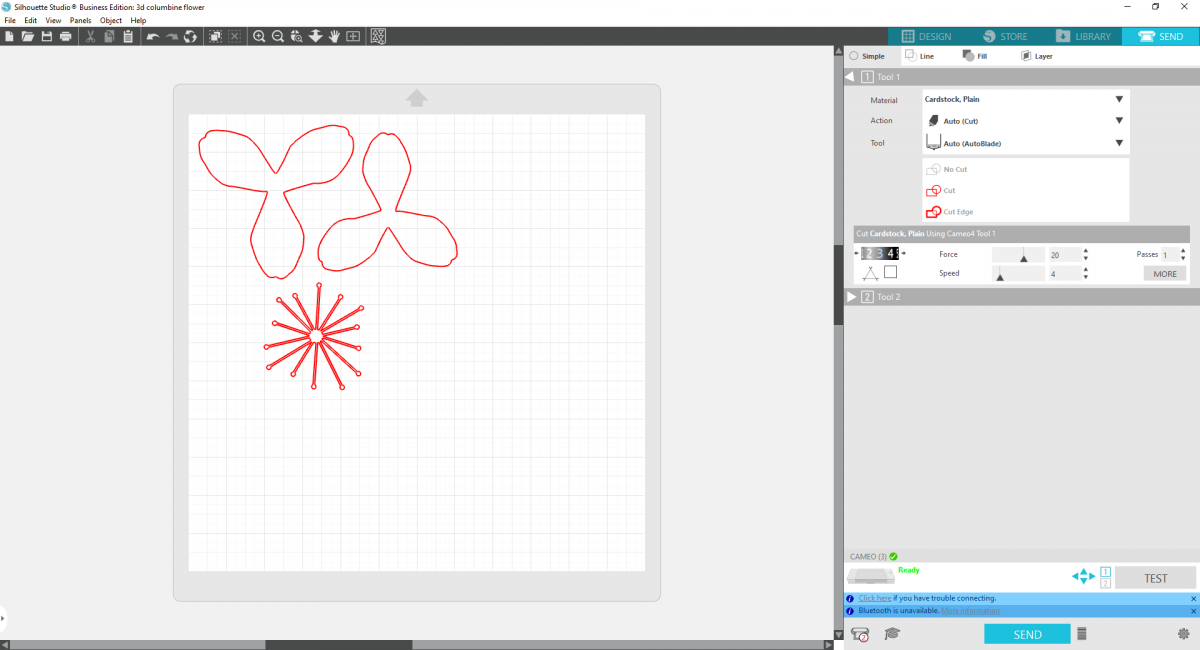
1. Open the design ID into Silhouette Studio. Yes, it says it is for a Columbine Flower, but the designs lend themselves beautifully for an amaryllis!
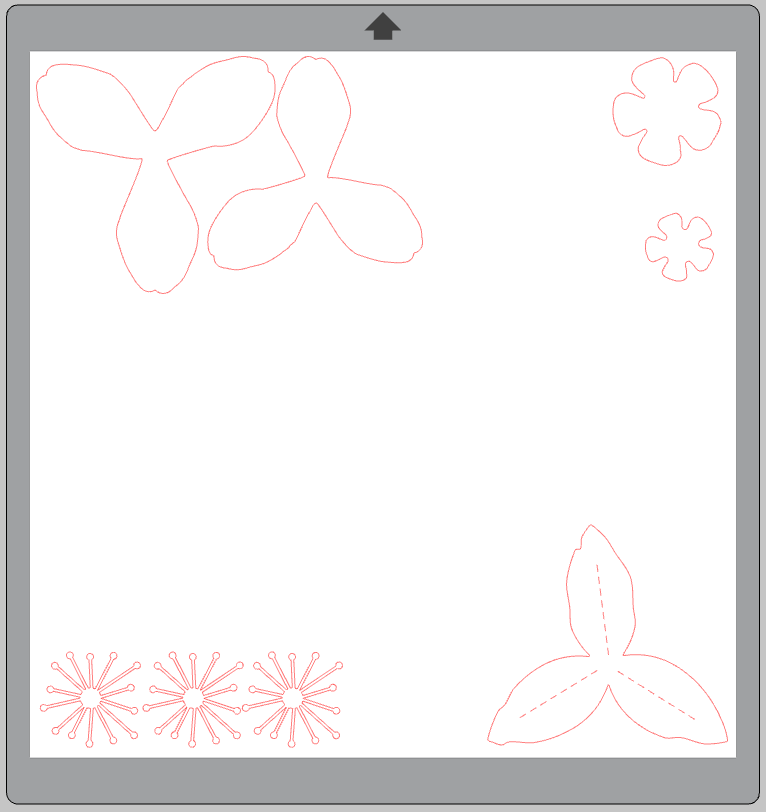
2. Ungroup the design and delete everything but the two 3-leaf petals and one of the stamen pieces.
3. The current diameter of the flower center is just over 1.5 inches and we want to increase that because an amaryllis has longer stamens. To do this double-click on the flower center piece so the small grey edit points are visible.
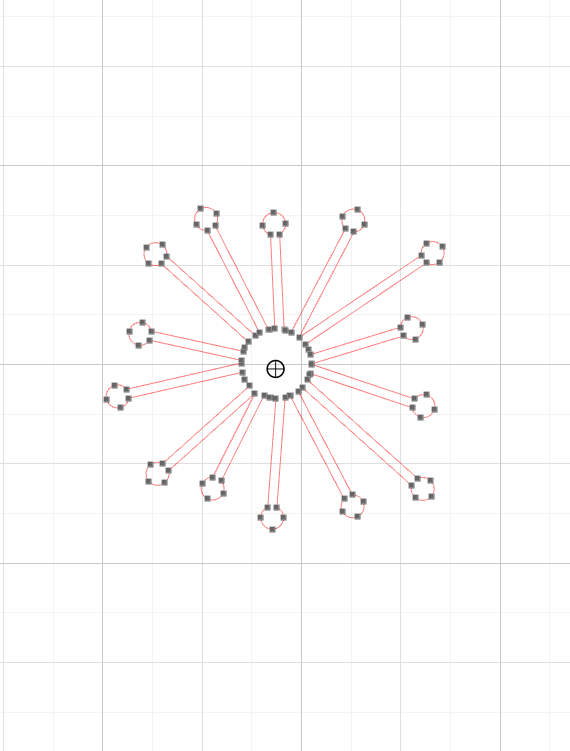
4. Then select all the points of each stamen and lengthen it. This is simple by pressing and holding down the shift key and selecting multiple points and then extending them by clicking and dragging out.
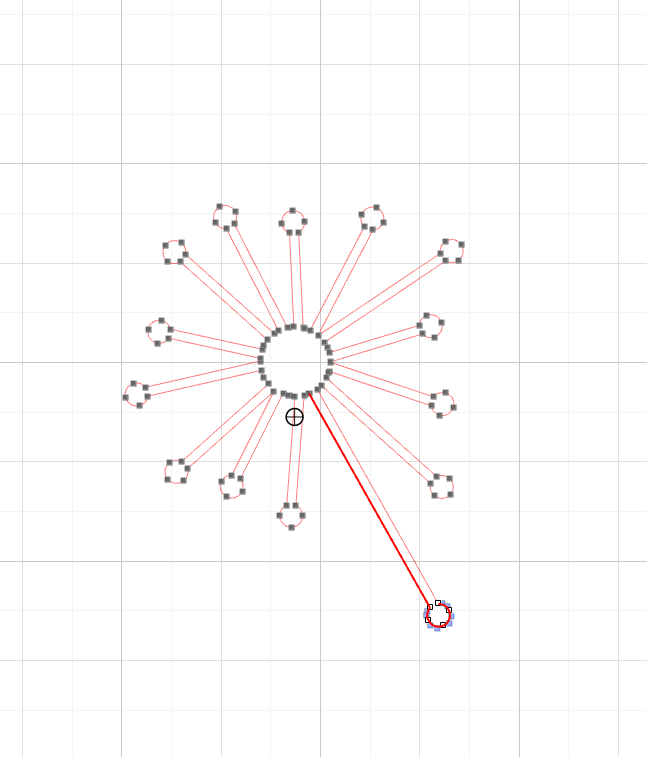
5. Repeat this process for each of the stamens–they don’t all have to be the same length, just increase the length of each by about .5 inches. Below you can see the size difference of the original and the one we edited. This allows us the have longer stamens without increase the center size so it still fits well in the flower petals.

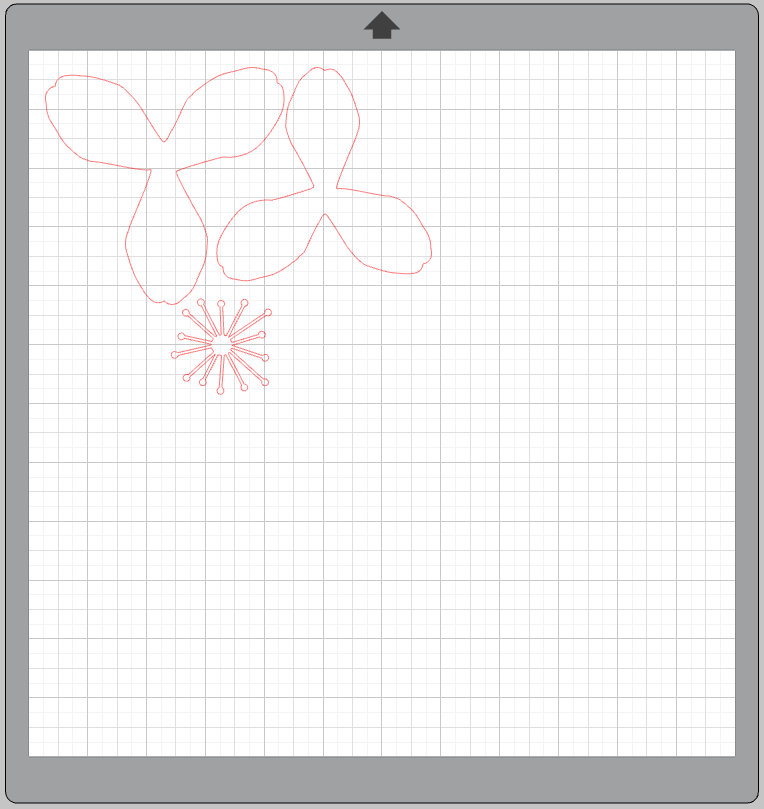
6. Now you’re ready to cut! The current size of the petals will result in an amaryllis blossom with a diameter of about 4 inches. For a bigger blossom, simply increase the size of all the design elements.
For the the leaves insert the design into Silhouette Studio, ungroup the design and delete the additional elements of the design besides the leaves. Duplicate the leaves to cut as many as you like, adjusting their size as desired. Cut the leaves on green paper.

Step Two: Assembling the Flower
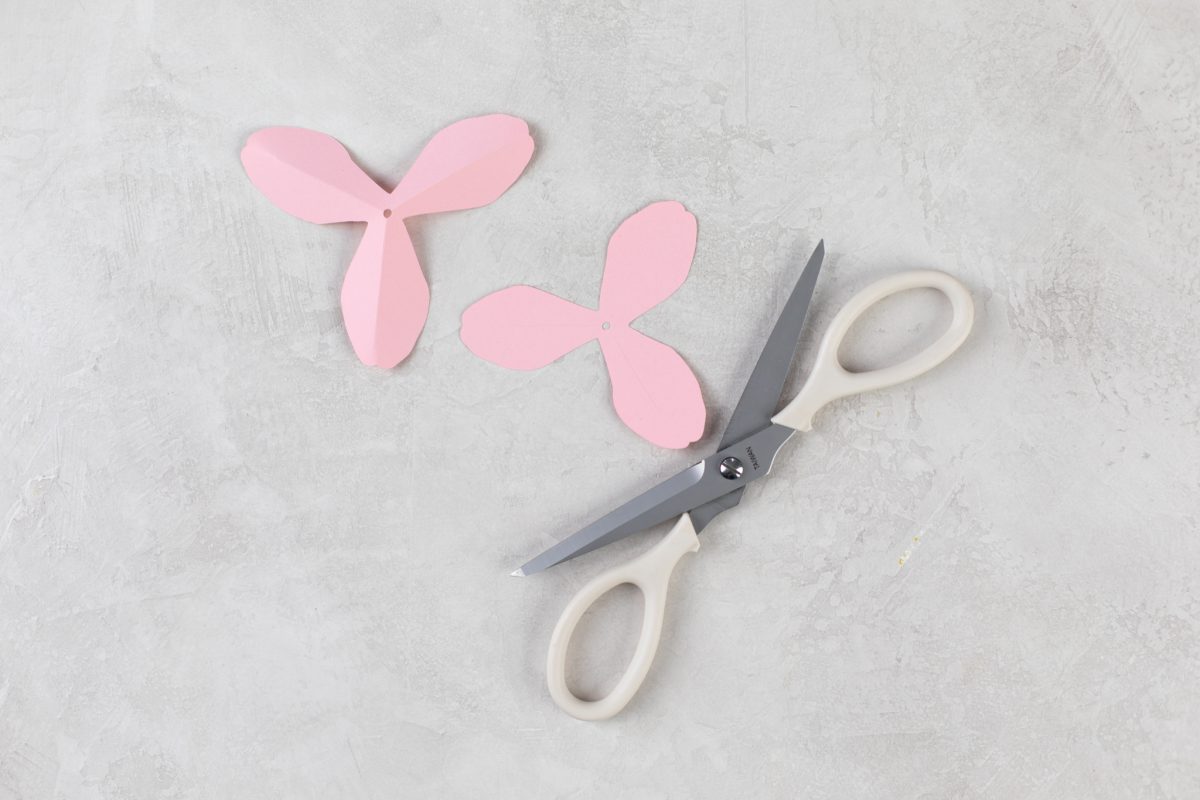
Score down the center of each petal with scissors or a craft knife. This will create a line so you can fold each petal gently in half.
With a pencil or paintbrush, curl the edges of each petal backwards. Also fold the stamens so they are all pointing upwards.
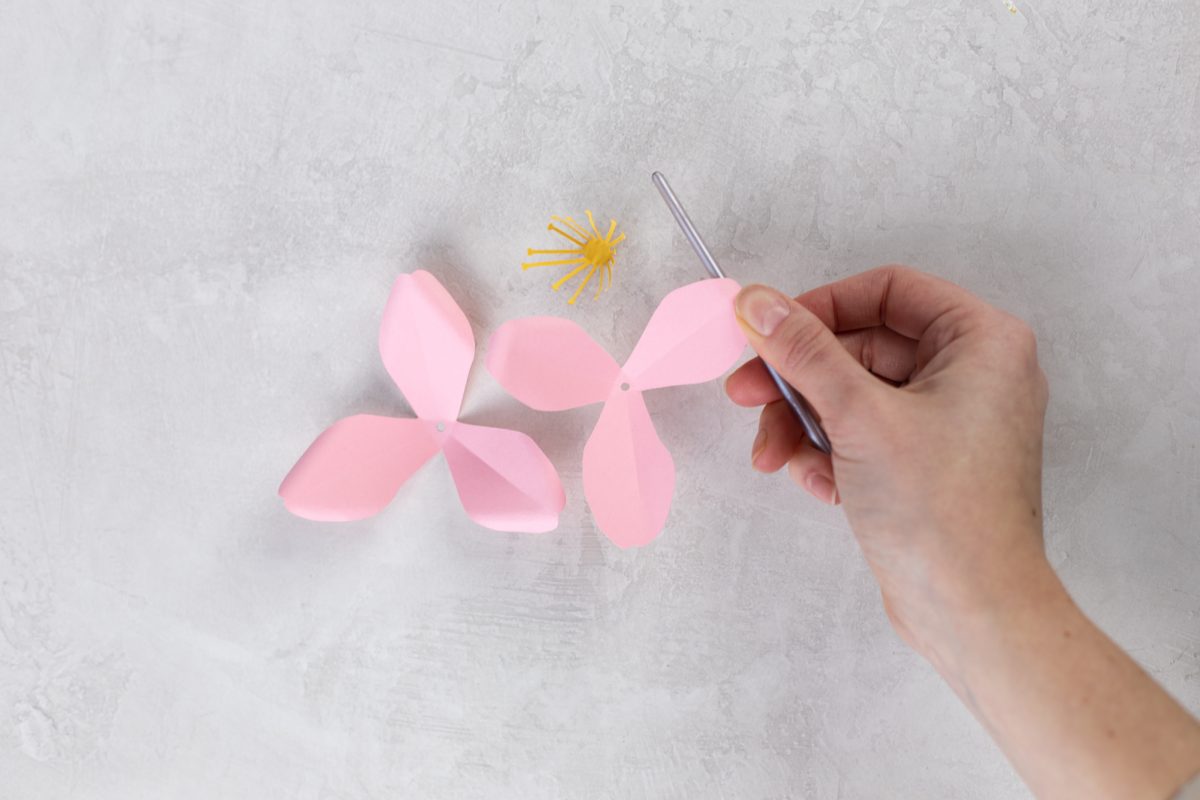
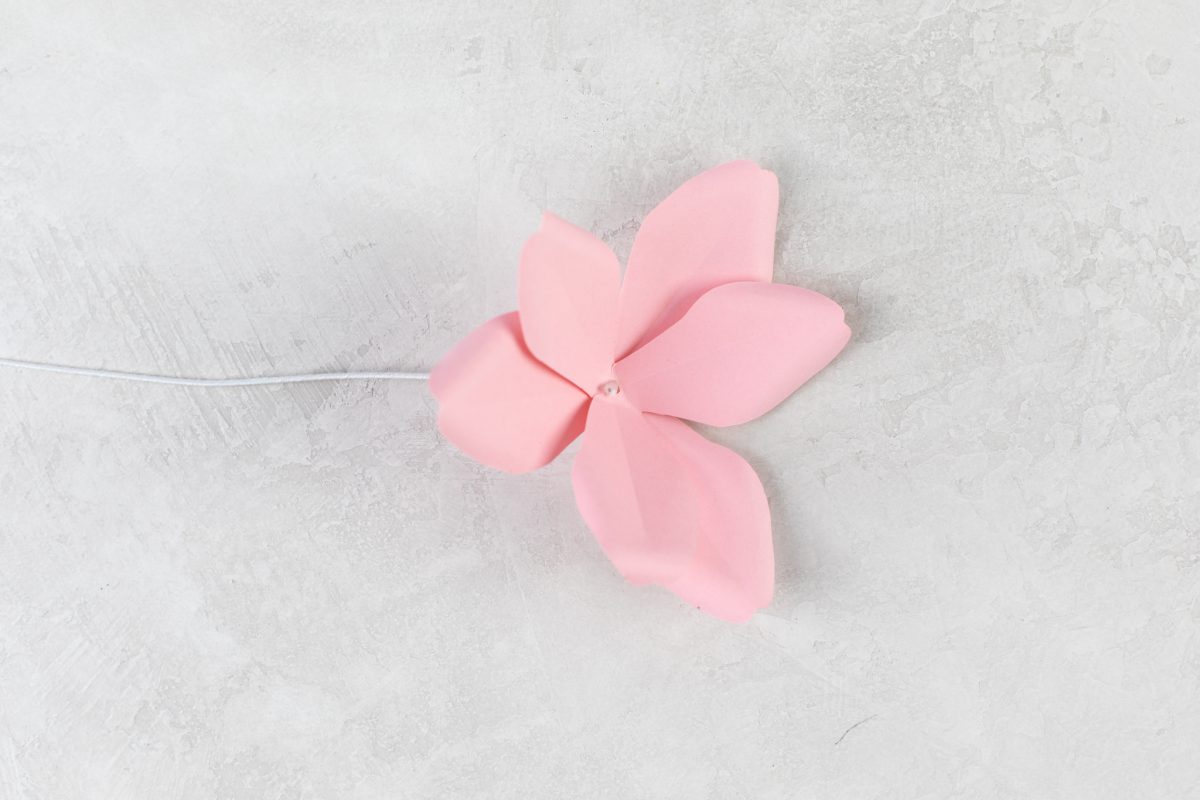
Thread the wire through the hole of the larger petal, just so about 1/2 inch of wire is poking out the top. Add a generous dab of hot glue.
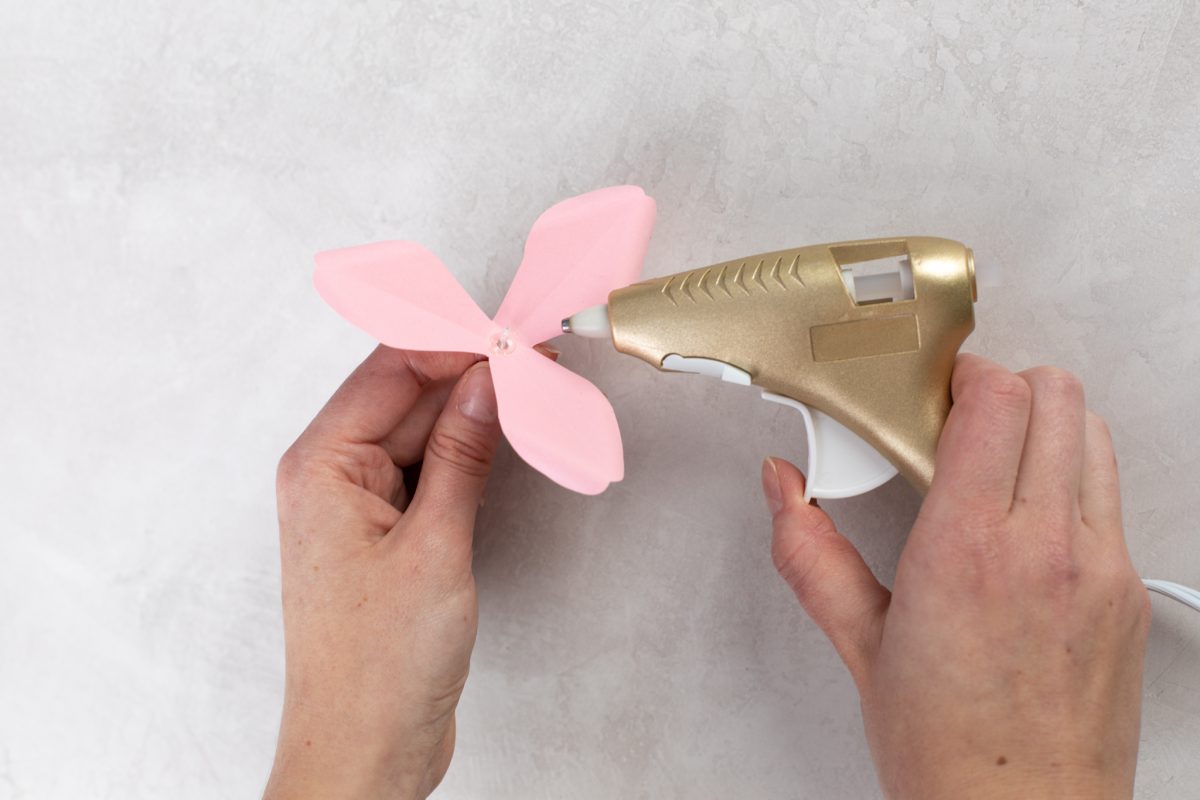
Then layer the smaller petal on top, positioning it so the smaller petals intersect with the larger petals. Fold down the tip of the exposed wire.
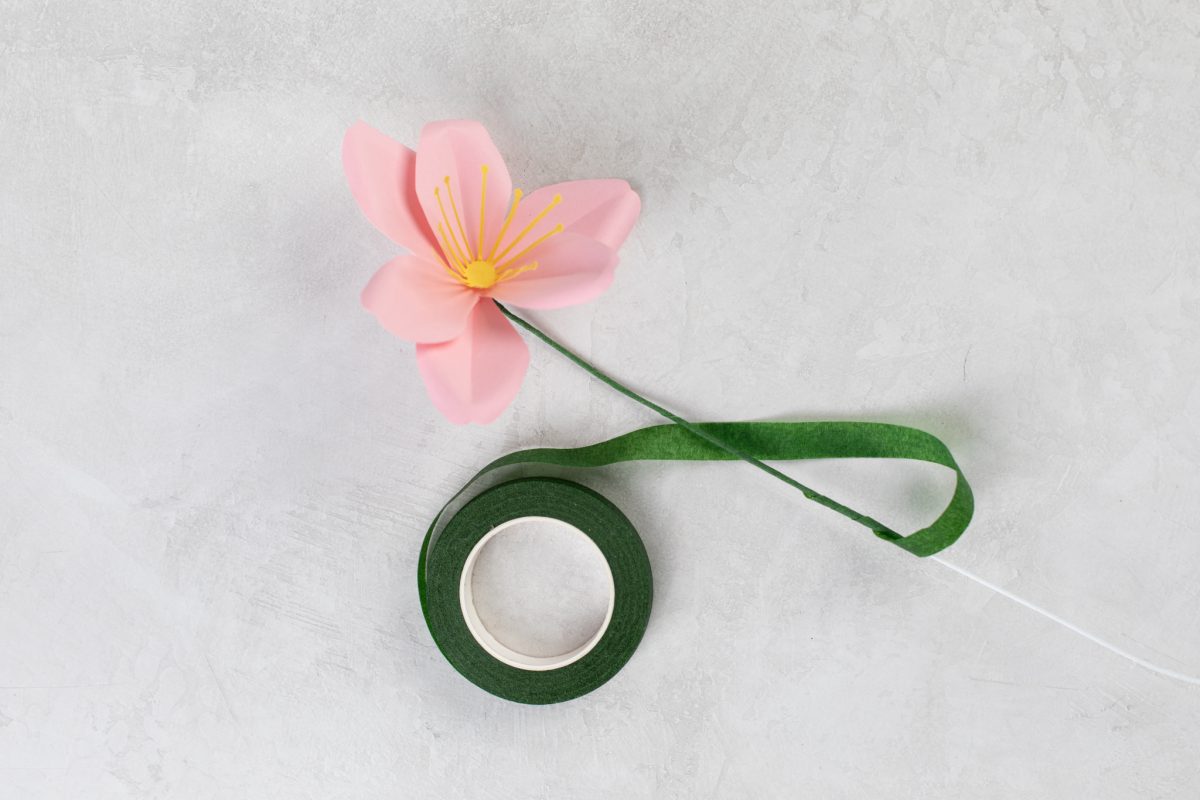
Add another dab of hot glue to the center of the petals and place the yellow stamen piece on top, pressing to secure.

Now wrap your stem with green floral tape.
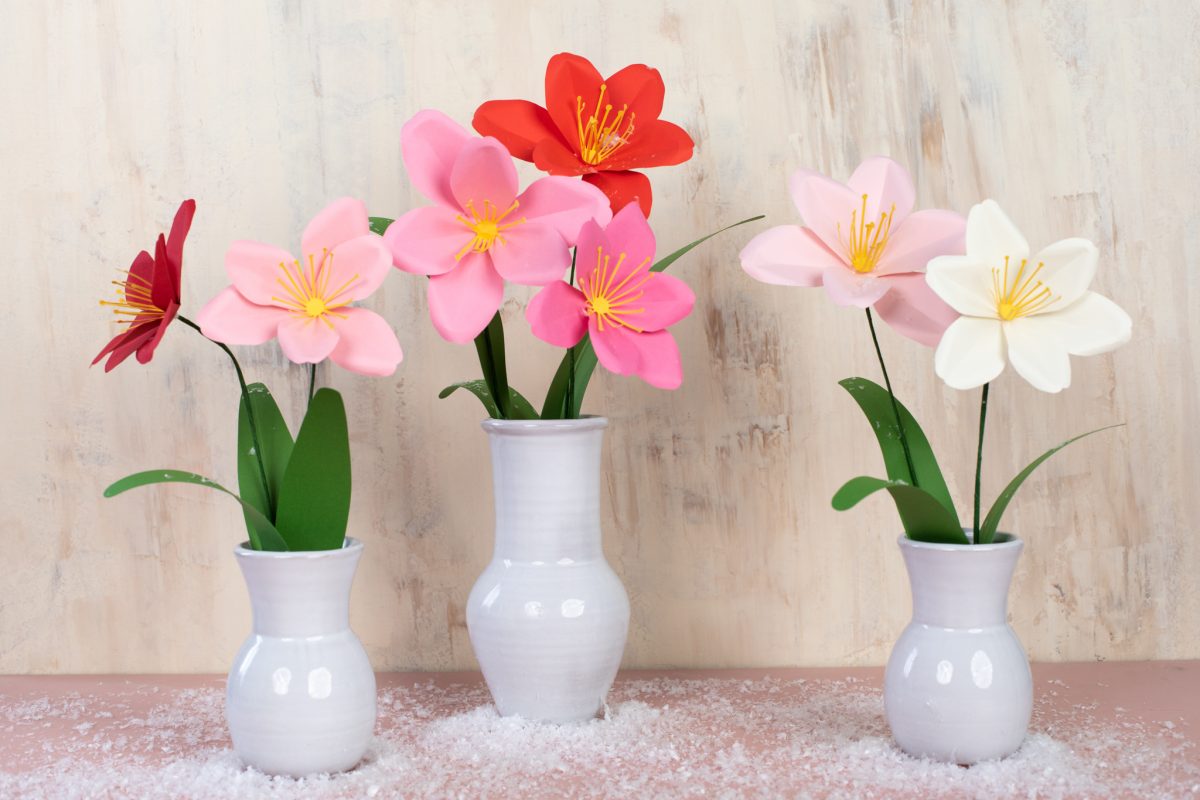
Add leaves if desired and arrange in one or a few vases!
 Free Class - Father's Day Apron Set
  Free Class - Custom Graduation Tumbler