
If you’re running low on ribbon, never fear! These paper bows are easy to make and look adorable atop any gift! Make them in your color paper of choice.
Supplies Needed:
- Silhouette Cameo® or Silhouette Portrait®
- Silhouette Studio®
- Silhouette Cutting Mat
- Silhouette AutoBlade or Silhouette AutoBlade for Cameo 4
- Sheet of paper or cardstock, 12 x 12 or 8.5 x 11 works
- Strong Adhesive
- Scissors
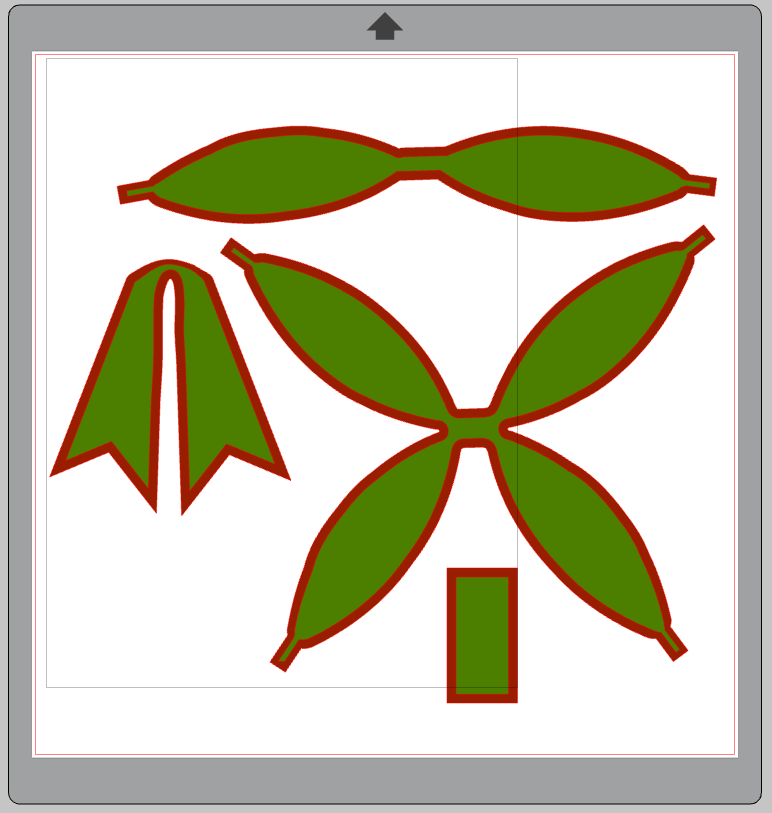
- Design ID#283387 for the Layered Triple Bow by Jamie Lane Designs
This design is a layered bow; however, you can easily just make it one layer by omitting the second layer. The video shows a one-layer bow, and the photos below show a two-layer bow. It’s up to you!
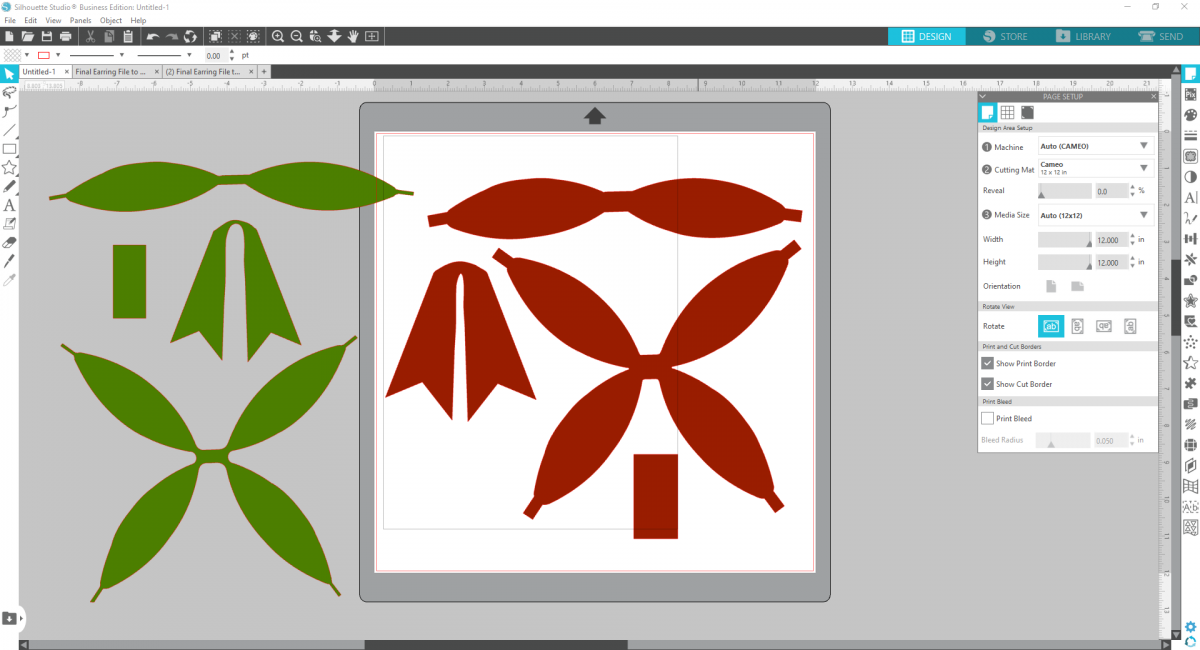
Step One: Prepare and Cut Design
1. Insert your design into Silhouette Studio®. You can ungroup the design to separate the pieces if you’d like to do two different colors.
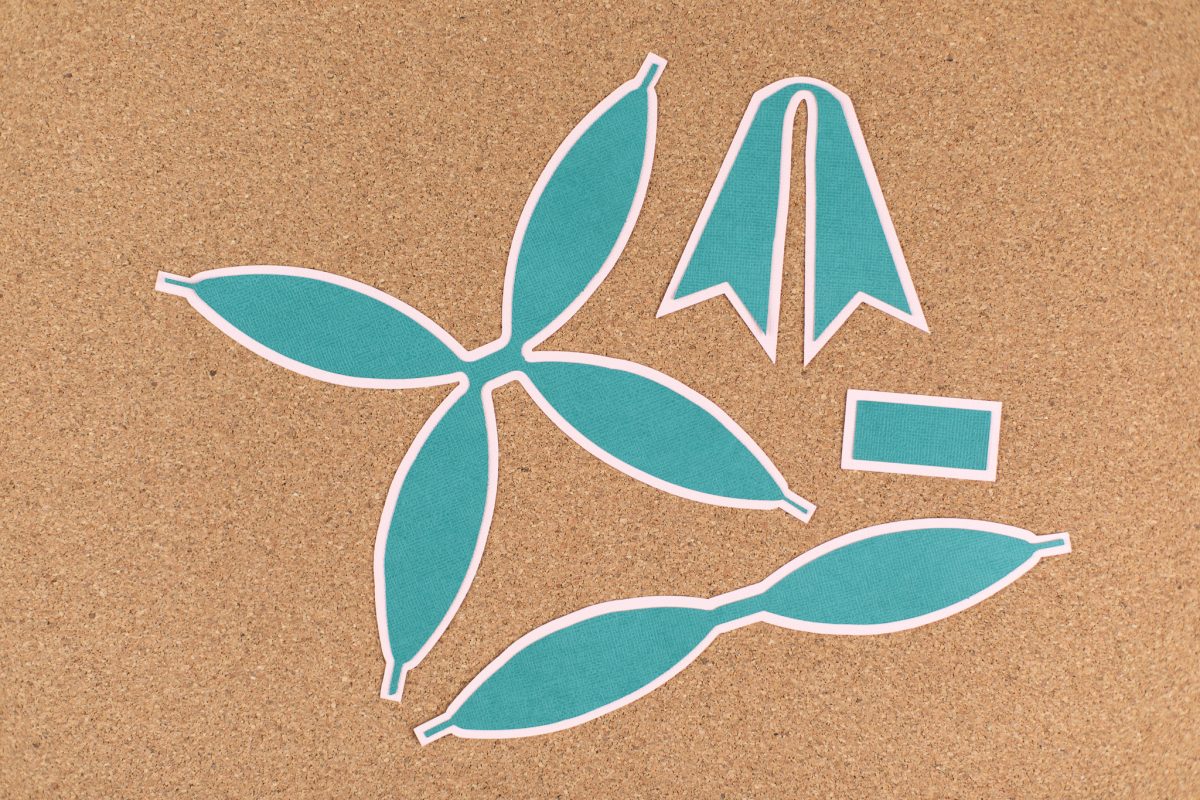
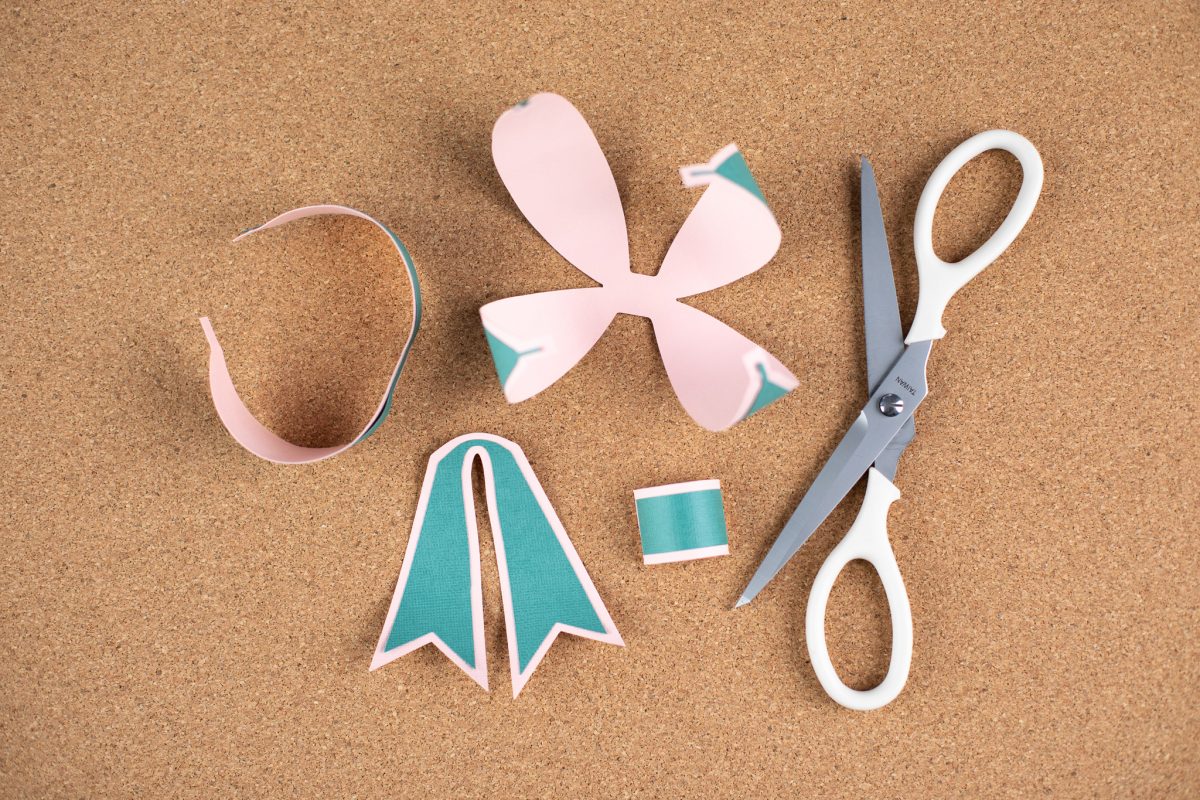
2. Cut out the pieces in the colored paper(s) of your choice.
Step Two: Assemble the Bow
1. If you are doing the layered bow, glue the coordinating pieces on top of one another.
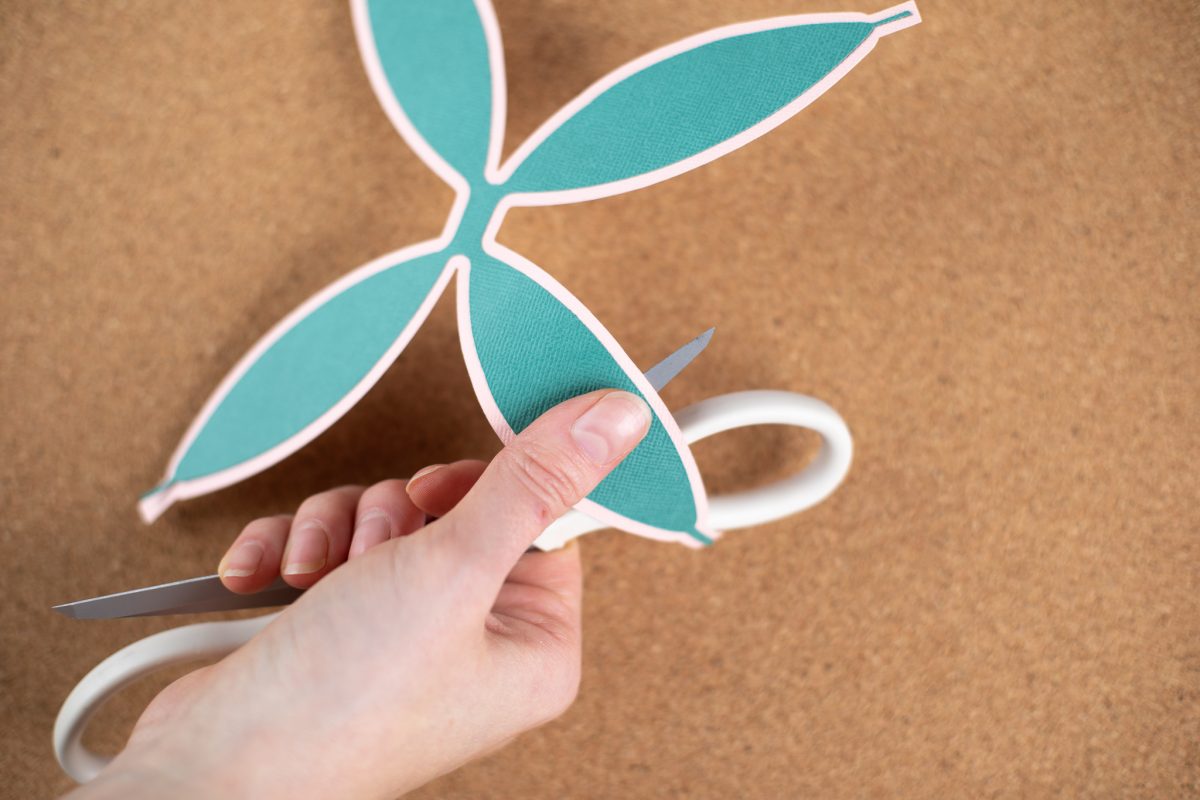
2. With scissors, curl the pieces so that they are easy to fold inwards without creating creases in your paper.
3. Now bring each of the bow loops to the center and glue the loops in place. Create a loop with the rectangle to create a bow center. See the photos below.
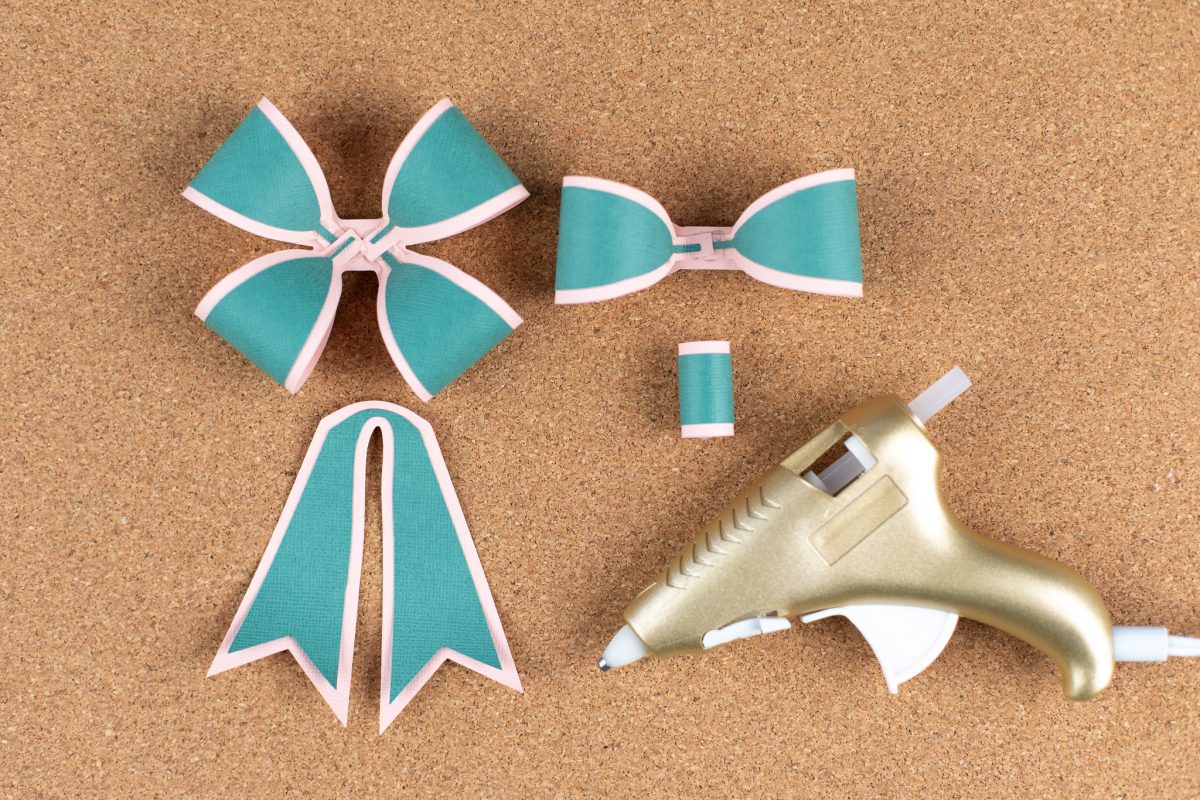
4. Layer the pieces and glue them together. Position the bow on top of your present and adhere it in place. Now you can add bows to everything!

 Free Class - Shaker Card with the ES Mat
  Weekly Spotlight - Lori Whitlock
Nasze Naturalne
September 3, 2025
Your authentic voice really shines through in everything you create and share
Naszenaturalne
September 2, 2025
Really love your style
Kelly Wayment
June 28, 2024
You can use it with vinyl as long as it is smooth and flat to allow the static charge to hold on to it. Rolled vinyl that wants to go back to its rolled shape will not necessarily work well, and it would need to be trimmed to fit the ES mat cutting area.
Kelly Wayment
June 28, 2024
Yes, you can use the heat pen while using the ES mat. 🙂
Yurii
March 2, 2024
Hello. May it be used with heat pen?
Thanks
Jerome
February 24, 2024
Hi, works this with the normal vinyl foils or only with printer papter etc?