
These sweet paper heart topiaries are perfectly appropriate for Valentine’s Day decor, but they are also great as gifts for friends or even baby or bridal shower favors if you want to get really crafty! How do you decorate for Valentine’s Day?
Supplies Needed:
- Silhouette Cameo® or Silhouette Portrait®
- Silhouette Studio®
- Silhouette Cutting Mat
- Silhouette AutoBlade or Silhouette AutoBlade for Cameo 4
- Cardstock in various shades
- Chipboard, optional but helpful if your cardstock isn’t too strong.
- Adhesive
- Wooden skewers
- Pots with floral foam or beans to display
- Heart Topiary project by Furrow & Feather
Step One: Formatting the Design
1. Insert the heart topiary design into Silhouette Studio® and size it to your desired dimensions. We sized our design so the hearts measured between 5 and 7.5 inches wide.
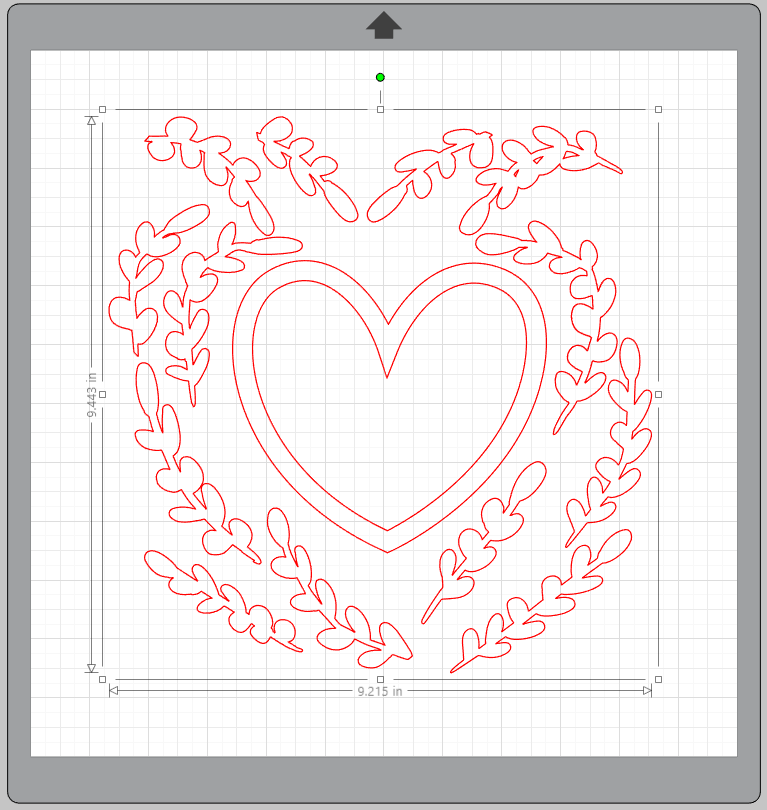
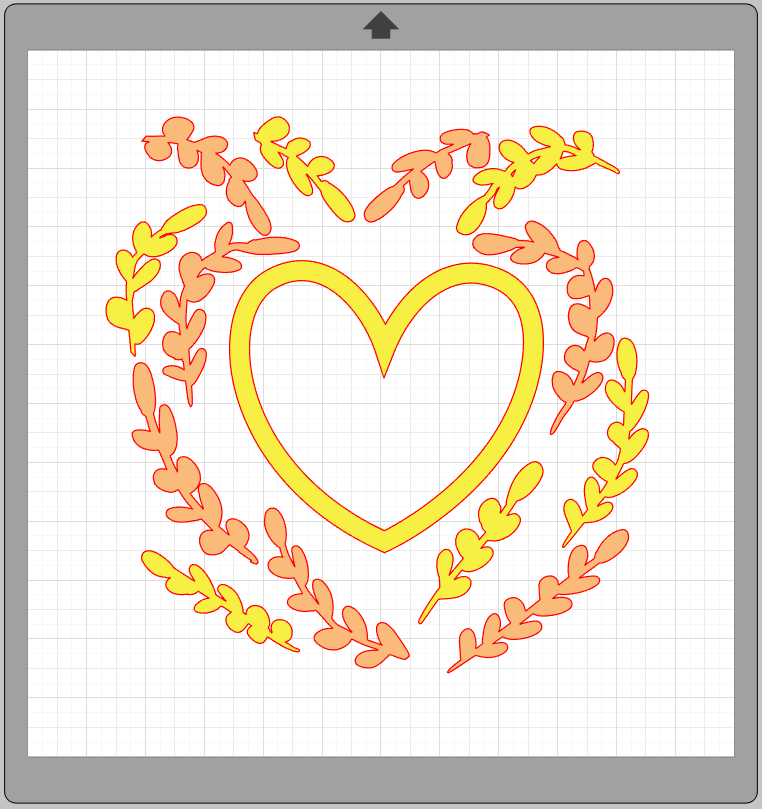
2. For each of our hearts, we used two similar shades of cardstock to give some depth to the design. You can ungroup the design so you can choose which pieces to cut out of each color.
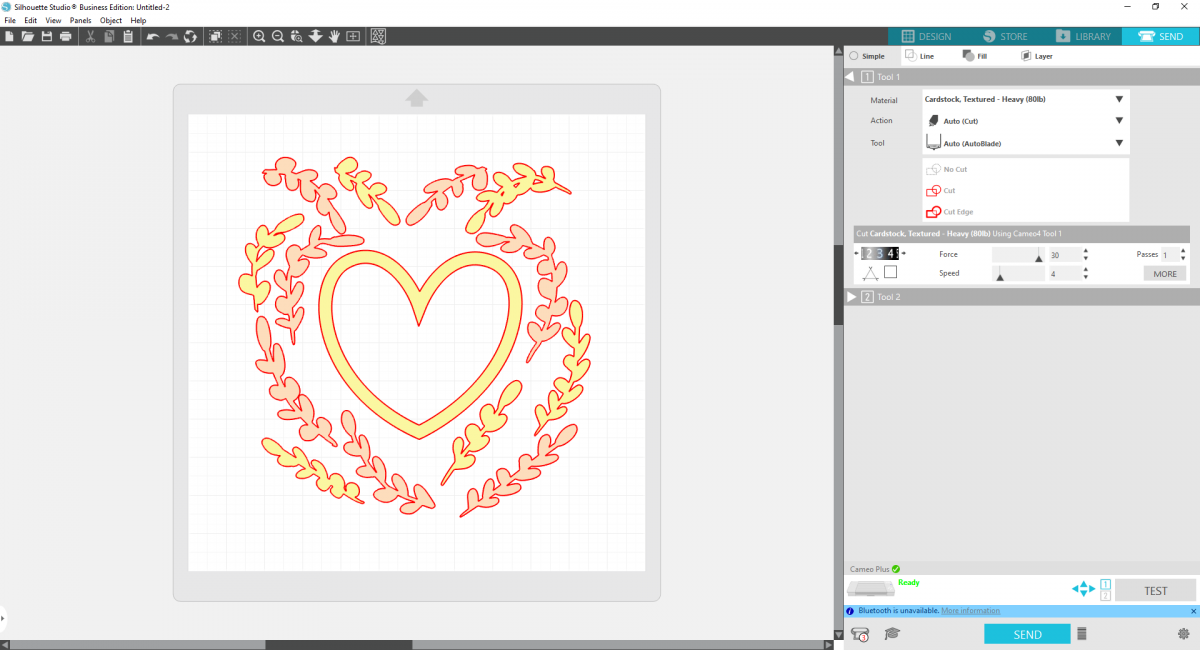
3. Now cut out your design with the coordinating papers of your choice. If you’re using a flimsy cardstock, you may want to cut an additional heart shape from chipboard and glue them together to give the heart more structure.
Repeat this same process for however many heart topiaries you want to create, adjusting the size and the colors of paper.
Step Two: Assembling Each Topiary
1. Once you have your elements cut, glue on the leaf boughs to the heart frame. You can use the design in Silhouette Studio® as a helpful layout to help guide your gluing.

2. Once your heart is complete, hot glue on a wooden skewer to the back base of the heart.

3. Stick into a pot or vessel filled with foam or beans to stabilize each skewer.
4. Arrange on your table or mantel or give each topiary as a sweet Valentine’s Day gift!

 Free Class - Father's Day Apron Set
  Free Class - Custom Graduation Tumbler
Kelly Wayment
June 28, 2024
You can use it with vinyl as long as it is smooth and flat to allow the static charge to hold on to it. Rolled vinyl that wants to go back to its rolled shape will not necessarily work well, and it would need to be trimmed to fit the ES mat cutting area.
Kelly Wayment
June 28, 2024
Yes, you can use the heat pen while using the ES mat. 🙂
Yurii
March 2, 2024
Hello. May it be used with heat pen?
Thanks
Jerome
February 24, 2024
Hi, works this with the normal vinyl foils or only with printer papter etc?
Kelly Wayment
February 16, 2024
Once you’ve pushed the mat up against the rollers, just press the “Load” arrow button (bottom right on the display). Does a regular sticky mat load into the machine for you?
Michelle a goodall
January 24, 2024
Hello! I just got my new electrostatic mat and have watched every video i can find on it. However, what i can t find is why it wont feed into my cameo 5/ it slides right up the rollers but wont go any further. and yes- iam pushing the into button. help!