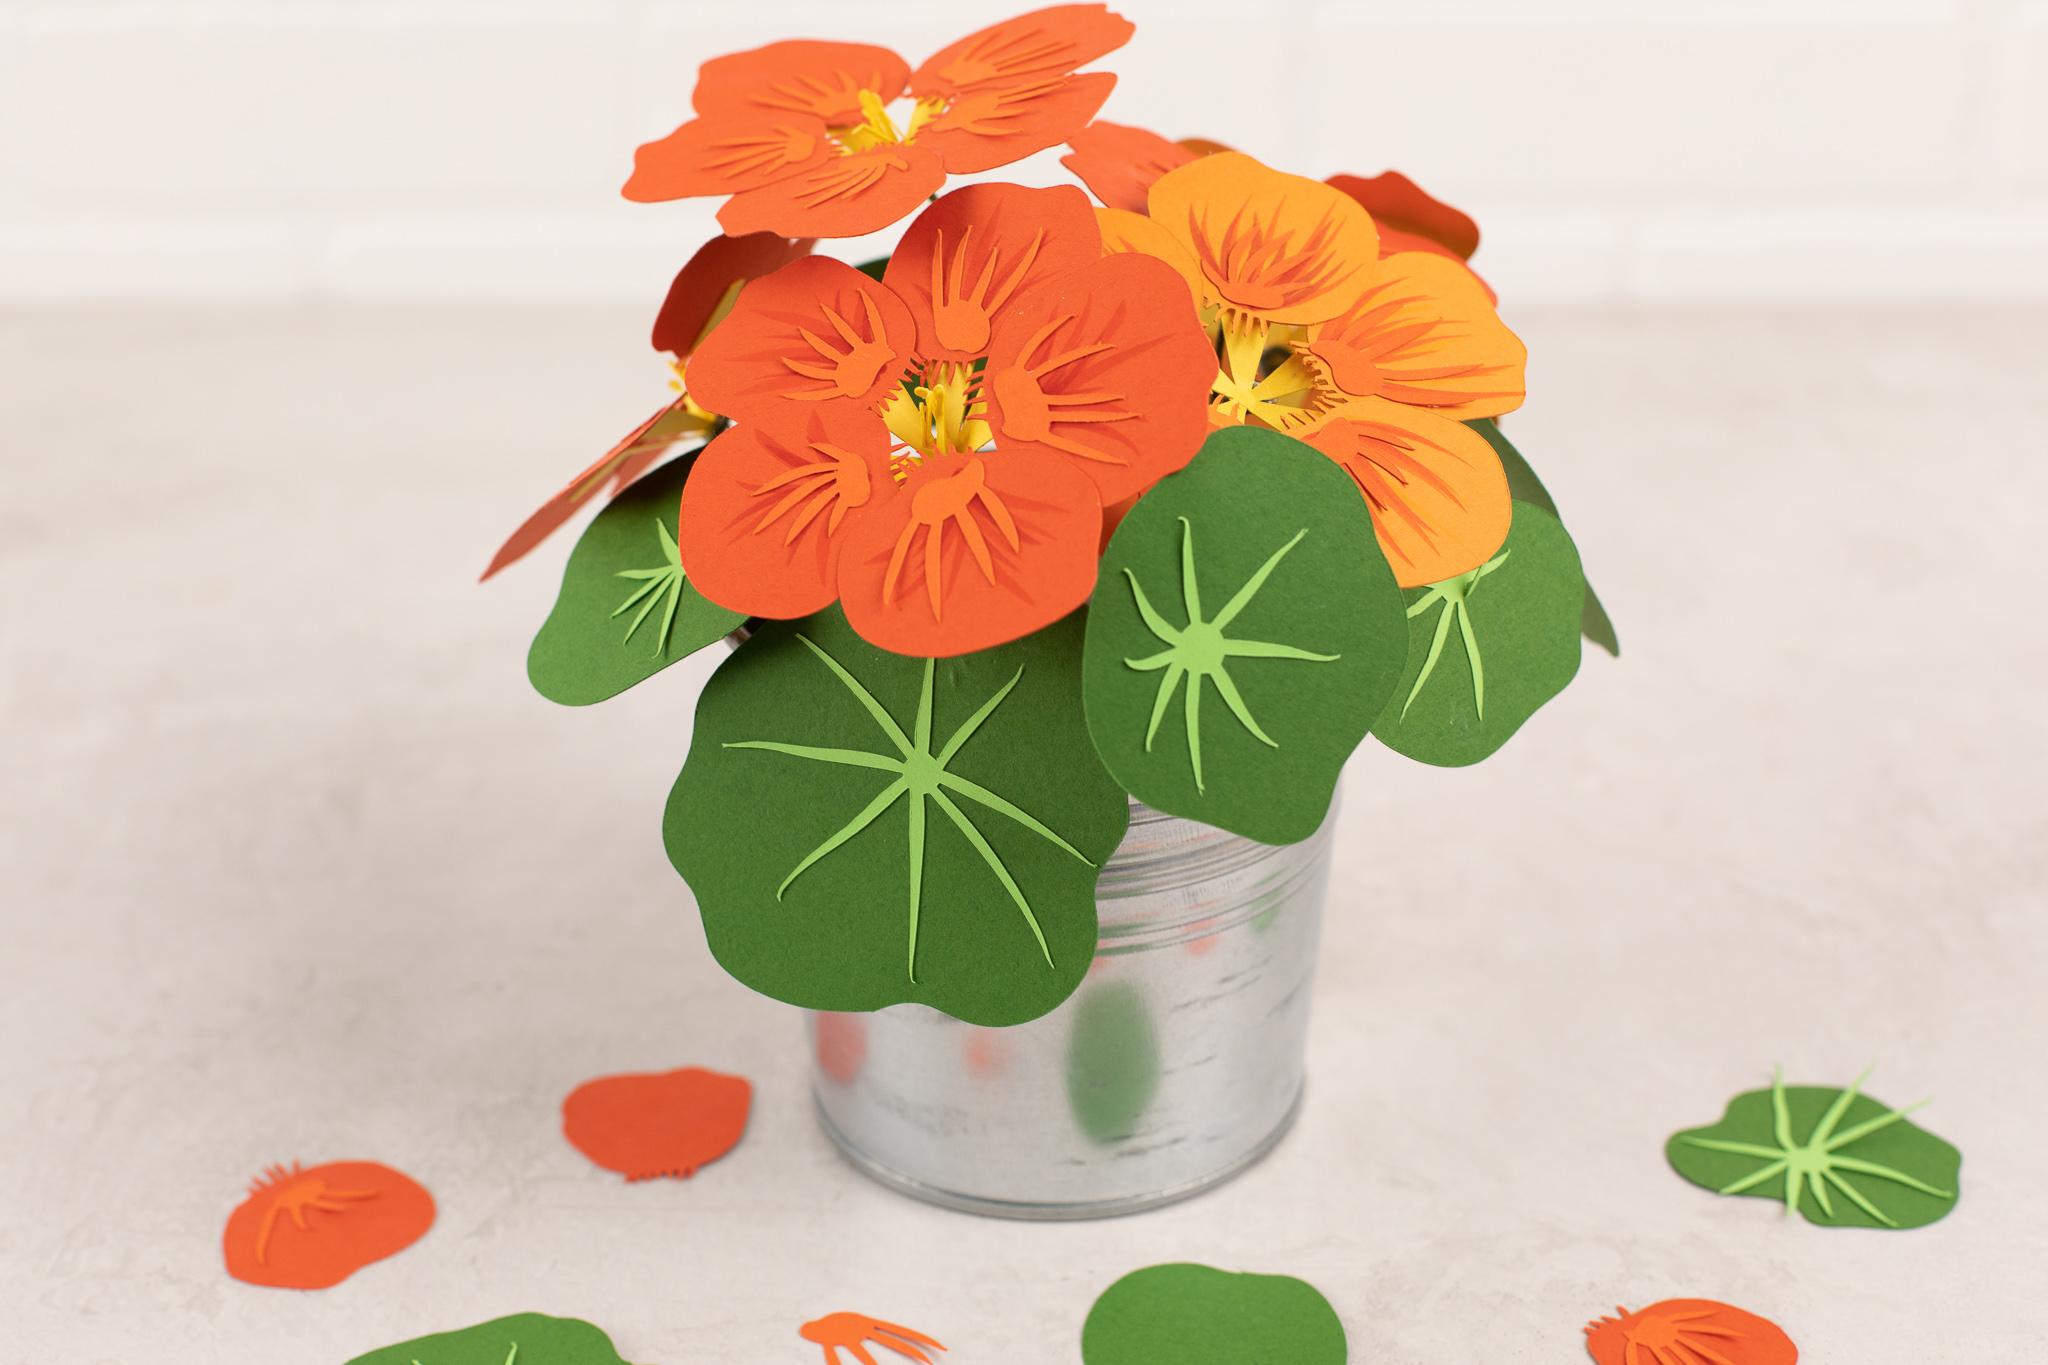
Today we are going to make a paper nasturtium flower. We love making paper flowers and cannot wait to see how you use yours. You can make these as a print and cut or paper pieced. We chose to do ours with cardstock and even added a little personal detail by using some makers for shading and accent.
Supplies Needed:
- Silhouette CAMEO® or Silhouette Portrait®
- Silhouette Studio®
- Silhouette Cutting Mat
- Silhouette Cutting Blade
- Cardstock – Green, Light Green, Oranges, Reds, and Yellows
- Adhesive
- Floral Wire
- Pliers
- Glue gun
- Design ID #293398
Step One: Open Design in Silhouette Studio®
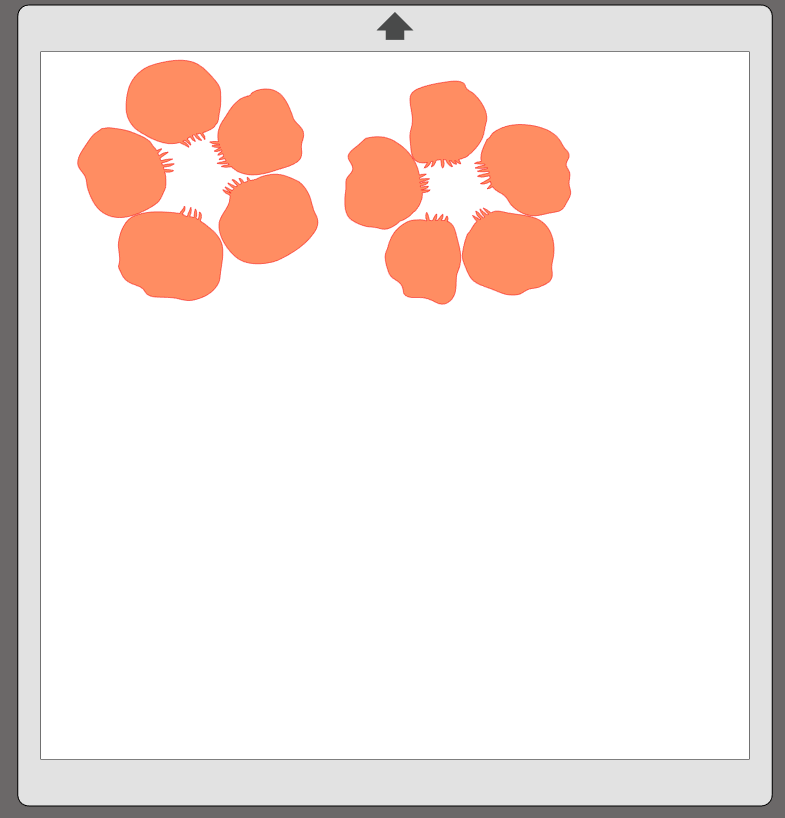
1. Open the flower design (ID #293398) in Silhouette Studio ®.
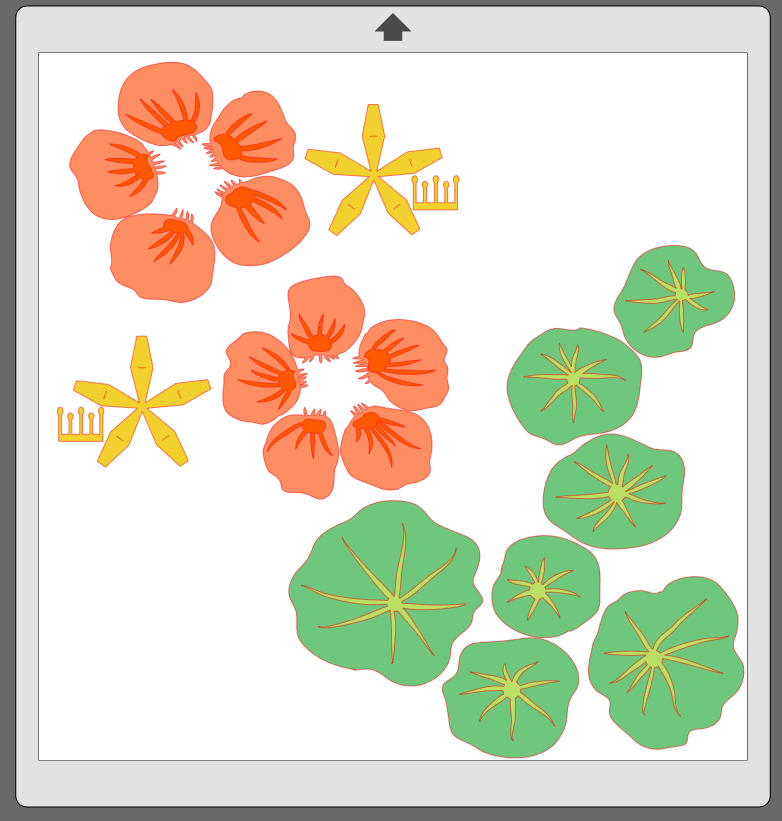
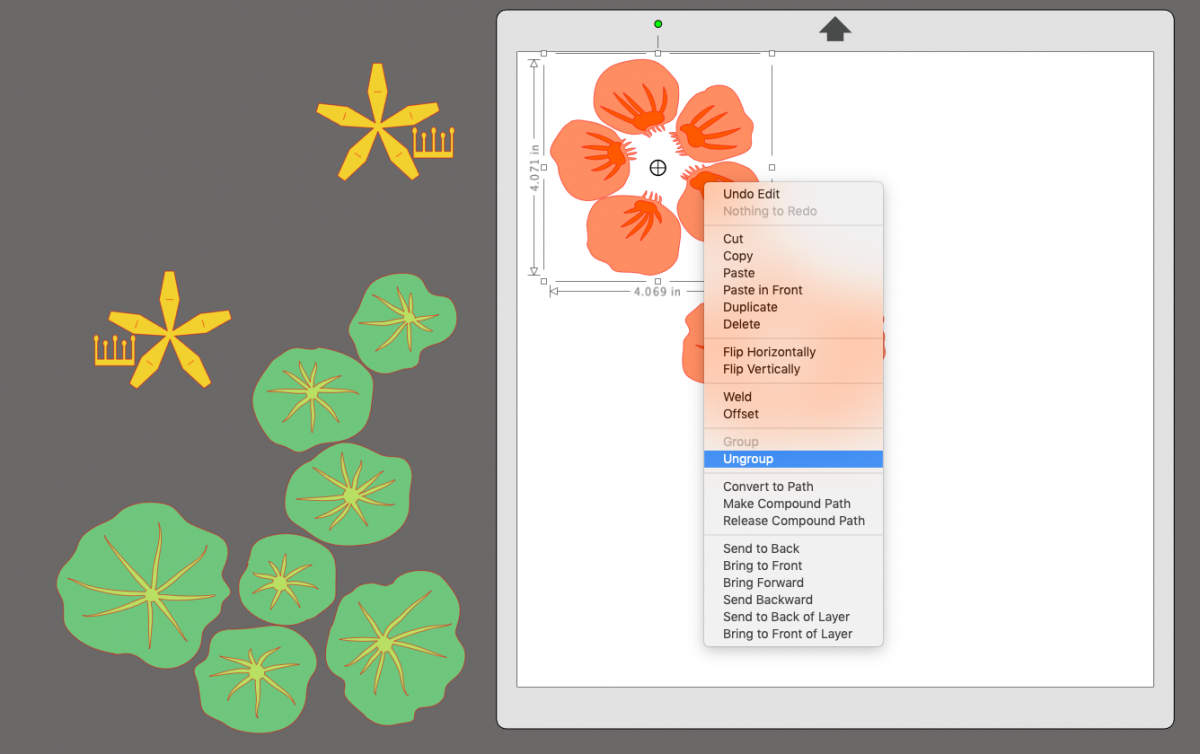
2. These flowers come layered, and for cardstock, we need to ungroup them and place them in the cut window by color.
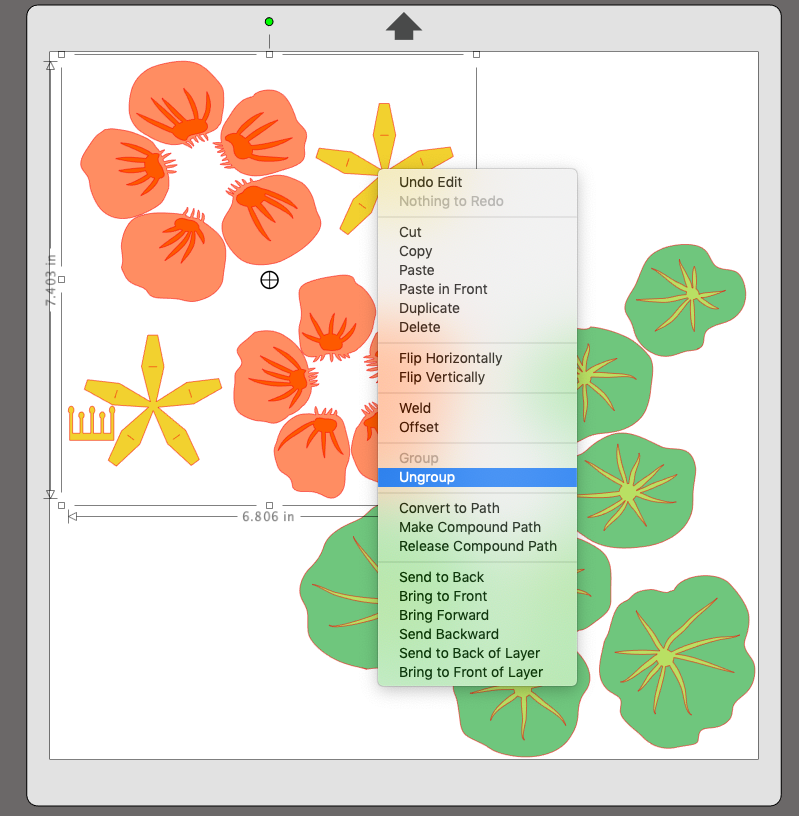
3. You will have to ungroup the layers from the entire design and then the smaller details on top of the petals and leaves.
Step Two: Send to Machine
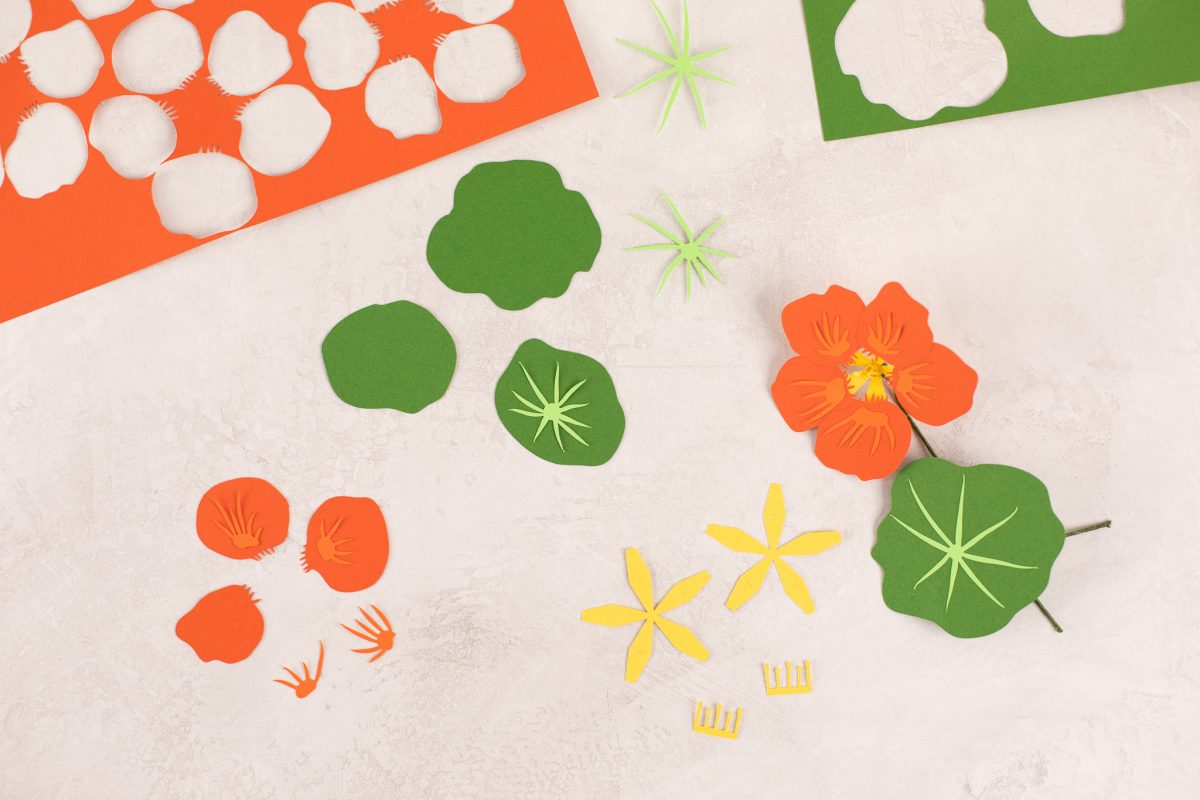
1. Place the cardstock on your cutting mat and load it into your machine. Send to machine using the corresponding material (cardstock) settings.
Step Three: Assemble Flower
After all the pieces have been cut, begin the assembly process.
1. Start by gluing the smaller detail pieces of each petal onto the larger petal piece. Repeat the same for the small spider looking pieces – glue them onto the larger leaf piece.
2. Take the yellow star shape and fold them on the crease line.
3. Then roll the small fork looking piece.
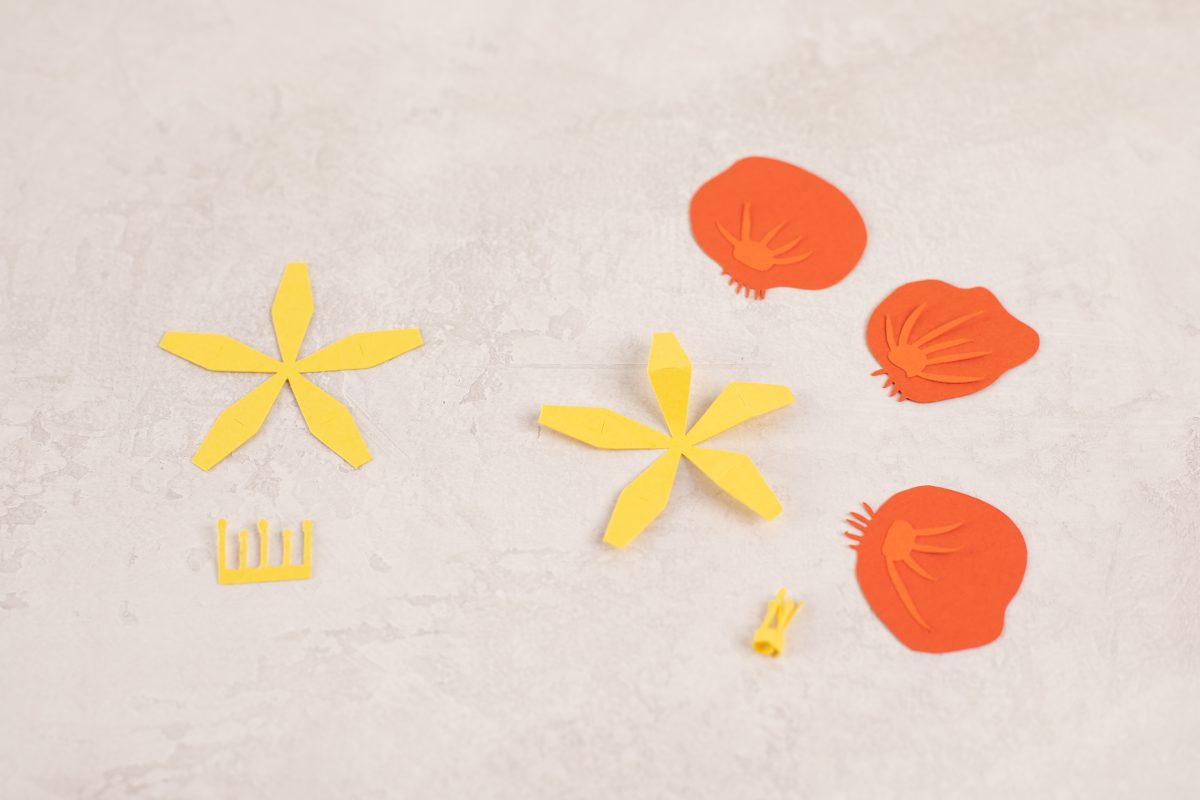
4. Glue a flower petal onto each arm of the yellow star piece and then glue the rolled center into the middle.
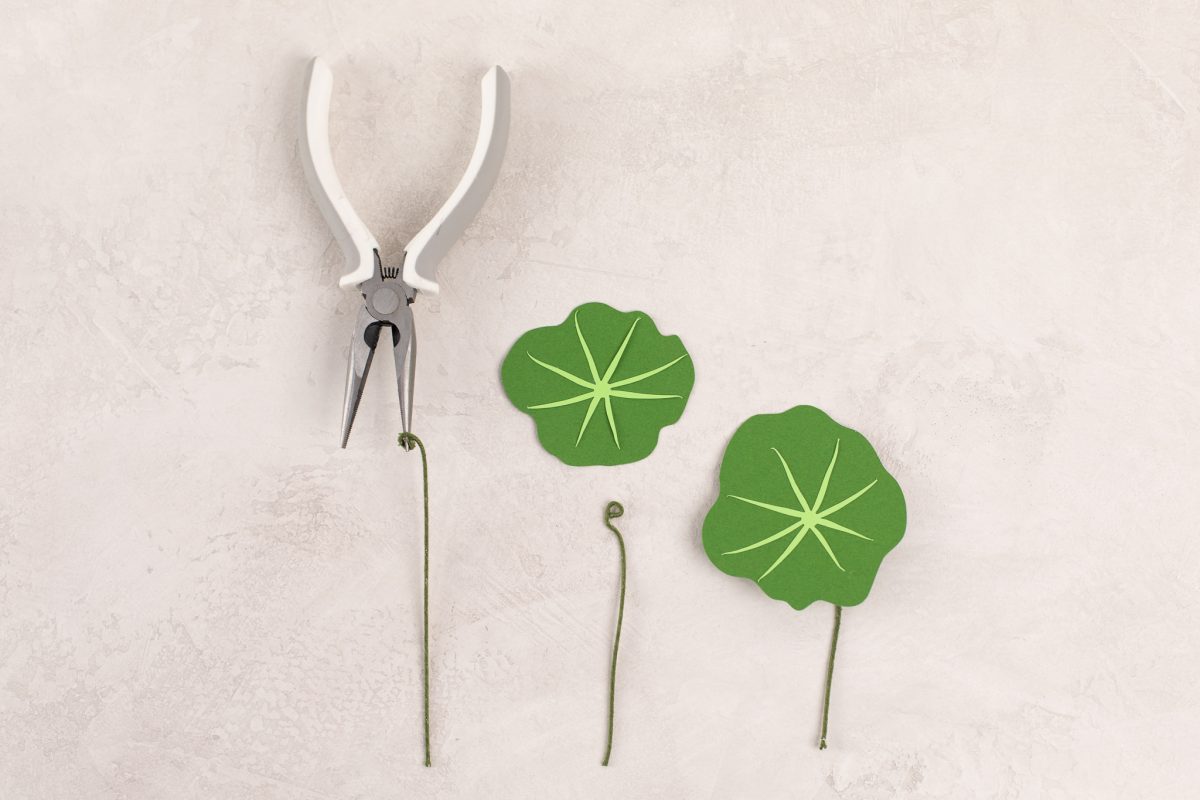
5. Now take your floral wire and pliers, roll the end of the wire around your pliers, and create a little hoop.
6. Place a little hot glue onto the end of the stem and adhere your leaf or flower.
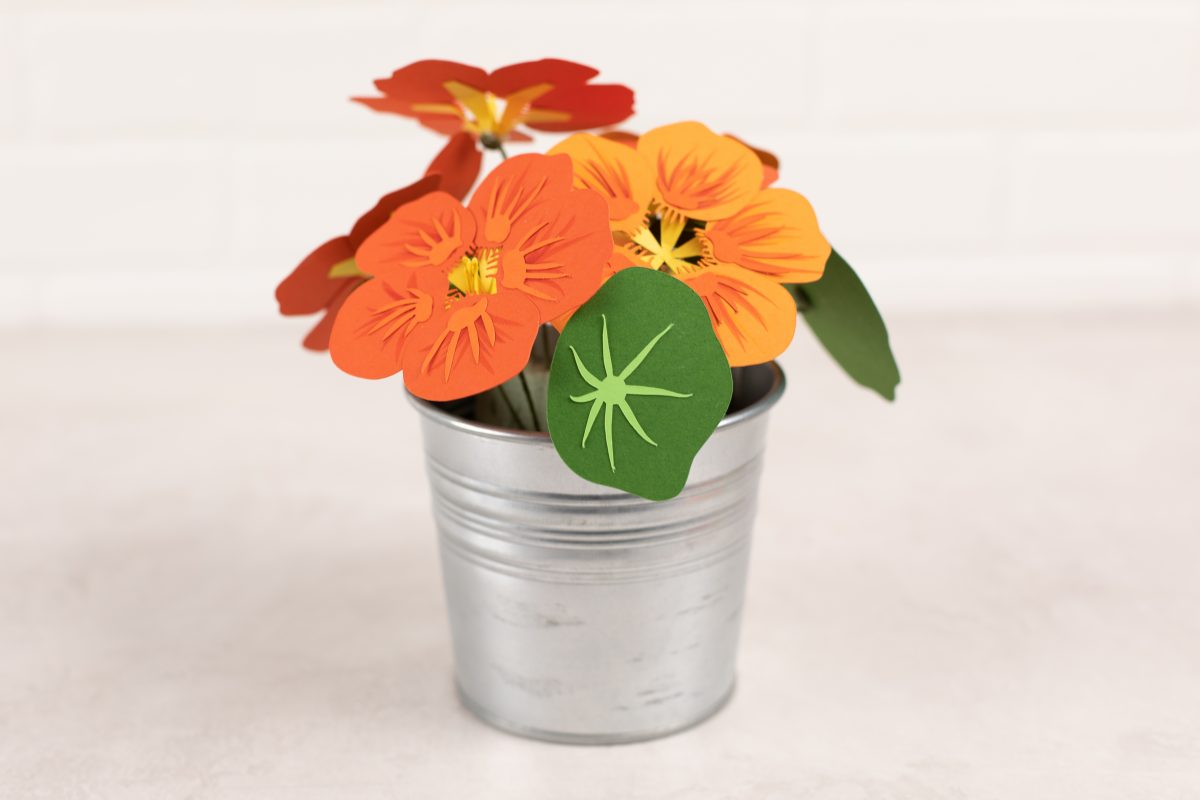
And done! Now you have a bright and fun centerpiece for a summer party! Where will you use your paper nasturtium?
Nasze Naturalne
September 3, 2025
Your authentic voice really shines through in everything you create and share
Naszenaturalne
September 2, 2025
Really love your style
Kelly Wayment
June 28, 2024
You can use it with vinyl as long as it is smooth and flat to allow the static charge to hold on to it. Rolled vinyl that wants to go back to its rolled shape will not necessarily work well, and it would need to be trimmed to fit the ES mat cutting area.
Kelly Wayment
June 28, 2024
Yes, you can use the heat pen while using the ES mat. 🙂
Yurii
March 2, 2024
Hello. May it be used with heat pen?
Thanks
Jerome
February 24, 2024
Hi, works this with the normal vinyl foils or only with printer papter etc?