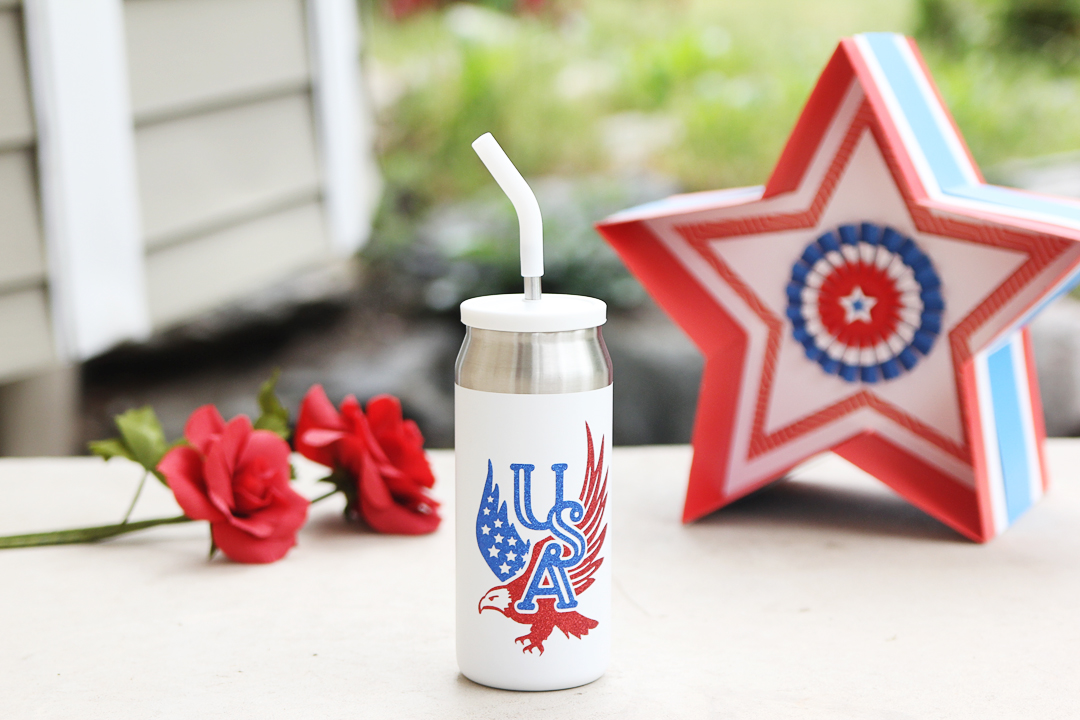
Fourth of July celebrations are right around the corner! I made this patriotic tumbler with glitter adhesive vinyl to add extra pizzazz. Follow the tutorial below to make your own.
Supplies:
- Silhouette Cameo® or Portrait®
- Silhouette Studio®
- AutoBlade or other blade
- Cutting mat
- Red glitter vinyl
- Blue glitter vinyl
- Strong tack transfer tape
- Hook weeding tool
- White straight tumbler (no taper)
- Design ID #375569 by Chameleon Cuttables
Step One: Create Design
In Silhouette Studio®, open the USA American Eagle design.
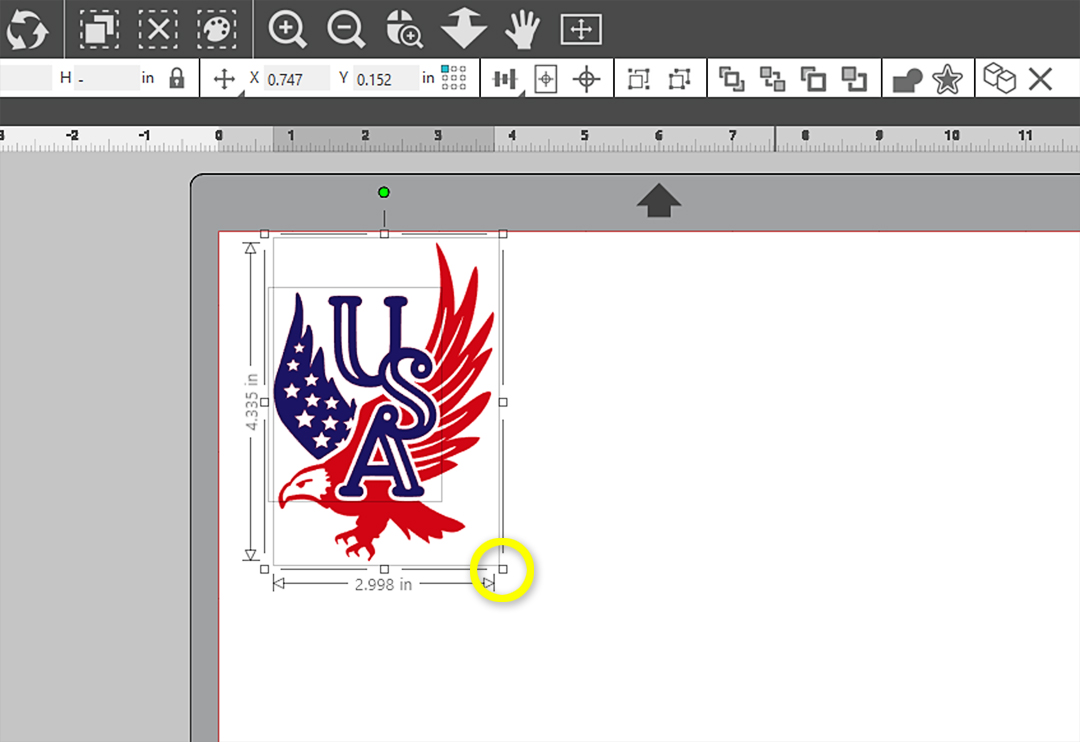
Select both pieces of the design and drag a corner handle to resize. I made mine larger and set it to about 3 in. wide, but this will depend on the size of your tumbler.
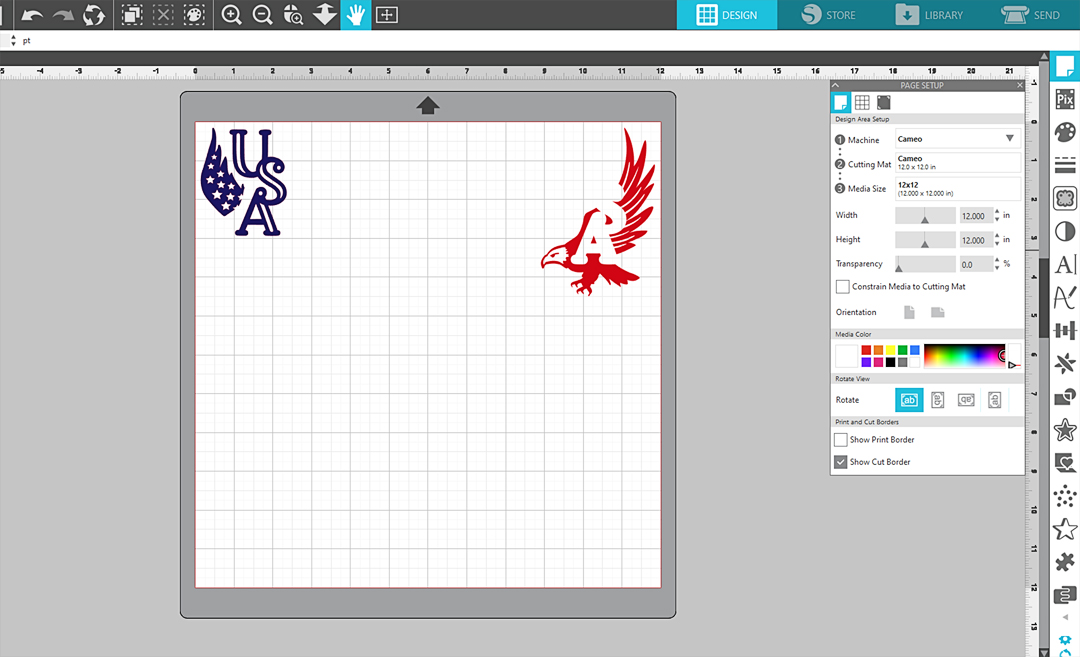
Set your Page Setup Panel to match your machine, cutting mat, and media size. I used the full mat to cut both colors, so I set mine as follows:
- Machine = Cameo
- Cutting Mat = Cameo
- Media Size = 12 in. x 12 in.
- Turn on the Grid (toggle on/off with letter G on your keyboard)
You’ll also want to enable the grid on the virtual media. Turn the grid on by going to the Options tab of the Page Setup Panel and checking the Show Grid box. You may also toggle the grid on and off by pressing G on your keyboard.
Drag the design pieces apart to separate them by color. I cut mine from trimmed-down pieces of glitter vinyl, so I left them on the same mat.
Step Two: Cut Design
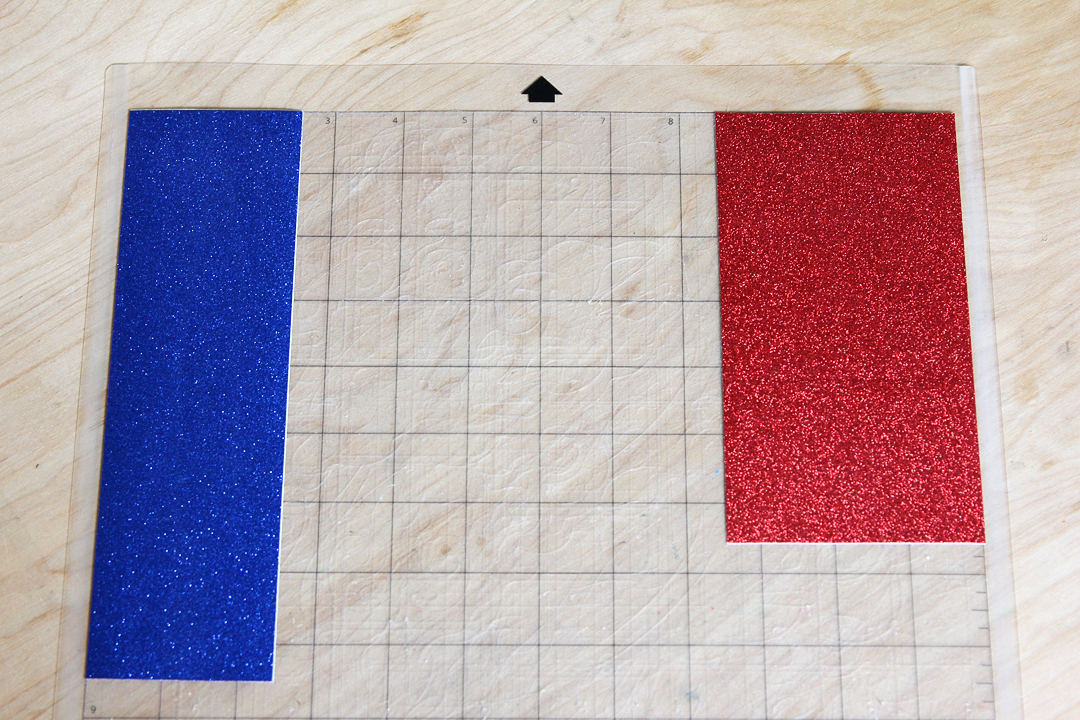
Prepare your mat by placing trimmed-down pieces of glitter vinyl to match your virtual mat. The grid helps you know what size to trim down your vinyl and where to place it on the mat.
Go to the Send Tab, and select “Vinyl, Glitter” as the Material. I found the default force to be too light, so I left my Blade Depth at 4, increased the Force to 18, and left the Speed at 5.
Note: If your blade is new and sharp, you may be fine with the default settings. I highly recommend practicing cutting a few shapes or letters on a scrap of the glitter vinyl to verify your settings make it easy to weed, before cutting your full design.
When you know your settings are correct, load the mat with both colors into your machine and Send to cut both pieces of your design.
Step Three: Weed and Apply
Weeding glitter vinyl can be a little tricky because it’s hard to see the cut lines. I usually start peeling away the vinyl in a corner and eventually see the design that’s supposed to stay in place on the backing.
To weed the inner pieces like the stars and the eagle’s head, you may find it helpful to roll the vinyl as you watch for the inner cutouts to lift slightly away from the backing.
Use strong tack transfer tape (necessary for glitter vinyl) to lift the blue portion of the design and place it on your tumbler. Make sure to leave enough room above and below the blue design area because the red part extends beyond the blue.
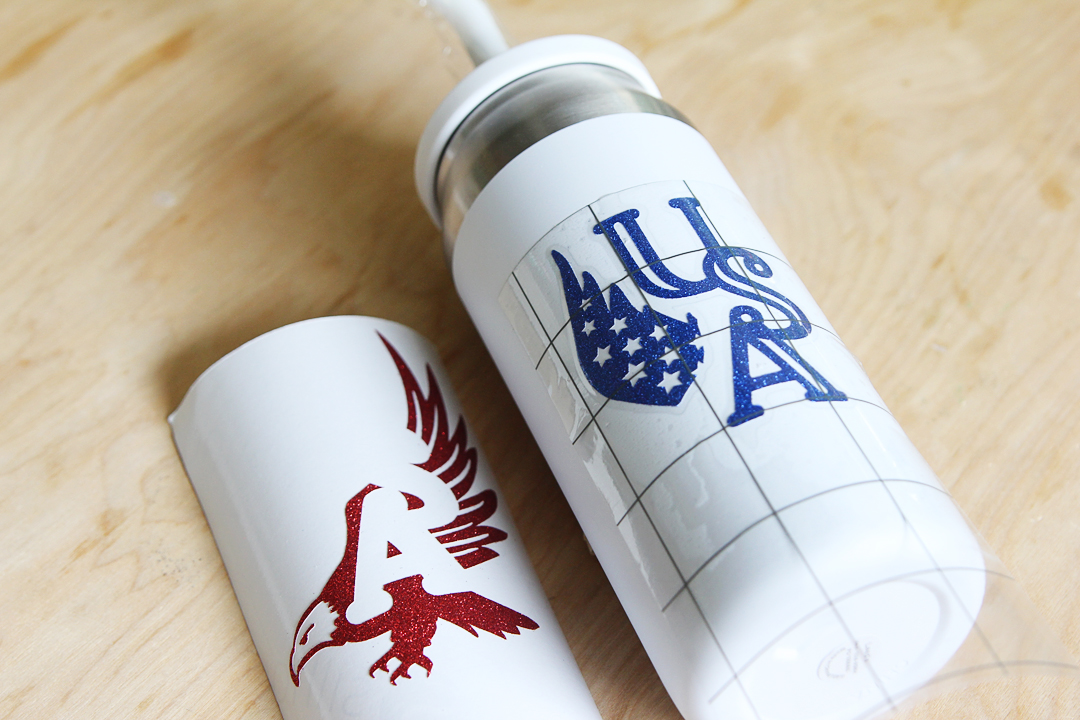
Remove the transfer tape, leaving the blue glitter vinyl on the tumbler.
Use the same transfer tape to lift and apply the red glitter vinyl. The letter cutouts make it fairly easy to see the exact placement.
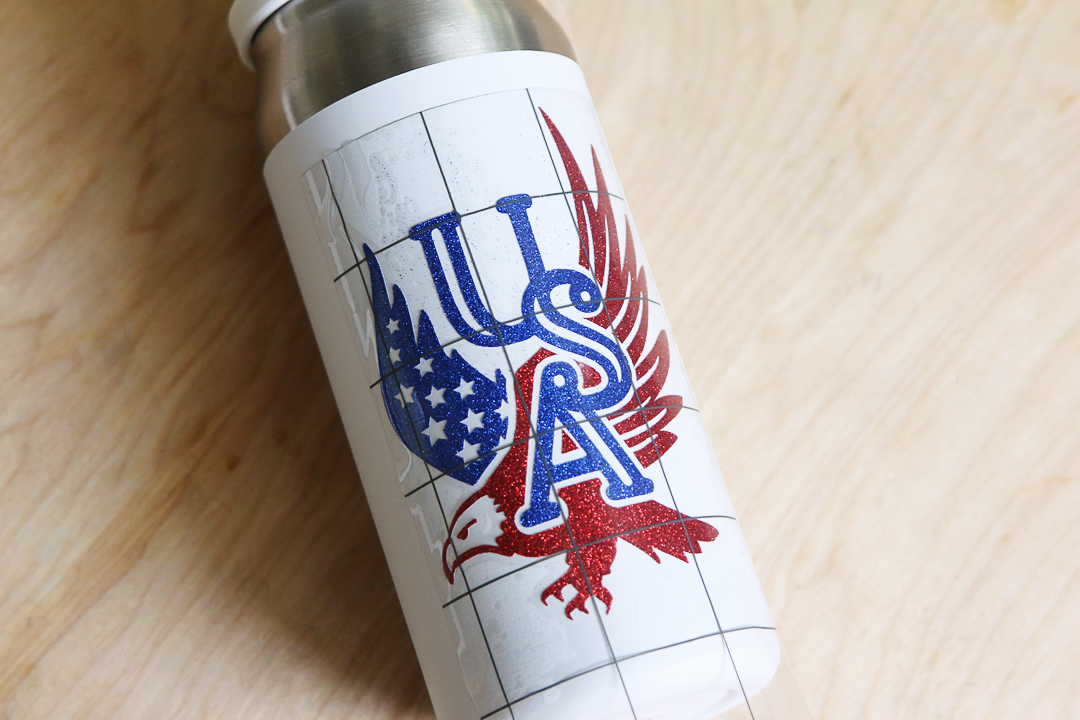
Note: I recommend a completely straight-sided tumbler to avoid warping as you apply the design. If your tumbler has a slight taper, this design will probably still work, but you may need to apply the pieces in smaller sections to get it to lay correctly.
Remove the transfer tape and admire your finished project!
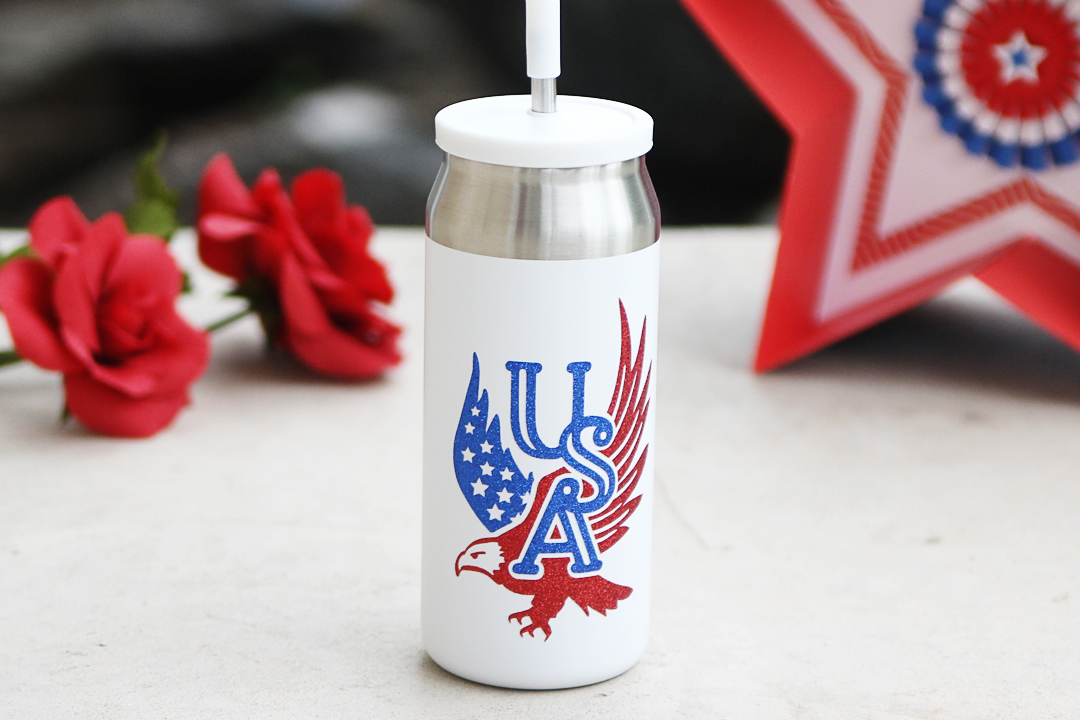
Glitter vinyl has a permanent adhesive that might survive the dishwasher after curing 24 hours from application, but it might not. You may want to hand wash the tumbler to make the design last as long as possible. Enjoy your patriotic tumbler!
 Free Class - Father's Day Apron Set
  Free Class - Custom Graduation Tumbler
Nasze Naturalne
September 3, 2025
Your authentic voice really shines through in everything you create and share
Naszenaturalne
September 2, 2025
Really love your style
Kelly Wayment
June 28, 2024
You can use it with vinyl as long as it is smooth and flat to allow the static charge to hold on to it. Rolled vinyl that wants to go back to its rolled shape will not necessarily work well, and it would need to be trimmed to fit the ES mat cutting area.
Kelly Wayment
June 28, 2024
Yes, you can use the heat pen while using the ES mat. 🙂
Yurii
March 2, 2024
Hello. May it be used with heat pen?
Thanks
Jerome
February 24, 2024
Hi, works this with the normal vinyl foils or only with printer papter etc?