PixScan™ technology allows you to cut precisely around any printed image or position cut lines on a specific place on your material using a camera or scanner.
The PixScan™ feature is found in all editions of Silhouette Studio® and requires the use of a PixScan™ Cutting Mat. PixScan™ mats are available for the CAMEO, Portrait, and Curio, and must be used with the correct machine.
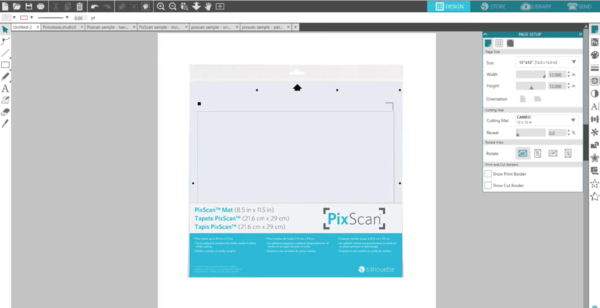
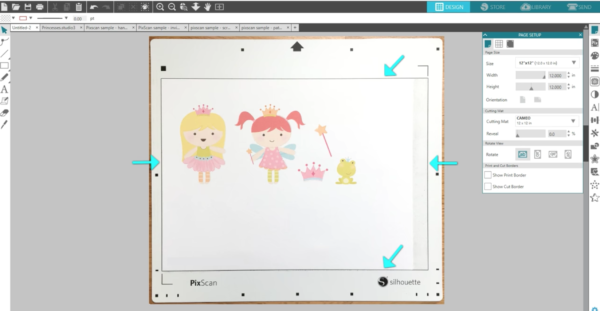
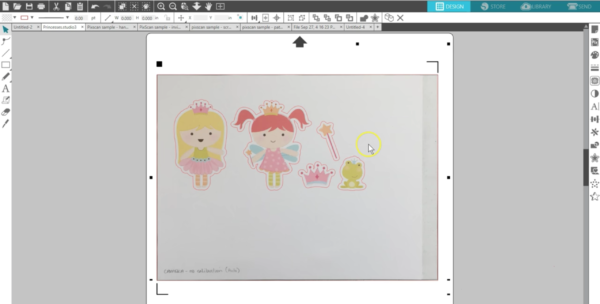
Here’s how to use it. This example uses a page of characters that are already printed on paper with no registration marks. First, physically place your material onto the PixScan™ mat. The material must fit entirely inside the rectangular work space border on the mat.
NOTE: If you are using either PixScan™ mat for the Silhouette Curio™, you’ll notice there is no black line outlining the workspace. However, you can see there there is the outside space, which is a white/cream color, and an adhesive space, which is a bright-white color. The adhesive space is the workspace that your material must be inside in order for the PixScan™ technology to work.
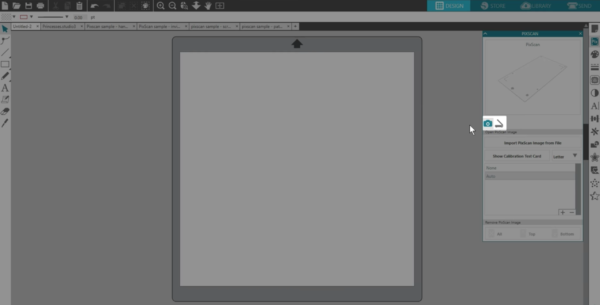
Next, open the PixScan™ panel, which is found near the top of the Panel icons.
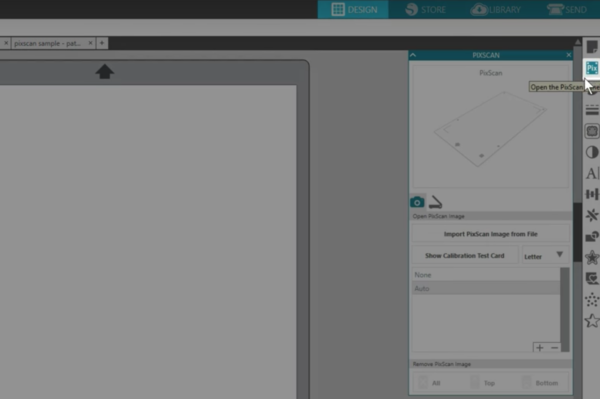
You have two options for importing the image on the PixScan™ mat into Silhouette Studio®. Either take a picture of the mat and its contents with your camera (you may use the camera on a smartphone or tablet), or use a flat-bed scanner to scan the entire mat and its contents.
To use a camera, set the PixScan™ mat on a flat surface. Take a photo of the entire mat with the material in place in an evenly-lit area. Transfer the image from your camera onto your computer, then click “Import PixScan Image from File.”
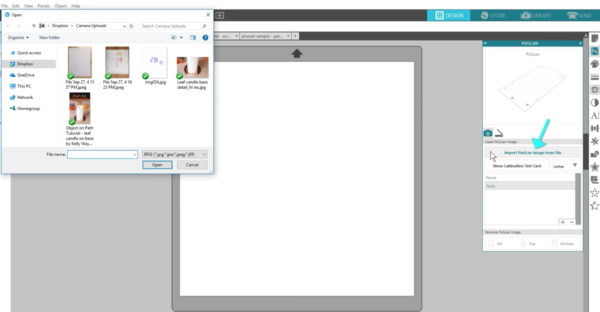
Navigate to where you have the image saved, and click Open.
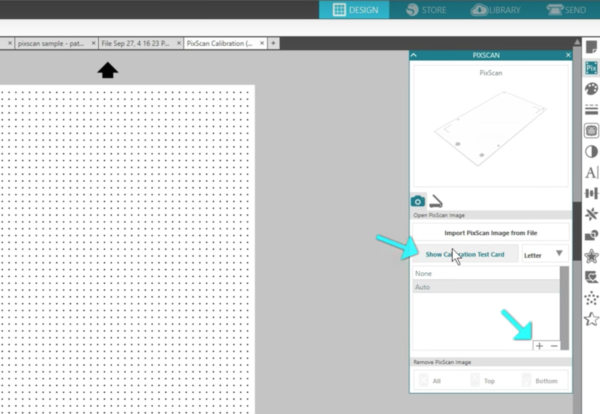
The software recognizes many current cameras, including cameras on smartphones, and will calibrate automatically as it loads your image. If not, you can print a calibration test card and take a picture of that without the mat and save it to your computer. Click the “+” icon and open that photo. This only needs to be done once per camera.
To use a scanner, click the scanner icon and choose your connected scanner as the Source.

Place the PixScan™ mat face-down with the material in place and click “Import PixScan Image from Scanner.”
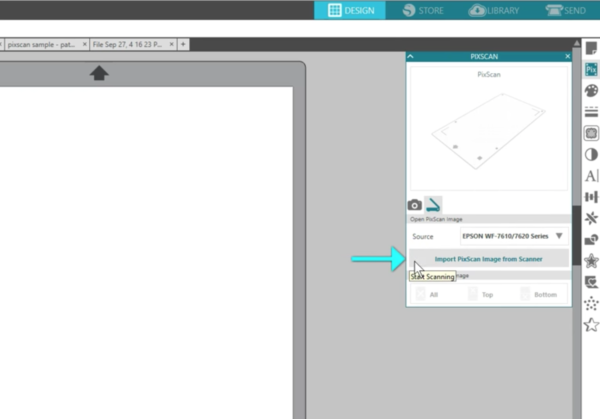
A dialog box will come up for your scanner where you can choose your settings before choosing “Scan.” If your entire PixScan™ mat doesn’t fit on the scanner, you’ll import in two passes, rotating the mat 180 degrees between scans. The software will stitch the two scans together. An A4 page size instead of Letter may help capture the full image.

Once your PixScan™ mat is successfully imported by camera or scanner, you’ll see it load with a virtual PixScan™ mat.

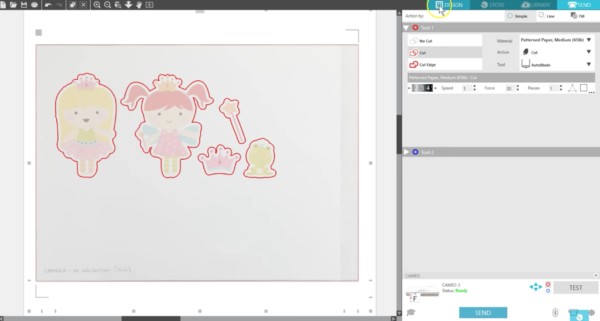
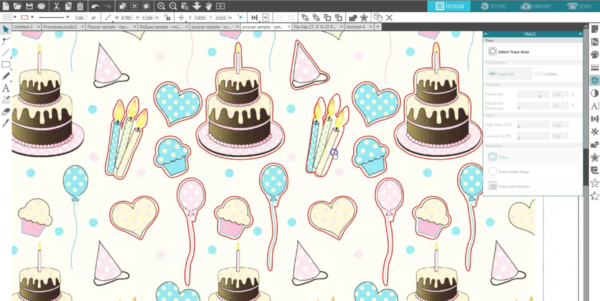
The images from the virtual PixScan™ mat now need to be given cut lines. This can be done with a Trace or simply by placing shapes around those images. Notice the images on the virtual mat are locked in place so they always stay in the same place in relation to the registration marks. We’ve already traced these figures and created an offset for a small border.
Now we can cut as usual once the PixScan™ mat is loaded into the Silhouette machine. The Silhouette cutter will read the registration marks on the mat so it knows where to cut.
That’s just one example of how you can use the PixScan mat. There are so many ways to use it! Here are a few common other things you might want to do with it.
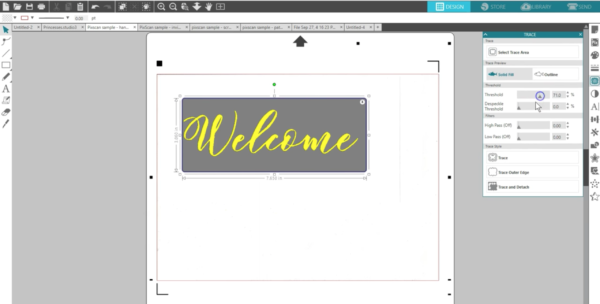
You can turn hand-drawn sketches and lettering into cut jobs.
Add custom-cut borders and frames to professionally printed invitations,

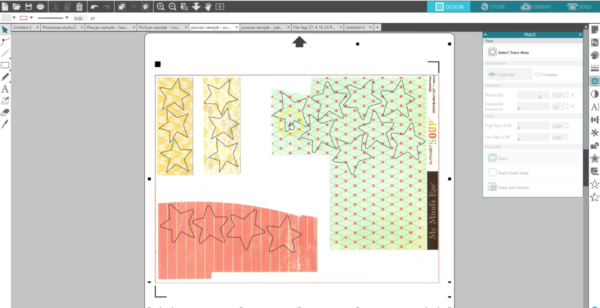
Save material by placing images to be cut within specially-shaped materials like scraps,
And cutting precisely around already-existing printed or stamped images.
PixScan™ technology has so many uses, and we’ve only just touched on a few of them. We hope you enjoyed this tutorial on how to use the PixScan™ mat.