Hi everyone. It’s Marni here today. I’m happy to be sharing a simple tutorial for adding photos to text.
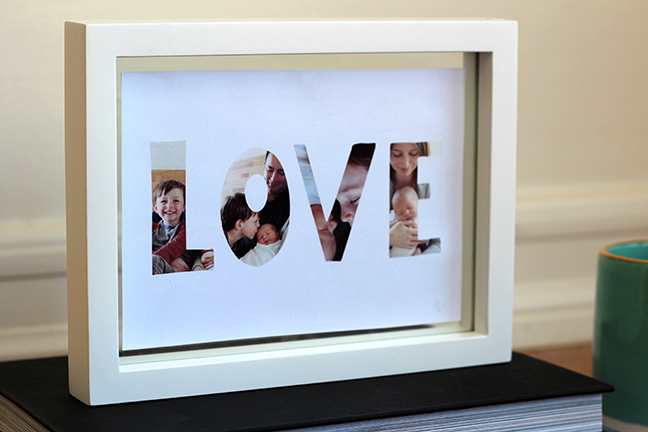
I recently had a baby boy, and I’ve been thinking about adding our newborn photos to the word “Love”. This tutorial was the perfect opportunity to pull out my Silhouette and get crafting.
You’ll be surprised at how easy it is to add photos to text or a shape.
Materials needed:
- Silhouette CAMEO® or Portrait®
- A fun font from the Silhouette Design Store. (I used Design ID #59078.)
- Color printer and specialty paper
Let’s get started:
Step One: Import Your Image Into Silhouette Studio
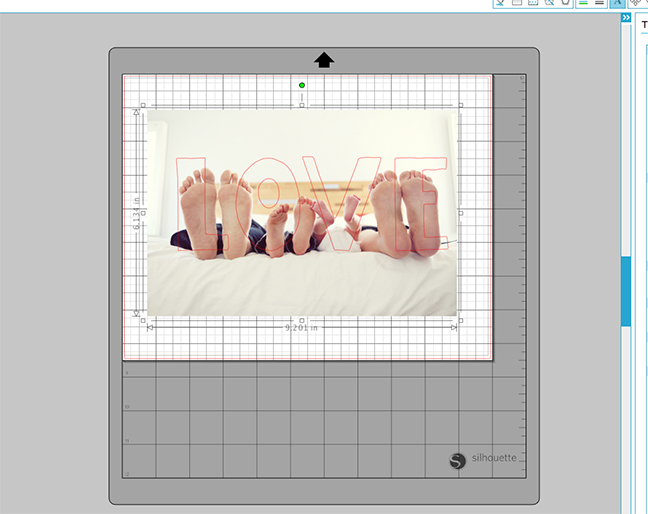
Go into My Library in Silhouette Studio. Click on “File > Import > Import” to Library and locate the desired image in your computer. Click “ok”. The image should now be in your library.
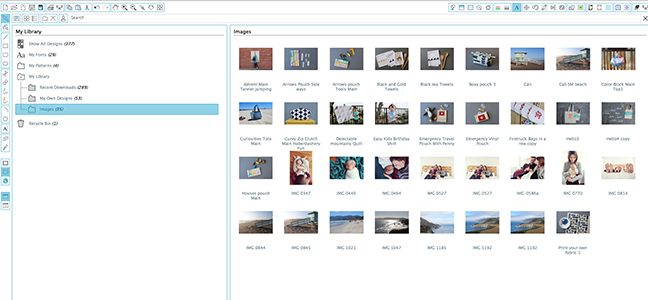
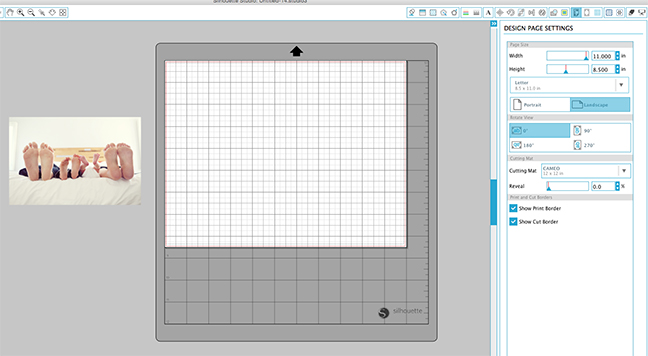
Find your image. Double click on it and it will open it in a new file. Pull the photo to the side of the page and set aside. In the design page settings, change the paper size to letter and the orientation to landscape.
Step Two: Adding The Photo Into The Text
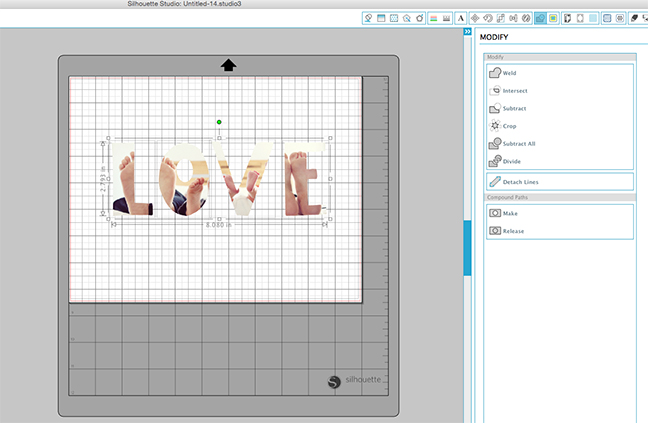
Locate the desired font and type the word “Love”. Click on the text and a rectangle will appear around it. Pull on the corner handle and make the word larger. Resize the word according to your project.
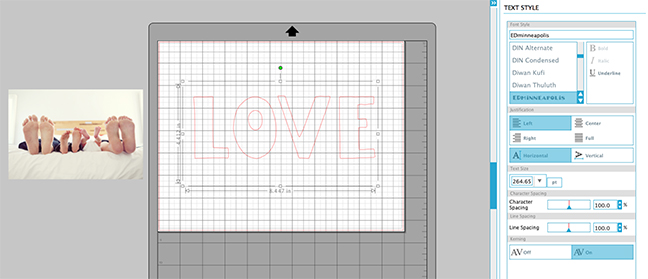
Pull the photo back onto the page and on top of the word “Love”. Click on the photo and use the corner handle to enlarge the image. Play around with the size of the photo, taking note of each letter and what part of the image falls into the letter.
Use the mouse and select both the photo and the word – by drawing a large rectangle around both. Open the modify window and click on “Crop”. Your image will now be added to the inside of the text. Send to print and you are good to go. Side note – you can also add one photo to each letter. It’s simple.. All you need to do is decide how many photos you need, ungroup the letters and repeat the steps above.
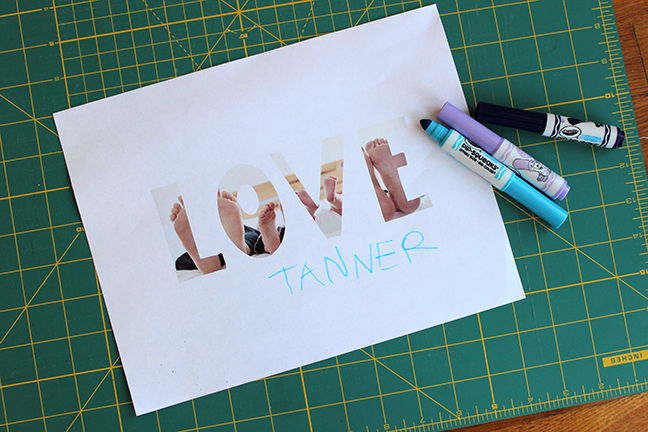
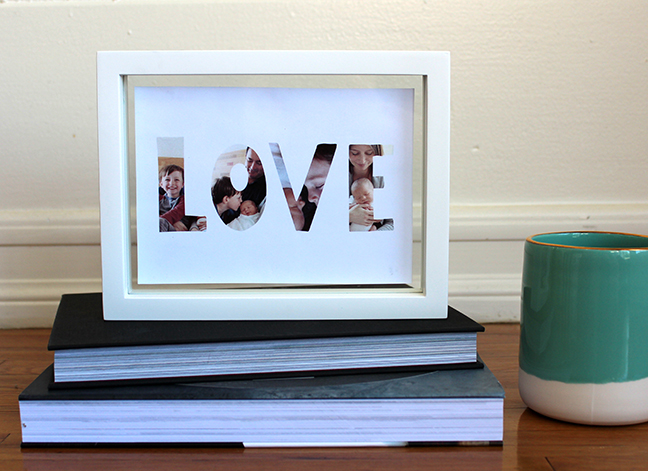
Here it is saved as a PDF. Just think of all the projects you can create! Add to a frame and you have the perfect gift.

My 4 year old son loved the print so much, he asked to sign it and send to his Nana.
Kelly Wayment
June 28, 2024
You can use it with vinyl as long as it is smooth and flat to allow the static charge to hold on to it. Rolled vinyl that wants to go back to its rolled shape will not necessarily work well, and it would need to be trimmed to fit the ES mat cutting area.
Kelly Wayment
June 28, 2024
Yes, you can use the heat pen while using the ES mat. 🙂
Yurii
March 2, 2024
Hello. May it be used with heat pen?
Thanks
Jerome
February 24, 2024
Hi, works this with the normal vinyl foils or only with printer papter etc?
Kelly Wayment
February 16, 2024
Once you’ve pushed the mat up against the rollers, just press the “Load” arrow button (bottom right on the display). Does a regular sticky mat load into the machine for you?
Michelle a goodall
January 24, 2024
Hello! I just got my new electrostatic mat and have watched every video i can find on it. However, what i can t find is why it wont feed into my cameo 5/ it slides right up the rollers but wont go any further. and yes- iam pushing the into button. help!