
Have you ever noticed how many card designs are available in the Design Store? There are thousands to choose from! And they’re all so amazing!!!
I chose to create a couple of fun pop-up designs because I love dimension in my projects. And who wouldn’t love to receive one of these darling cards?
Supplies needed:
- Textured Cardstock
- Silhouette Adhesive Backed Cardstock
- Adhesives (double sided tape or glue)
- foam squares/tape
- Design #162106
- Design #131498
Step 1: Choose card design
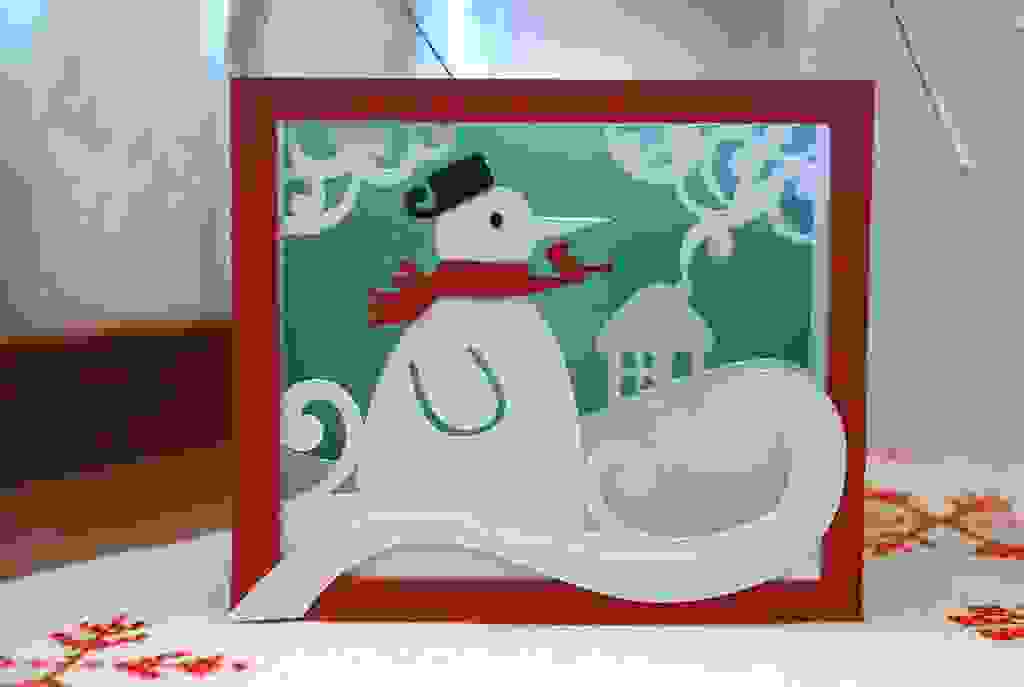
The first card I made was to celebrate the wonderful winter season we are having here in British Columbia. The snow that we’ve been receiving is rare, so it has been a treat for us to have it this year. (Although there are many people who would have different opinions on this subject. Ha!)
This little snow man card is a shadow box design and is so simple to create.
Step 2: Ungroup and Cut out shapes
I ungrouped the images and then filled each section in with coloured according to the color cardstock I was going to cut them out of. I arranged the pieces in my software and then I placed some scraps of cardstock on my mat and proceeded to cut the shapes out using my CAMEO 3. The steps I used are exactly the same as with the CAMEO 2. However, this time I chose to use the AutoBlade and it’s a wonderful thing!
Step 3: Adhere pieces together, and voila!
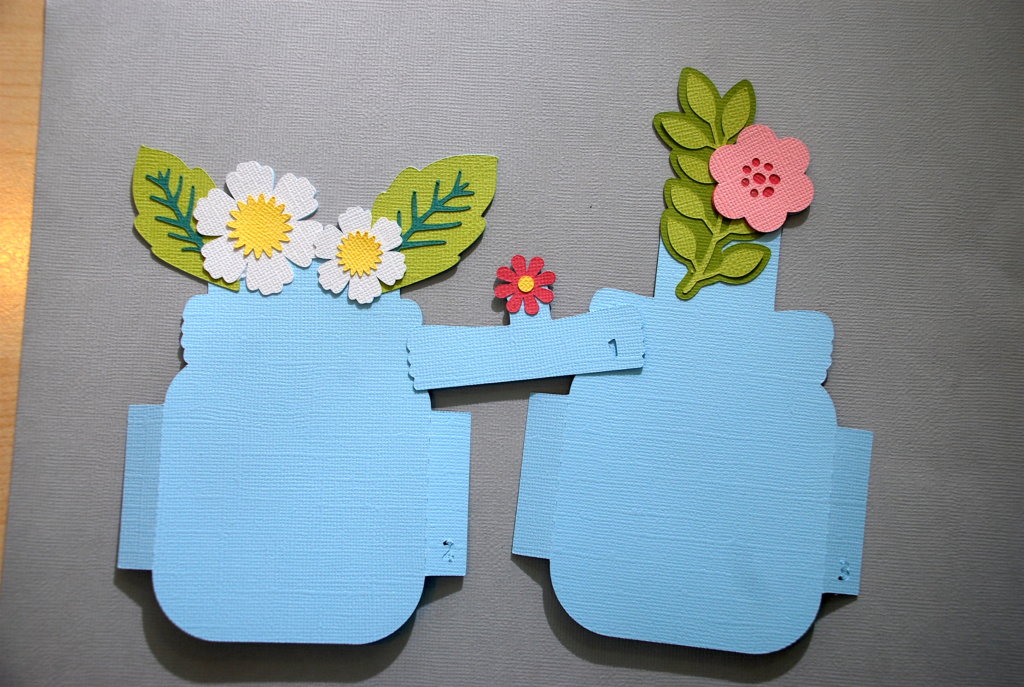
Looking forward to February (no, don’t worry I’m not really, as I’m still enjoying this month quite fine!) I thought it would be fun to create a little something for Valentine’s Day. So I found this fun mason jar design with the word ‘Love’ on the front.
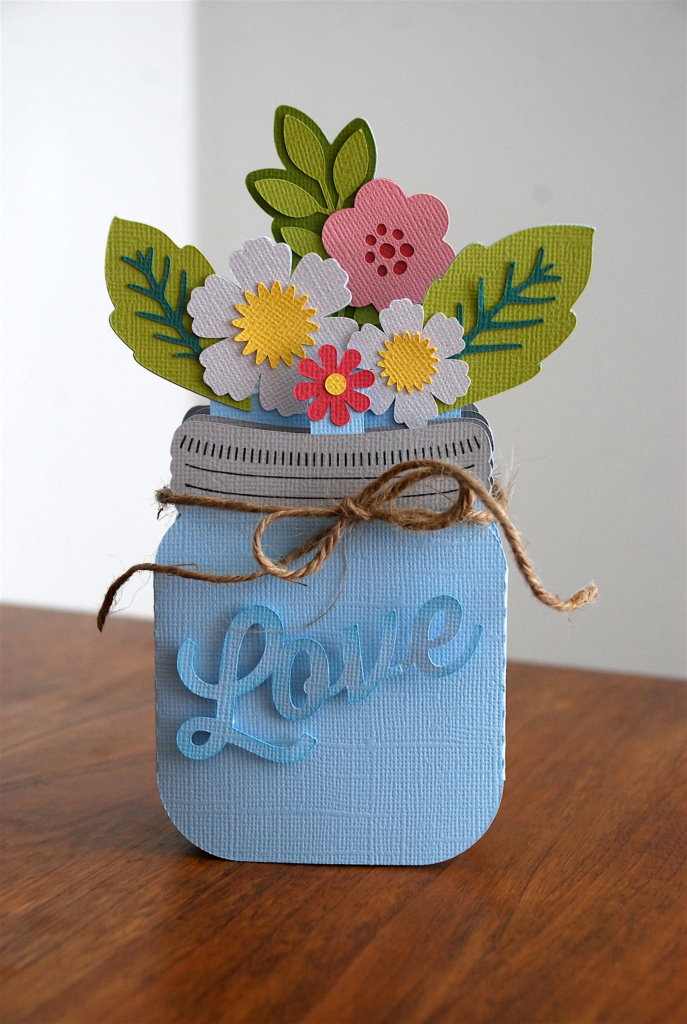
Step One: Choose design and cardstock colors
There are many mason jar designs available, so I chose this one. I used some adhesive backed cardstock for the leaves & flowers as this makes it so simple to put everything together.
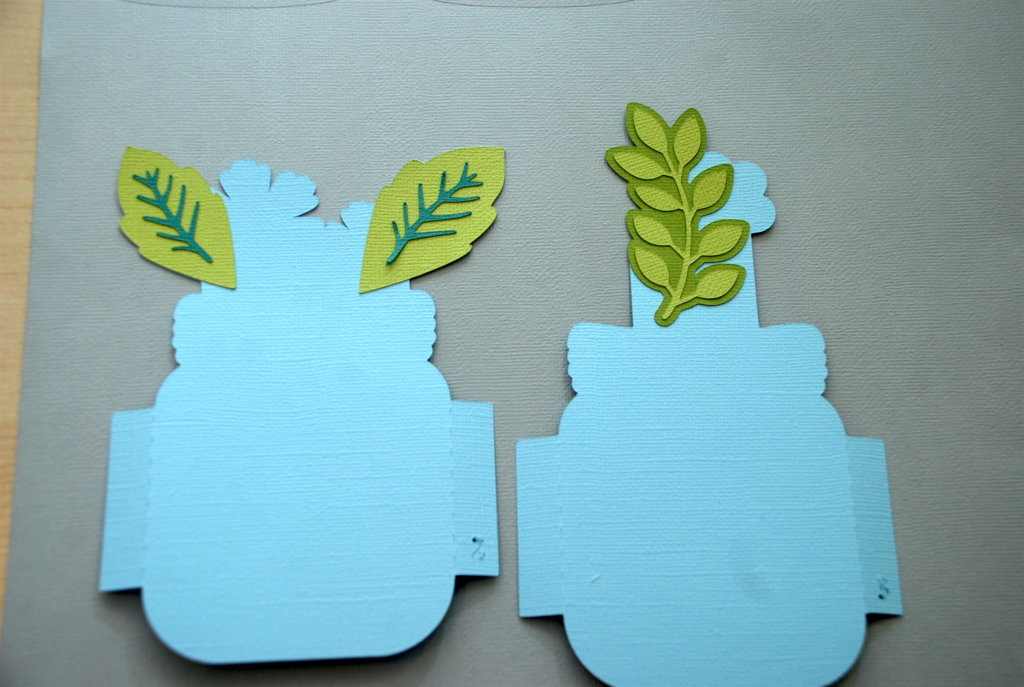
Step Two: Adhere leaves & flowers
This is when the fun starts to happen because you see your project coming together.
Now I want to point out a very helpful tip for you—because I forgot to do this. Sometimes you will find that various designs are labeled or numbered. As you can see in the pictures below that the blue pieces have numbers on them. Usually I delete these from the designs before cutting, but I forgot. It doesn’t affect the design in the end as they’re on the flaps which get adhered on the inside of the card, so you don’t see them anyways.
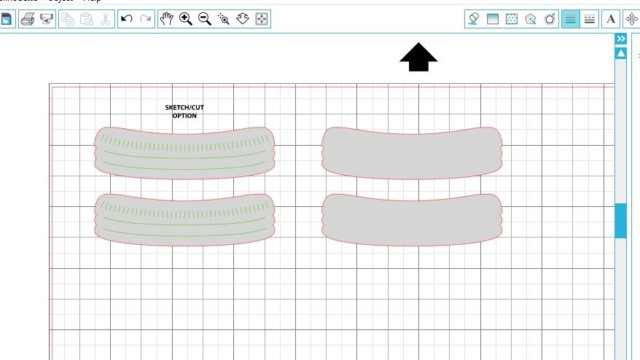
Step Three: Sketching
For the lid portion of this card, I chose to sketch the design rather than cut it out. With the CAMEO 3’s dual carriage, you can put the blade in Tool 1 and the Sketch Pen in Tool 2.
In order to make the sketch lines, I first ungrouped the shape then highlighted the lines inside, grouped them together, and changed the color of the lines to blue.
In the Cut Settings window I selected ‘No Cut’. I then selected ‘Sketch Pens’ for Material Type of Tool 2.
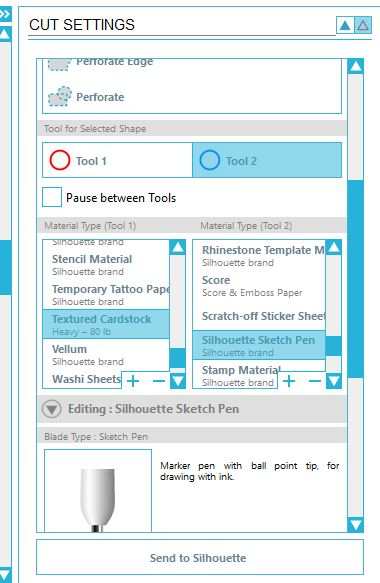
Then send it to the machine and let the magic happen.
![]()
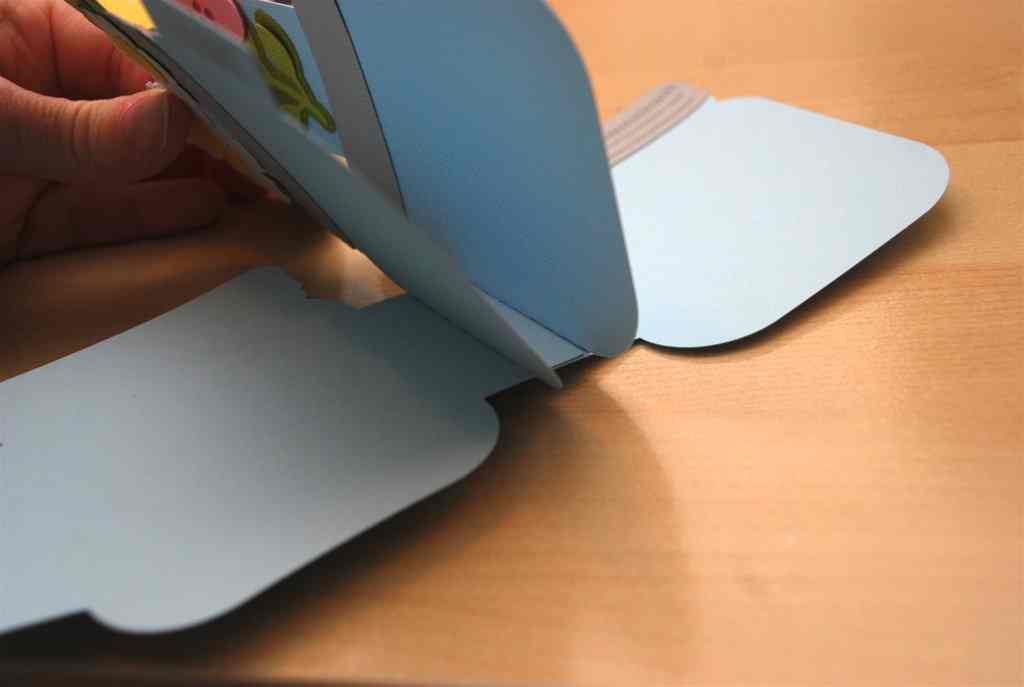
Step Four: Final touches
I added a bit of color & dimension to the word ‘love’ by inking the edges slightly and adding some foam tape to adhere it to the front of the card.

Adhere one side first and then the other.
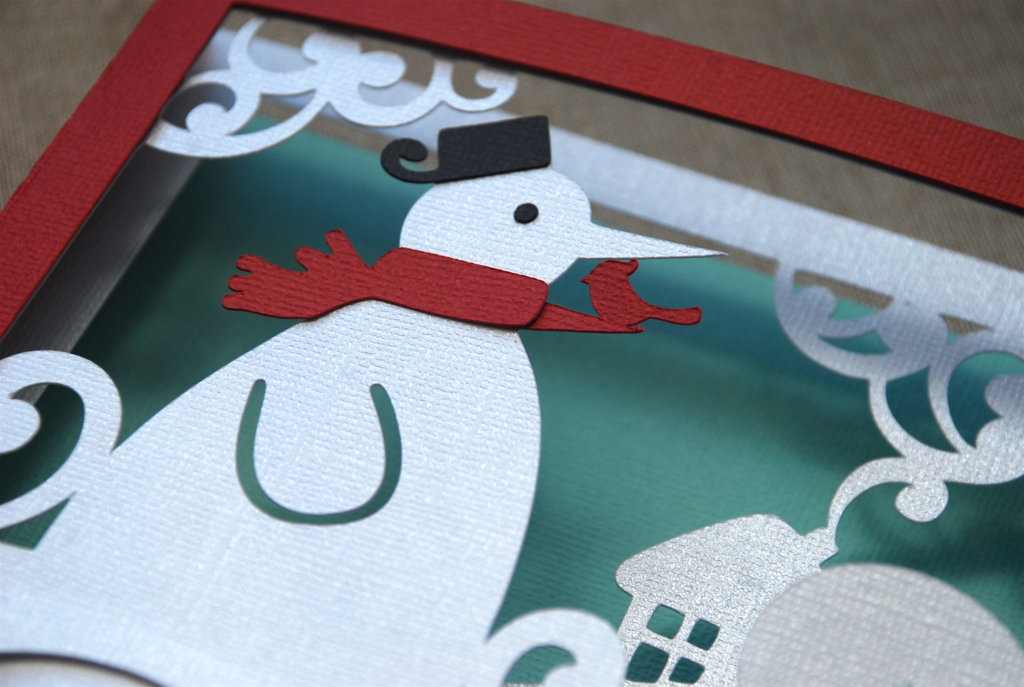
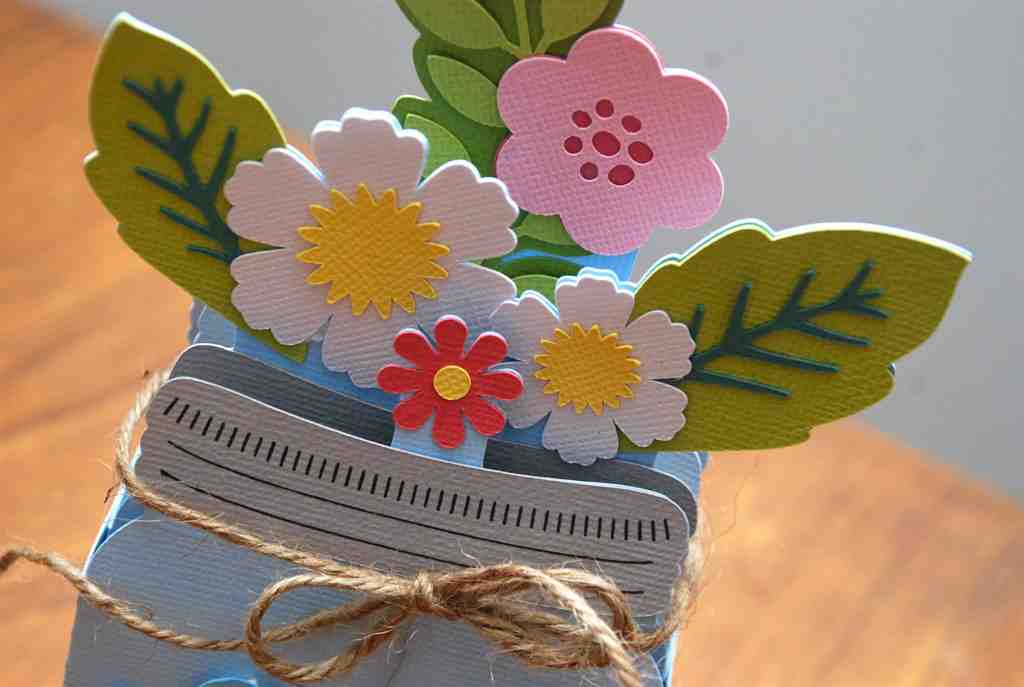
Here’s a closeup.
Thanks for stopping by, and make sure to check out all of the amazing card designs available in the Design Store!
Nasze Naturalne
September 3, 2025
Your authentic voice really shines through in everything you create and share
Naszenaturalne
September 2, 2025
Really love your style
Kelly Wayment
June 28, 2024
You can use it with vinyl as long as it is smooth and flat to allow the static charge to hold on to it. Rolled vinyl that wants to go back to its rolled shape will not necessarily work well, and it would need to be trimmed to fit the ES mat cutting area.
Kelly Wayment
June 28, 2024
Yes, you can use the heat pen while using the ES mat. 🙂
Yurii
March 2, 2024
Hello. May it be used with heat pen?
Thanks
Jerome
February 24, 2024
Hi, works this with the normal vinyl foils or only with printer papter etc?