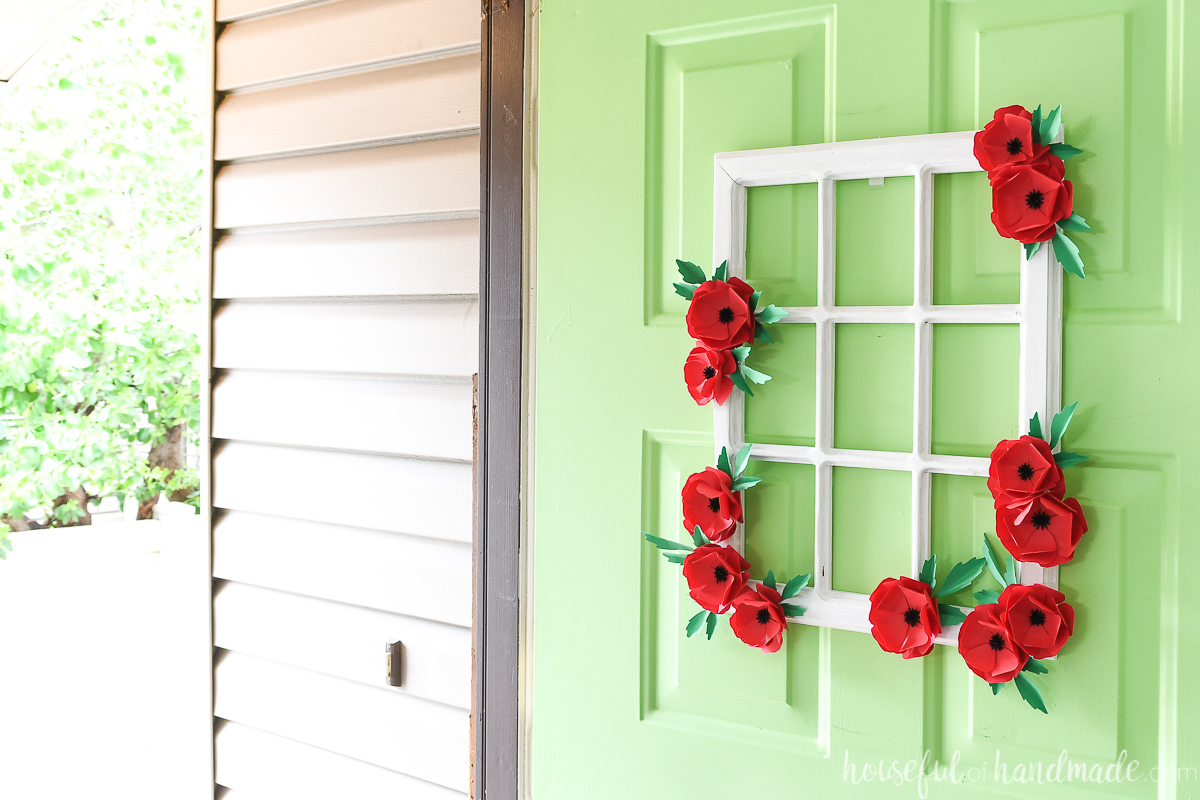
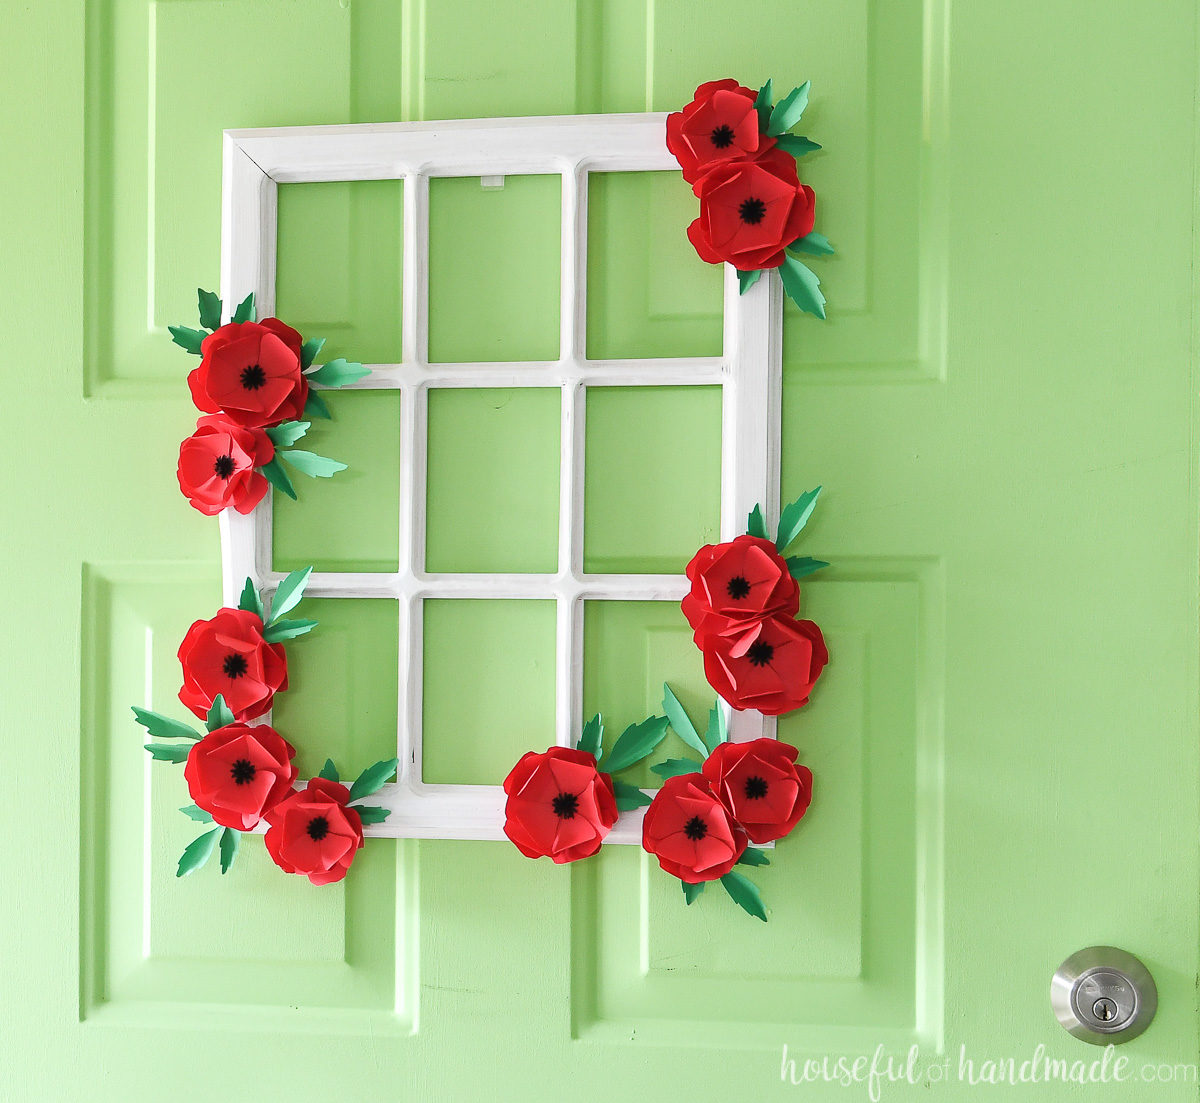
I love unique wreaths, and this one is no different. Use a vintage window or make a faux window frame and decorate it with beautiful paper poppies. It’ll give you the perfect for a pop of color for spring!
Supplies Needed
- Silhouette CAMEO®
- Silhouette Studio®
- Silhouette Cutting Blade
- Red, green, and black 24lb paper (affiliate link)
- Decorative window frame
- You can purchase one here (affiliate link) or see how I made my window frame wreath here.
- Round pencil
- Hot glue gun and glue sticks
- Design ID #249937
- Design ID #288406
Step One: Preparing the Design
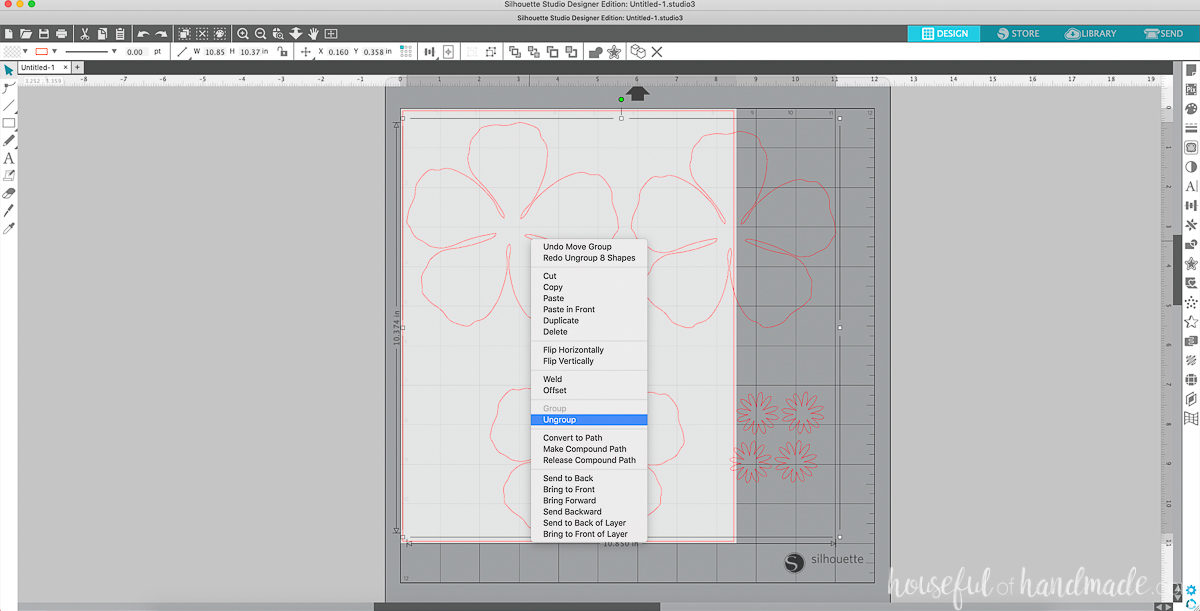
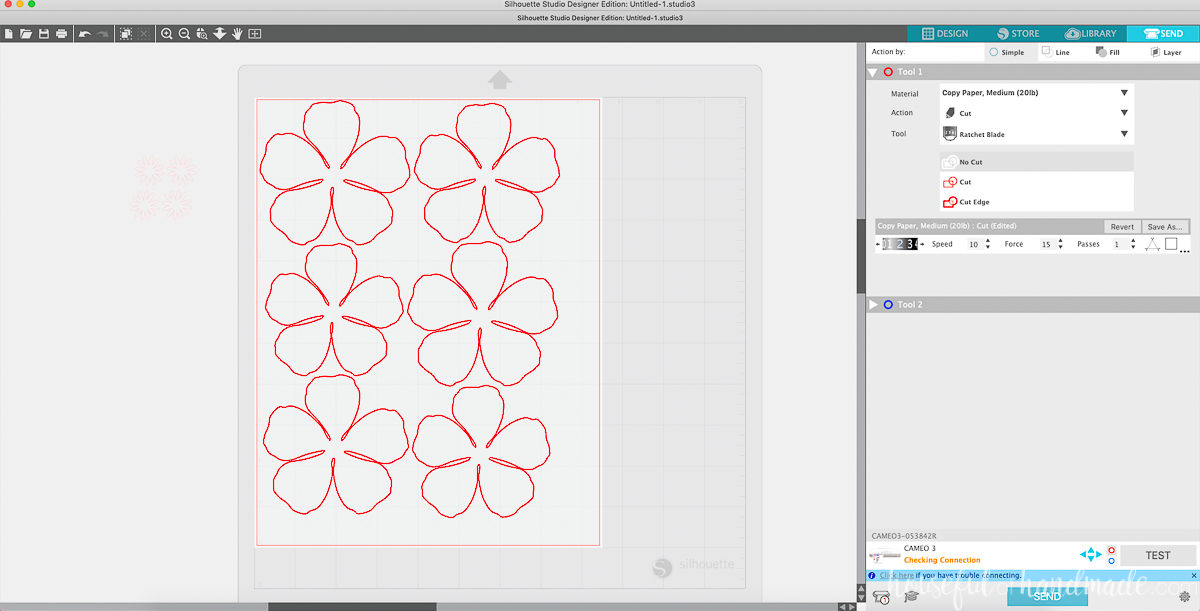
1. Open the poppy design (Design ID #249937) in Silhouette Studio®. Right-click on the design and select Ungroup to ungroup the pieces.
2. Resize all the pieces together to make them the size you want. I like to select just the largest piece of the flower to see what the actual dimension is. This gives me an idea of how big the assembled flower will be.
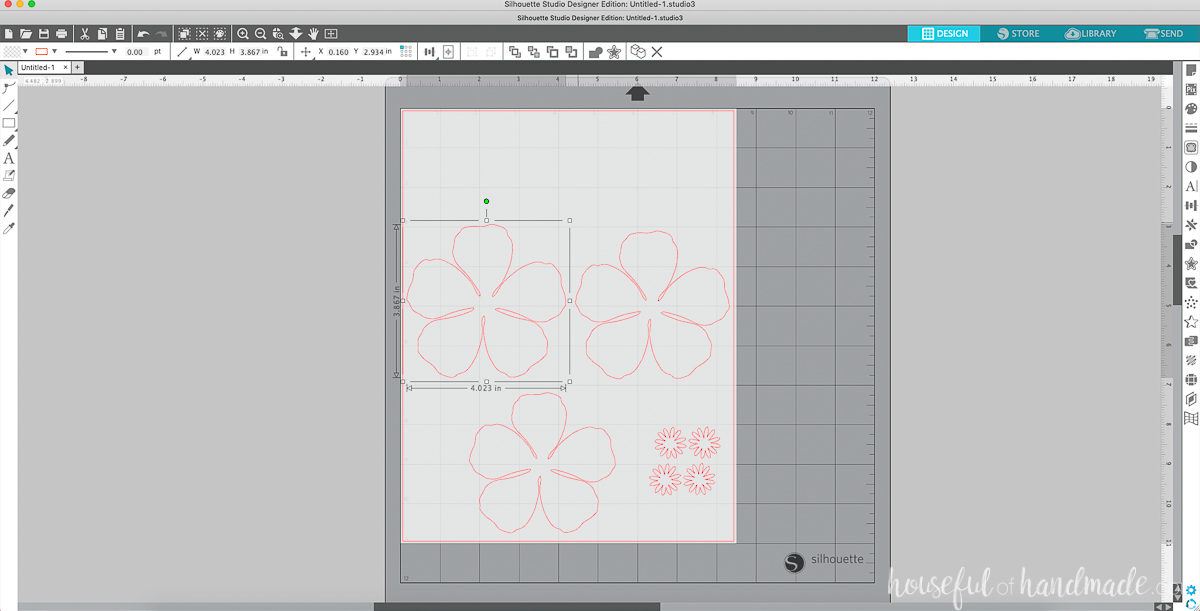
3. Once you have resized all the pieces to the size you want, move the small center pieces off to the side. Then arrange the flower pieces on the paper so you can get as many cut out as possible.
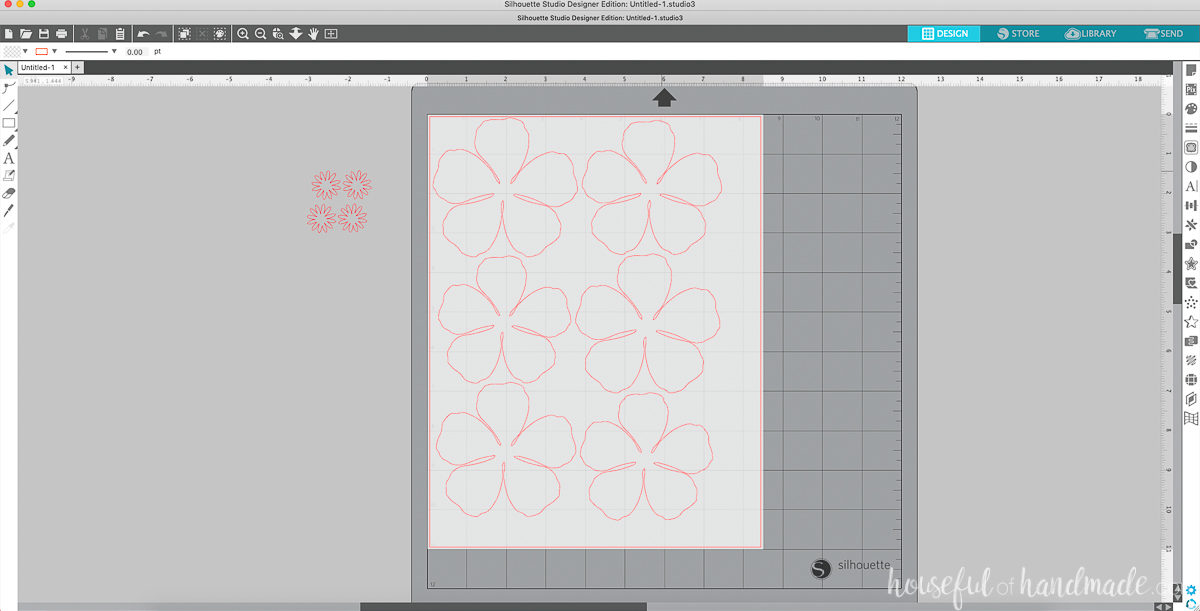
4. Move the centers to another page and duplicate them so you have enough for 4 centers for each flower you are cutting out.
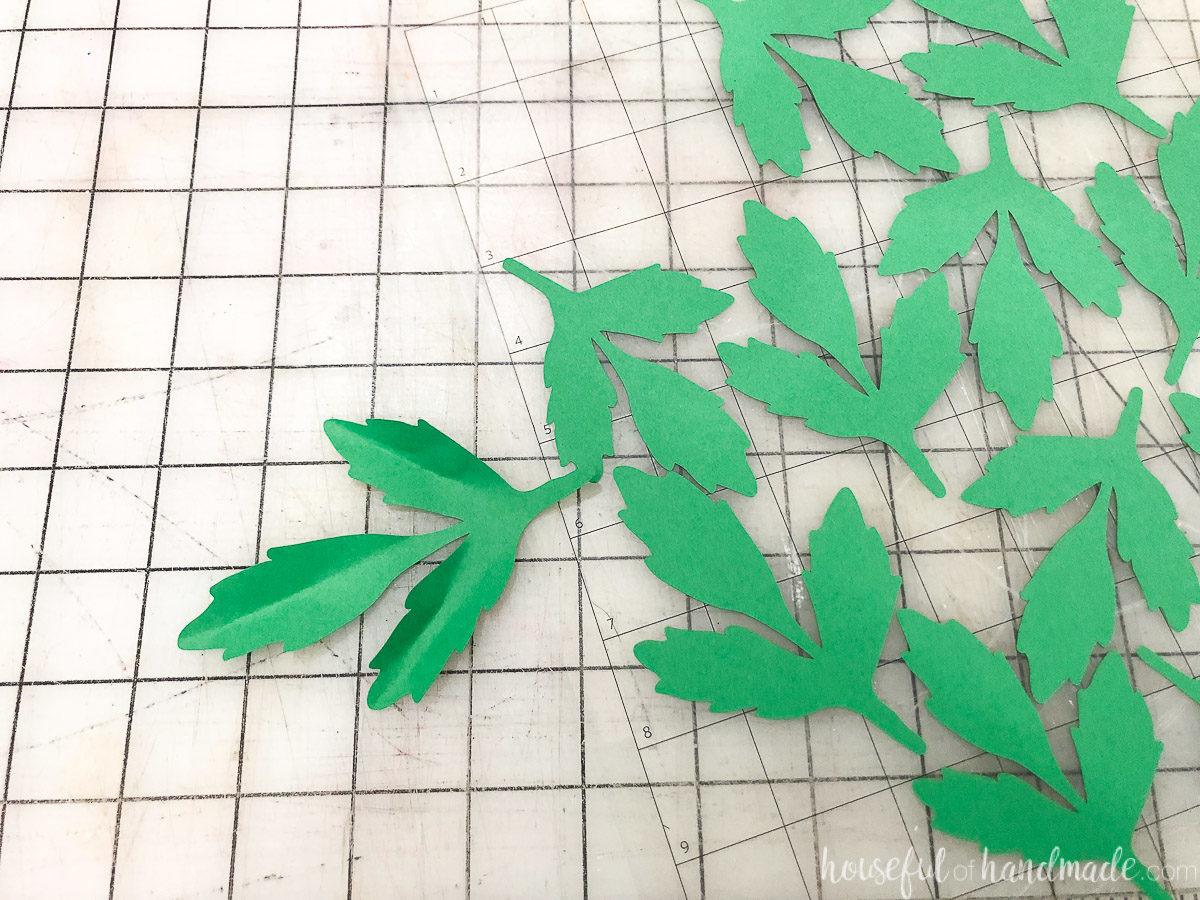
5. Use the leaves from Design ID #288406. Open the design and ungroup it. Delete all the flower pieces and duplicate the leaves. Rearrange on a page to get as many cut out as you can. Also, resize some of the leaves to be smaller to give you some variation.
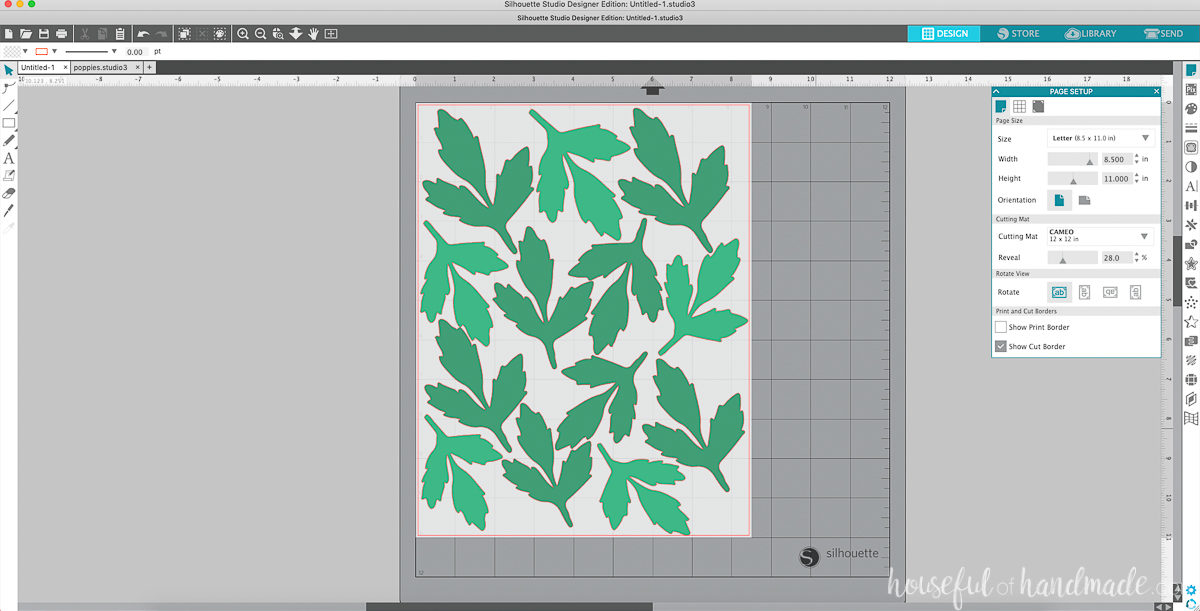
6. Send the designs to your Silhouette CAMEO®. Use the Copy Paper cut settings to cut the 24 lb paper.
Step Two: Making the 3D Poppies
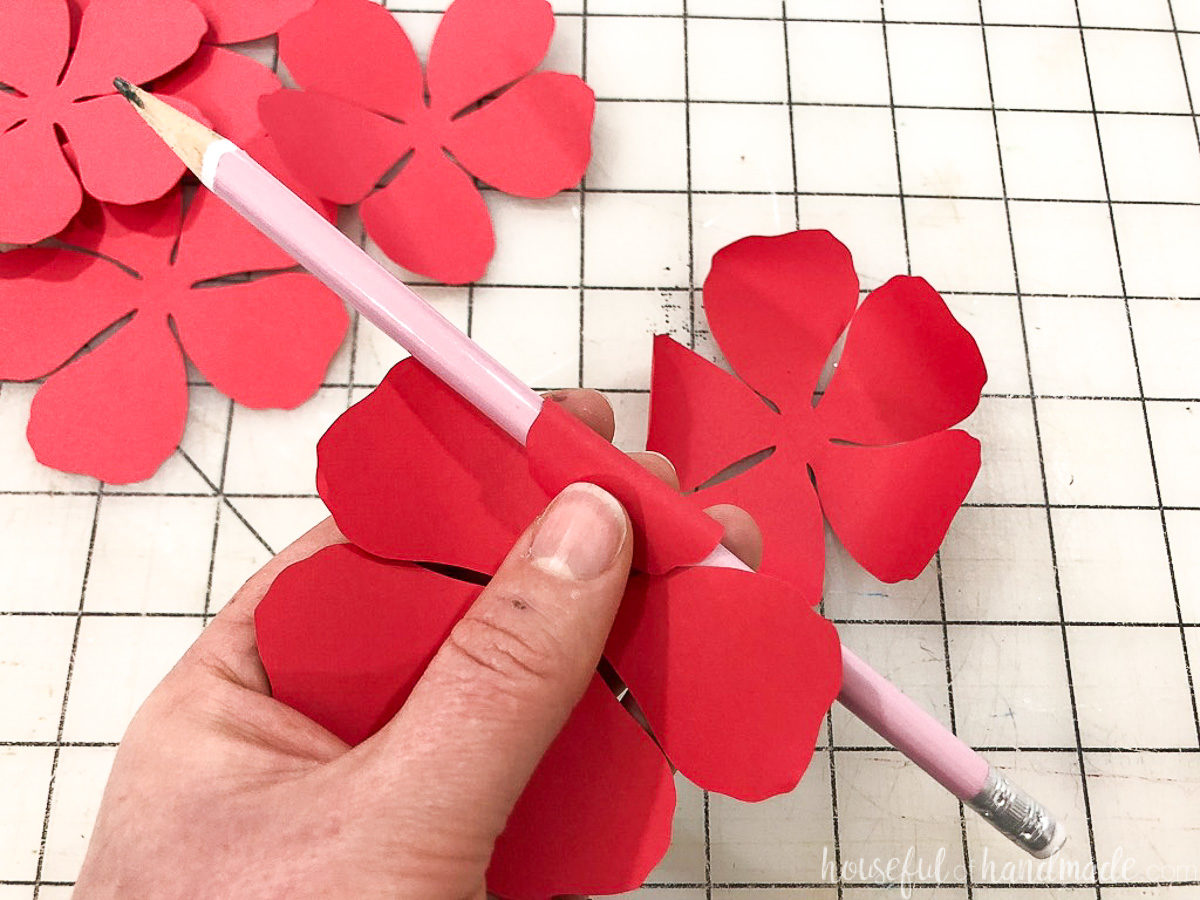
1. Cut the flower petals out of the red colored paper. Use a cutting mat. When removing the petals from the cutting mat, be careful because the thin paper can rip easily.

2. Curl the petals up toward the center by rolling them around a round pencil.
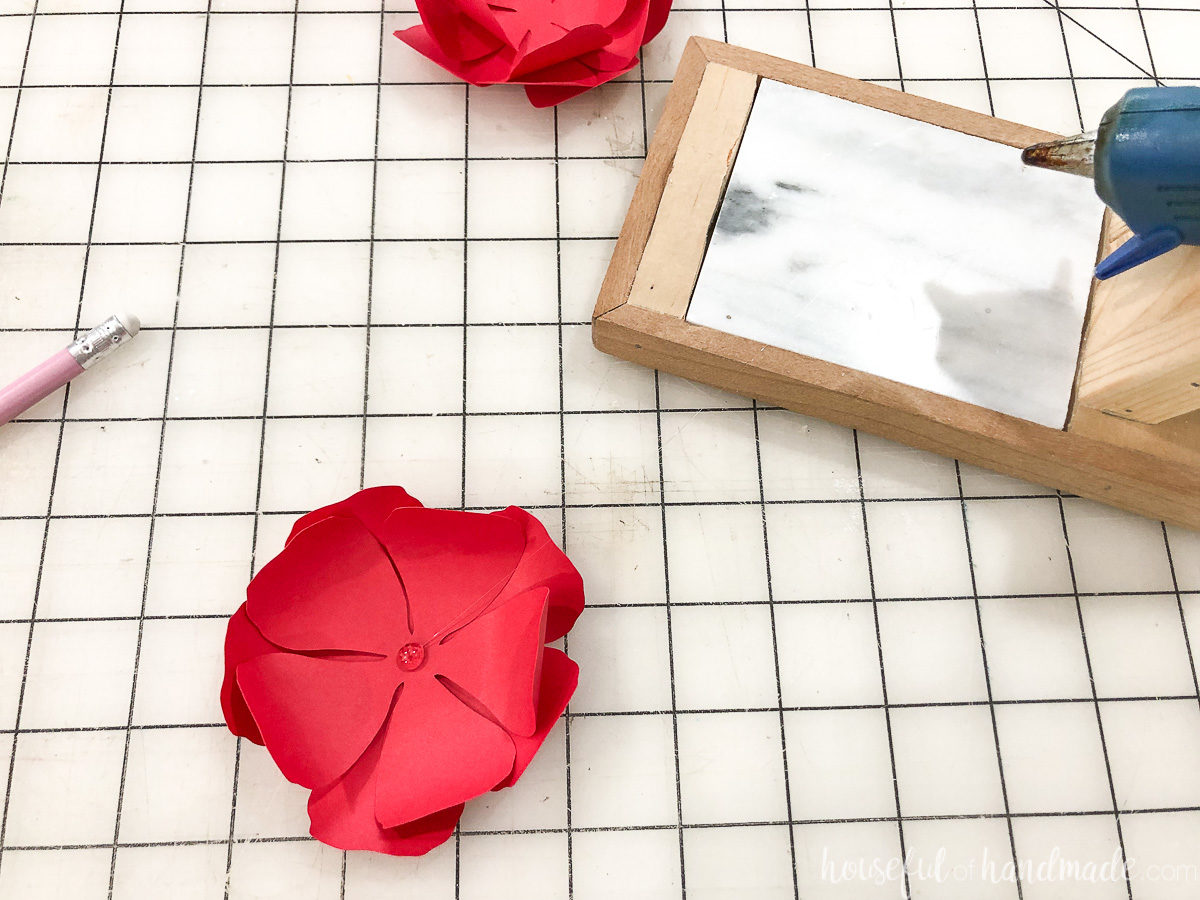
3. Glue the 3 petal pieces together by placing a dot of hot glue in the center of the largest one, then placing the medium one on top. Make sure to rotate it so the petals do not line up. Repeat with the smallest layer on top.
4. Cut the center pieces out of the black 24 lb paper. You need 4 pieces for each flower.
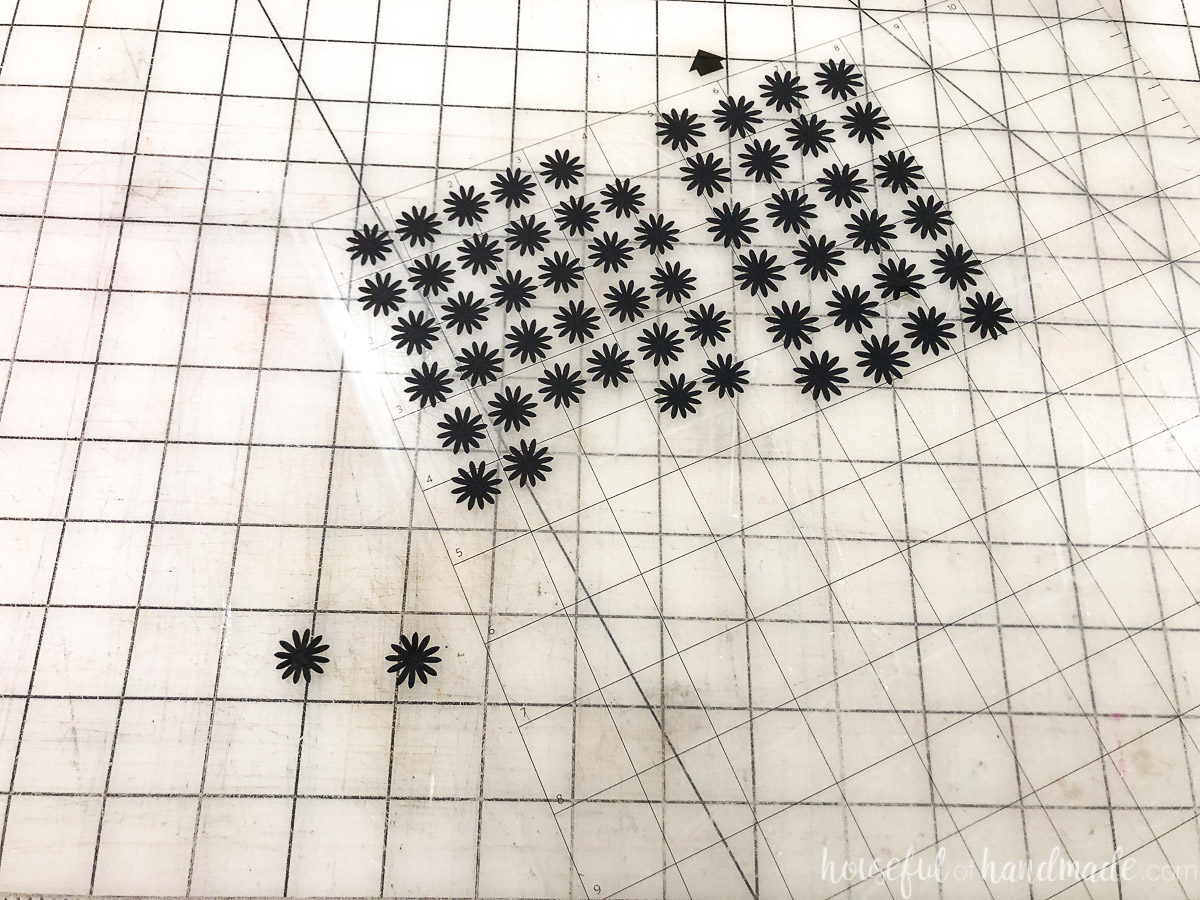
5. To assemble the centers, fold 3 of the pieces in half, then in half again. Place a dot of hot glue on the corner and glue it to the center of the 4th flat piece. Repeat with the other 2 pieces.
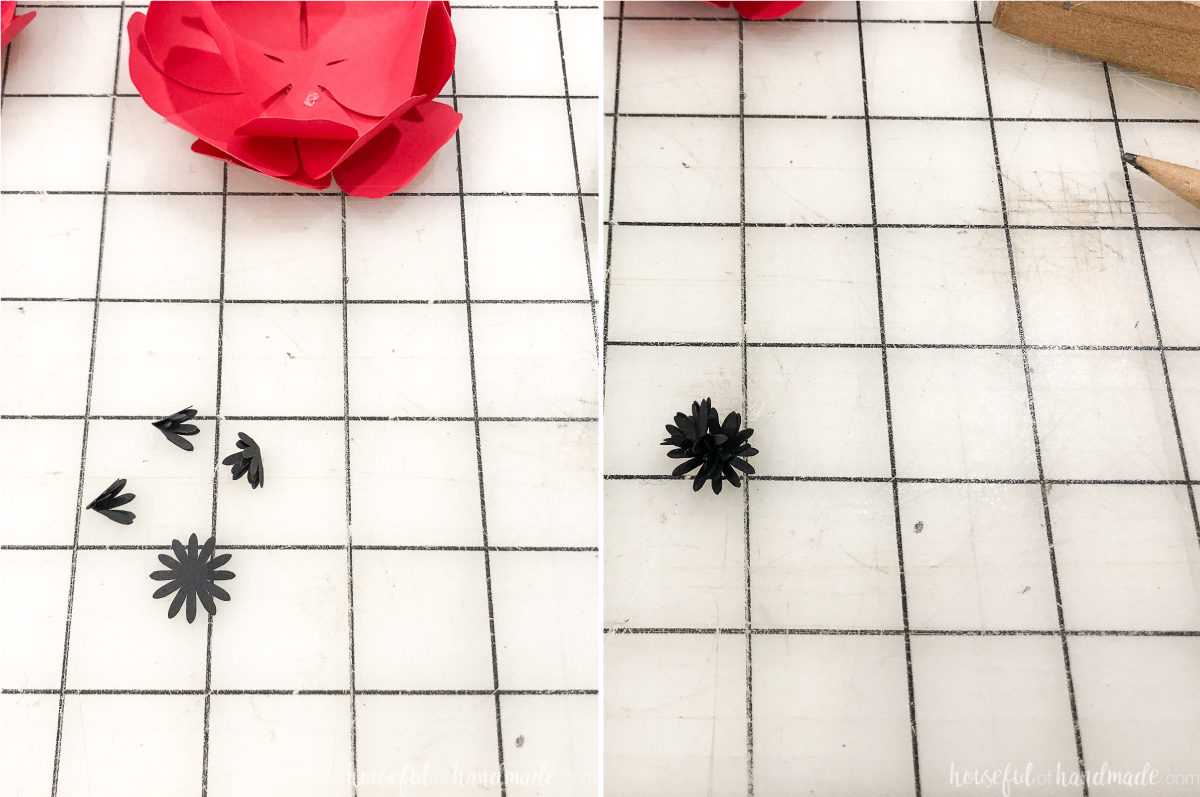
6. Glue the center to the center of the flower.

Step Three: Assembling the Wreath
1. Pinch a crease in the leaves so they fold in a little bit.
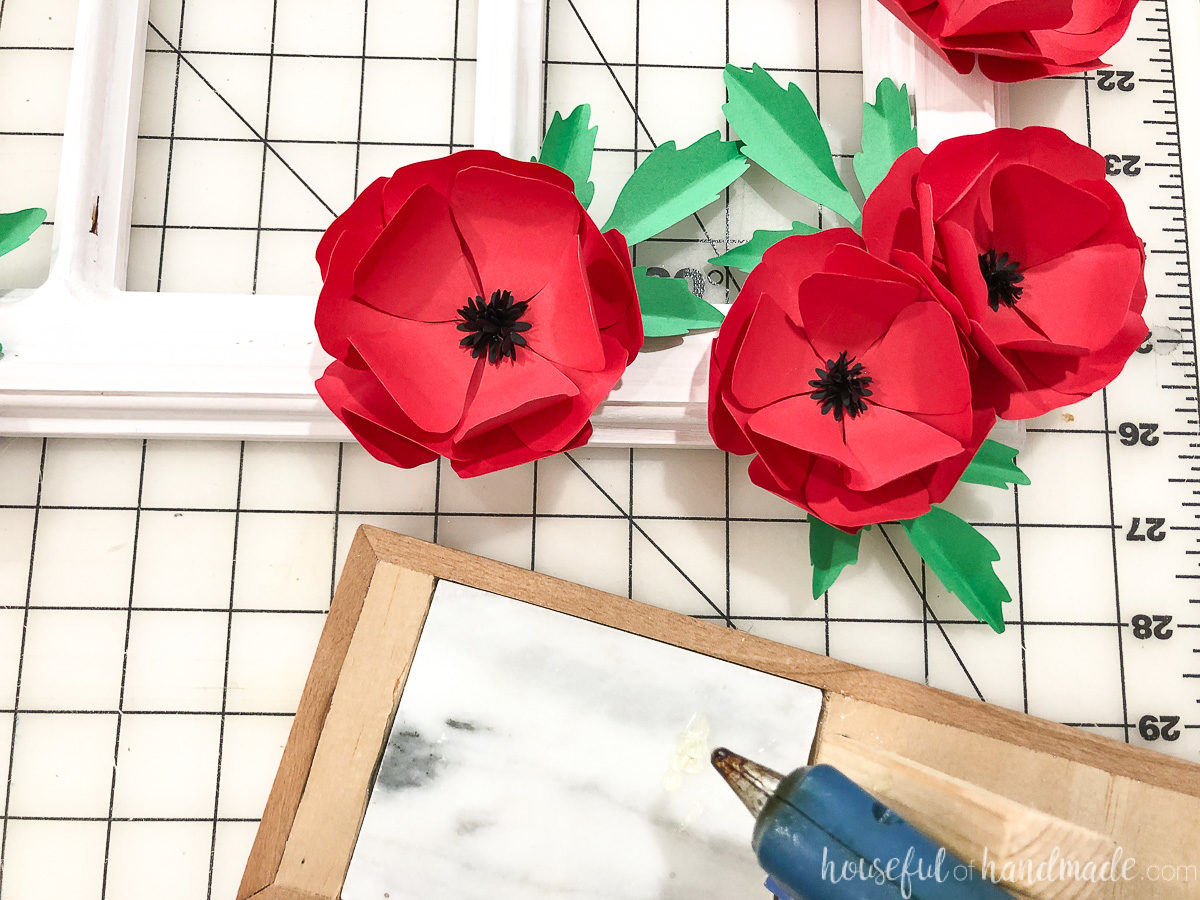
2. Glue the paper flowers to your window frame. Place them around in clusters. Go heavier on the bottom and them let them taper out toward the top.
3. Tuck the leaves around the flowers and glue them in place.
Now you are ready to hang your beautiful new wreath on your door! You can go with a big ribbon on top to hang it, or go with Command Hooks like I did.
If you liked this beautiful decor made with your Silhouette CAMEO®, make sure to come say “Hi” at Houseful of Handmade, where I share even more project ideas for the home and for entertaining.
 Halloween Wall Décor
  October Zoom Classes
christine vanoverbeke
June 19, 2019
nice