
We found the most perfect design to accompany our foil stickers! If you didn’t know, we sell foil stickers in three colors: rose gold, gold, and silver. With these stickers, you can create labels and stickers with a high-end foil appearance. What is extra special about this material is that it has a printable surface and an adhesive backing.
In today’s post, we wanted to show you how you can turn an ordinary postcard into something that really shines. Follow along with us!
Supplies Needed:
- Silhouette CAMEO® or Silhouette Portrait® or Silhouette Curio™
- Silhouette Cutting Mat
- Silhouette Cutting Blade
- Silhouette Studio®
- Sticker Paper – Rose Gold Foil
- Sticker Paper – Gold Foil
- Sticker Paper – Silver Foil
- Printer
- Design ID #251878
Step One: Prepare the Design
- Open Design ID #251878 in Silhouette Studio® by locating the design in your library. Double click the design to open it.
- Adjust your page settings (in the Page Setup panel) according to the size of your paper and your cutting mat. In this case, we are printing the postcard, so our paper will need to be adjusted to 8.5 x 11 inches.
- We decided to add a map of Boston to the other side of the postcard. If you are interested in doing so, make sure when printing that the front and back of the postcard are lined up properly when you print.
- In the Page Setup window, turn on the registration marks by setting the style to Type 1. Arrange your designs so that they fit inside the registration marks. If a design is left outside of those marks, then it will not be cut properly.
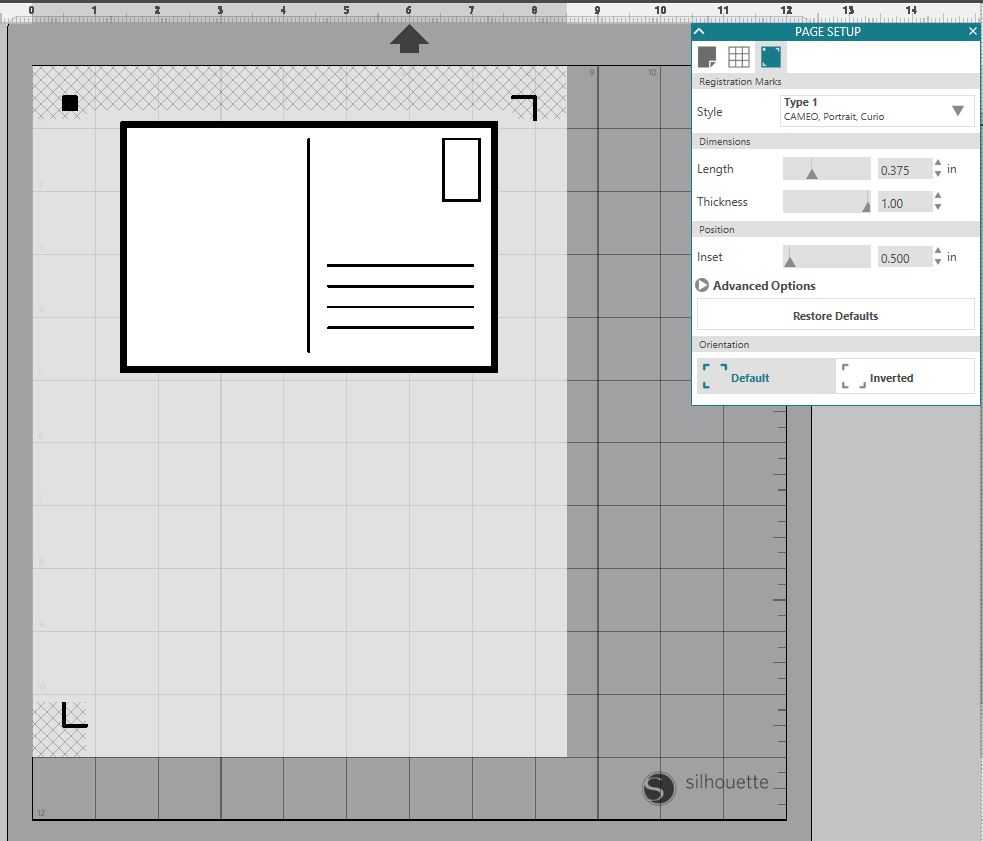
- Print the postcard design. After it is printed, place it on your cutting mat and load it into your machine.
- Since we printed this on normal cardstock, we will want to adjust our cut setting to that material. In the Send window, select the material “Cardstock, Plain.” Adjust your blade to the suggested depth setting (3). Once that is complete, cut out the design.
Step Two: Cut the Foil Stickers
Print & Cut
- Now comes the real FUN part! We will show you in a few different ways to use the foil stickers with this project. The first way will be the Print & Cut option. With your registration marks still turned on, place all of the stickers within the boundaries of the registration marks like so:
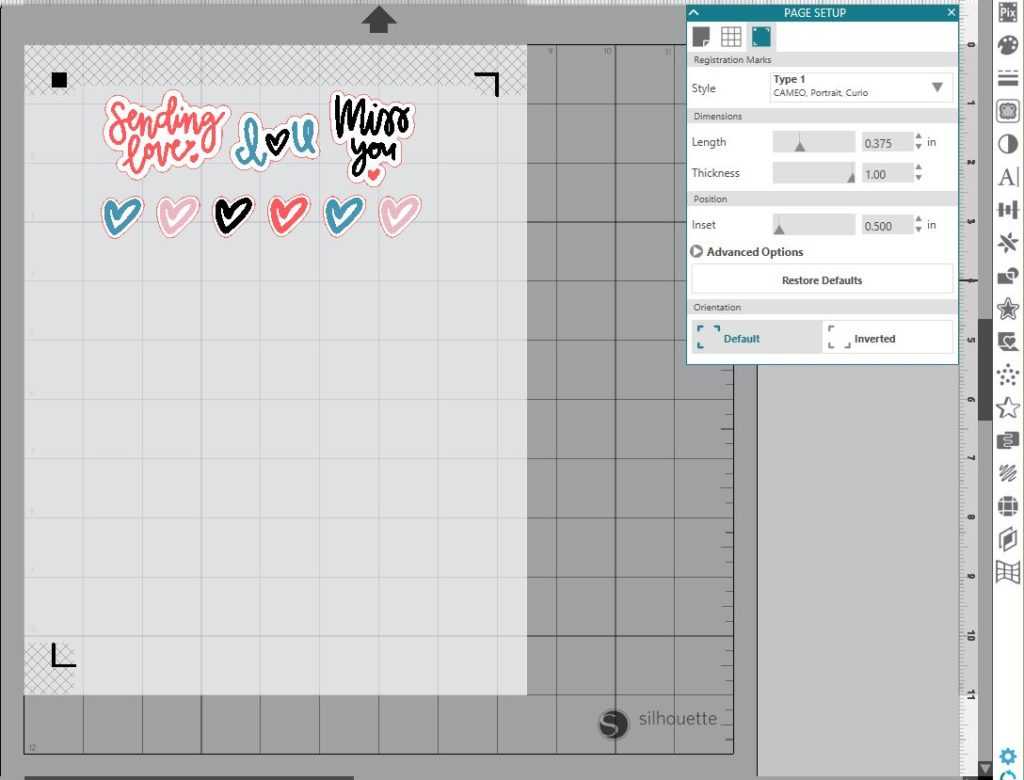
- With the stickers in place, send them to Print. When printing in color, the colored ink will show through on your foil sticker. However, depending on the foil color you are using (rose gold, gold or silver) you can get a different look. Depending on the colors you are printing, the ink will show up either more vibrant or less vibrant. Here’s an example to show you:
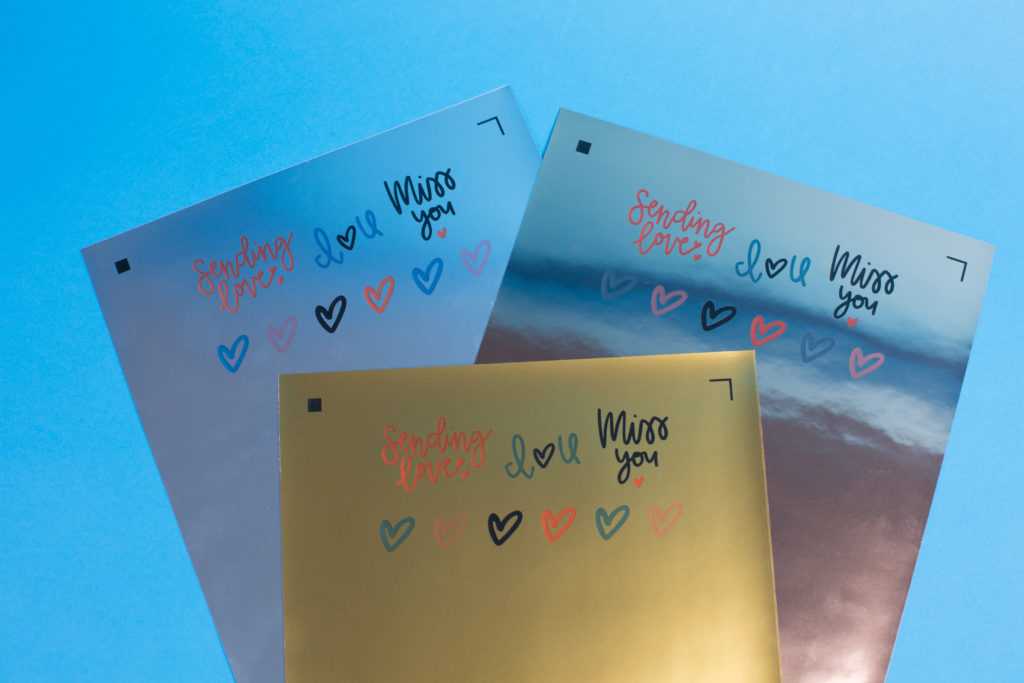
- Depending on the look you are going for, you can pick the foil that best goes with your design.
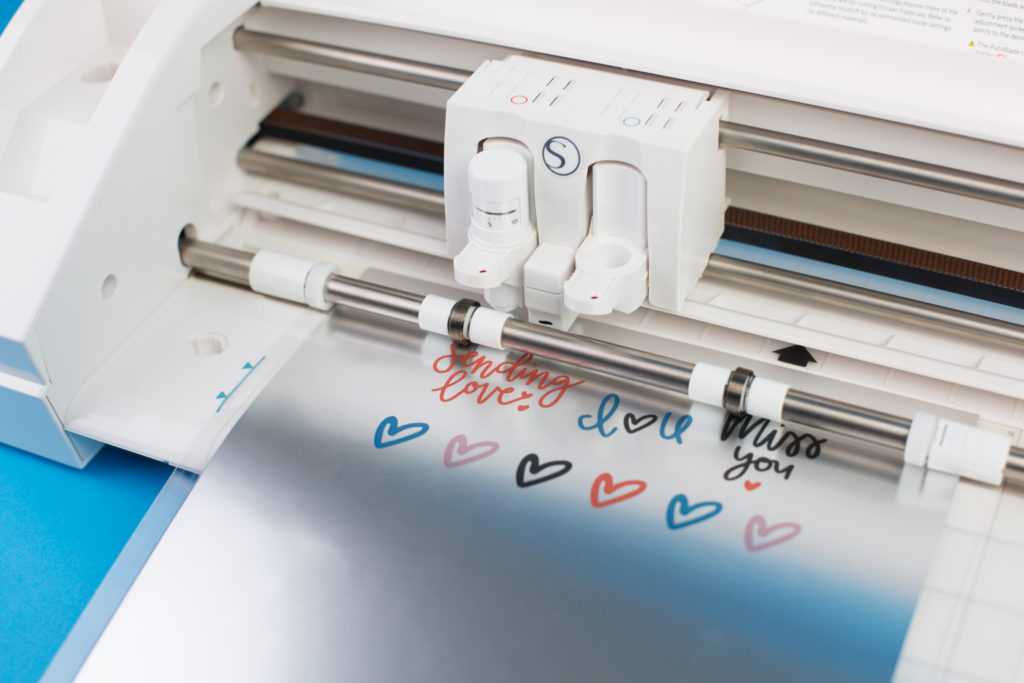
- Now place the foil sticker material into your machine and have your machine cut the stickers out.
Cut Only
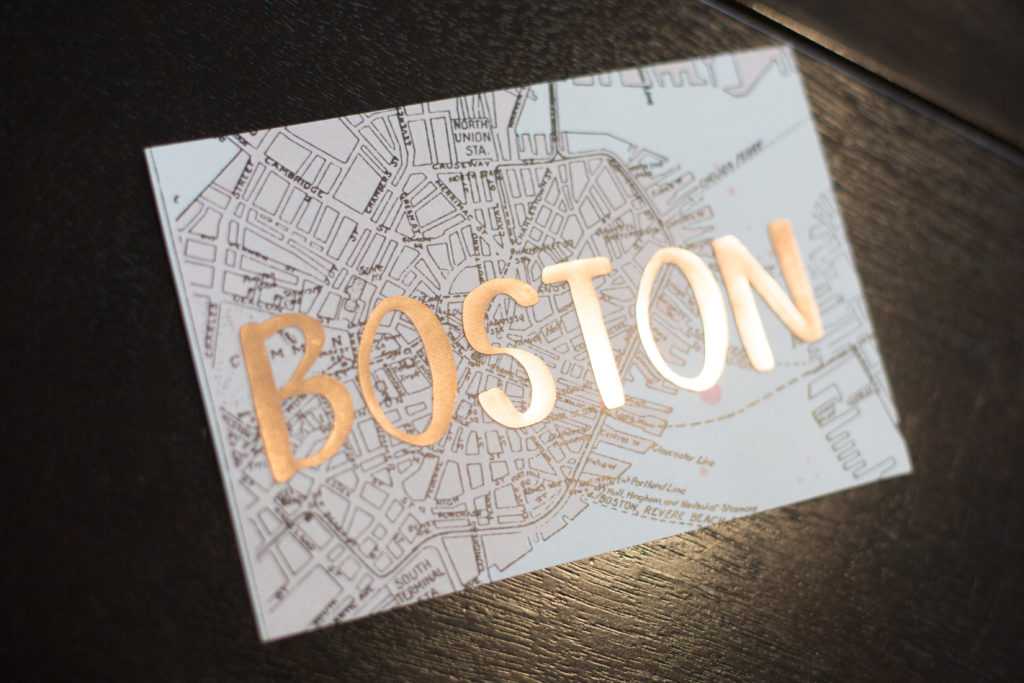
- Another option that you have with the foil stickers is to strictly cut the material. You can cut out shapes, words, or basically anything else that you can imagine. We decided to cut out the word “Boston” so that you would get a better idea of what the map is of. To cut out the word, select a font that you like. We decided to go with the Okey Doke Font.
- Type out your word and make it as large as you’d like. We wanted it to be big to make the location on the map more obvious.
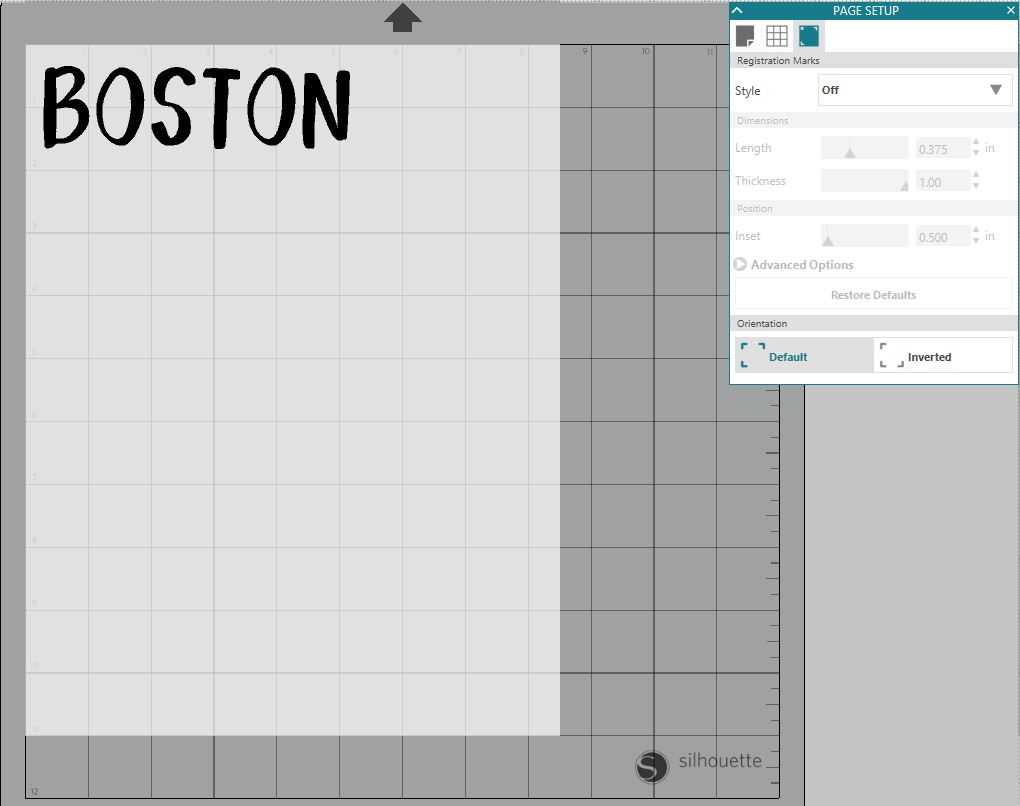
- When cutting just the material, you don’t need the registration marks on. So make sure to turn those off.
- Lastly, place your foil sticker material onto your mat. In the Send window, select the material as “Foil, Printable” and adjust your blade settings as necessary.
- Once your machine has cut out the design, you can then remove it like a sticker and place it onto your postcard.

How will you use the foil sticker paper to decorate your projects?