One of the great features of Silhouette Studio® is the Print & Cut feature. This allows you to print a design on your home printer on a variety of printable materials and then use your Silhouette machine to precisely cut it out. Print & Cut designs are widely available in the Silhouette Design Store, but you can also create your own designs or use the Trace feature to assign cut lines to an imported, printable design.
For a basic Print & Cut project, simply open a Print & Cut design you’ve purchased from the Design Store.
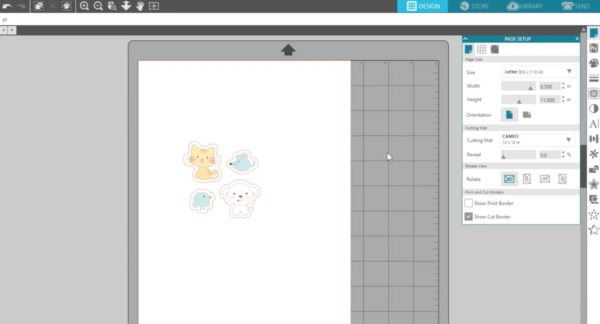
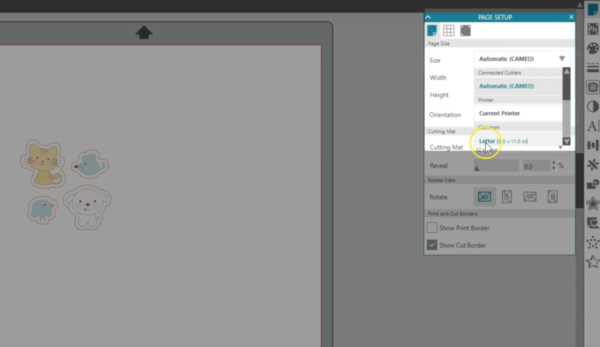
Set your page size in the Page Setup panel to match the media you’ll be using in your printer. We’ll use letter-sized paper.
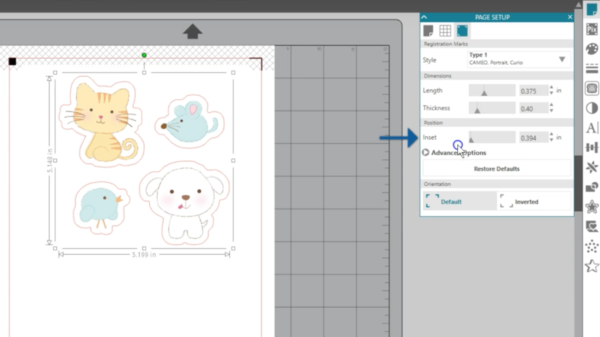
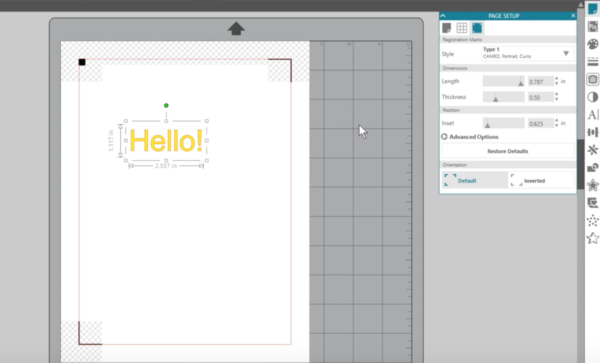
In the third tab of the Page Setup panel, you’ll find the registration marks. This is the key to a precise cut on a printed page. We’ll choose Type 1 in this first drop-down box since we will be using the CAMEO. Notice that all models of Silhouette cutting machines can do Print & Cut designs.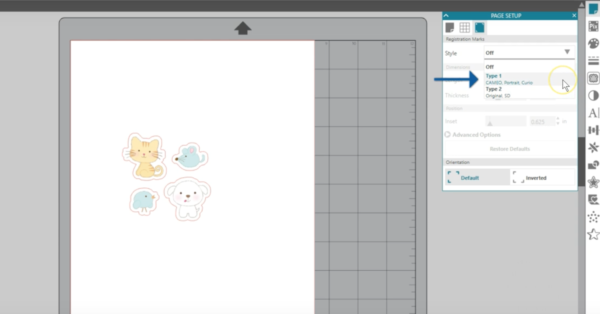
Registration marks will appear in three corners of the on-screen document,
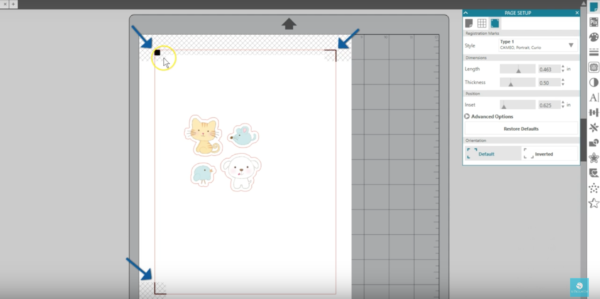
along with a red cut border

and crosshatch areas. You need to keep your design out of the crosshatch areas for proper registration-mark reading. In addition, the Silhouette machine will not cut outside this red cut border.
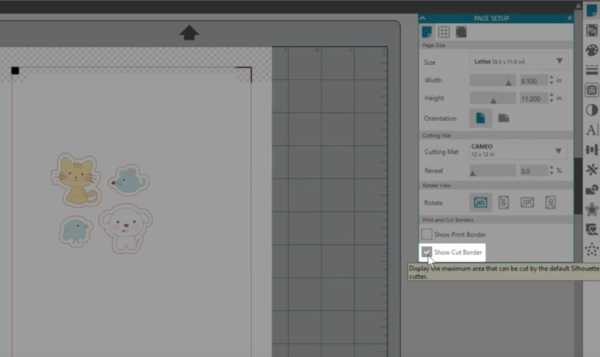
If you don’t see the red cut border, go to the first tab of the Page Setup panel and check the box for “Show Cut Border.”
As you resize and reposition your design, keep it within the cut border and out of the crosshatch area.

Use the adjustment options in the Registration Marks panel if you need a little extra space for the design or want to conserve your material.
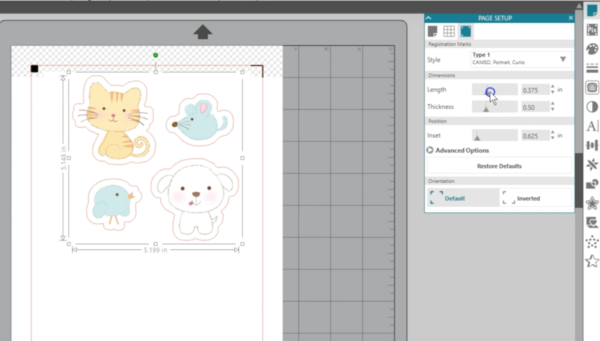
You can change the length and thickness of the registration marks, adjust the inset overall, or adjust the various borders in the Advanced Options.
Click “Restore Defaults” to get the marks back to the original size and setup.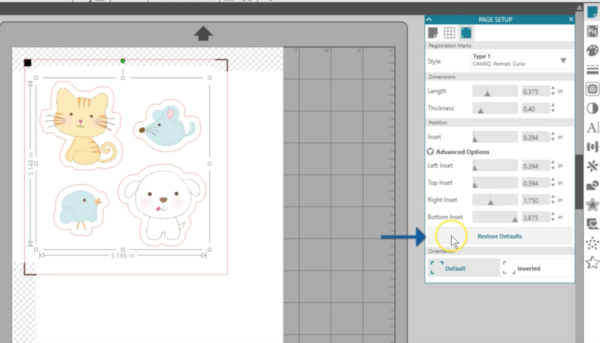
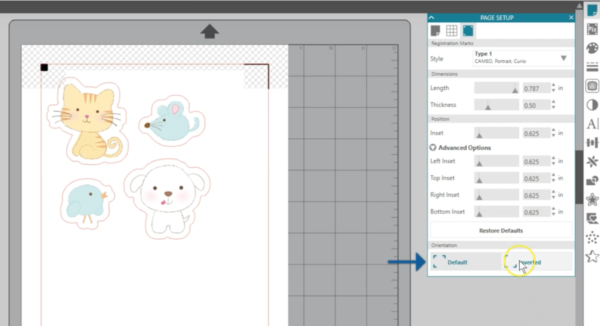
Depending on your design and how it fits in the corners, you may choose to adjust the orientation of the marks, as well.
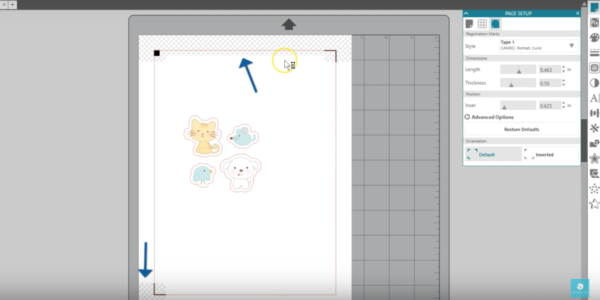
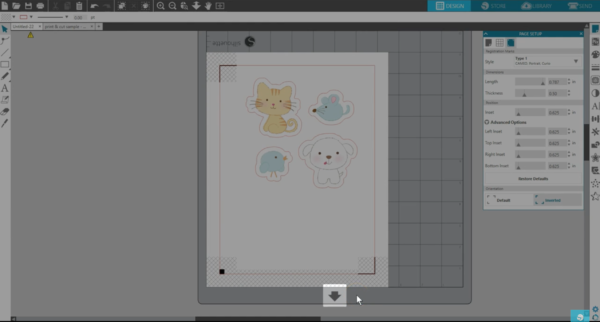
Just be sure to always watch for the arrow on your on-screen mat and load your printed page exactly the same way on your real mat. The arrow indicates the end of the mat that loads into your machine first.
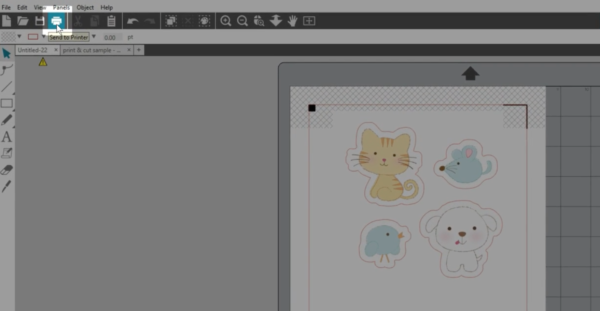
Once your design is set up with Registration Marks enabled, you’re ready to print your page. You can print using the Print icon,
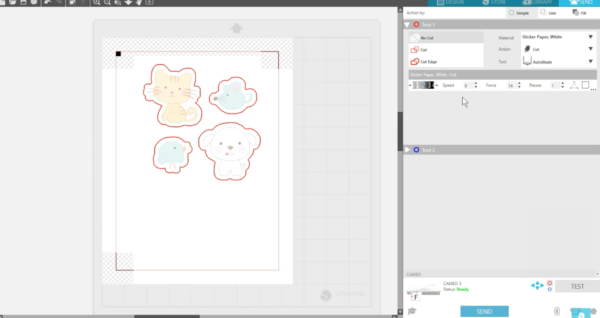
or you can print from the Send panel once you’ve verified your cut lines are on. Make sure you have the correct printer selected, and you can verify your settings such as page orientation. This will look different, depending on your personal printer.

Print the document, then load it on your mat exactly as you see it on the virtual mat, and load the mat into your machine. Do not make any changes to the document after printing.
Choose your settings for the correct material in the Send Panel and click Send. The machine will read the registration marks and then proceed to cut wherever the cut lines are on your document.
Now we want to show a couple of ways to make your own Print & Cut design so that you’re not limited only to Print & Cut files in the Design Store. If you’re creating your own Print & Cut design, you need three things.
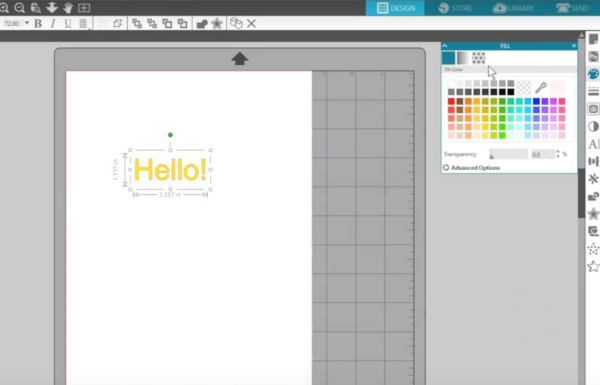
First, make sure you have color on the document that will print. Line colors will not print unless they are thicker than 0.0. Fill colors, fill gradients, and fill patterns are a great way to add color to objects and fonts.
Second, make sure you turn on Registration Marks.
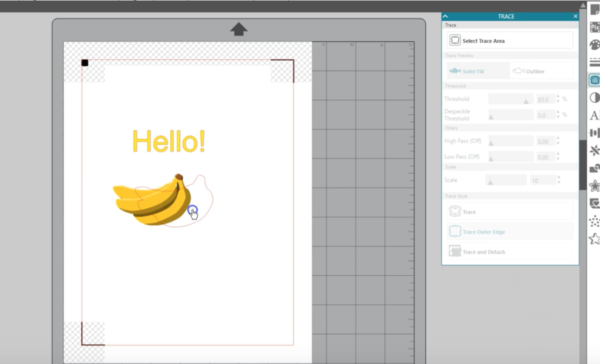
Third, make sure you have cut lines. If you import an outside raster image that’s not a cut design, you’ll need to perform a Trace to assign cut lines. Tracing is covered in a separate tutorial.
Now this design is ready to be printed and then cut.
You can even take a design that was created to be cut in multiple pieces and turn it into a Print & Cut. This kite is in separate pieces, but we’ve added color and pattern fills to the pieces and arranged them into place. When we go to my Send panel, we can select it all and choose “Cut Edge” so that anything overlapping will just cut the outside edge.

There are so many possibilities with Print & Cut, which is available in all editions of Silhouette Studio®.