Temporary Tattoo paper is fun to create with and even easier to design with when you use ready-made Print & Cut Shapes from the Silhouette Design Store.
My daughter and I made these ice cream tattoos over Spring Break. (We actually made lots of projects over Spring Break.) These tattoos were created in between making clay animals and Rainbow Loom baskets.
Yes, you read that correctly, Rainbow Loom baskets, not bracelets. She’s definitely an overachiever.
You Will Need:
- Silhouette Temporary Tattoo Paper
- Silhouette CAMEO®
- Silhouette Studio®
- Silhouette Cutting Mat
- Silhouette Scraper Tool
Step One: Resize and Print Design
If you’re looking for party favors ideas or ways to show your team spirit, creating customized Temporary Tattoos with your CAMEO is definitely the way to go!
(Or if you’re like my daughter, any excuse to eat ice cream and make tattoos is a total win too!)
To make these Ice Cream Tattoos:
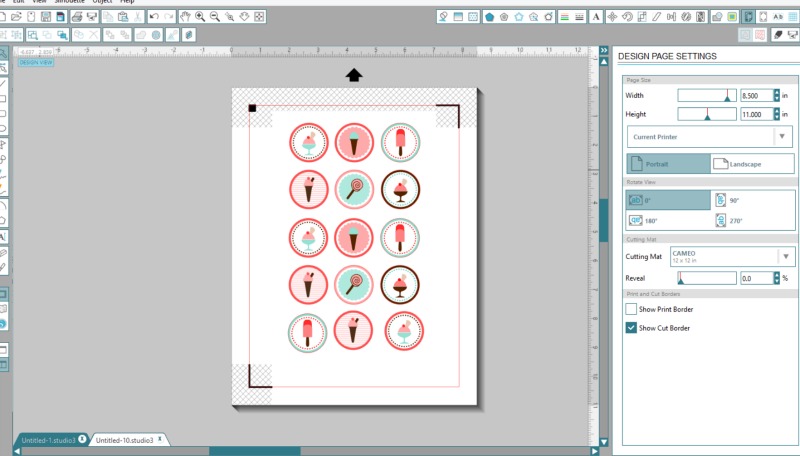
(1) Change the Design Page Settings to Printer.
(2) Select a Print & Cut design (Ice Cream Sundae Toppers – Design ID #46528) from the Silhouette Design Store.
(3) Mirror the designs
NOTE: This is really important to do, otherwise your tattoos will be backwards!
(4) Turn on registration marks and resize designs to fit.
To not waste the whole sheet of tattoo paper, I duplicated the shapes to fill up the space between the registration marks. Once you’re happy with your design:
(5) Click the print icon to send the design to your personal printer.
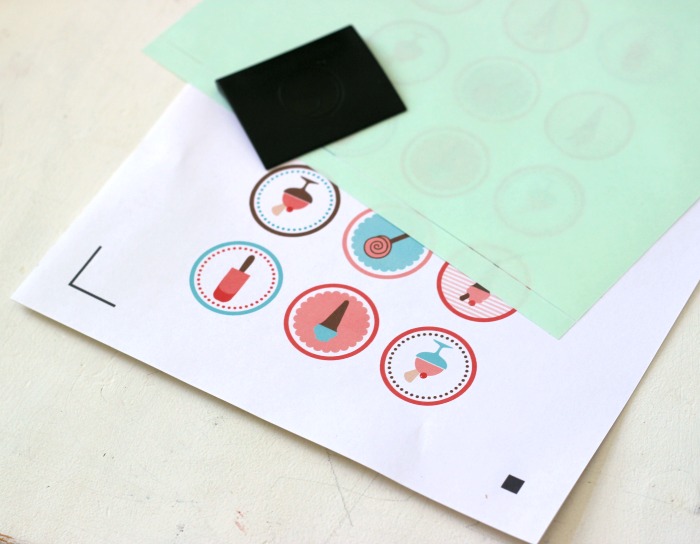
Step Two: Apply Adhesive Sheet
After, the design is printed and the ink is dry:
(1) Carefully apply the tattoo adhesive sheet over top of the printed images.
(2) Use the Scraper Tool to rub the image sheet smooth and remove any air bubbles.
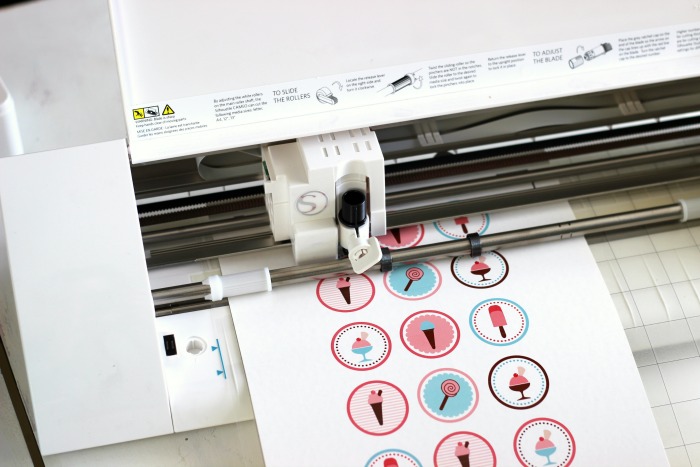
Step Three: Cut Tattoo Paper
(1) Load the tattoo paper in to the Silhouette CAMEO®.
(2) Adjust the setting for tattoo paper.
(3) Send to Silhouette Studio®.
Step Four: Apply Tattoo

After your tattoo shapes are cut out:
(1) Remove the plastic adhesive layer.
(2) Carefully apply a tattoo adhesive side down and blot with a damp towel.
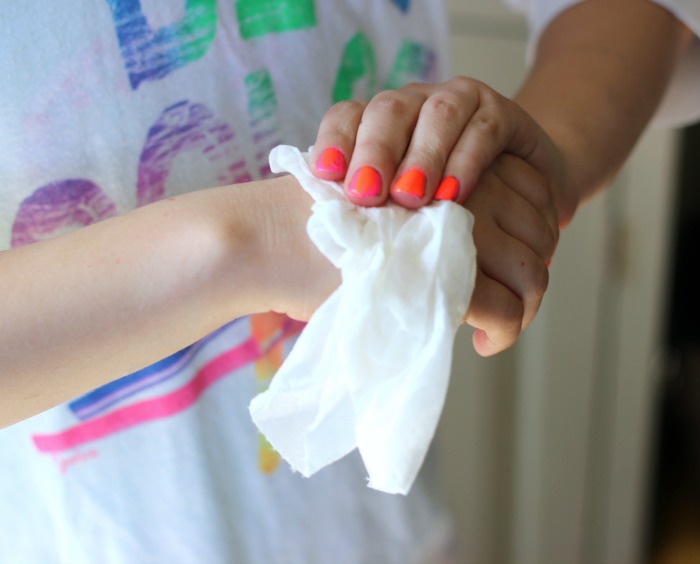
Like my daughter’s two-toned neon orange and pink nails? Painting nails various colors was also a popular activity during the week of Spring Break.
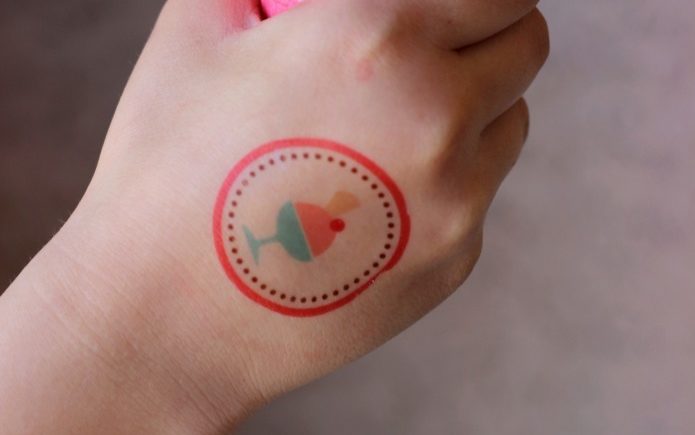
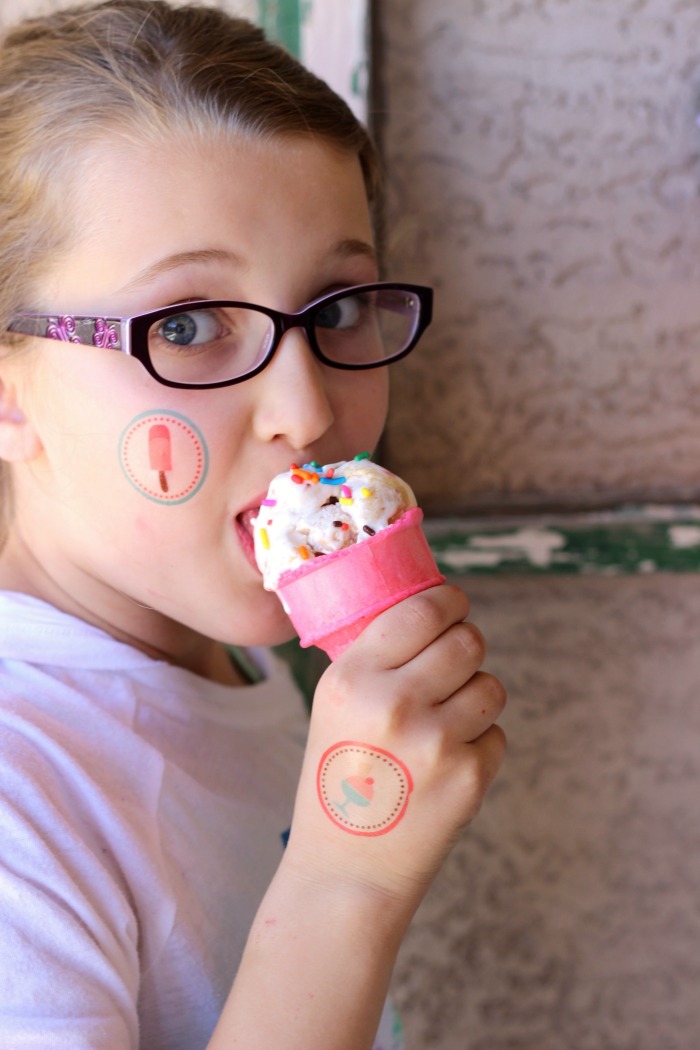
After your tattoo is applied, make yourself an Ice Cream Cone and show off that Ice Cream Tattoo!
Nasze Naturalne
September 3, 2025
Your authentic voice really shines through in everything you create and share
Naszenaturalne
September 2, 2025
Really love your style
Kelly Wayment
June 28, 2024
You can use it with vinyl as long as it is smooth and flat to allow the static charge to hold on to it. Rolled vinyl that wants to go back to its rolled shape will not necessarily work well, and it would need to be trimmed to fit the ES mat cutting area.
Kelly Wayment
June 28, 2024
Yes, you can use the heat pen while using the ES mat. 🙂
Yurii
March 2, 2024
Hello. May it be used with heat pen?
Thanks
Jerome
February 24, 2024
Hi, works this with the normal vinyl foils or only with printer papter etc?