This tutorial will cover Print & Emboss, which is a specialty feature only Silhouette Curio™ users can access. It’s similar to regular Print & Cut, which uses registration marks to find the exact line placement to cut around a printed image, but Print & Emboss lets you print an image and then press down onto the back side of the printed surface with an embossing tool. The printed image is embossed with a raised effect, adding definition to the design. Print & Emboss is intended to be used with Silhouette Score & Emboss Paper, and we’ll be using the Emboss Panel.
Embossing lines can either be the outline edges, or filled in using a fill from the Emboss Panel.
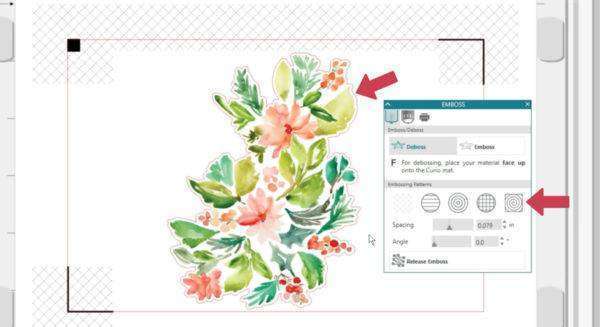
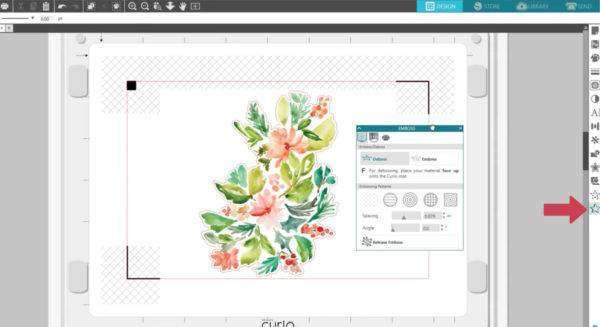
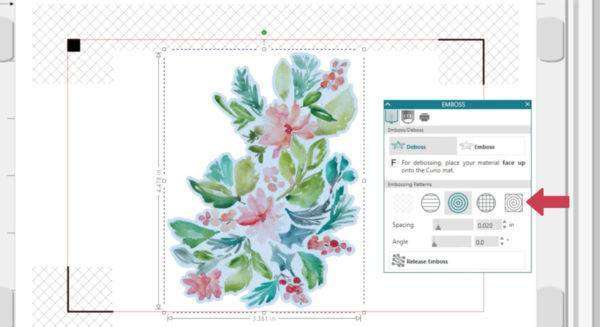
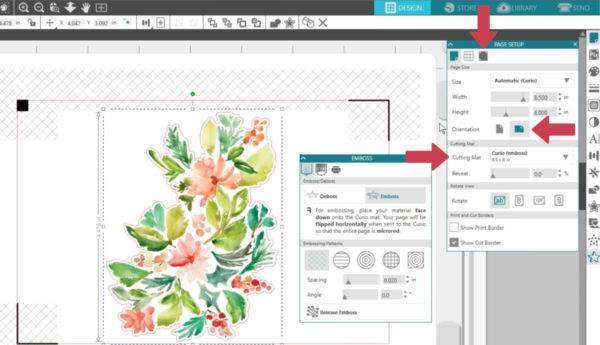
Begin by placing a print design onto your work page. You can either use the existing cut lines as emboss lines, or choose a fill pattern in the Emboss Panel. If you want to emboss with a fill, select just the cut line and choose a fill and spacing.
We will Undo that because we just want to emboss the outer edge. Make sure to select Emboss instead of Deboss.

Set the page size and mat in the Page Setup panel, and turn on registration marks.
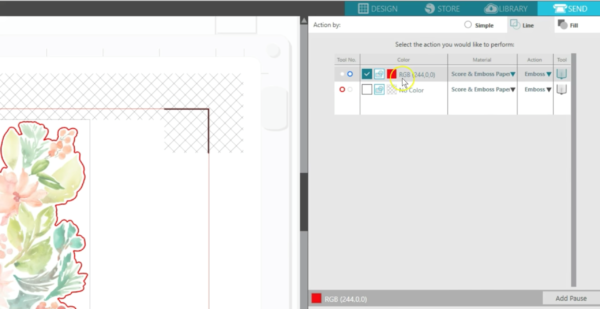
Print & Emboss will use both the Curio cutting mat and embossing mat during this process. Since we have the emboss lines set, let’s do a little setup in the Send panel to avoid any confusion later. Choose the Line Action. Let’s set up whatever color our emboss lines are for the embossing tool. This design’s emboss lines are red, so we’ll only check that box and uncheck any other line colors. Choose the blue tool holder for that line color, set the Material to Score & Emboss Paper, the Action to Emboss, and the Tool to Fine Emboss.
Now is a good time to put the Fine Emboss tool in the blue, or right, tool holder of the Curio. Note that if you do want to add cut lines to cut out your design, they need to be a different line color than the emboss lines and should be unchecked until after the design is embossed. We can go back to the Design page and continue. Go to the third tab of the Emboss panel. It’s got a printer icon for Print & Emboss.
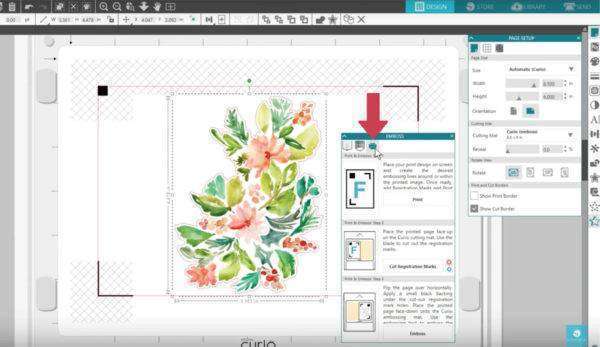
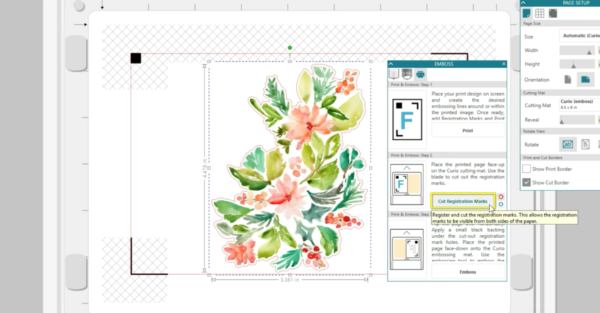
There are instructions in the panel, but we’ll go over it all right now. We’ve done the first step of placing a print design on the page, creating embossing lines, and turning on registration marks. Click this Print button on the panel, or your normal print icon, to print the page on your printer.
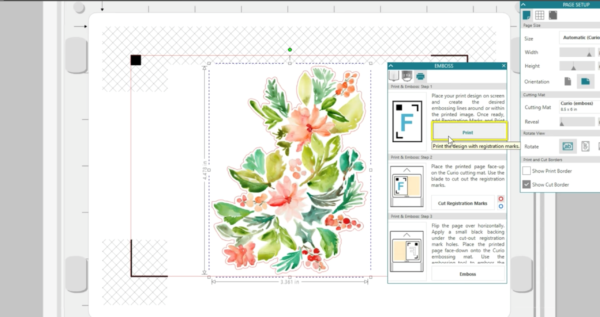
For Step 2, place the printout on the CUTTING mat, face up. Whenever cutting paper with Curio, you’ll use the cutting mat as the top platform with a total platform value of 6. Set your blade to 3 and place it in the left, or red, tool holder. Load the base with your printout and make sure this red tool indicator is selected to match where you placed your blade. Now click this button for “Cut Registration Marks.” Your Curio will read and then cut out the registration marks. This is not a typical Print & Cut, so don’t worry if that seems odd.
We’re moving on to Step 3. Unload the base and take your paper off the mat. We’ll be embossing next, so replace the platforms with the soft white embossing mat on top with a total value of 5. That’s the typical setting for embossing Score & Emboss Paper. Flip the paper over so the printed side is face-down on the mat. (The ink should be dry before you do this.) If your paper is not a full 8.5 inches wide, place the small sheet on the right side of the embossing mat as shown on the Panel’s diagram, always leaving the border exposed as shown by the arrows and tick marks.

Place the black squares that came with your Curio, or any black paper squares, under the three corners where the registration marks were cut out. Black should be showing through. Now click the button for Emboss. Since we set this up earlier in the Send panel, it will use the embossing tool in the right tool holder to emboss, after reading the registration marks.

If you feel you want a deeper emboss after seeing the results, click this Emboss button again for another pass.
That’s it. Now your printed project has raised emboss lines for more definition thanks to Curio’s Print & Emboss feature.