
Hello my fellow Silhouette lovers, Brittany here! Today I finally got a chance to play with Silhouette’s Printable Cotton Fabric and, as is per usual with their products, I’m in love. Think about it—printing your own patterned FABRIC! Yeah, it’s really cool.
For this project, I will be taking you through the steps of choosing different printable patterns from the Silhouette Design Store, how to add a graphic element on top, and finish it off by adding it to an embroidery hoop to make a quick and simple hangable art piece.
If you’re a beginner to the Silhouette world, this is a quick and easy project that can be completed in under thirty minutes—and it’ll help you get more familiar with the Silhouette Design Store layout.
Supplies needed:
- Embroidery hoop
- Silhouette Printable Cotton Fabric
- Personal printer
- Scissors
To start:
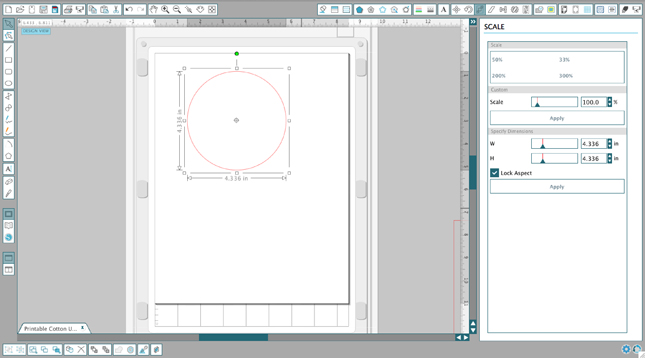
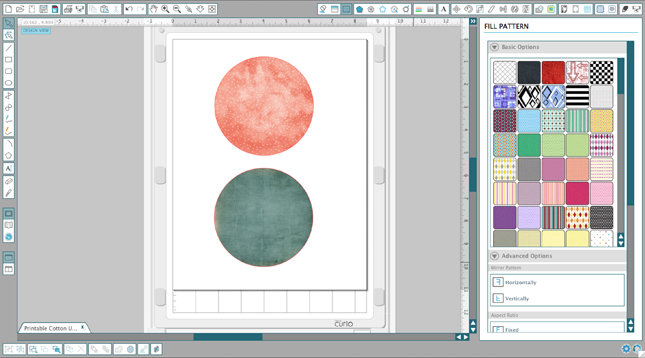
- Begin by measuring the size of your embroidery hoop and creating a circle in Silhouette Studio® that is a larger than your hoop size. (About half an inch all the way around will do.) This will assure that your printed pattern doesn’t get cut off when you put it inside your embroidery hoop.
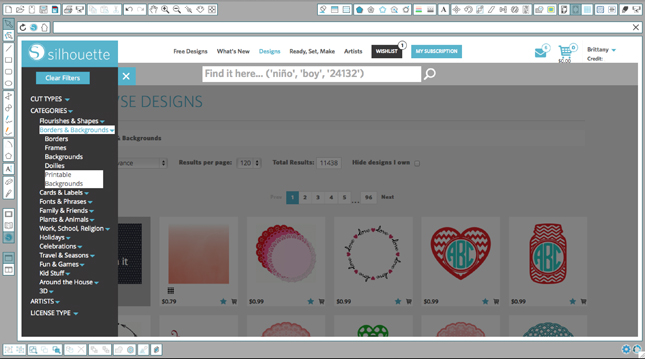
- Next, click on the Silhouette Design Store icon on the left hand side of your window in Silhouette Studio®. This will open up the Design Store right inside the program and you can purchase your pattern right inside the software!
TIP: Finding a printable pattern is easy with the Design Store’s search system. Filter your searches by using the drop down menu and navigating your way to the “Printable Backgrounds” option under the Borders & Backgrounds category. Once this is selected, your search will be narrowed down to only printable patters, making it easier to find what you like.
- Once you have purchased and downloaded your patterns and designs, head back to Silhouette Studio to start filling in your circles. If you aren’t sure which patterns to use, pick a couple and see what they look like printed. I went with patterns: Hello Friend Polka Dot (Design ID #34108) and Weeds (Design ID #32308)
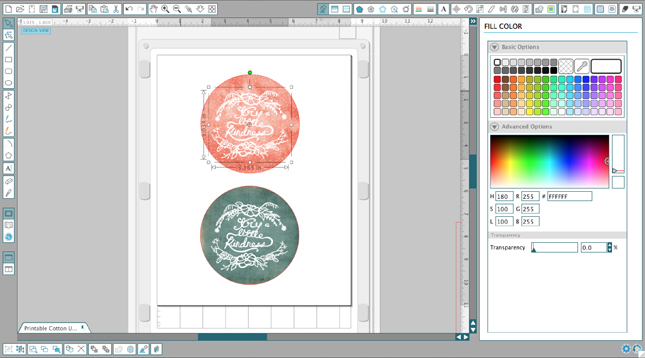
- I knew I wanted the design on top to give that same “washed” effect the patterns I chose were giving, so once I chose my design, I set it in white to give almost a “bleached” effect once printed since the white of the cotton fabric will show through.
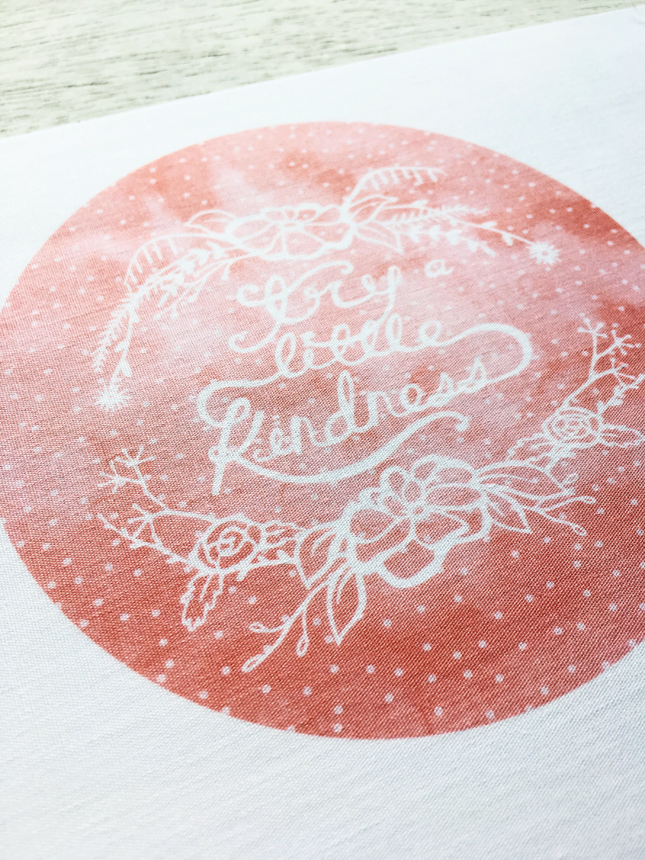
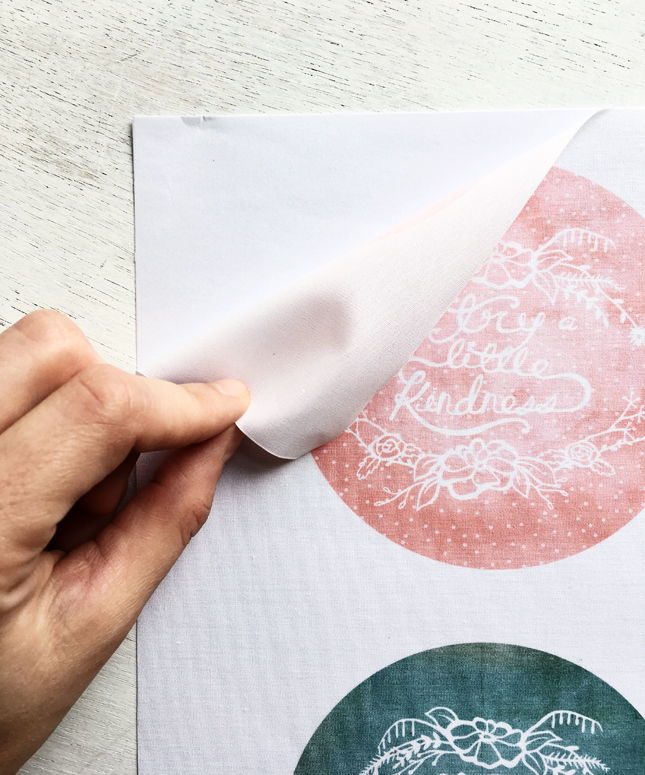
- Place a sheet of the Silhouette Printable Cotton Fabric into your printer with the backing still in place. It fits just like regular 8.5 in. x 11 in. printer paper and is lined with a plastic backing so your printer’s feed rollers can send it through like regular paper. Once printed, you can remove this plastic backing.
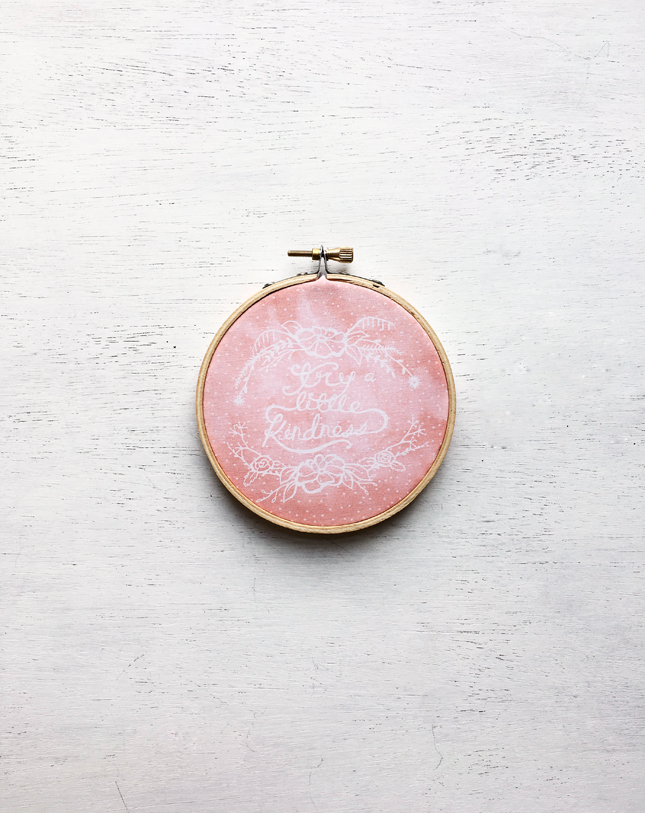
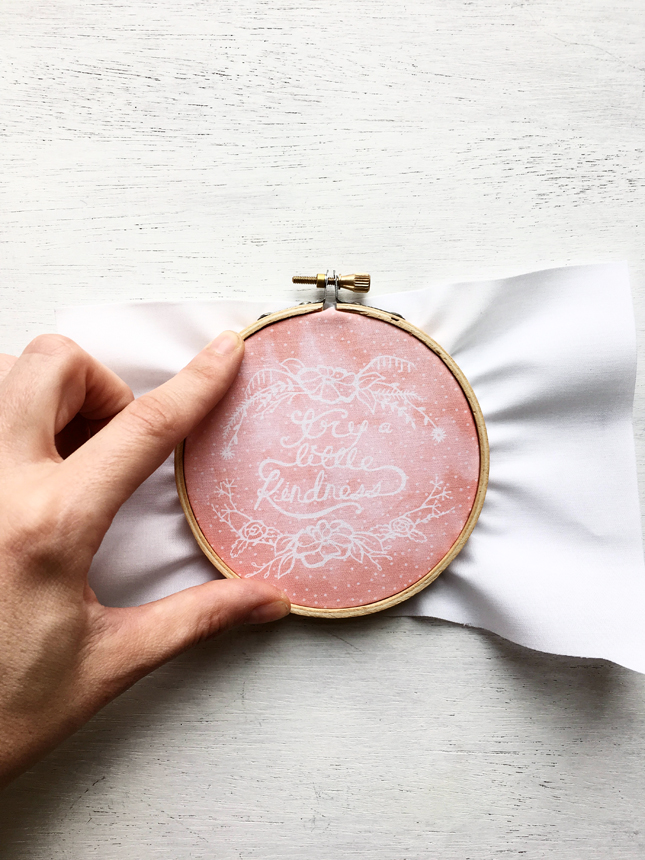
- Cut the fabric in half, allowing enough room for your embroidery hoop to wrap the edges. Secure your fabric printing into your embroidery and trim the excess fabric.
There you have it! New decor in the matter of literally minutes. There are so many possibilities—what do you see calling your name? Go make it!
Happy Crafting!!
Nasze Naturalne
September 3, 2025
Your authentic voice really shines through in everything you create and share
Naszenaturalne
September 2, 2025
Really love your style
Kelly Wayment
June 28, 2024
You can use it with vinyl as long as it is smooth and flat to allow the static charge to hold on to it. Rolled vinyl that wants to go back to its rolled shape will not necessarily work well, and it would need to be trimmed to fit the ES mat cutting area.
Kelly Wayment
June 28, 2024
Yes, you can use the heat pen while using the ES mat. 🙂
Yurii
March 2, 2024
Hello. May it be used with heat pen?
Thanks
Jerome
February 24, 2024
Hi, works this with the normal vinyl foils or only with printer papter etc?