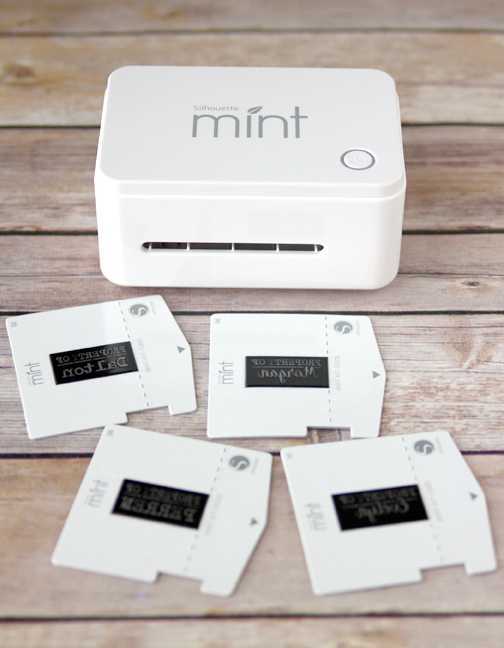
The Mint is a custom stamp maker, and it will change the way you stamp. In four easy steps and less than two minutes, you can have a completely original, custom-made stamp. It is as easy as designing it, Minting it, inking it, and stamping it. Once it’s inked, your stamp is good for 50+ stamps (but it often lasts a lot longer).
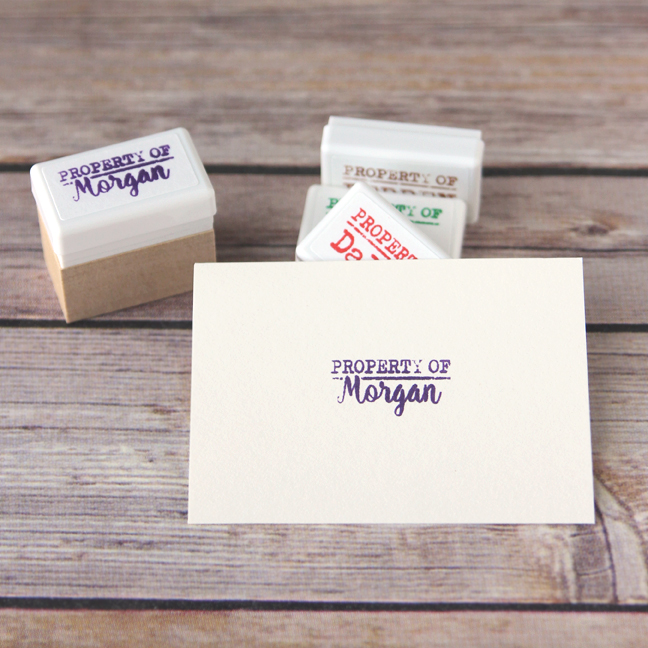
For this project, we made personalized stamps with the Silhouette Mint™–a perfect idea for kids who want to label whatever they want. This tutorial will cover some basics of using the Mint custom stamp maker and its Mint Studio™ software.
You will need:
- Silhouette Mint™
- 15 x 30 mm stamp kit
- 15 x 30 mm stamp sheet set
- Mint ink
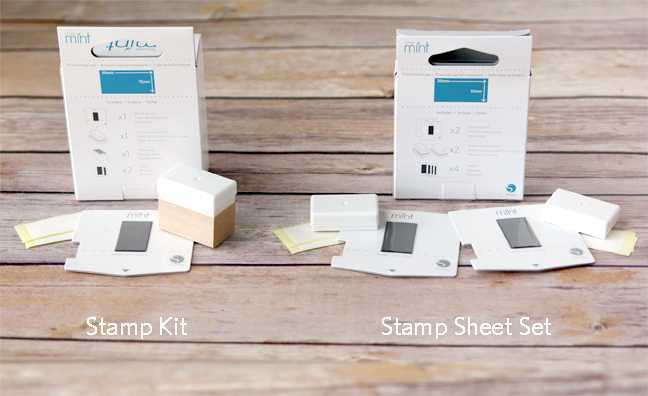
First, a note about the differences between the stamp kit vs. the stamp sheet set:
The stamp kit comes with everything to make one stamp. It has a stamp base (a.k.a. stamp mount) and lid, a mounting block (a.k.a. stamp grip), a stamp sheet (the part that runs through the Mint), and labels.
The stamp sheet set is basically a refill. It does not come with a mounting block, but does come with two stamp carrier sheets and stamp bases so you can make two new stamps. They will fit on an existing mounting block of the same size.
Now on to making a stamp! The process really is as simple as Design it. Mint it. Ink it. Stamp it.
Step One: Design It.
You have available in Mint Studio™ fifty free designs that are activated once you plug in and turn on your Mint. You also have access to the fonts already on your computer, some basic drawing tools like the line I used in my stamps, and some frames and fun shapes. You can also buy more designs and fonts in the Silhouette Design Store.
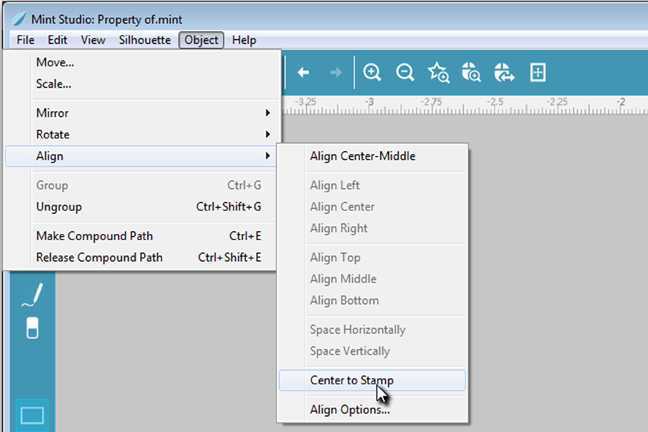
While designing, take advantage of the Object (Align) menu selection that allows you to align and center your shapes. Object > Align > Center to Stamp is one of my most-used functions.
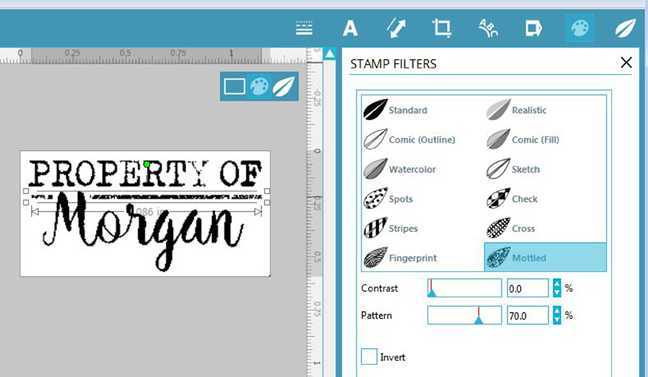
You can also add filters to change the look of selected objects. (The filters will only show while in the Stamp Filters or the Send to Mint windows.) I added a Mottled filter to the line(s) I drew to give it a rough look that matched my font (called Typenoksidi). The script font is Harrlems.
Step Two: Mint It.
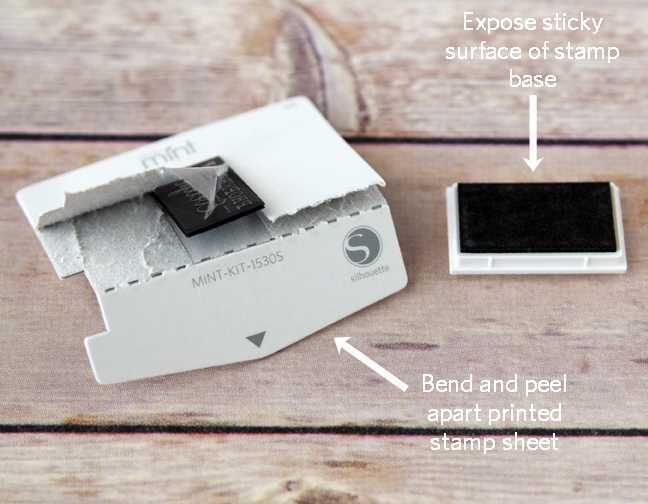
When your design is ready, simply go to the Send to Mint window in the software and click on Start Mint. It will then tell you to insert the stamp sheet into the Mint. Insert the stamp sheet gently into the back of the Mint, and it will print your stamp.
At this point, peel away the cover on the stamp mount to expose its adhesive, then bend the carrier sheet on its perforated edge and peel it back so you can access the printed stamp. This stamp can be pressed on to the sticky stamp base.
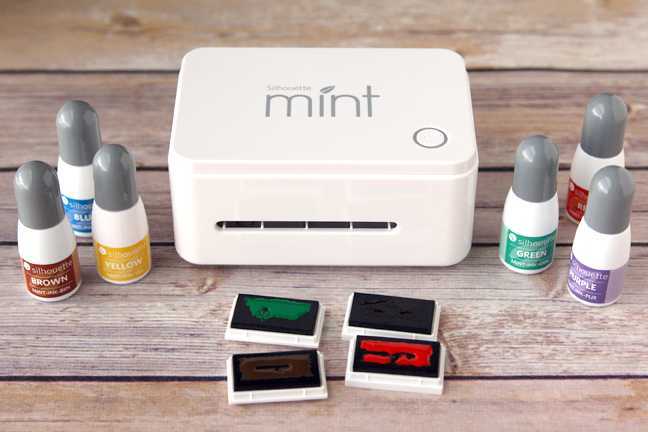
Step Three: Ink It.
The thermal printing of the Mint stamps will absorb the Mint ink, while the surrounding unprinted area resists the ink. Use any of the many Mint ink colors to apply ink to the printed stamp and let it sit for a few minutes (under ten minutes is usually plenty). You can use multiple colors on the same stamp.
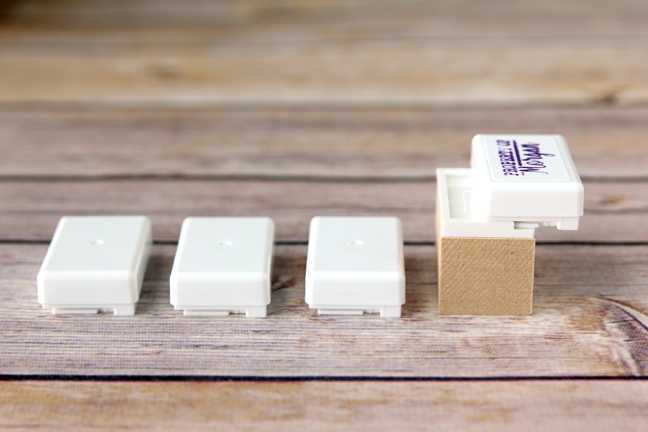
Step Four: Stamp It.
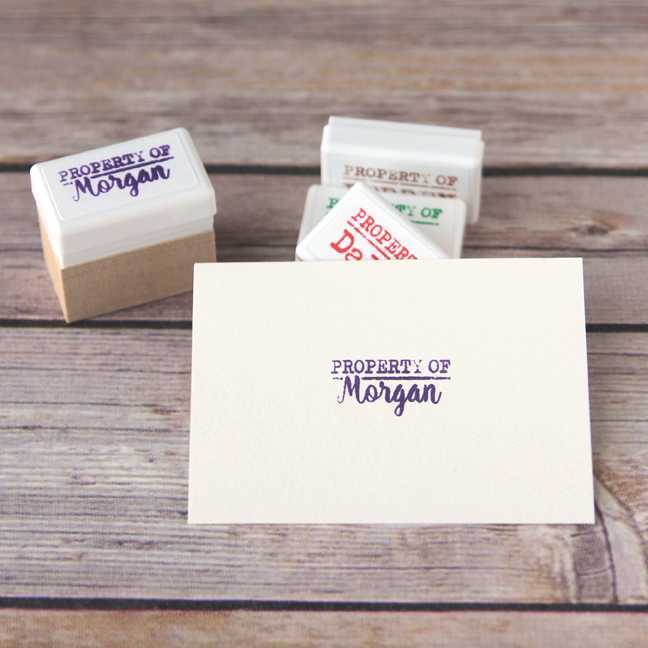
Stamp off the excess ink onto scratch paper until you get a clean image. Now you can use the stamp multiple times before needing to re-ink it. Remember that you can create multiple stamps for the same size mounting block. The stamp base easily slides on and off the wooden stamp grip, and each has its own lid to keep it moist.
What kid wouldn’t be thrilled to have a personalized stamp to claim their property! Mint stamps are the gift that keeps on giving since you can design more stamps of the same size to add to your stamp collection.
 Free Class - Father's Day Apron Set
  Free Class - Custom Graduation Tumbler
Nasze Naturalne
September 3, 2025
Your authentic voice really shines through in everything you create and share
Naszenaturalne
September 2, 2025
Really love your style
Kelly Wayment
June 28, 2024
You can use it with vinyl as long as it is smooth and flat to allow the static charge to hold on to it. Rolled vinyl that wants to go back to its rolled shape will not necessarily work well, and it would need to be trimmed to fit the ES mat cutting area.
Kelly Wayment
June 28, 2024
Yes, you can use the heat pen while using the ES mat. 🙂
Yurii
March 2, 2024
Hello. May it be used with heat pen?
Thanks
Jerome
February 24, 2024
Hi, works this with the normal vinyl foils or only with printer papter etc?