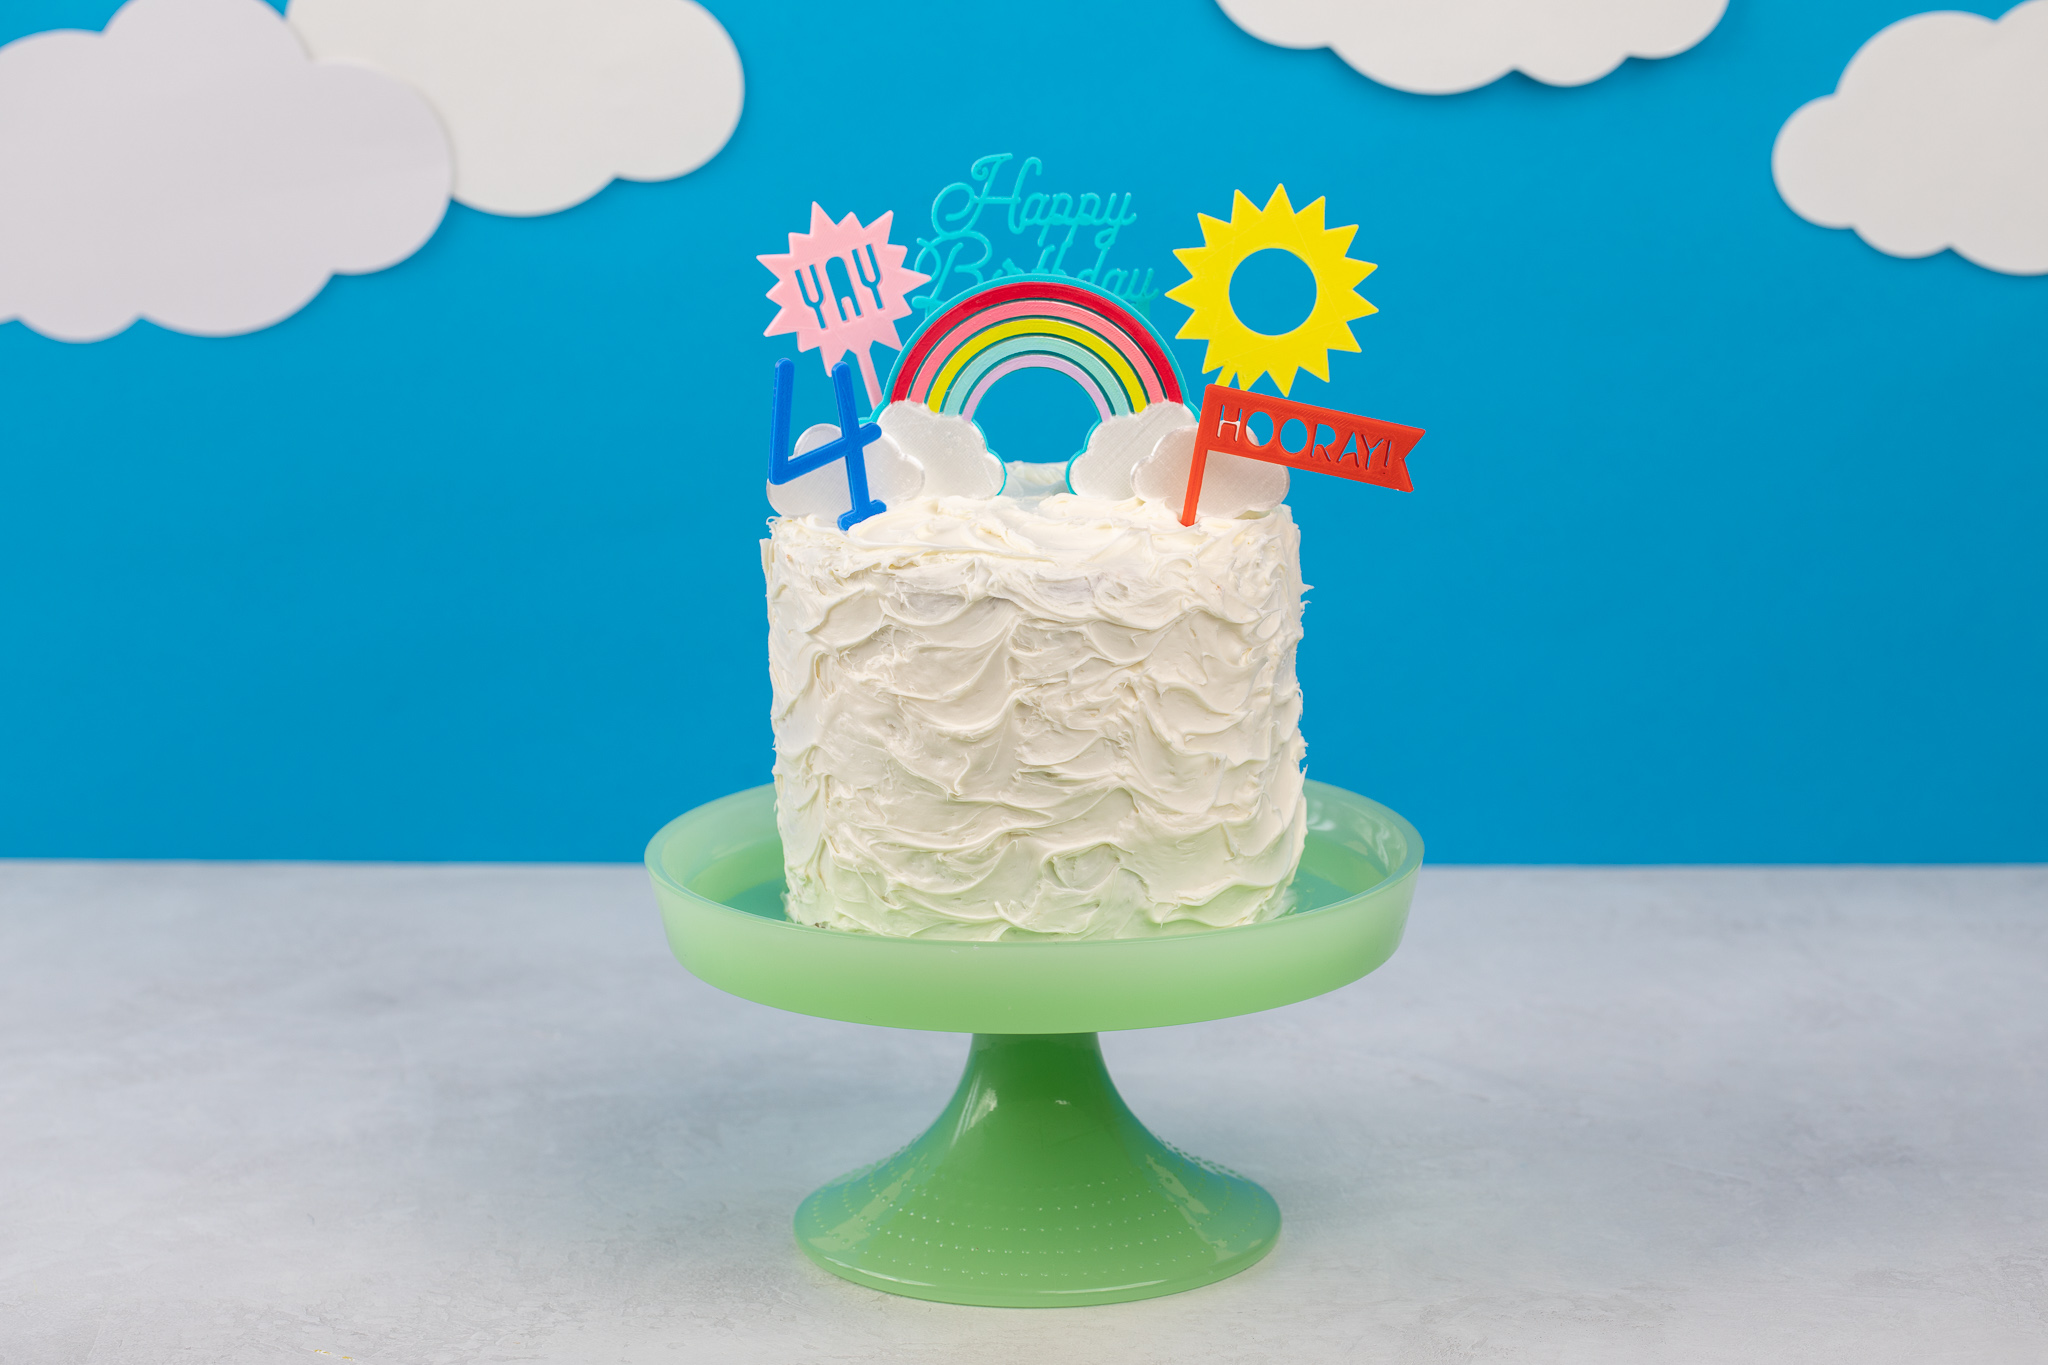
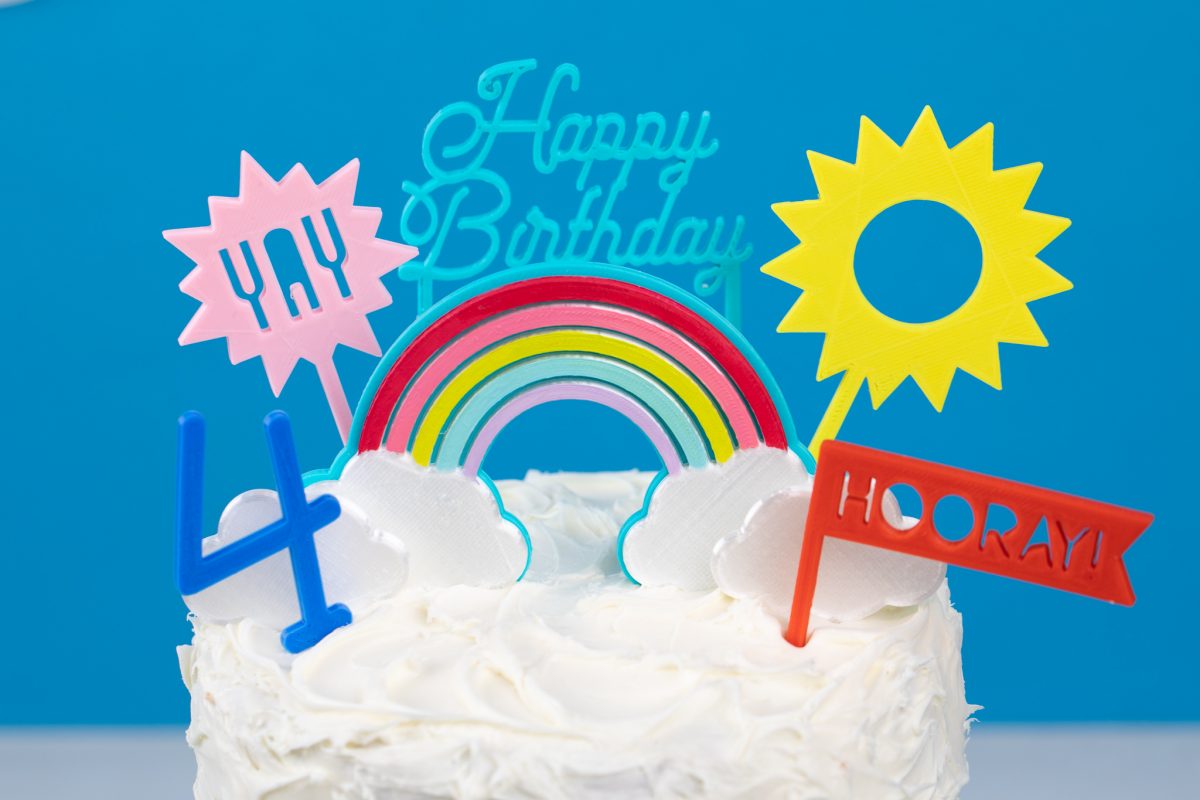
Celebrations often call for cake, and what better way to jazz up your cake than with cake toppers! We made a variety of designs with our Alta machine that scream celebration. If you have a birthday or other occasion on the horizon, make some customized cake toppers for a special touch!
Supplies Needed:
- Silhouette Alta®
- Silhouette 3D™
- Silhouette Studio®
- Alta platform
- Alta platform tape
- Alta filament
- Acrylic paint and paintbrush, optional
- Design ID 256393
Step One: Formatting the Design in Silhouette Studio
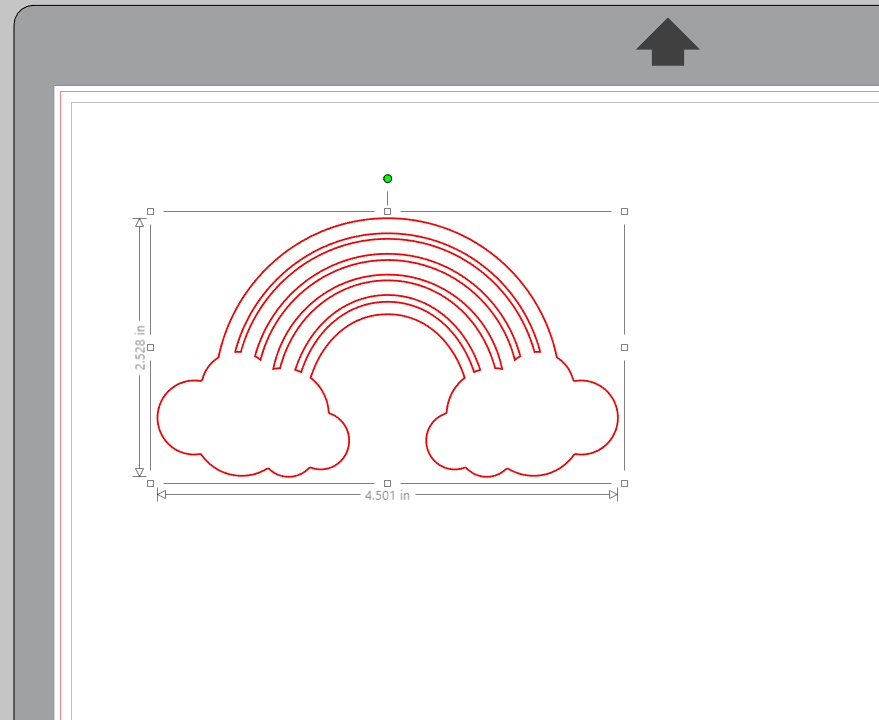
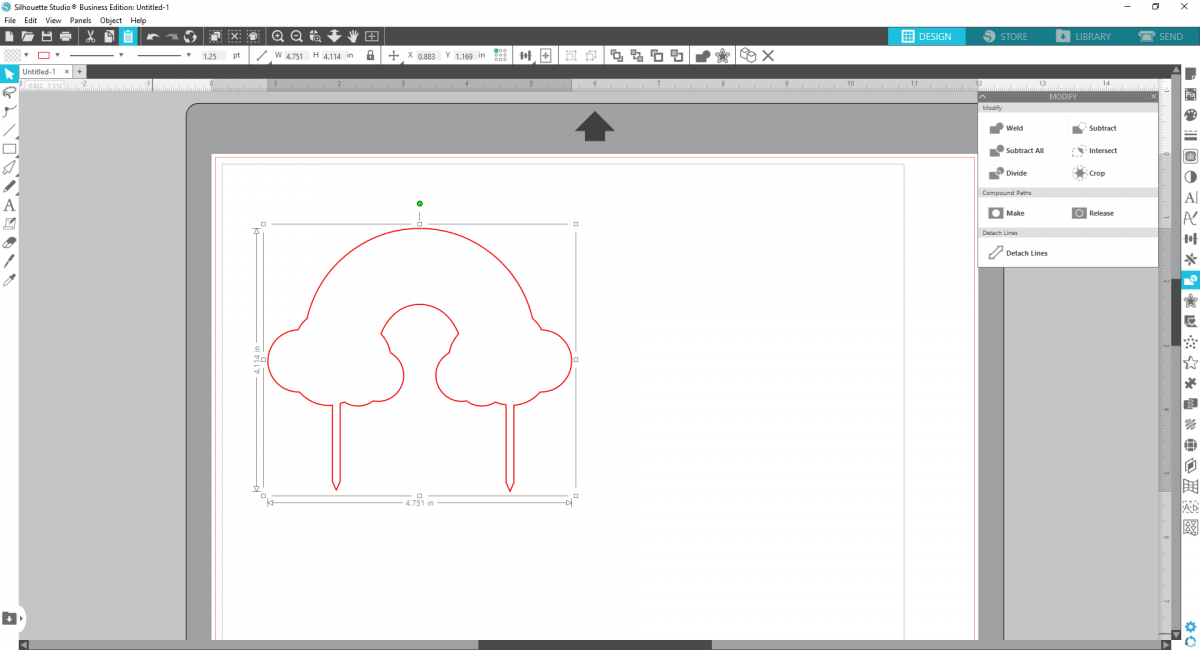
Insert the rainbow design file into Silhouette Studio and ungroup the design to separate the rainbow from the clouds.

Position the clouds so that they overlap the ends of the rainbow

Select both pieces and weld them together to turn it into one piece.
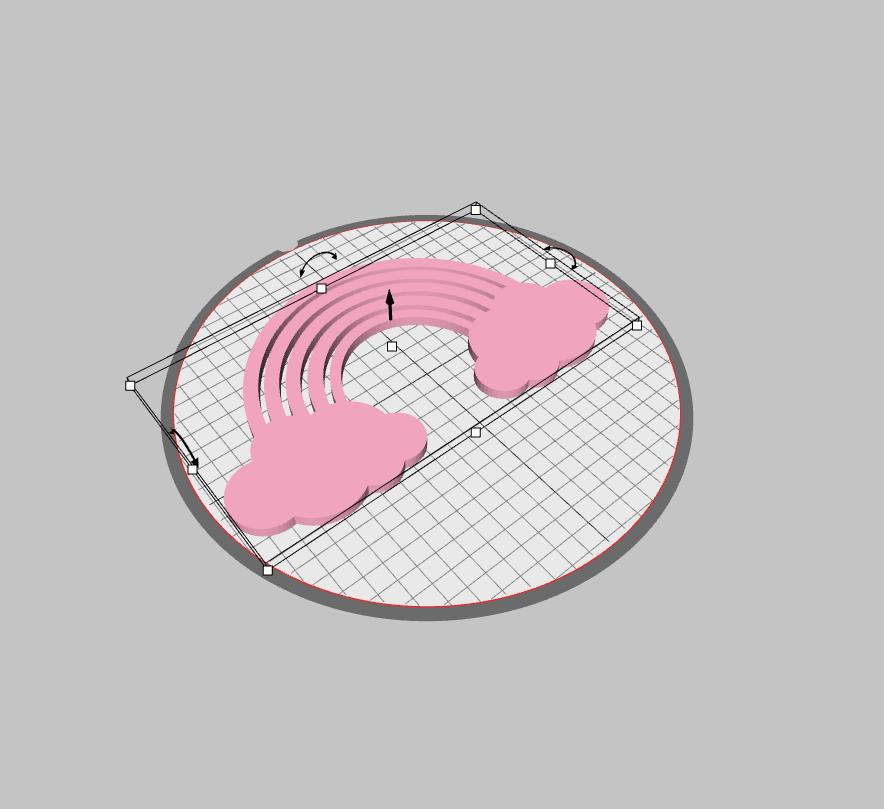
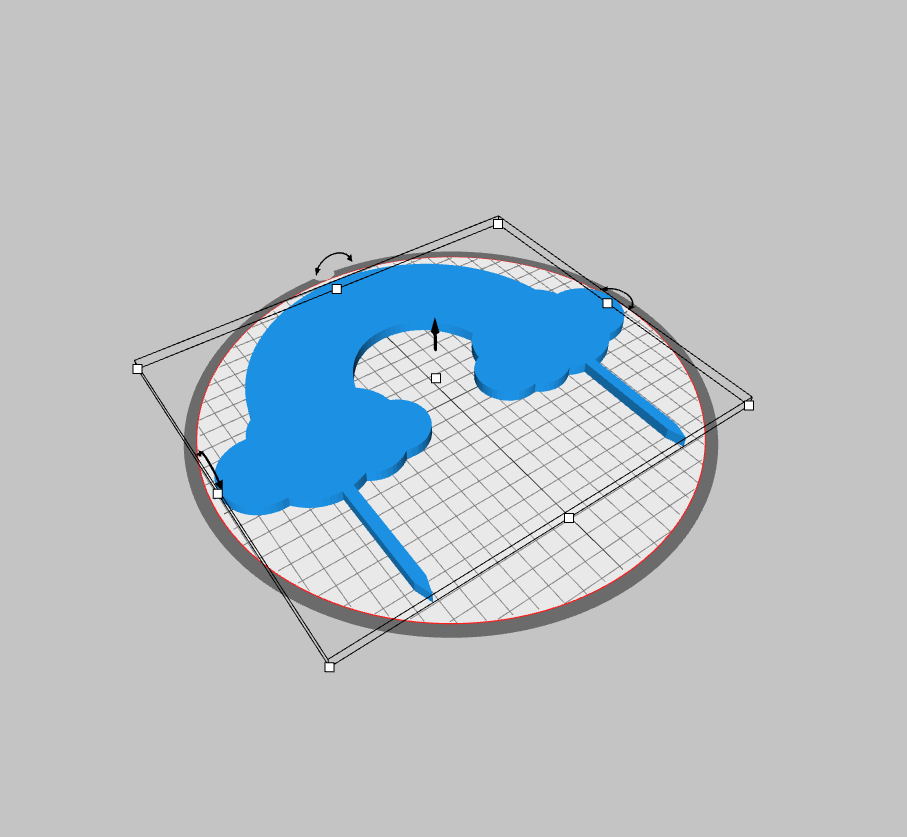
Save this file into your library, and open it up in Silhouette 3D, importing the image as extrusion. Change the height to 3 mm and then send to print! We used pearly white filament.
For the back of the rainbow, return to Silhouette Studio and your rainbow design. Select the design and create an “Offset” in the offset panel. Set the distance to .125 inches.
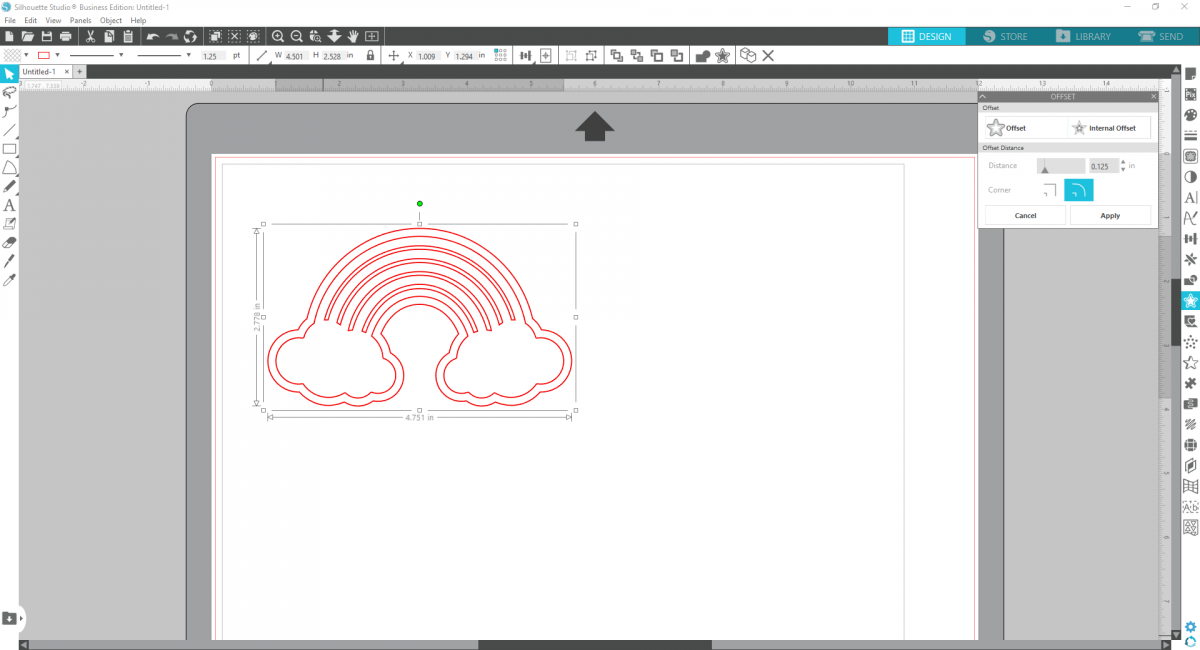
Delete the inner rainbow so you’re just left with the offset. Now create two narrow arrows using the flexishape tool. You can also just create narrow rectangles–anything to use to stick into the cake! Position them in the center of each cloud.
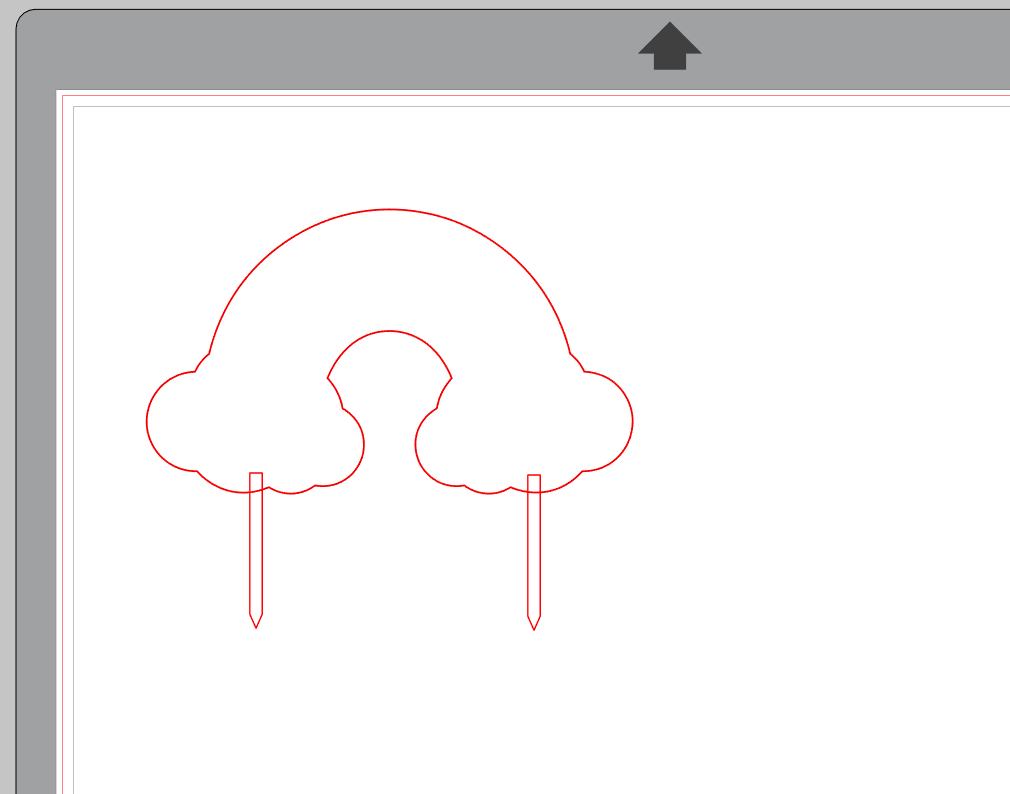
Weld the shapes together and save to your library in a new file.
Open the saved file in Silhouette 3D and import as extrusion. Set height as 3 mm. Send to your machine to print! We used light blue filament.
Step Two: Assembling the Rainbow
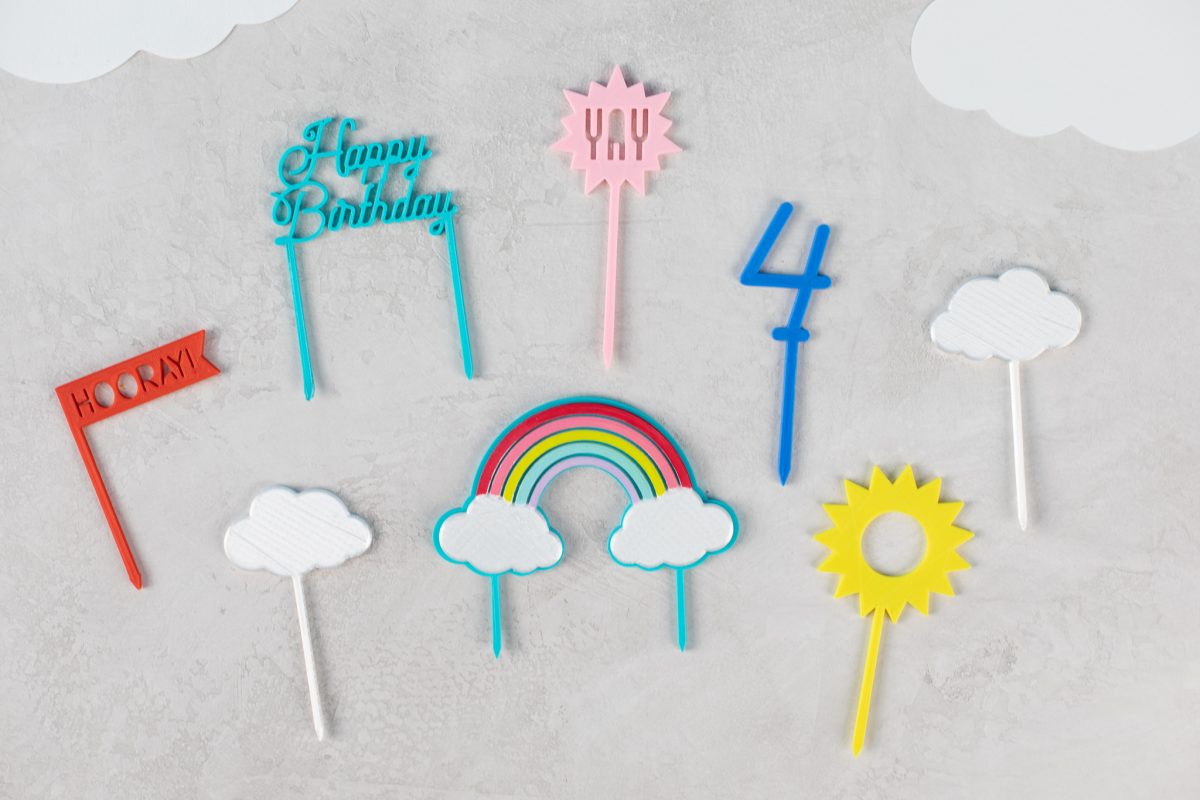
Once your two rainbow pieces have printed, you’re ready to paint the rainbow! Use five shades of acrylic paint to give some color to your rainbow! Then use super glue to glue the rainbow to the backing.

Add additional shapes and words to customize your cake even further! I used the flexishape tool and various fonts to create a variety of shapes and phrases, following the same steps I listed above.
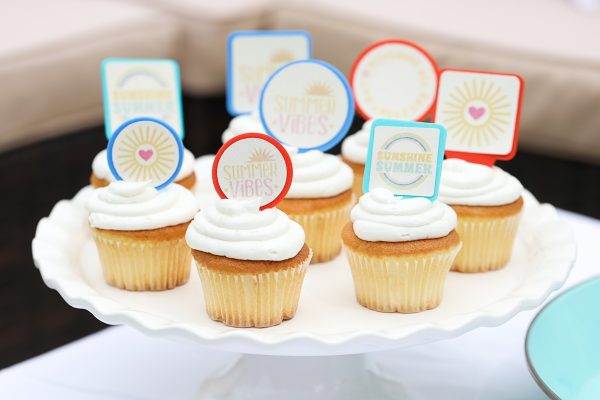 3D Printed Cupcake Topper Picks
 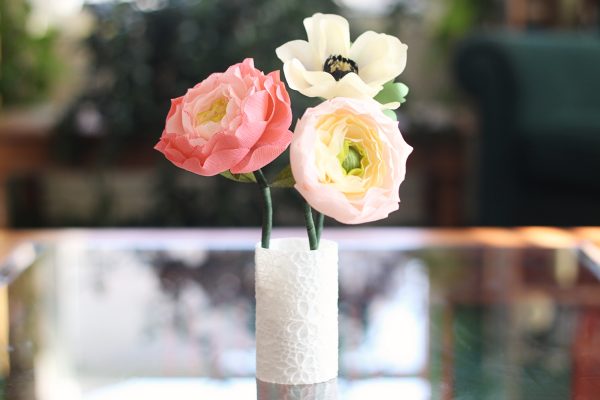 Create a Custom Vase with the Silhouette Alta® Plus