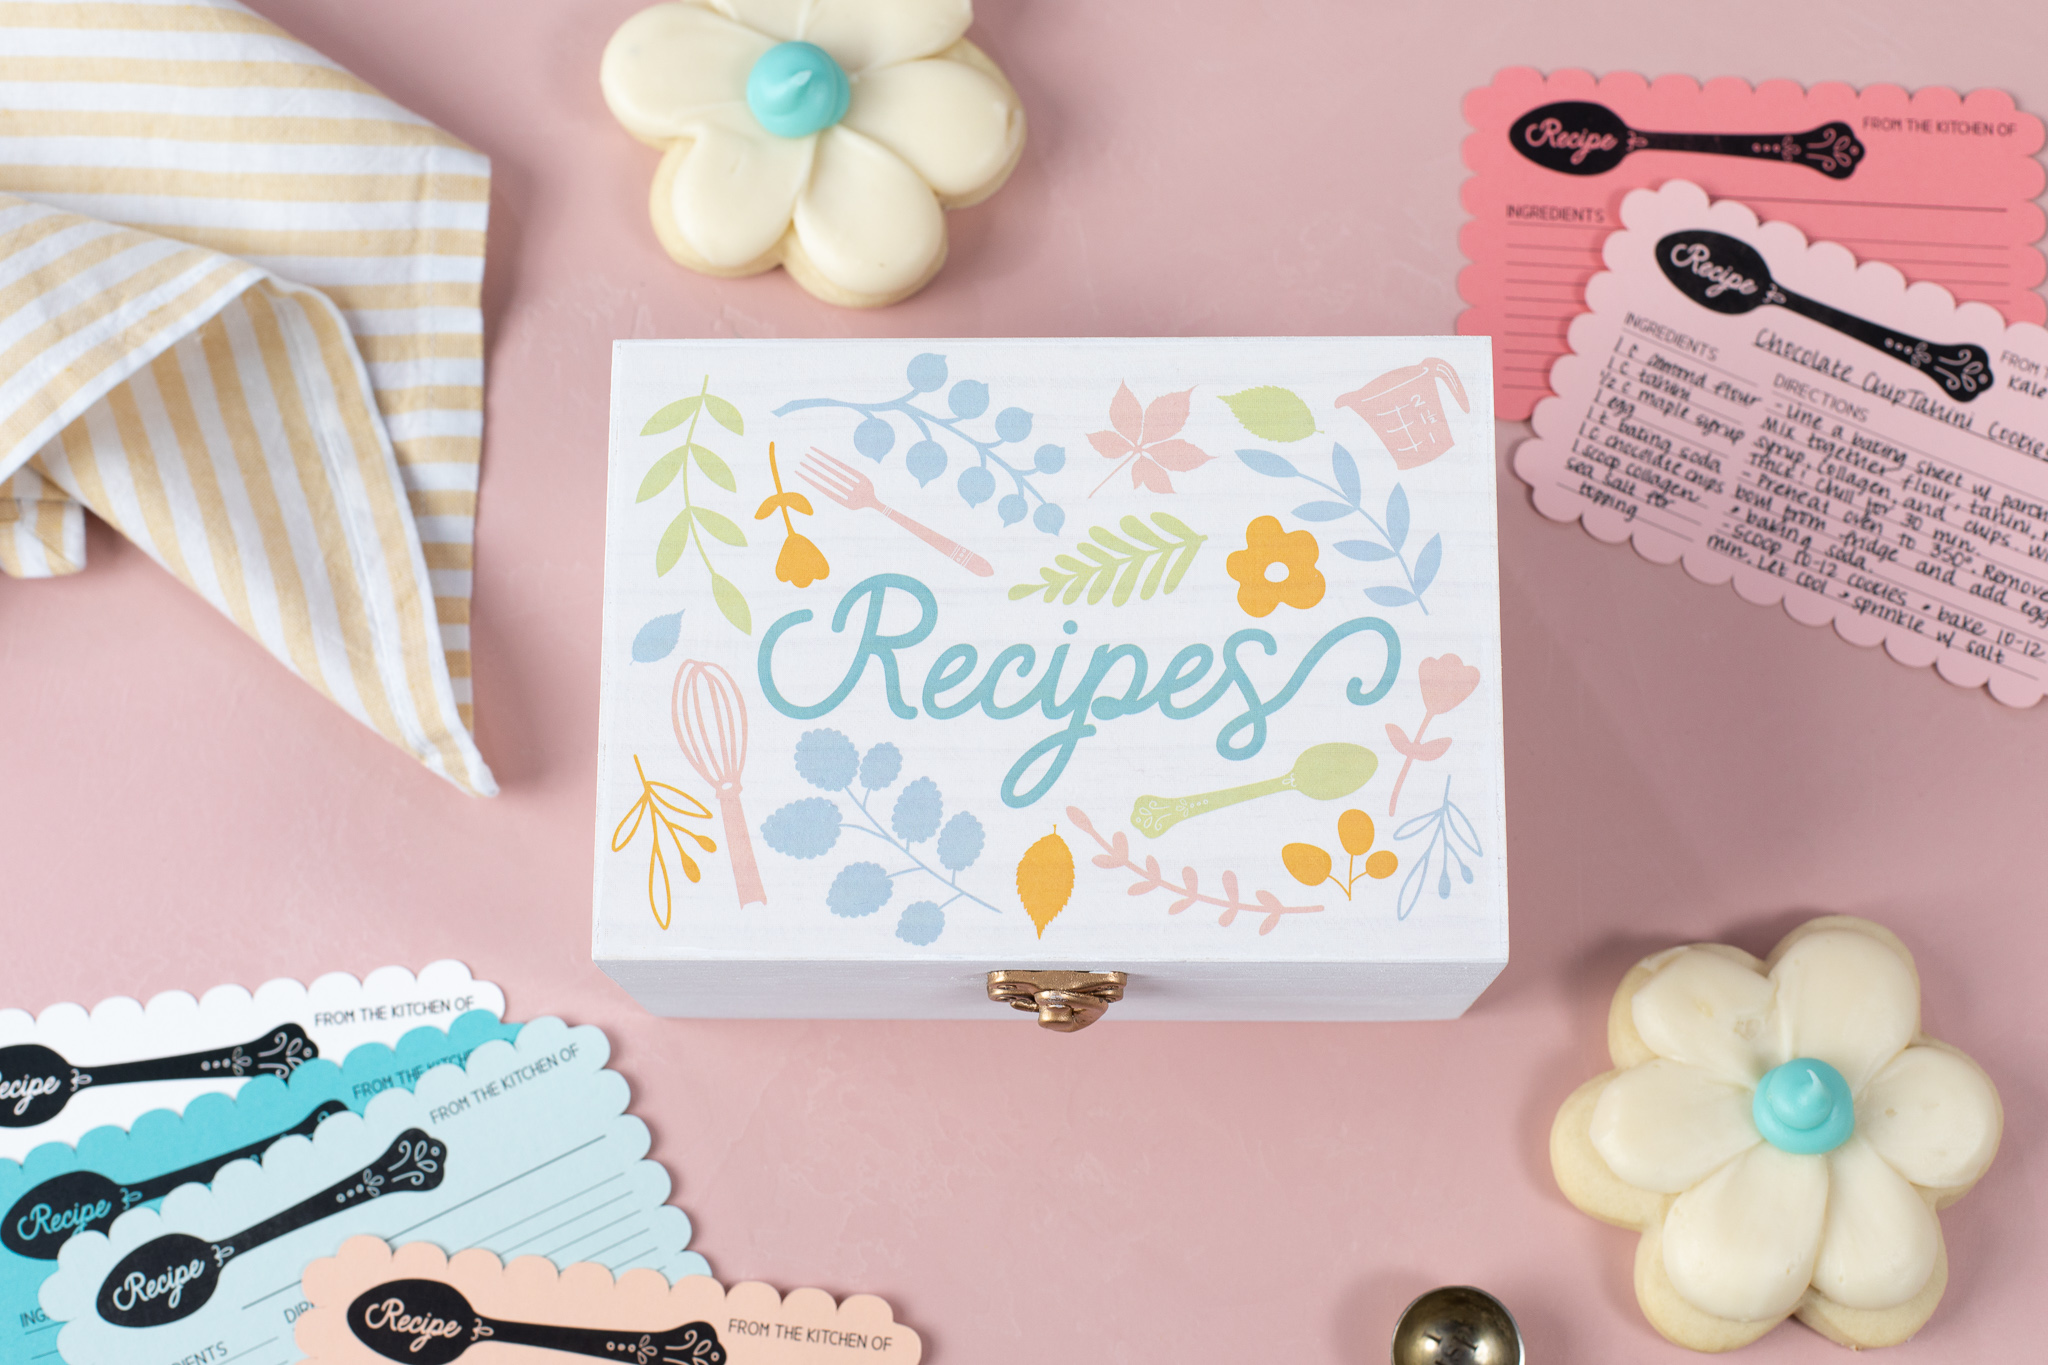
Do you hate using your phone to hold all your recipes? We’ve got a fun solution for you! Check out this tutorial about how you can make your own recipe box and cards.
Supplies Needed:
- Silhouette CAMEO® or Silhouette Portrait®
- Silhouette Studio®
- Silhouette Cutting Mat
- Silhouette Cutting Blade
- Silhouette Image Transfer Sheet
- Various colors of Cardstock
- Laser Printer (not an inkjet printer)
- Wood Recipe Box
- Sponge or rag
- Utensils Designs IDs: #218658 for the spoon and fork, #12336 for the measuring cup, #12335 for the whisk
- Foliage Designs IDs: #65479, #67899, #19185, #272514, #261563, #276579, #49018
- Font Design IDs: #297558, #252568
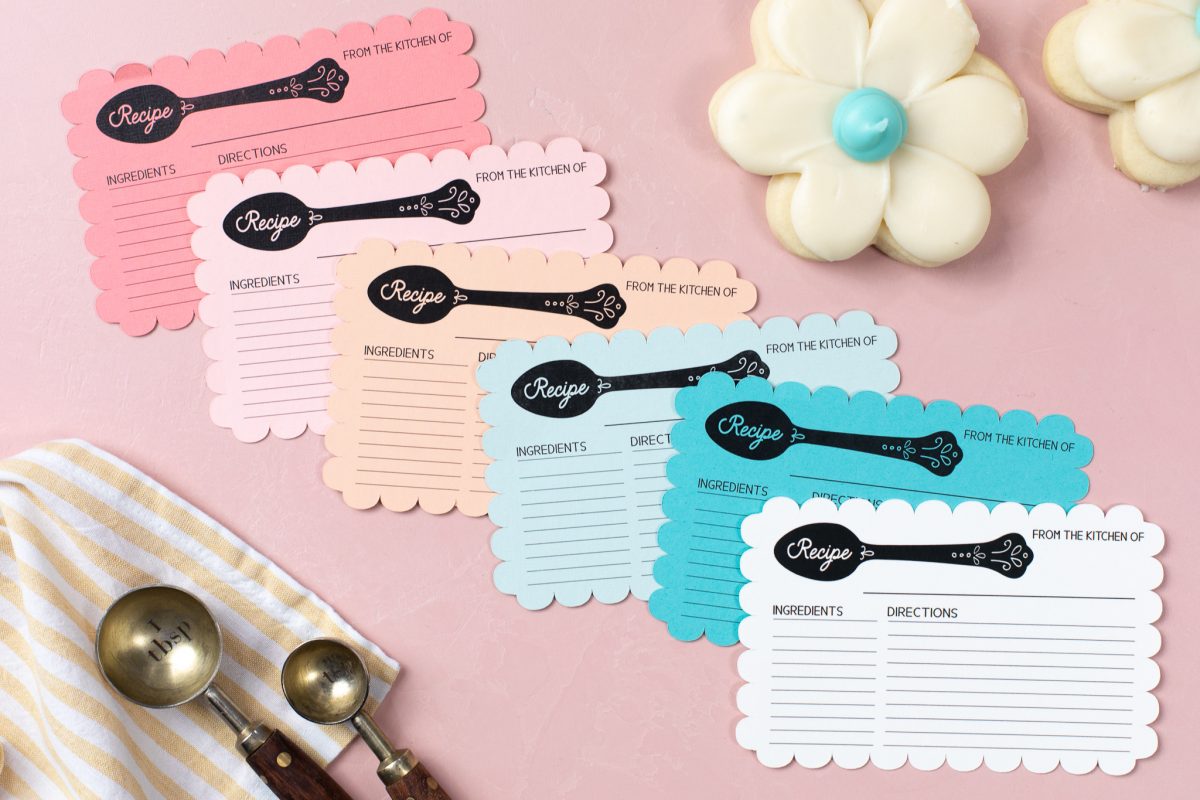
Step One: Formatting the Recipe Cards
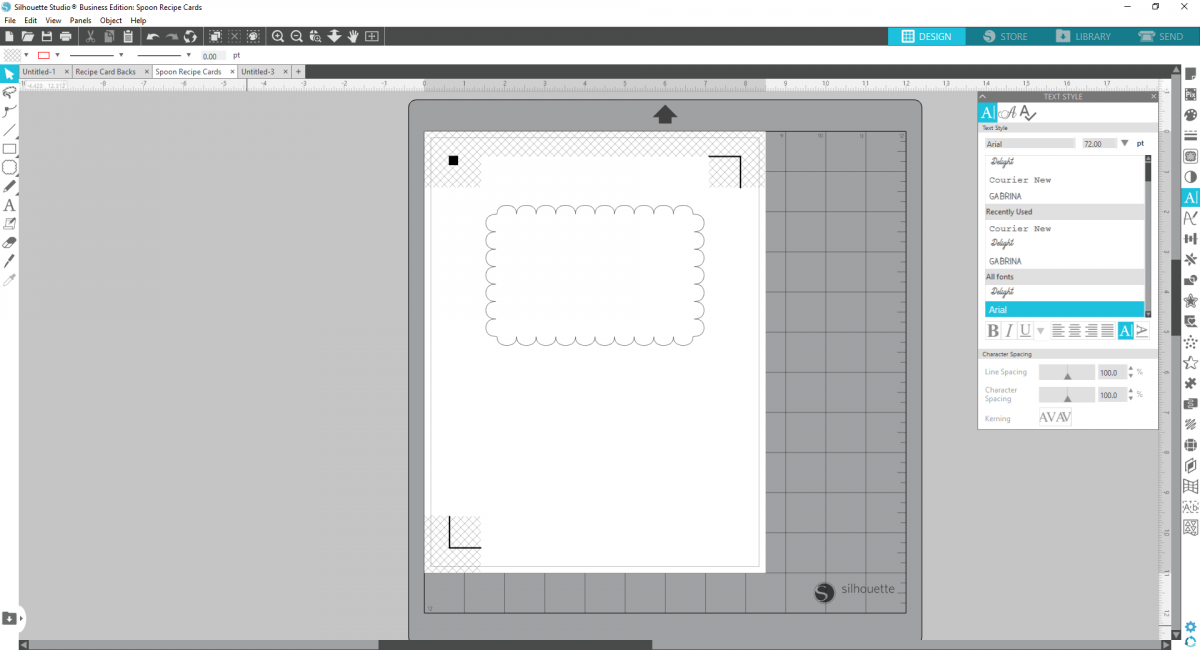
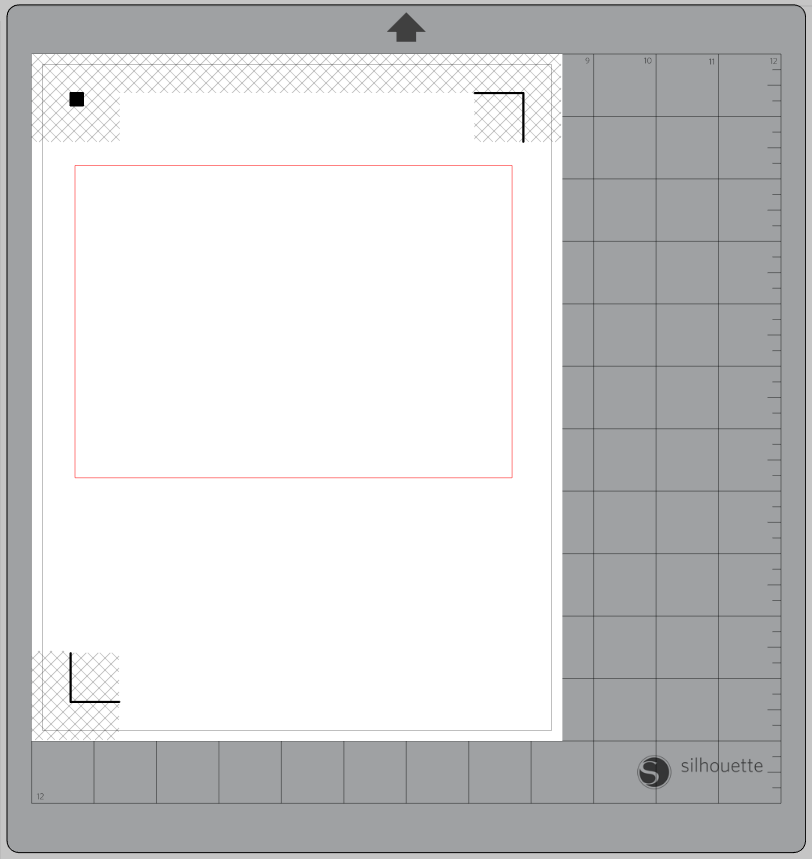
1. Using the Flexishape tool (available in Silhouette Studio® Designer Edition Plus and higher), create a scalloped rectangle with dimensions 3.5 by 5.5 inches. You can also try searching “scalloped rectangle” in the Silhouette Design Store.
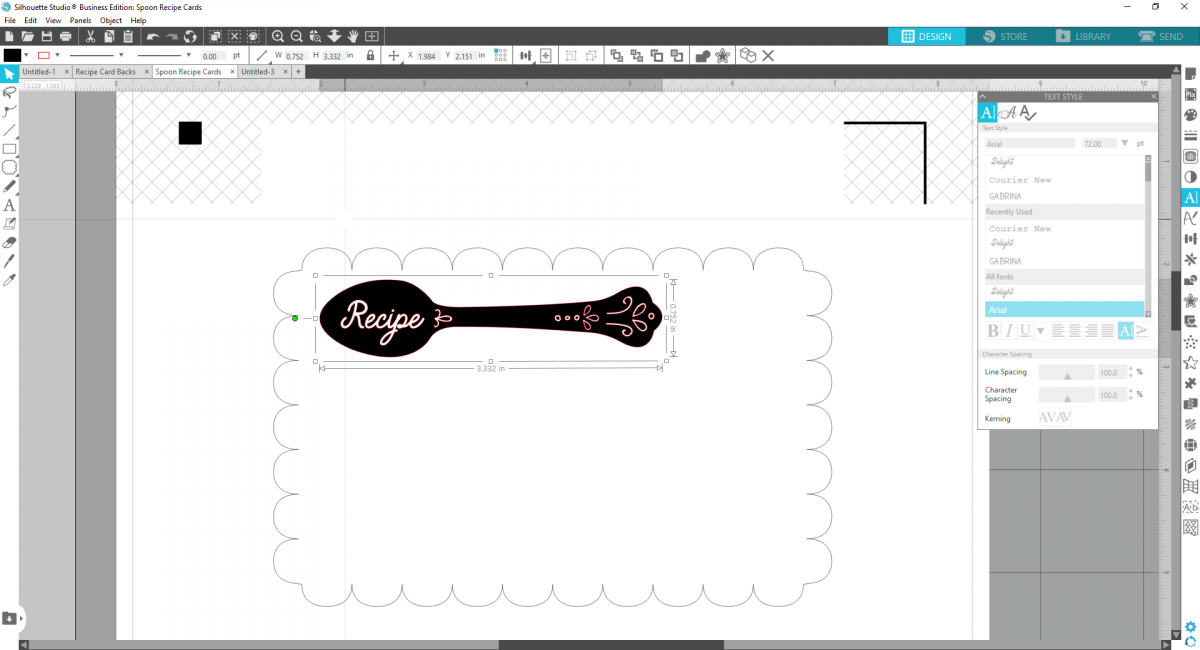
2. Insert the spoon design file (Design ID #218658), ungroup it, and delete the fork. Change the dimensions of the spoon to be 3.3 inches long. Fill the spoon with black and place it in the upper left-hand corner of the card.

3. Open a text box and type “Recipe” for your text. Change the font to Delight (Design ID #297558) and weld the design. Then group it by right-clicking on it and selecting Group from the drop-down menu. Size the word so it fits within the spoon and then select the spoon and the word, right-click, and select “Make Compound Path.” This action will make it so the word “Recipe” will not be filled in.
4. Using the Line tool, create one 3.5 inch long line under the spoon where you can write the name of your recipe. Then create two sections of 10 lines—one section for ingredients (1.33 inches long) and one section for directions (3.15 inches long).
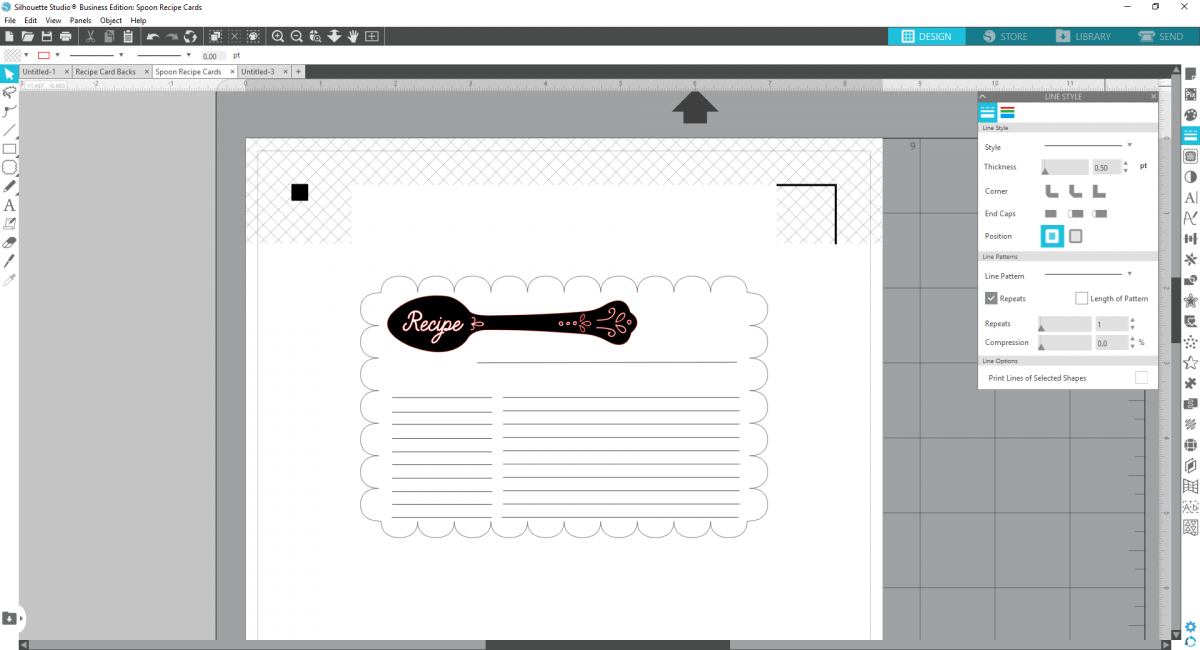
5. Then add headings to your card by using the Text tool to type “Ingredients,” “Directions,” and “From the Kitchen of.” We used the Gabrina font (Design ID #252568) for these headings. Select your the spoon design and remove the red lines by changing the line color to blank. Now duplicate the design to fit two cards on the page.
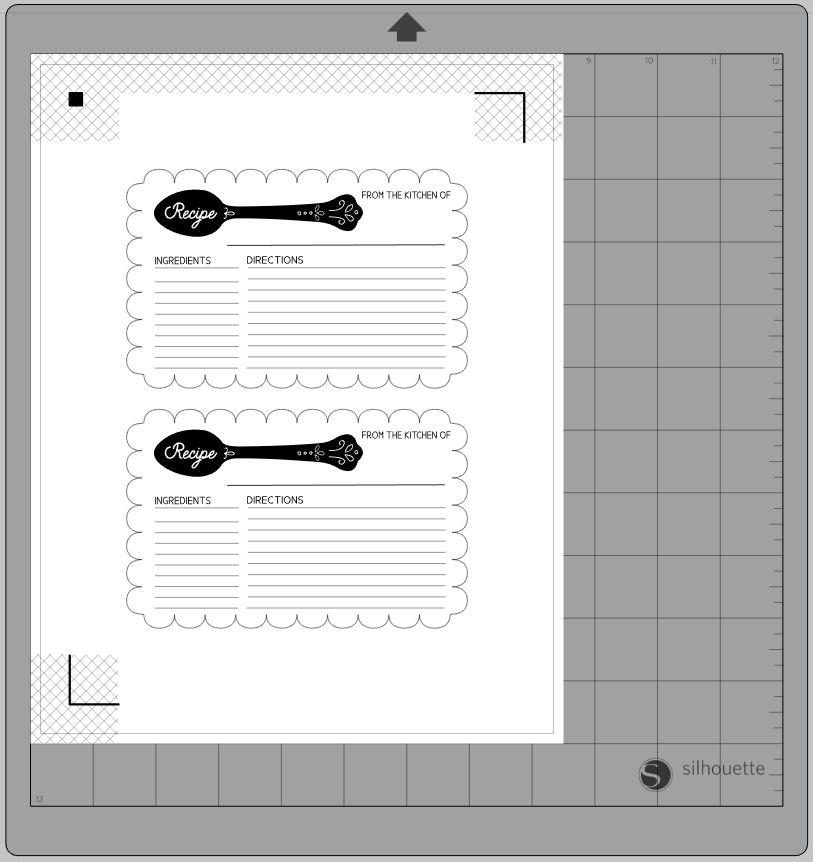
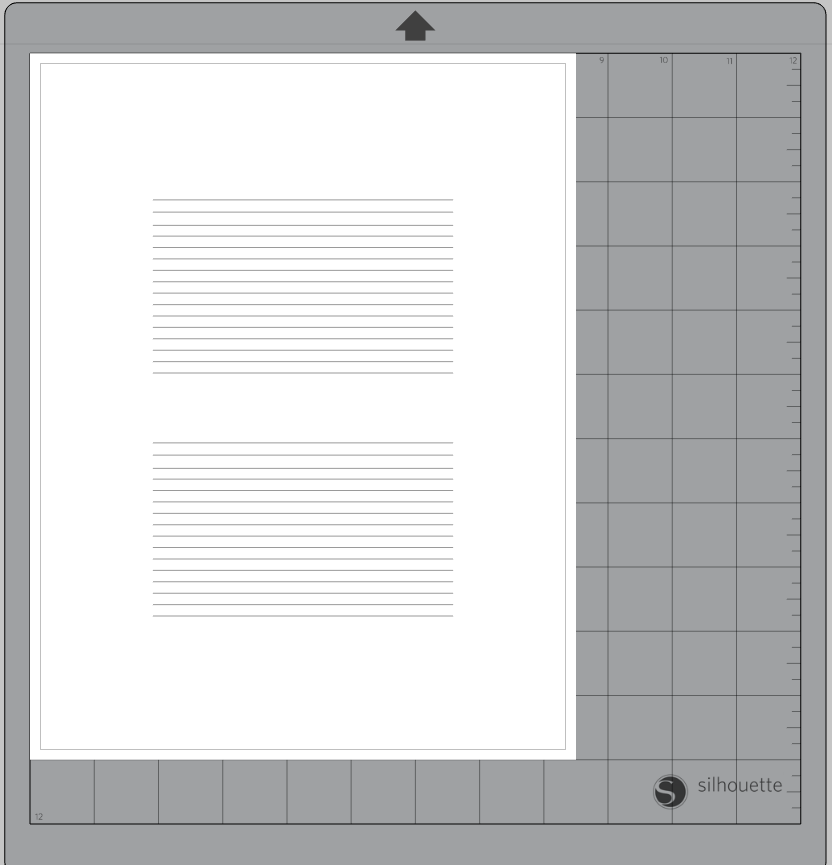
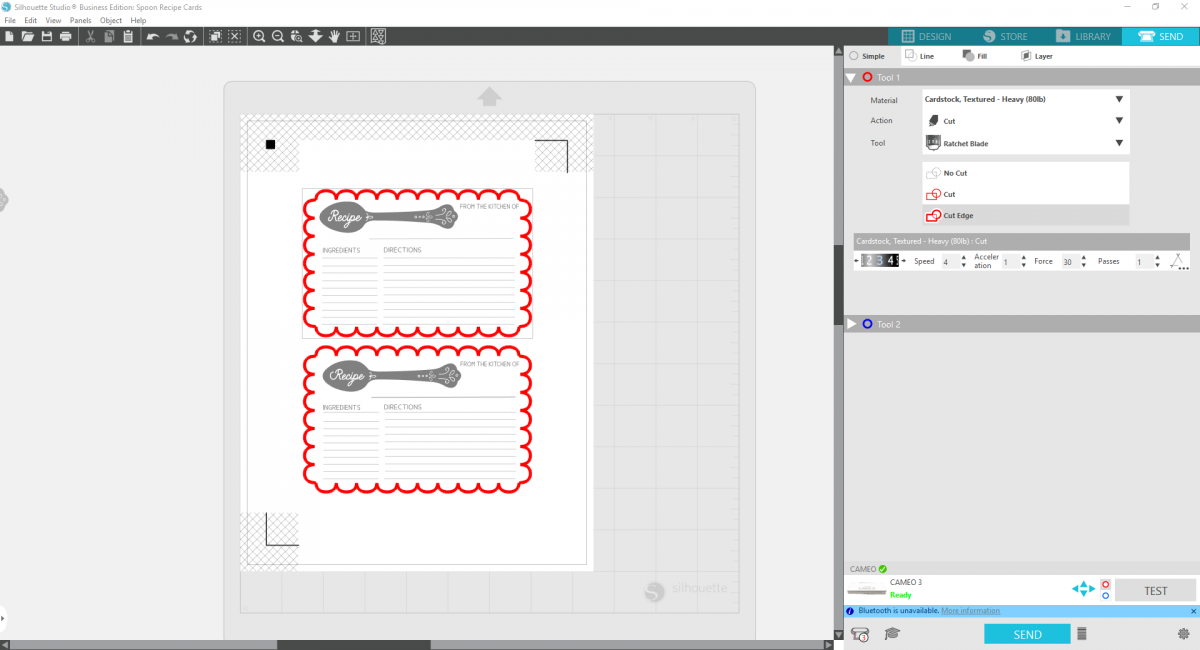
6. Make sure your registration marks are turned on, and before you send the design to the printer, change your scallop edge to white. This way, the scallop will only appear when you cut your cards. If you’d like, you can make your recipe cards double-sided by printing lines on the back of the paper. Just make sure for both the front and the back of the design you select the entire design and click “Center to Page” so the designs will be aligned on the front and back.
7. Once your designs are printed, cut out the cards using your Silhouette cutting machine, making sure to select “Cut Edge” in the send panel to avoid cutting any of the details within the card.
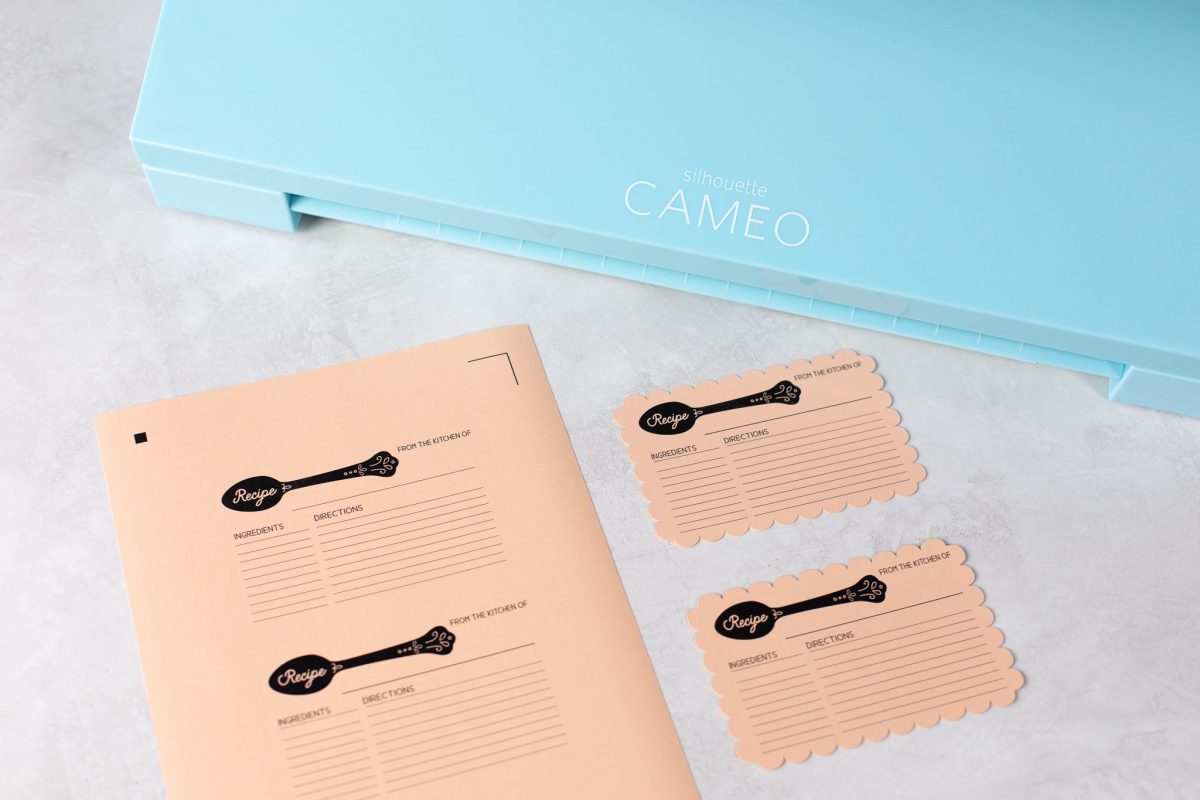
8. Print & Cut out your cards in various colors if desired.
Step Two: Formatting the Recipe Box
1. Turn registration marks on and start by drawing a rectangle with the same dimensions as the top of your recipe box. Mine measures 5 by 7 inches.
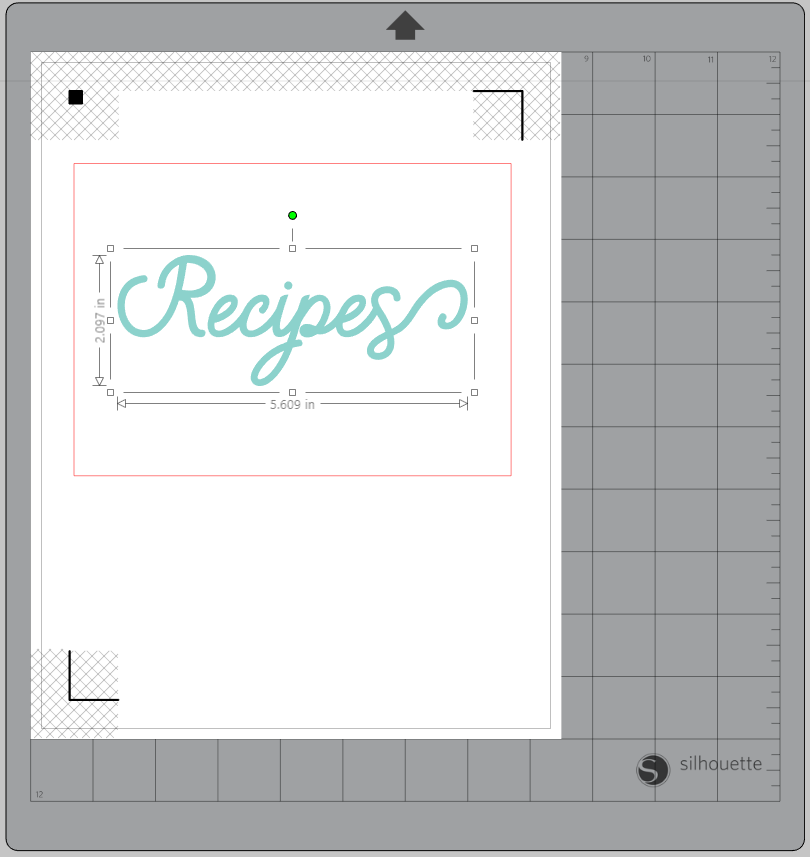
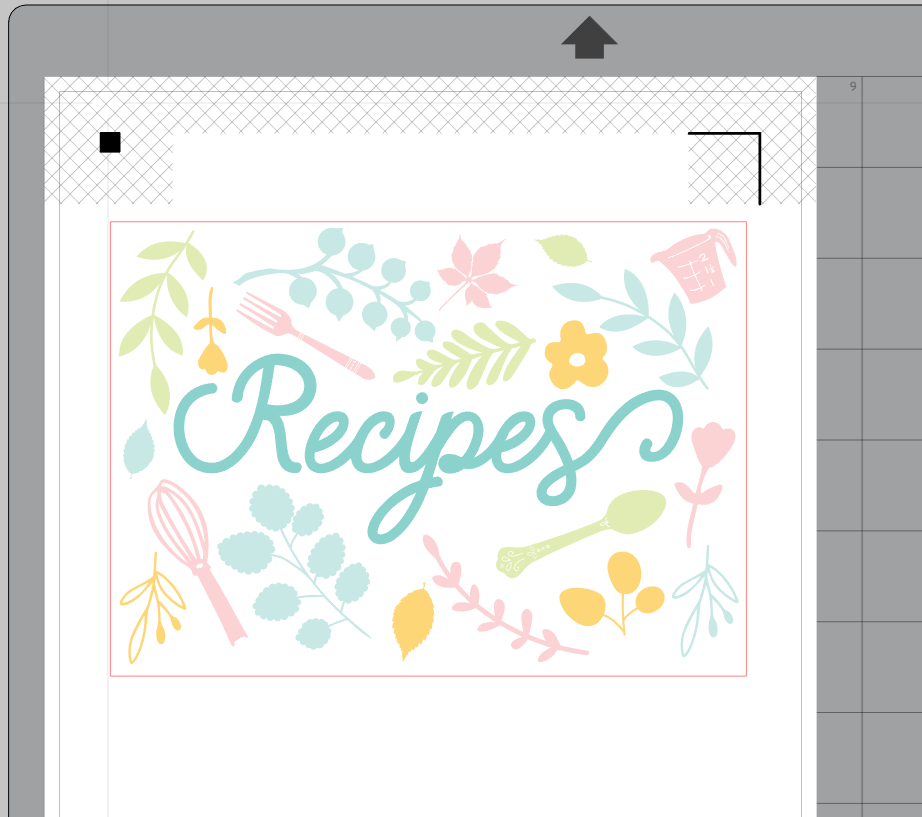
2. Then use the Text tool to write “Recipes” in the Delight font. Use the Glyph options to add flourishes to the “R” and the “S.”
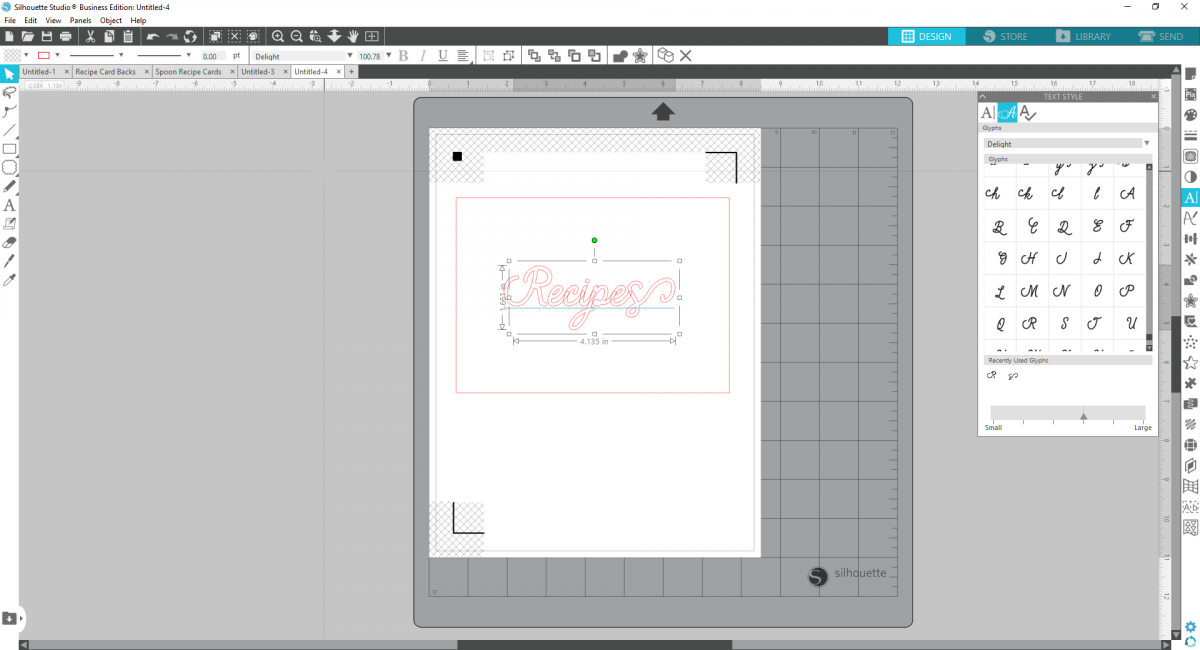
3. Increase the size of the word to 5.287 inches long, center it to your rectangle, and weld and group the word together. Change the fill color to blue and get rid of the line color.
4. Now add in your other design files and arrange around the “Recipes” word. Fill the designs with various pastel colors and turn off the line colors.
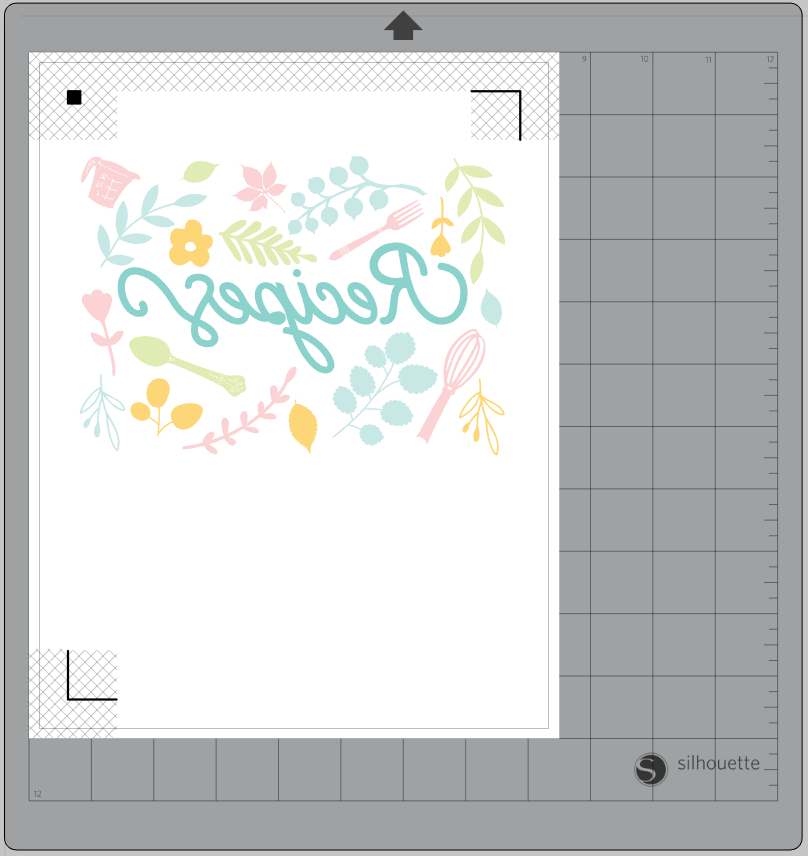
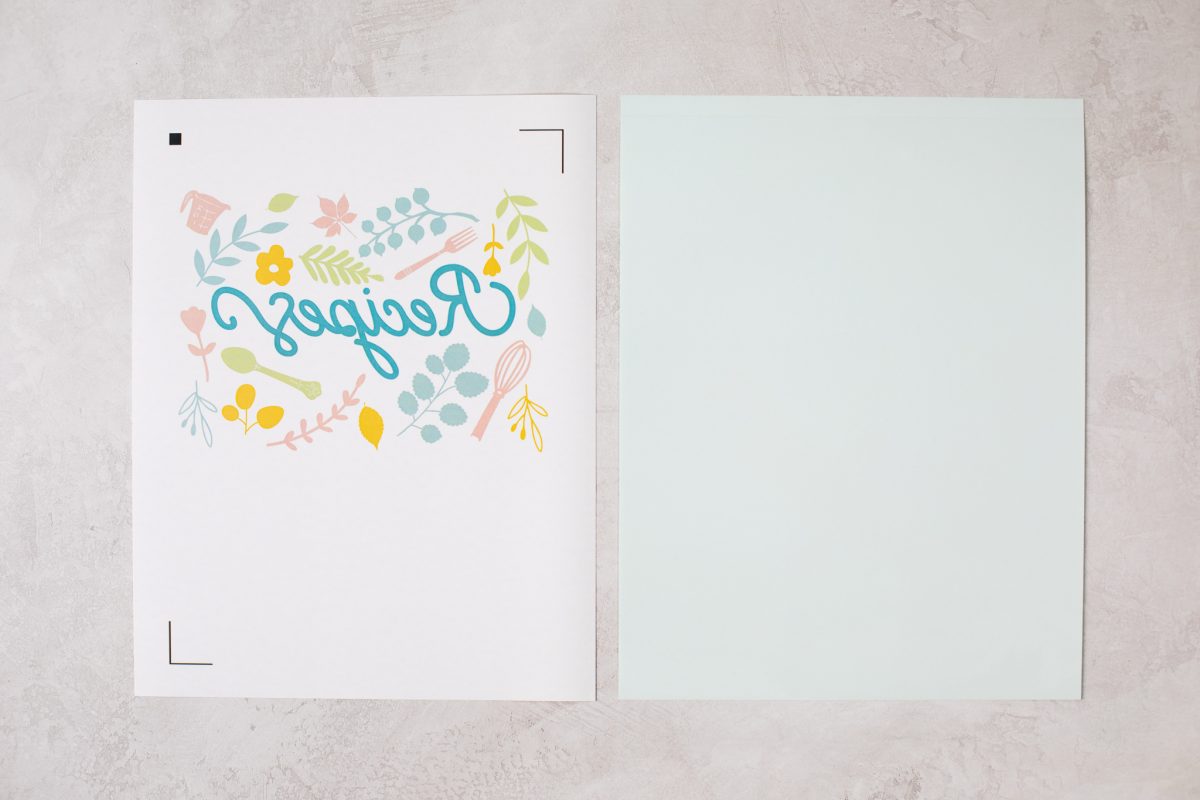
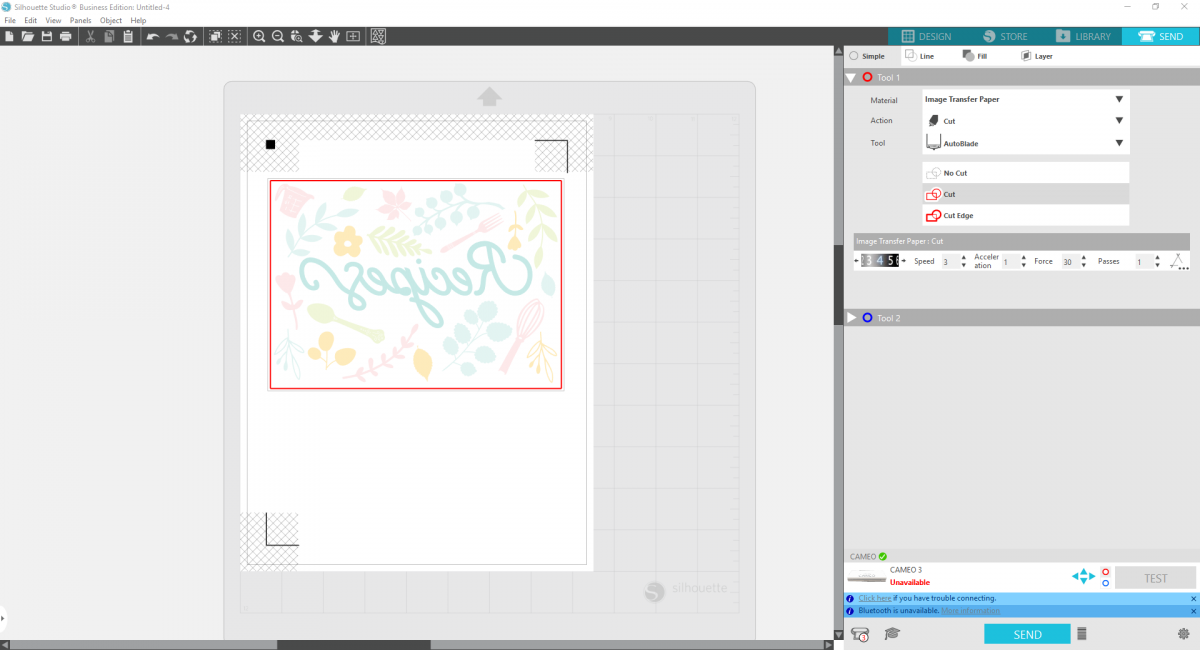
5. Select your entire design and flip it horizontally to mirror the image. Turn off the line color for the rectangle and print your image on the white side of the Image Transfer Sheet using a Laser Printer. (Ink from an inkjet printer will not absorb into the Image transfer sheet correctly.)
6. Once printed, apply the green adhesive sheet to the image.
7. Then load your paper into your cutting machine and change your settings to Image Transfer Paper and cut only the rectangle around your image.
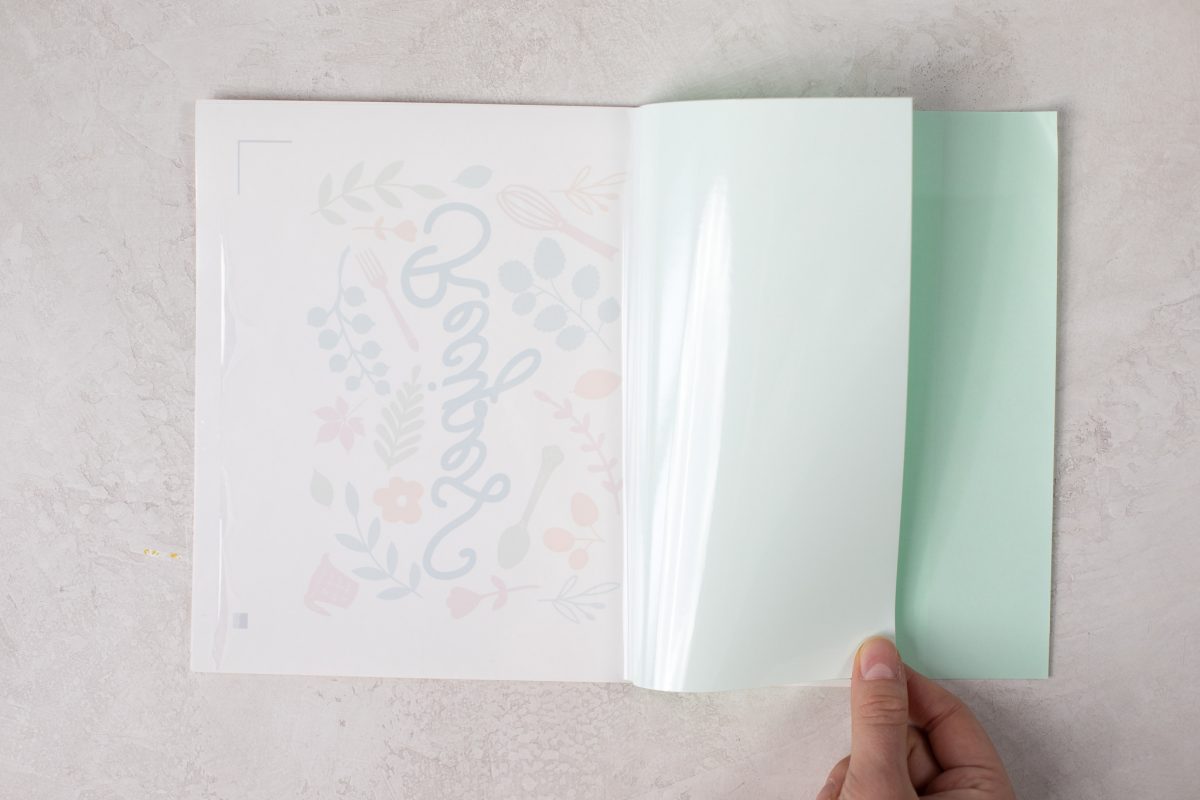
8. Once the cutting process is completed, peel away the clear plastic layer exposing the adhesive.
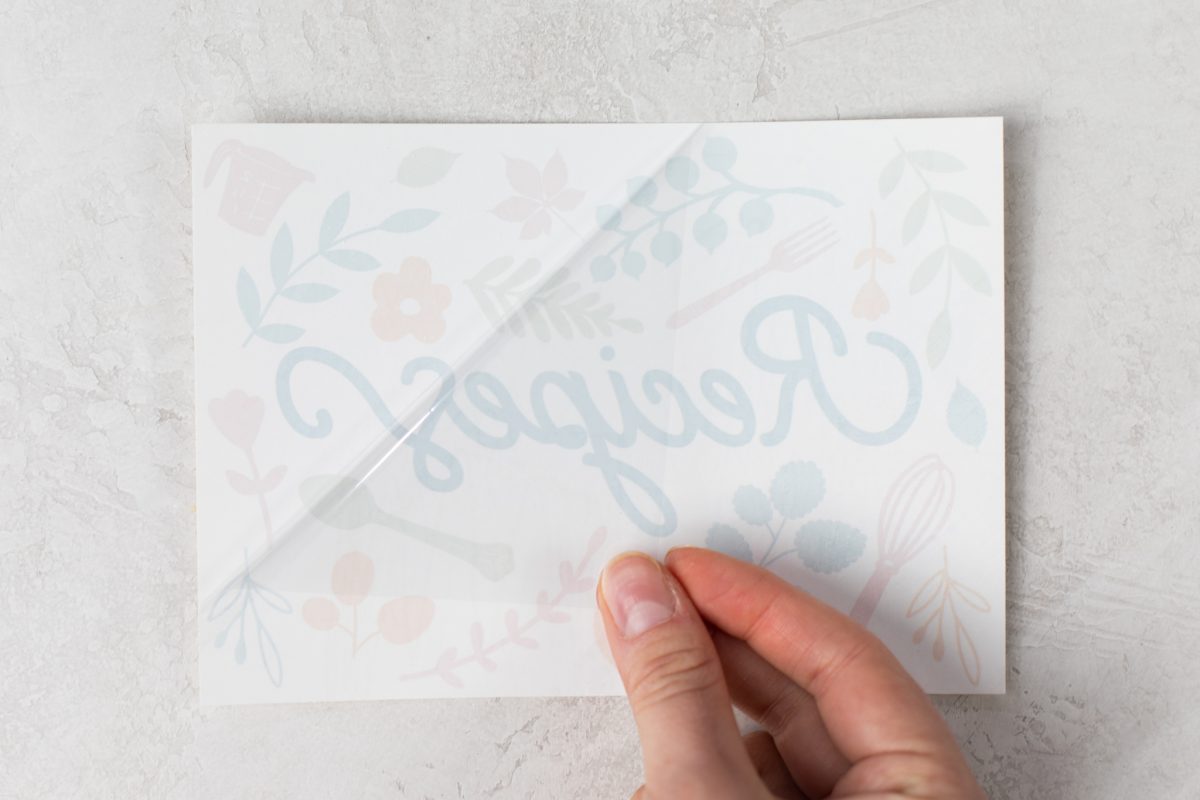
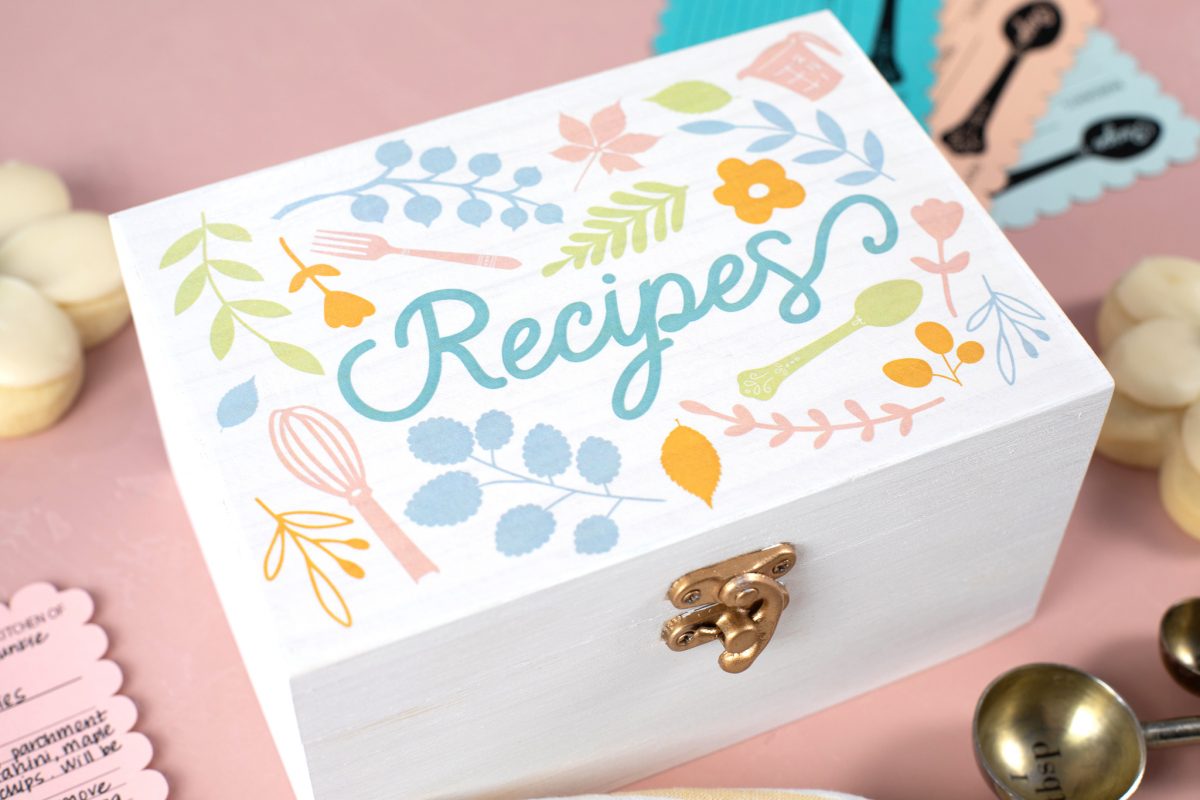
9. Apply the sheet, printed side down, to the top of your recipe box. Using a wet sponge, wet the surface generously! You should be able to see your image peeking through. Wait at least 10 seconds for the design to completely transfer.

10. Remove the baking sheet and expose your image!
 Free Class - Shaker Card with the ES Mat
  Free Class - Foiled Gift Tags with the Heat Pen
Nasze Naturalne
September 3, 2025
Your authentic voice really shines through in everything you create and share
Naszenaturalne
September 2, 2025
Really love your style
Kelly Wayment
June 28, 2024
You can use it with vinyl as long as it is smooth and flat to allow the static charge to hold on to it. Rolled vinyl that wants to go back to its rolled shape will not necessarily work well, and it would need to be trimmed to fit the ES mat cutting area.
Kelly Wayment
June 28, 2024
Yes, you can use the heat pen while using the ES mat. 🙂
Yurii
March 2, 2024
Hello. May it be used with heat pen?
Thanks
Jerome
February 24, 2024
Hi, works this with the normal vinyl foils or only with printer papter etc?