Here at Silhouette, we love bringing you fresh and unique ideas on how you can use your cutting machine. And for this week’s blog post, we went a little outside the box! We’ll be using the Silhouette Tattoo Paper to add cute patterns to some white press-on nails.
Retro nail art is so trendy, but it can also come with a hefty price tag. This simple manicure was cost effective and easy to make at home. The best part of this project is that it gives you full control of what you want your nails to look like, regardless of whether you’re good at nail art. Let’s get started!
Supply List:
- Silhouette Portrait 3
- Silhouette Temporary Tattoo Paper – White
- Silhouette Studio® Basic Edition
- Blank press-on nails
- Washcloth
- Design ID #47334 by Karla Noel
Step One: Create File in Silhouette Studio®
Begin by opening Silhouette Studio. Make sure that your page setup reflects the correct machine and size of media that you are using. This is what our settings look like, but you can create this project using a Cameo or a different cutting mat size.
- Machine: Portrait
- Cutting Mat: Portrait
- Media Size: Letter
While you’re in the Page Setup Panel, you’ll also want to turn on registration marks. These guides will allow your machine to line itself up with your page and cut out your designs accurately. Simply go to the third tab and toggle the “On” button.
Begin by creating a rectangle with the Flexishape tool. While you don’t need this shape to be the exact size of your nails, you’ll want to make sure that it is slightly bigger than your press-on nails. This will make it easier to apply the designs with the tattoo paper. We made our rectangle 0.5 x 0.75 in., but make sure that this size matches the nails you’re using.
Next, we need to duplicate this rectangle so we have enough to create an entire set of nails. You can do this in one of two ways. Either right-click your rectangle and click “Duplicate,” or simply select the rectangle, hold Ctrl or Cmd, and use the arrow keys to add a duplicate to the side of your rectangle. You’ll need to create ten rectangles for one set of nails. Finally, make sure that you have a little bit of space between each shape. We were able to fit eight sets of ten onto one sheet of tattoo paper!
Now we’re ready to add our designs to the page! Double-click the design you want to use in your library, and it will open in your document. The Retro Florals Lace Paper design by Karla Noel is the main design we’re using for this manicure. However, you can use whatever designs you’d like or even fill the rectangles with solid colors if you want your manicure to be a little more basic!
Select your design and use the Scale tool in the Quick Access Toolbar at the top of the screen to resize it. We typically like to click the lock icon so the design’s aspect ratio stays the same, but for these organic, retro daisies, we decided that it’s okay if they become a little distorted. Make the design the same size as the rectangles, duplicate it, and place the daisies on top of the rectangles.
The last step is to recolor your designs using the Fill Panel. This panel looks like an artist’s palette on the right side of the screen. Choose whatever color you’d like for your daisies, or select the rectangle itself and fill it in with a different color if you don’t want the base of your nails to be white. You can also use the Fill Panel to create these fun ombre effects or add printable patterns you may already have from the Silhouette Design Store. If you’re adding any text to your nails, make sure to mirror the images now, because the tattoo paper will flip your designs when you apply them to the nails. Check out all of the different sets we created below, and get inspired to create your own fun designs and combinations!
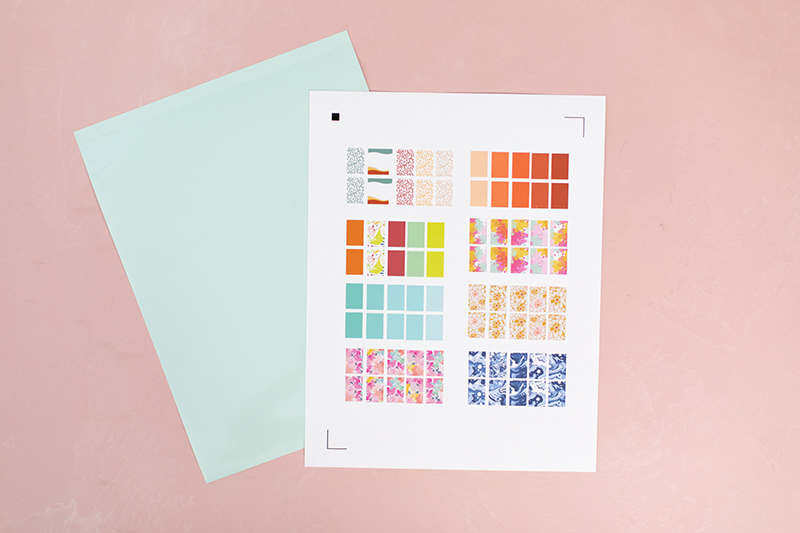
When you’re happy with all of your nail designs, you’re ready to print out your document. Once the page has finished printing, allow the designs to dry completely. This is important! If you smear the registration marks, the machine won’t know where to cut.
Step Two: Place Adhesive Sheet on Page
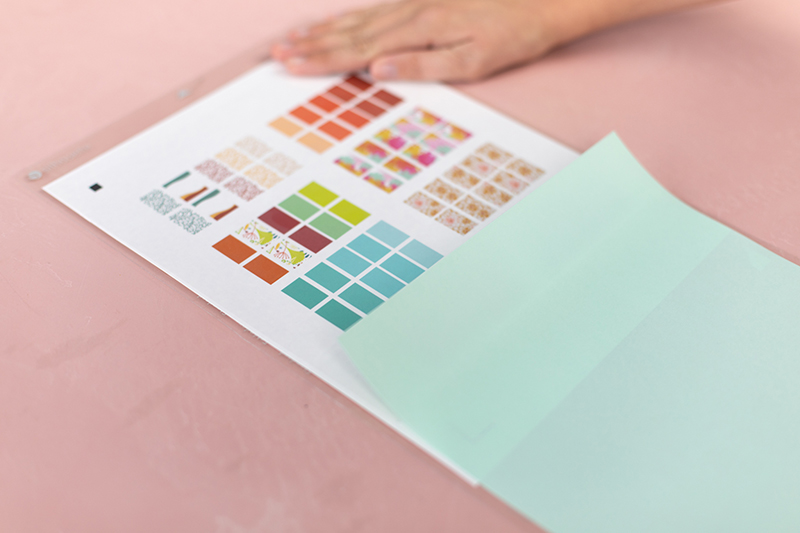
Before we cut out our decals, we need to apply the adhesive sheet to our page. This is how we’ll be able to transfer the images from the paper we printed out and add them to our nails.
Take the backed material that came with your tattoo paper. Peel off the small top portion and carefully align it with the top of your page. Remove the rest of the backing as you slowly pull the material down and lay it flat against the paper. Use a scraper tool to smooth out any bubbles that might form as you go.
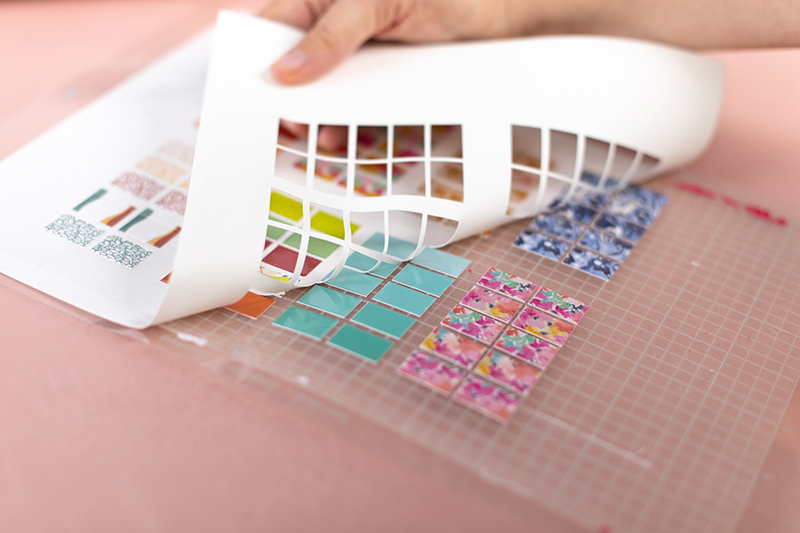
Step Three: Cut Out Designs
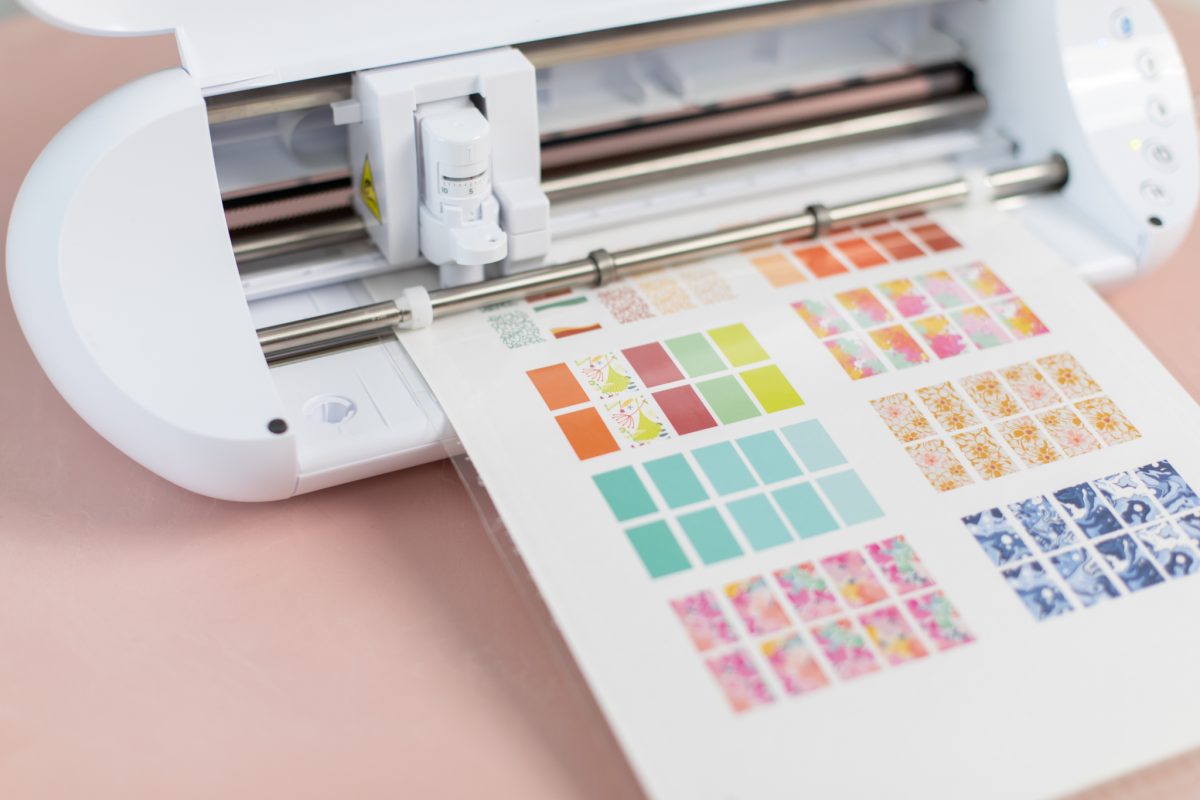
It’s time to cut out our nail decals! This part of the project is very simple because your Silhouette machine does all of the work! Place your tattoo paper onto your cutting mat with the square registration mark in the top-left corner, and load the mat into the machine. In the Send panel, select “Temporary Tattoo Paper, Printable” as your material. We used the default cut settings that Silhouette Studio recommended, and it worked really well!
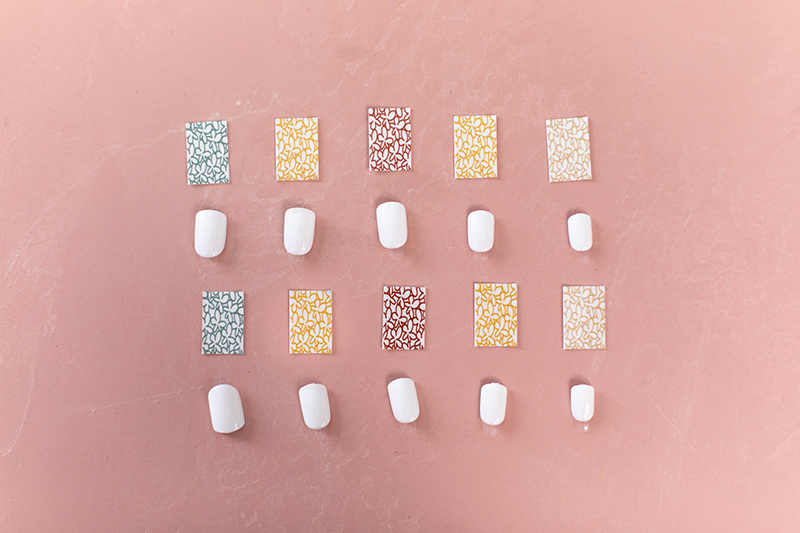
When you’re happy with your cut settings, click Send at the bottom of the panel. The AutoBlade will adjust itself, and the tool carriage will scan your page for the registration marks before it begins cutting. After your machine is finished cutting out the rectangles, unload the mat and peel off the excess material. Your rectangles should stay in place. Peel them off individually and separate the different sets into their own containers so you don’t lose them!
Step Four: Transfer Designs to Nails
This part of the process is so fun! Applying the designs works in the same way as using normal temporary tattoos, but applying them to our press-on nails is such a unique way of using temporary tattoo paper.
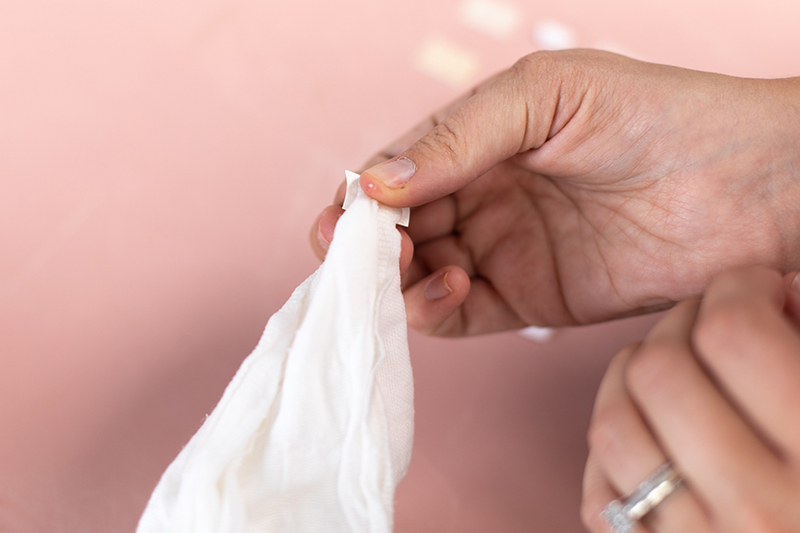
Peel the protective plastic layer off of the design and place the paper facedown on top of the nail. Use a damp cloth to get the paper wet. Hold the paper in place for ten seconds before lifting the washcloth. Carefully peel back the paper, and the design will stick to the nail. If you begin peeling the paper and the design is still sticky, let the decal dry slightly before trying again. The paper should slide right off!
Step Five: Adhering the Nails
This step will vary slightly depending on the type of nails that you purchased. Follow the package directions to adhere the false nails to your own fingernails. We used press-on nails, so we peeled the plastic backing off the back of each nail and pressed it onto each finger for ten seconds each. Peel the plastic backing off each nail and press it down on each finger for 10 seconds each.
We loved how this manicure turned out! It’s such an easy way to create unique, fun nail art by using the temporary tattoo paper in a new, out-of-the-box way. Check out the blog every week for more fantastic projects! Tag us in your manicures or find more project inspiration on our social media pages. See you next week!

 Everything to Know About the Electrostatic Mat
  Design Store - Over 300,000 Designs to Bring Your Creative Vision to Life