I’m sure most of you have seen these beautiful paper flowers all over the internet (especially Instagram) and have wondered how to make them! I know I was and when I finally found out how easy they were to make, I kind of got addicted and couldn’t stop making them! Keep reading below to find out how you can make these in a few minutes!
Supplies Needed:
- Silhouette CAMEO®, Silhouette Portrait®, or Silhouette Curio™
- Cardstock in your color choice
- Hot glue gun
- Tweezers
- Design ID #225639

Step One: Download, Open, and Resize Designs
1. Go to the Silhouette Design Store and purchase Design ID #225639. There are many similar rolled rose designs, but for this project, we will be using this specific design. If you’d like to make rolled roses with a different petal shape, feel free to download a design to your liking and apply the same steps in this tutorial!
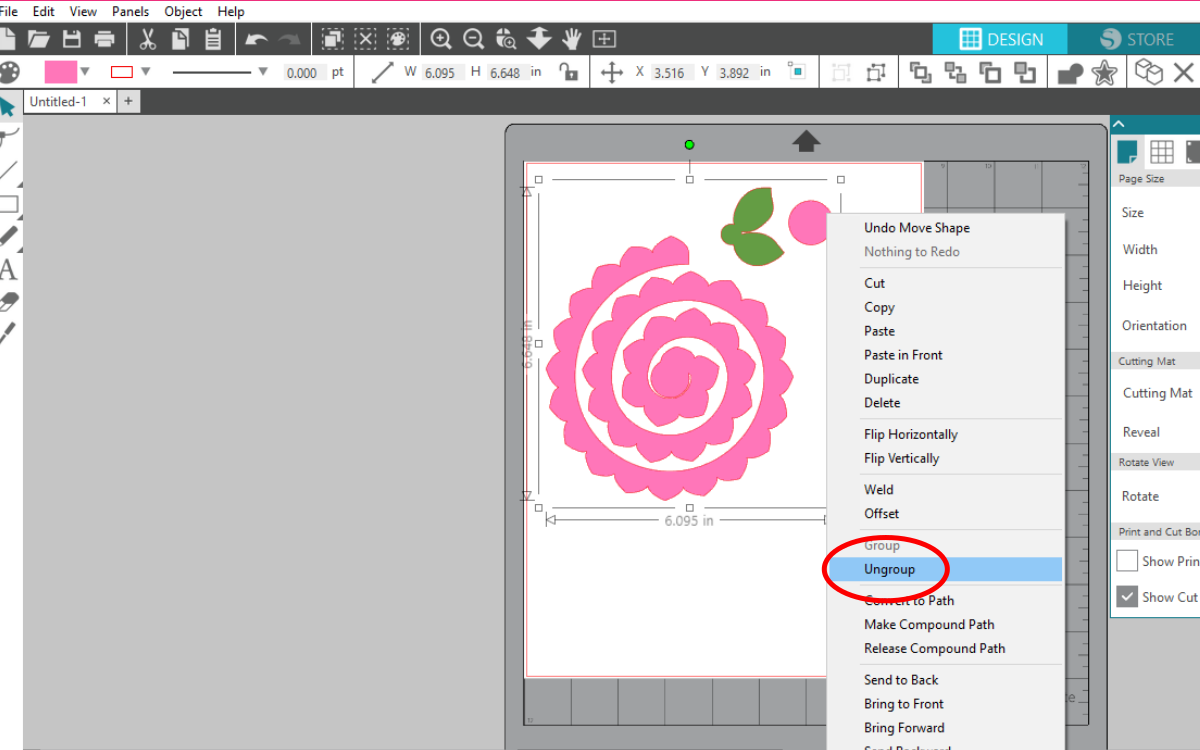
2. Open the designs from your Silhouette Studio® library in a new tab and ungroup them (right-click > Ungroup). We won’t be needing the leaf or circle, so go ahead and delete those from the page.
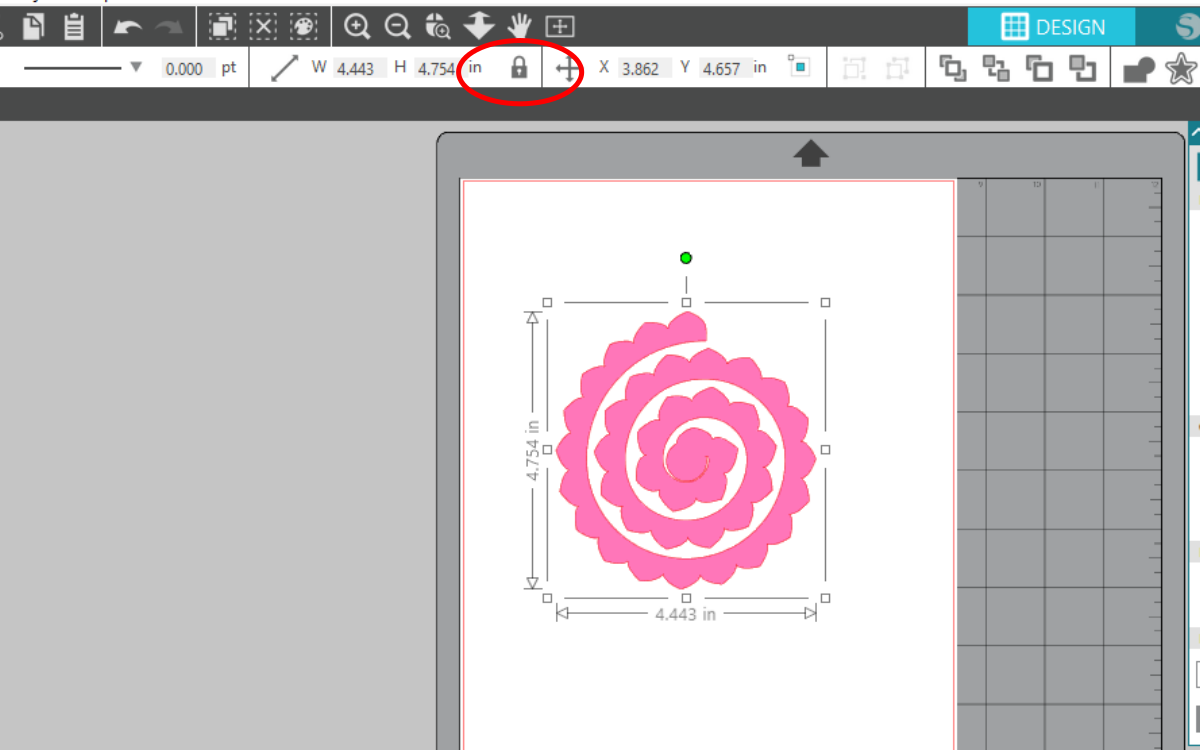
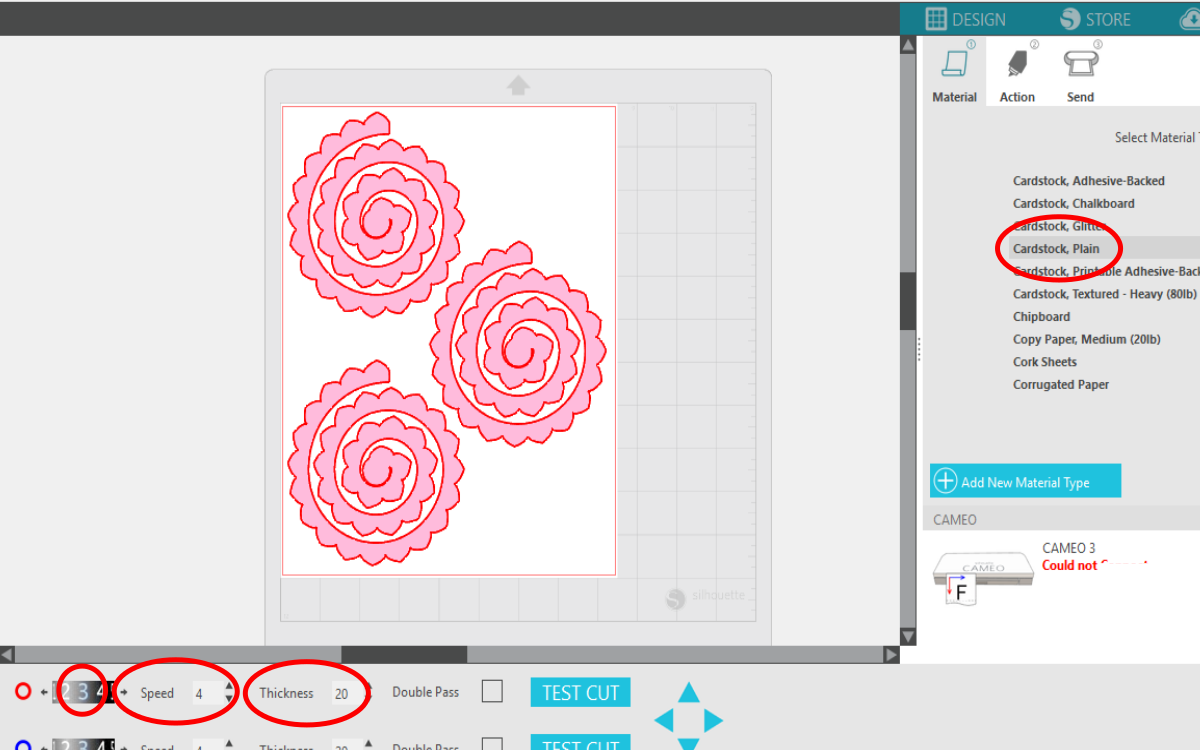
3. Next, resize the spiral so you can fit multiple roses on one 8.5-inch-by-11-inch sheet. Make sure the aspect ratio is locked while you are resizing it to ensure the shape of the spiral remains the same. To fit 3 roses per page, resize the height to 4.75 inches.
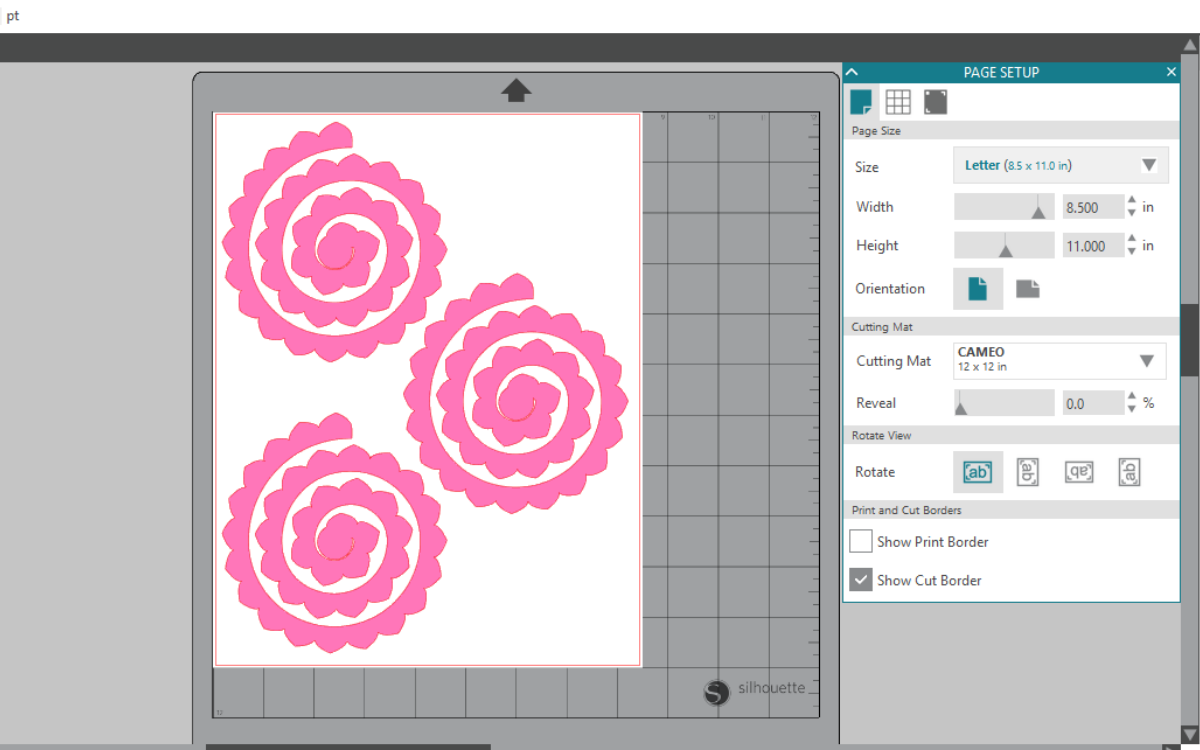
4. After resizing the design, copy and paste two more designs and arrange them to fit perfectly on the page.
Step Two: Cut Designs
1. It’s now time to cut! Load your machine with your mat and desired cardstock color, and then send your design to cut. I find that 65 lb cardstock works well with this design and isn’t too thick to curl or shape into roses. I also used the preset cut settings under “Cardstock, Plain” (Force – 3, Speed – 4, and Thickness – 20).
Step Three: Assemble Designs
1. Once your design is cut, grab a pair of tweezers to help you roll them into shape!
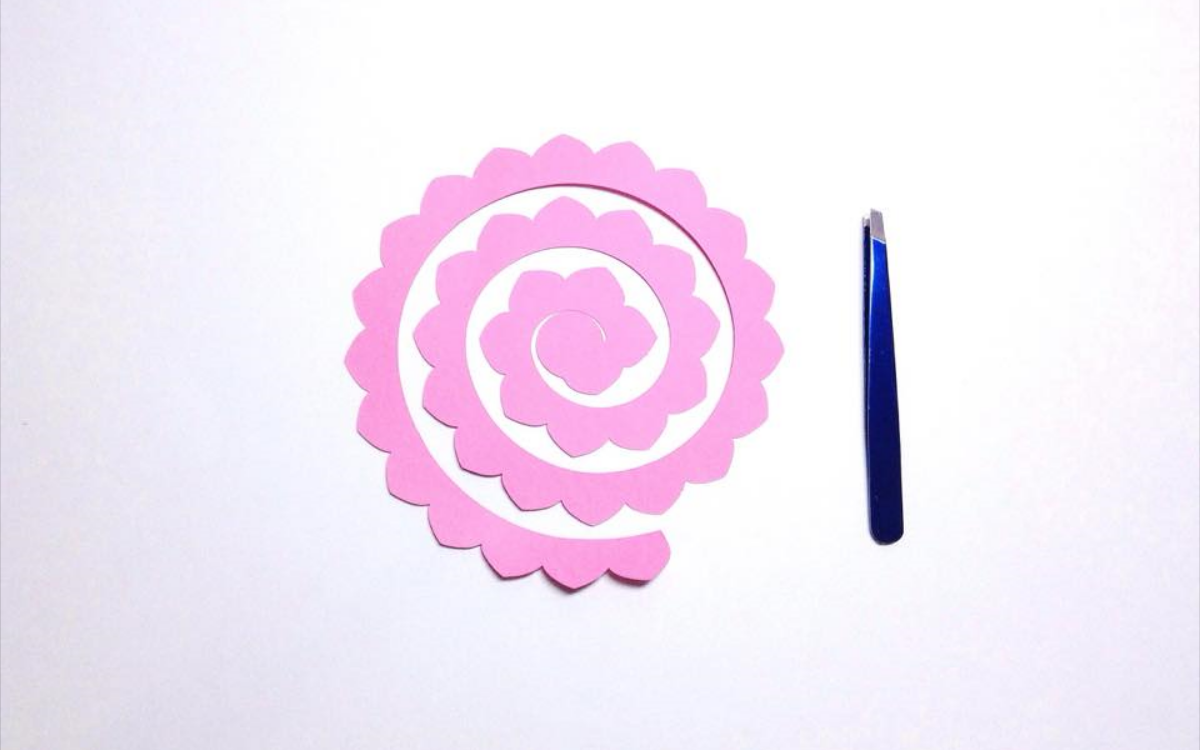
2. Start by using the tweezers to roll the spiral into shape.
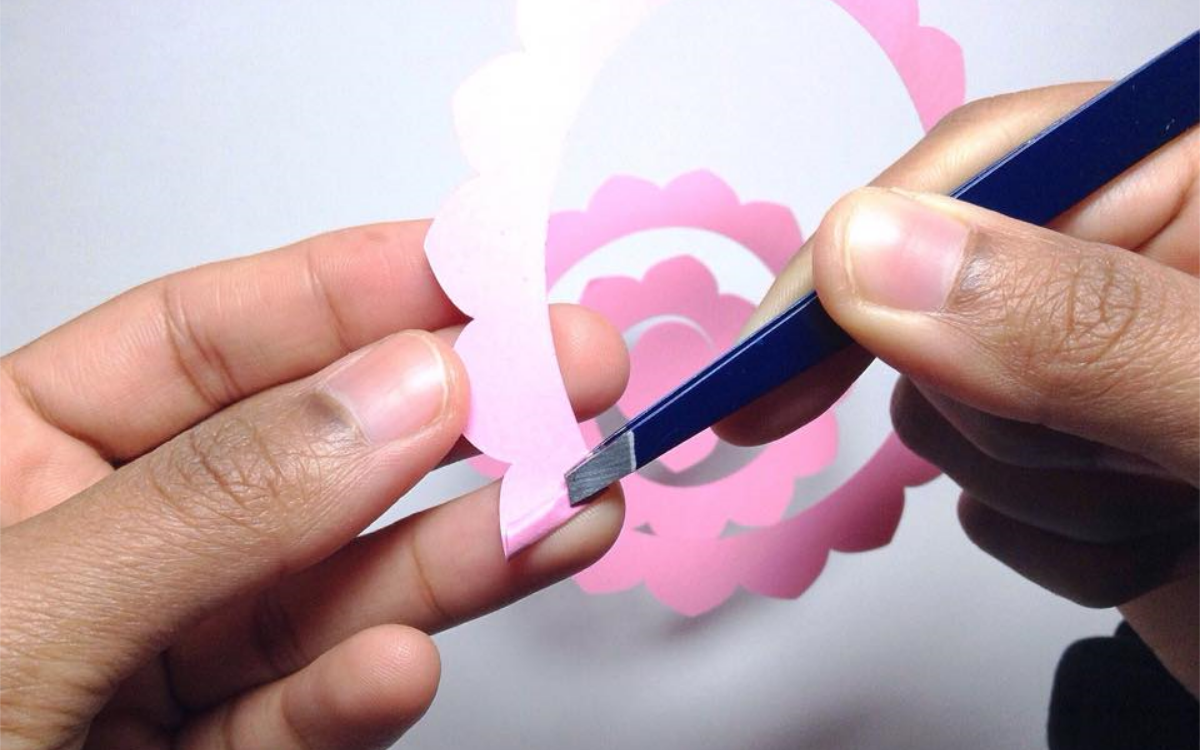
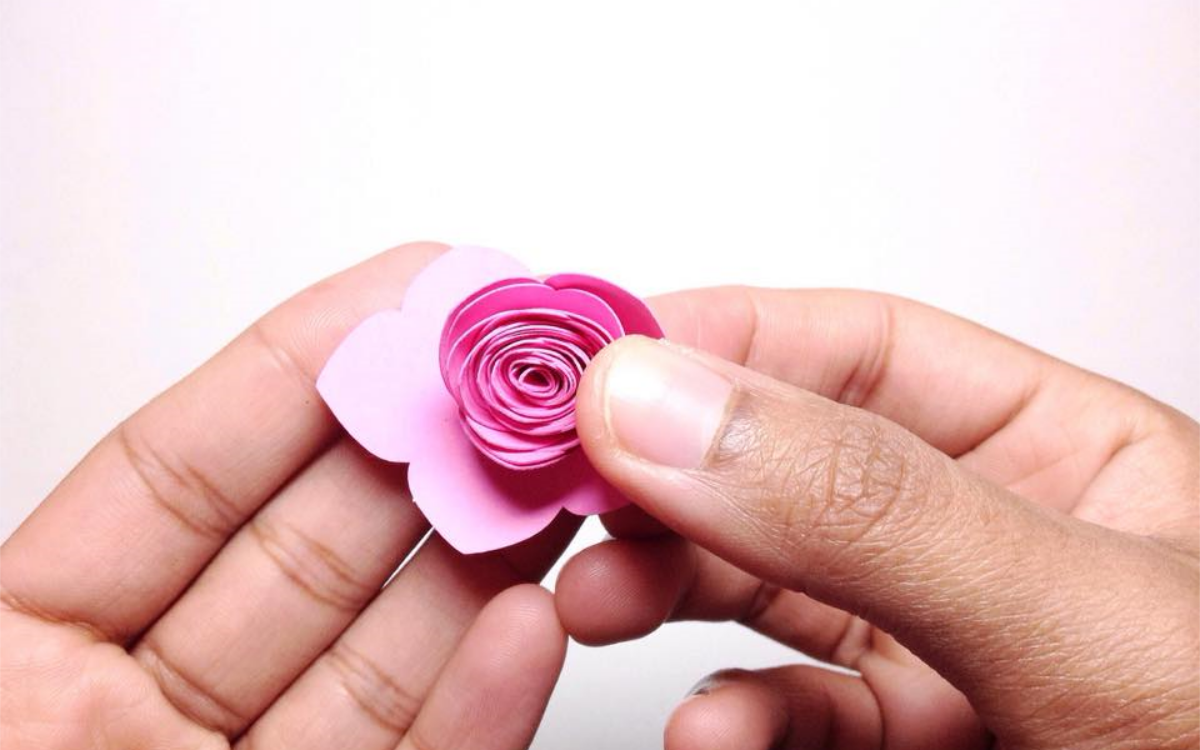
3. Once you’ve got the edge done, continue rolling using your fingers until you’ve reached the end.
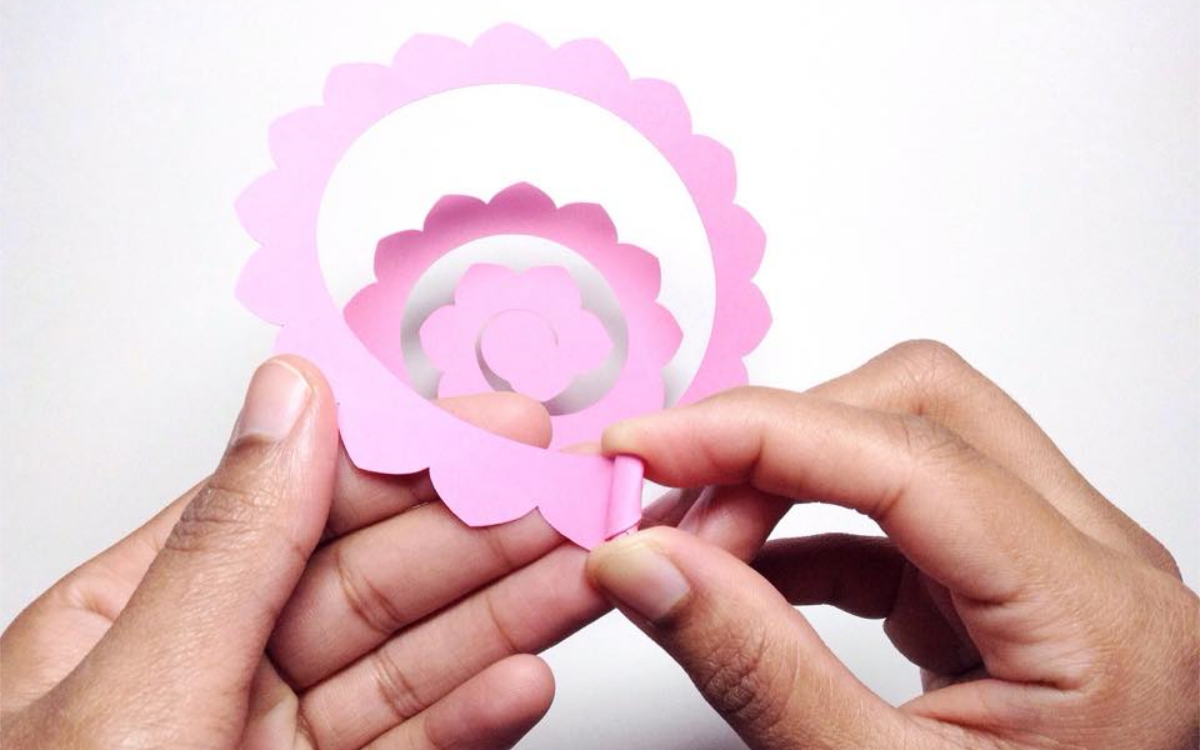
4. Gently release the rose so it’s not tightly rolled up and you will see your rose coming into shape!
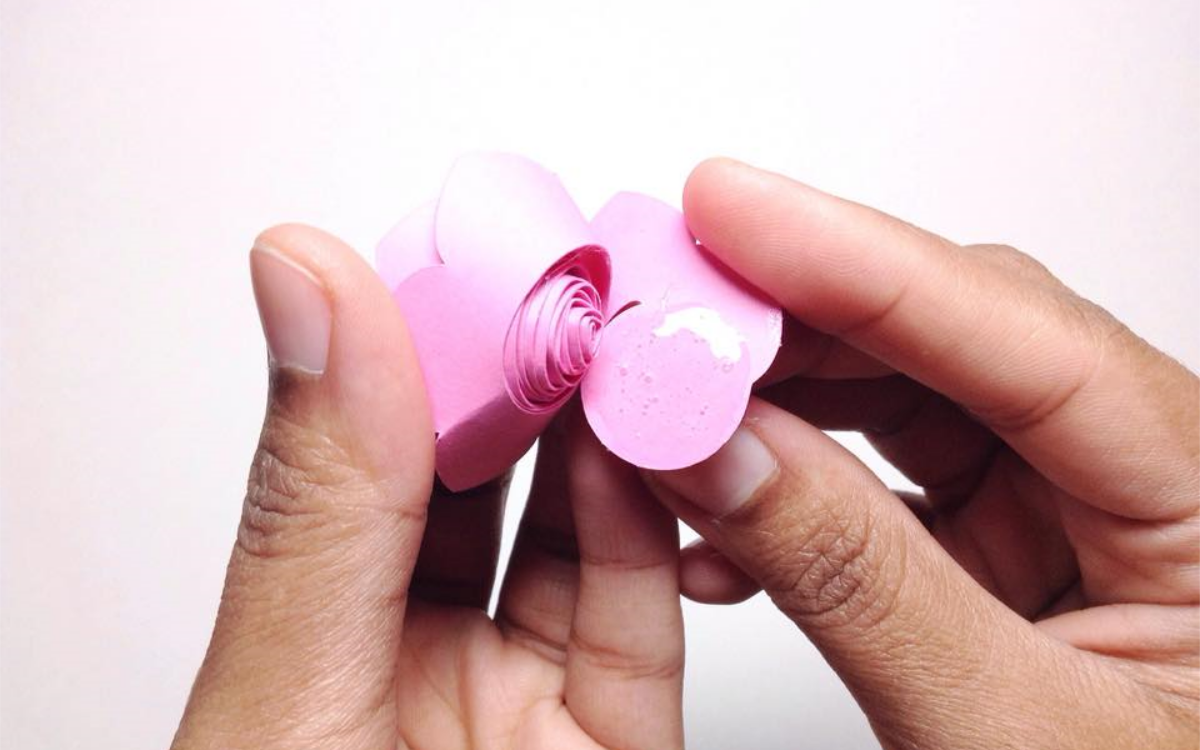
5. Next, add some glue to the base of the rose using your hot glue gun. This will hold everything in place. Press lightly for a few seconds until the glue is dried.
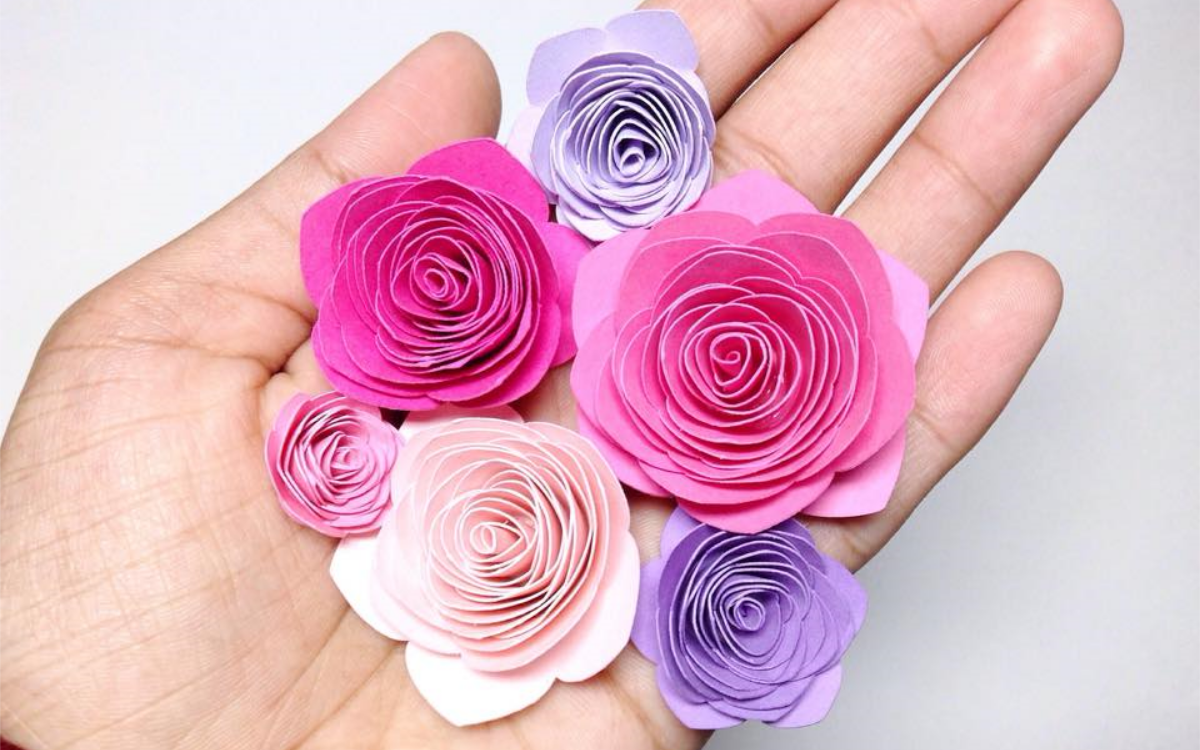
6. And there you have it–a beautiful paper rose! All done within a few minutes!

You can create a variety of roses in different sizes (and colors!) by resizing the design and following these steps again!
I’ve also created a video tutorial for this design to make it easier for you to follow and create!
Click here to watch: https://www.youtube.com/watch?v=KFmrA0ogkd4\
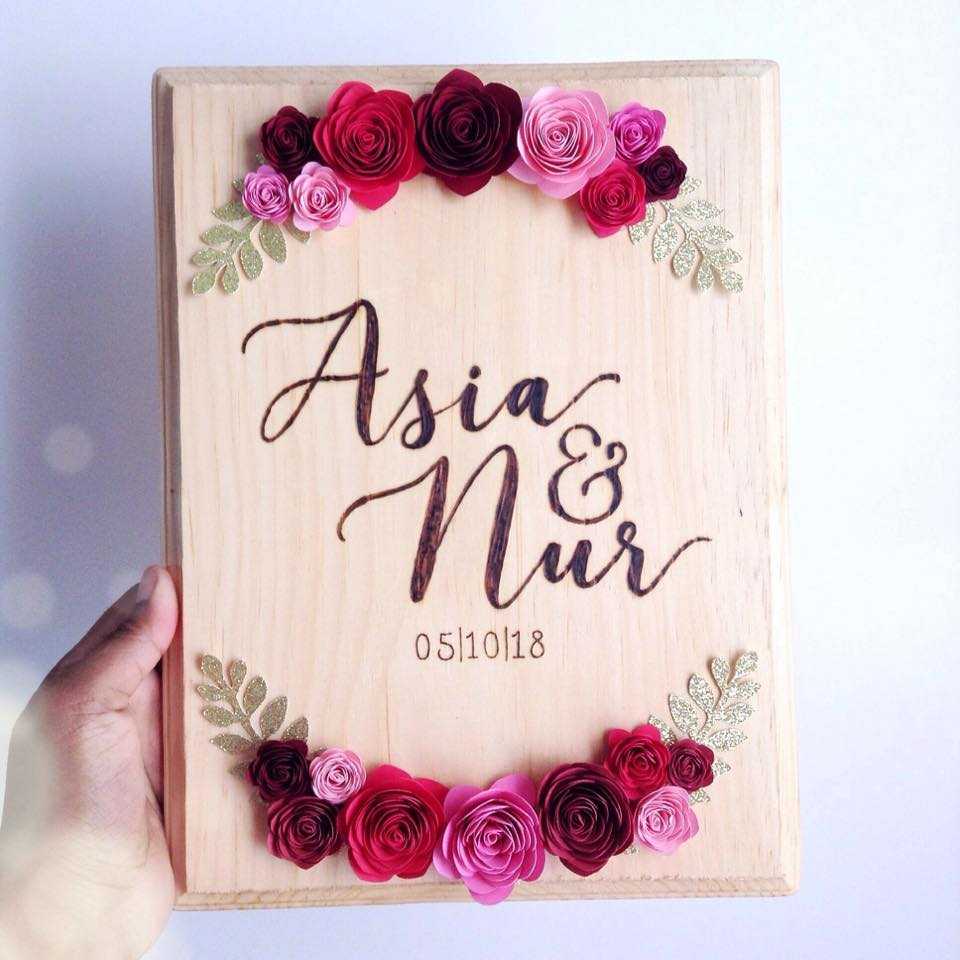
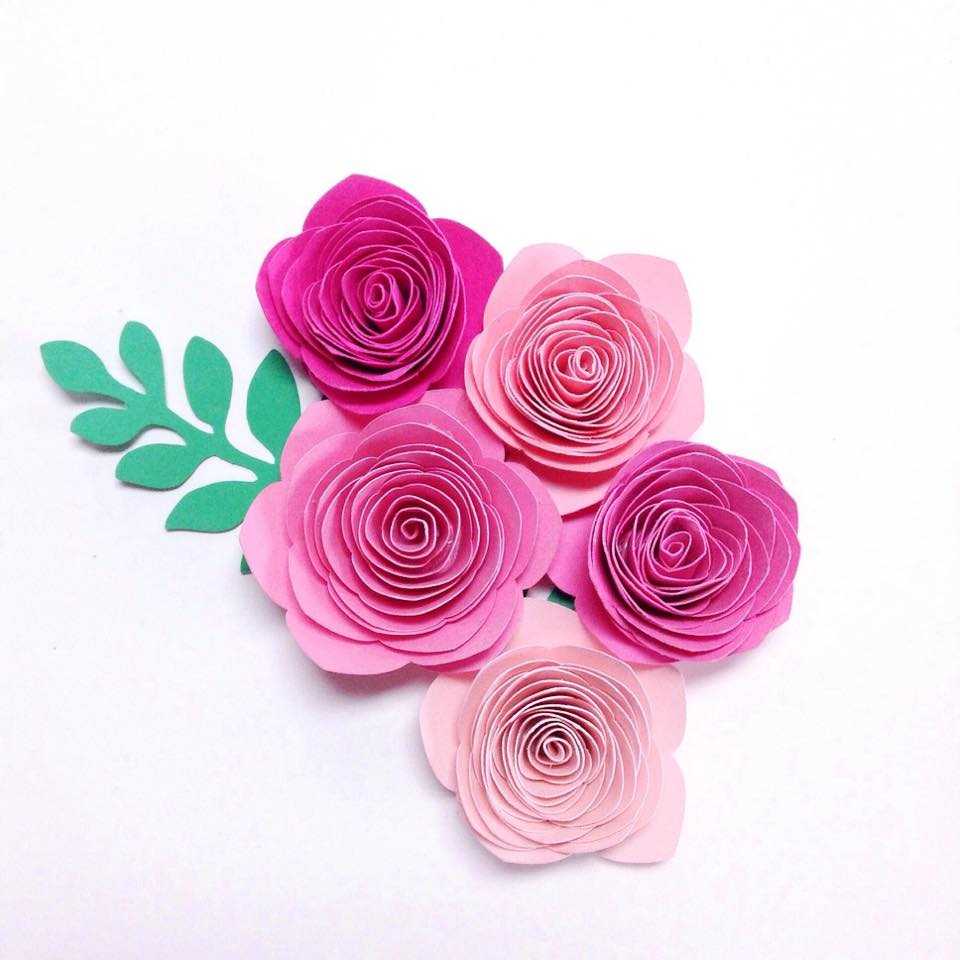
These roses can be used as embellishments on cards, on wooden signs, and in shadow boxes to create beautiful gifts! Happy crafting! Let me know in the comments below what you used your rolled roses for!