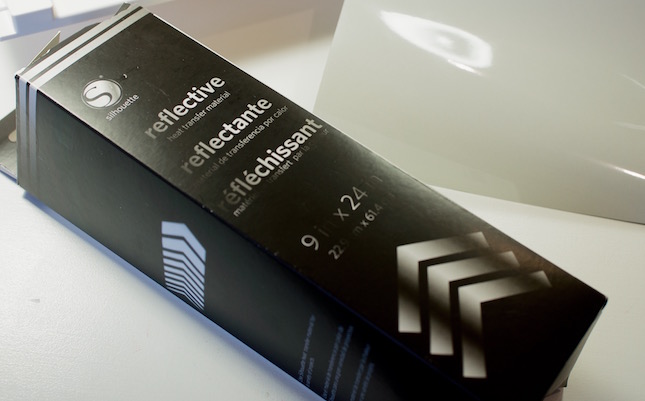
Heat Transfer Material is definitely one of my favorite media’s to work with. It’s easy, versatile, and the results are always fantastic. This was my first time working with Silhouette’s Reflective Heat Transfer Material and it did not disappoint. The reflective properties of the heat transfer material allow for high visibility in low light situations, which makes it perfect for accenting running gear for those early morning or late night runs.
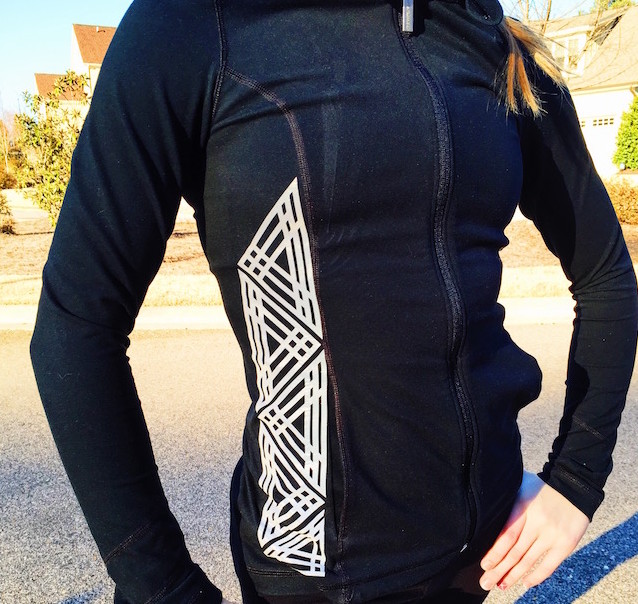
For this tutorial, I’m going to go through the steps of transforming a basic black running jacket into a highly reflective, safe night time jogging jacket.
Here’s what you’ll need:
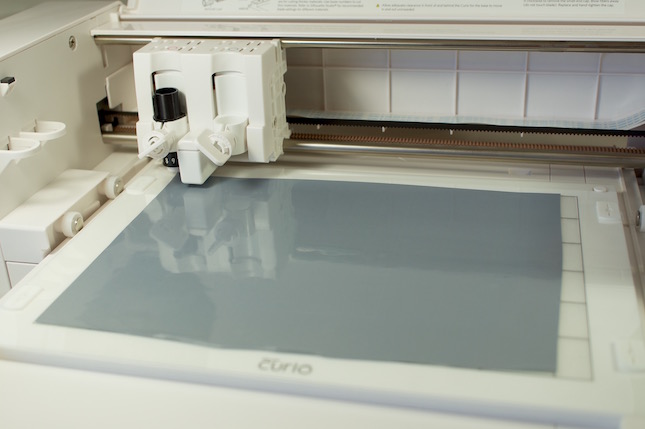
- Silhouette Curio™
- Ratchet Blade
- Reflective heat transfer material
- Iron
- Weeding tool
- Fabric scrap
- Clothing of choice
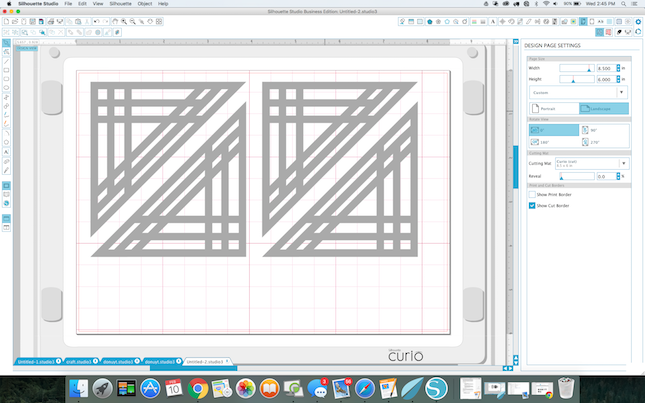
First you’ll want to choose a design to work with, I knew I wanted something geometric so I searched the Silhouette Design Store for straight line shapes and found Design ID #118724, which I thought would work perfectly for what I had in mind.
I opened the design in Silhouette Studio and duplicated it to create 4 of the same shape. You can do this by right clicking and selecting “duplicate” or by going to “Object > Replicate > Duplicate” in the drop-down menu.
NOTE: Don’t forget to mirror the design—otherwise it will be backwards when you cut it out! It doesn’t really matter for this design because it’s symmetrical, but anything asymmetrical or with words will be flipped the wrong way.
Cut the heat transfer material to size and place it on Curio’s cutting mat shiny side down. This is extremely important, so I’ll say it again. Make sure when you use heat transfer material that you cut it with the shiny side down or your design will not cut properly
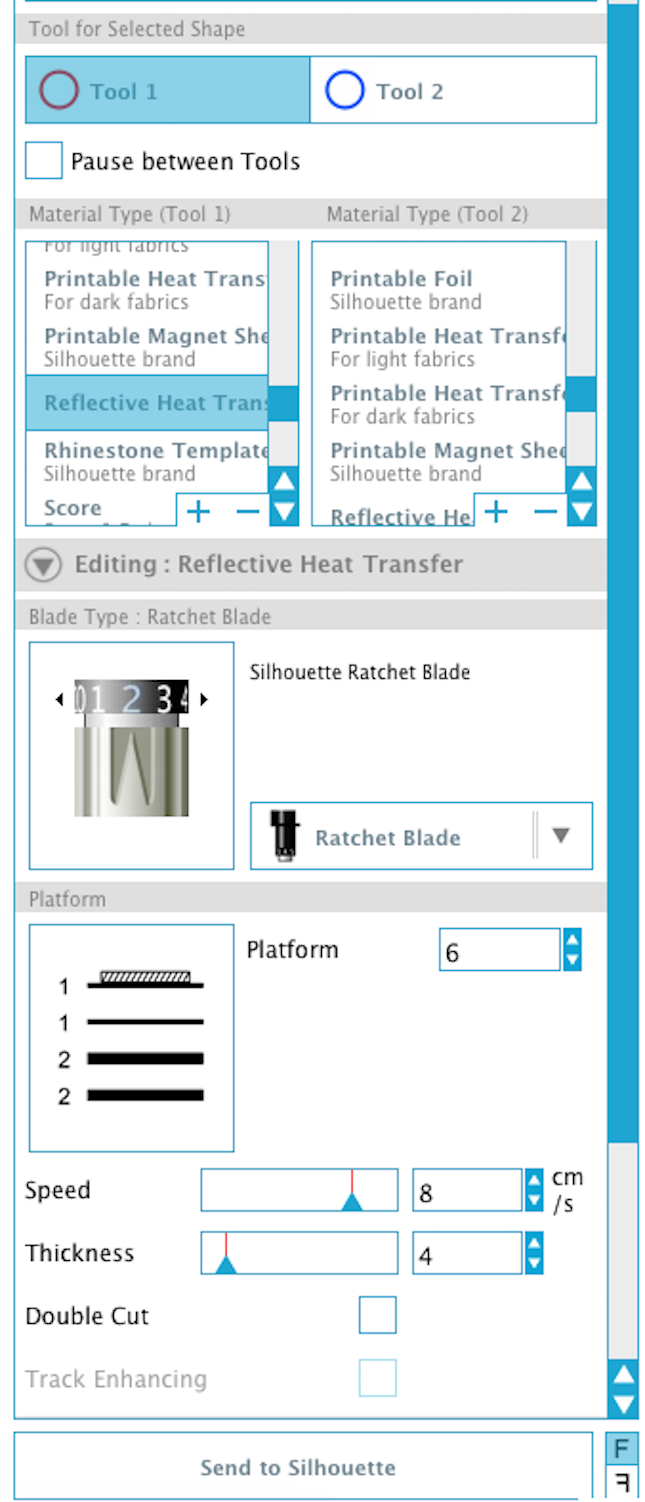
Select the red tool (Tool 1) and choose “Reflective Heat Transfer Material” as your Material Type. Set your blade to a 2 and adjust Curio’s platforms as recommended in the Cut Settings panel. For this project, Curio requires a 2+2+1+1.
Double check that all of your settings are correct and click “Send to Silhouette” to start the cut job.
Once your design is cut, remove the negative space from around your design and use the weeding tool to remove the extra pieces.
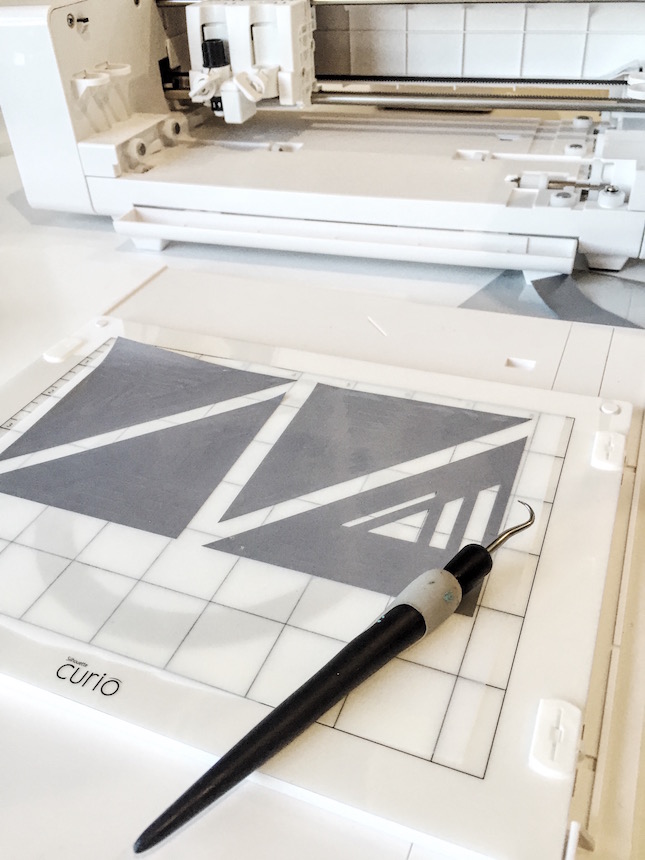
At this point you can remove the design from the cutting mat, peel away the plastic backing, and begin to play around with the placement on your jacket.
Since you cut the pieces with the right side facing down, you’ll need to flip them over and make sure that the shiny side is now facing up. Once you have everything in place you can begin to iron your pieces onto your jacket.
I set my iron to the highest setting which is typically the cotton setting. Cover your designs with a scrap of fabric and iron for about 30 seconds. Let the fabric cool completely before lifting off the plastic covering.

You will be amazed at how reflective your new running jacket is! It looks great in the daylight but it really shows off after dark!

If you’ve yet to try out Silhouette’s Heat Transfer Material, I highly recommend doing so! 🙂
Nasze Naturalne
September 3, 2025
Your authentic voice really shines through in everything you create and share
Naszenaturalne
September 2, 2025
Really love your style
Kelly Wayment
June 28, 2024
You can use it with vinyl as long as it is smooth and flat to allow the static charge to hold on to it. Rolled vinyl that wants to go back to its rolled shape will not necessarily work well, and it would need to be trimmed to fit the ES mat cutting area.
Kelly Wayment
June 28, 2024
Yes, you can use the heat pen while using the ES mat. 🙂
Yurii
March 2, 2024
Hello. May it be used with heat pen?
Thanks
Jerome
February 24, 2024
Hi, works this with the normal vinyl foils or only with printer papter etc?