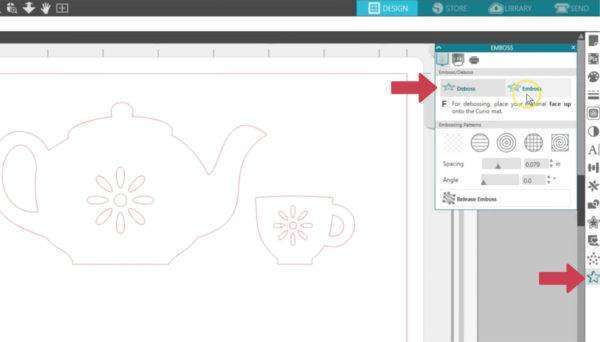
Score & Emboss is a special action that a Curio can perform that will first lightly score around the edges of an image with a blade, and then will press slightly inside the score lines with an embossing tool. This makes a more dramatic deboss or emboss effect than the embossing tool alone, and is intended for use with the Silhouette Score & Emboss Paper. Start in the Emboss Panel that looks like a raised star, and choose Deboss or Emboss.
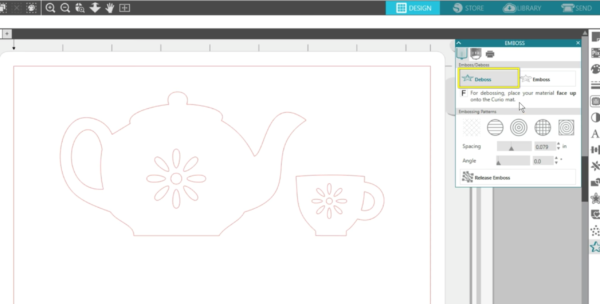
Deboss means the embossing tool will press into the Score & Emboss Paper as you see it on your screen, creating a recessed relief of the design.
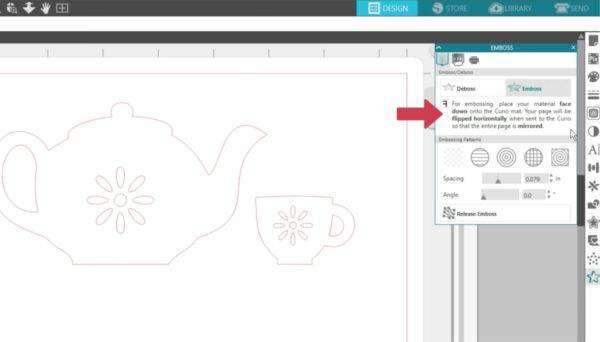
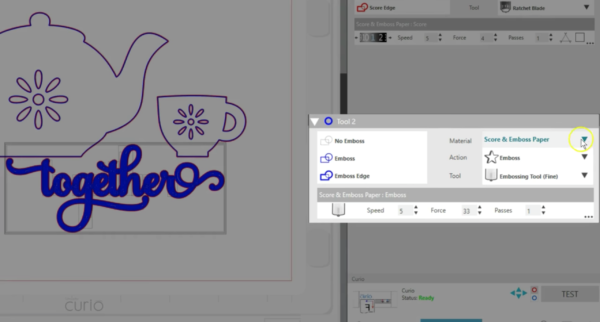
Emboss means the embossing tool will press into the back side of the Score & Emboss Paper, which you’ll place face down on the embossing mat, so when you flip it back over you’ll have a raised image of your design.

We will choose Emboss, and it tells us the page will be mirrored when sent to the Curio, so we will be placing the Score & Emboss Paper face down. There’s not actually a front and back side to the Score & Emboss Paper, but if you add any printed image to the paper before embossing, that would be important.
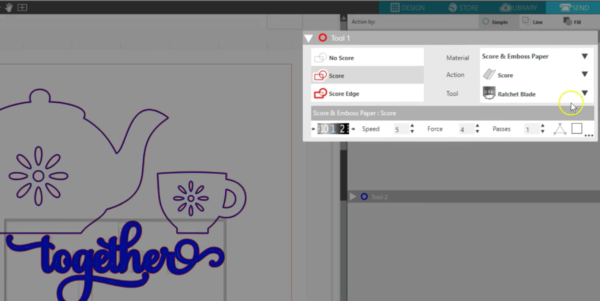
Now that we’ve decided on Emboss, let’s go to the Score & Emboss tab on this panel. The icon looks like a ratchet blade.
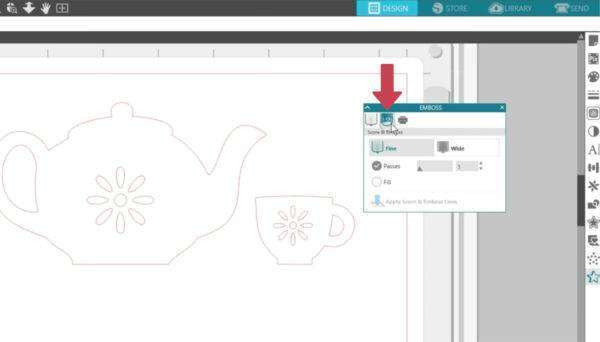
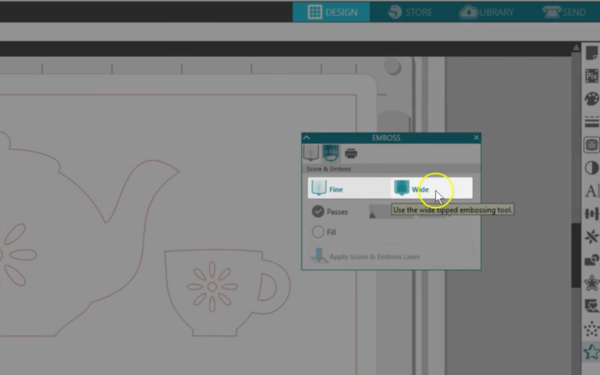
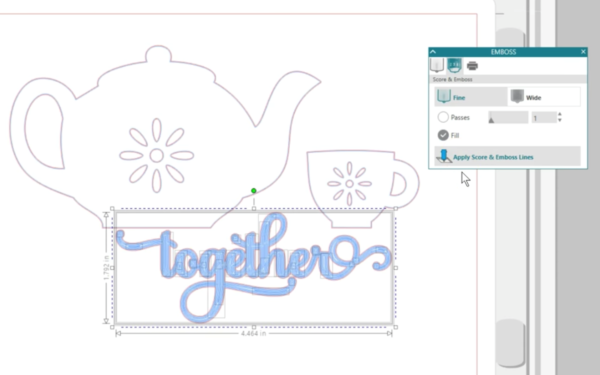
Choose either a Fine or Wide embossing tool.
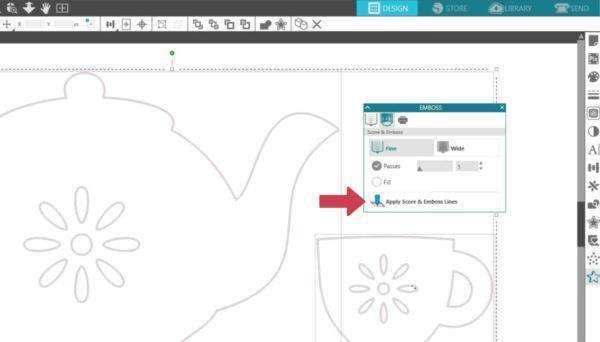
Now our choices are between Passes or Fill.

One pass will create a single line for the embossing tool. More passes will place more lines slightly inside each previous pass. Select your design, and click Apply Score & Emboss Lines.
Let’s zoom in, and you’ll see now there is a red cut line, but there is also a blue line just inside of it. The red is for Score, and the Blue is for Emboss. Curio will use both tool holders for a Score & Emboss project. If you want to see what 2 passes looks like, just increase Passes to 2 and Apply Score & Emboss Lines. You’ll see this will create another pass just inside the first.

Multiple passes here is not the same as multiple passes in the Send panel, because that cuts in exactly the same place each time. You can go anywhere up to 10 passes on this panel, but we tend to stick with 1 to 3. You don’t need to click Undo each time. Applying various passes will reset and apply the number you’ve input.
If you choose Fill, it will fill the entire design with a series of closely-spaced emboss lines.
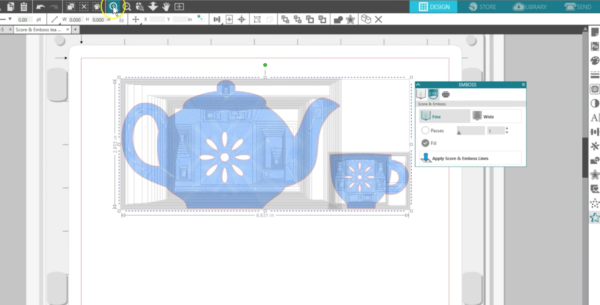
You probably wouldn’t do it with a large area like this, but a design with smaller space to fill would look better.
That’s all there is to converting a design to Score & Emboss!
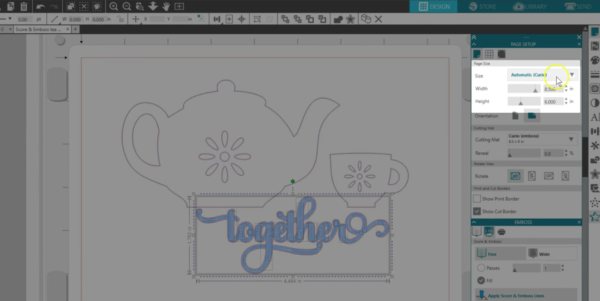
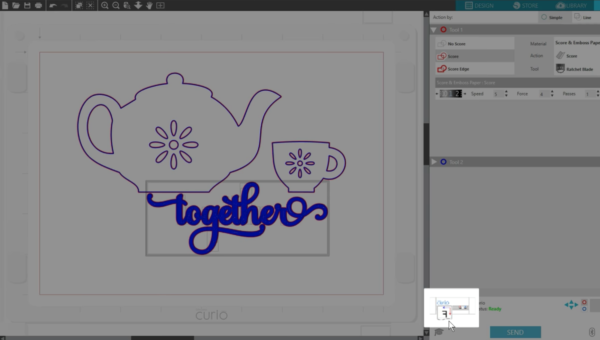
Let’s look at the Page Setup panel and then the Send panel to make sure we set up the cut job correctly. Set the paper size to the default Curio size, which is 8.5 inches by 6 inches. That means we will be trimming down a letter-size sheet of Score & Emboss Paper.
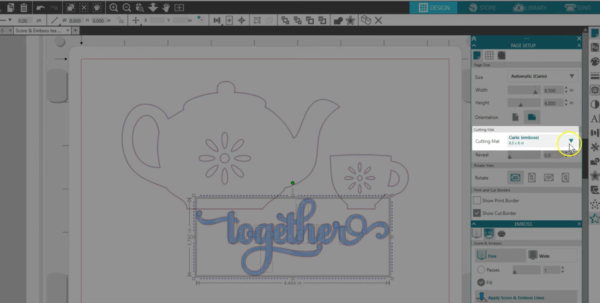
The cutting mat for Score & Emboss Paper should be the emboss mat, so we will make sure we’ve chosen Curio (Emboss) 8.5 inches by 6 inches (or you can choose the larger base if you have it).
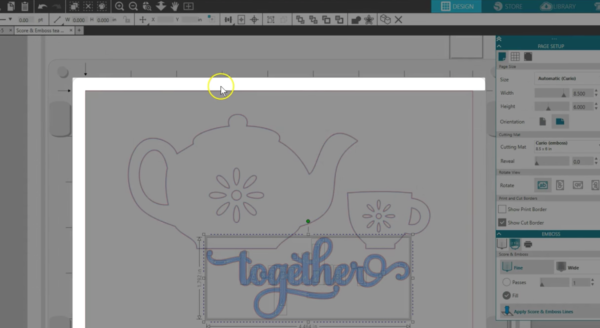
Let’s also point out while we’re here these two small arrows in the corner of your virtual emboss mat.

When you place your media of any kind on the soft white emboss mat, you won’t place it all the way to the corner, but will leave this much area of the sticky white mat exposed, as indicated by the arrows.
Now to the Send panel. If you remember, we set this up to Emboss instead of Deboss, so here at the bottom of the page you’ll see the page is going to be mirrored, as indicated by this backwards letter F.
The full preview doesn’t show it reversed, but if you use the correct paper size and place it on the mat correctly, the design will always emboss as it should.
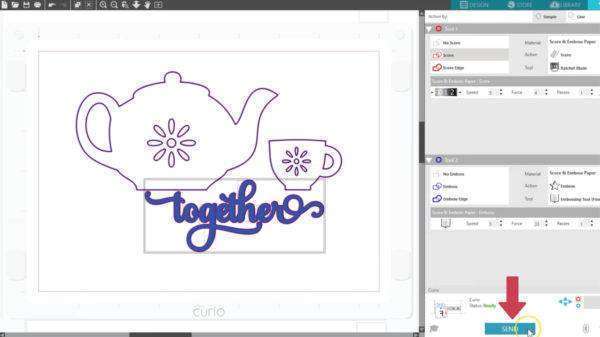
The material automatically set itself to Score & Emboss Paper when we applied Score & Emboss lines in the Emboss panel. The red tool holder is going to score with the ratchet blade, and you need to set the blade to 1.
Let’s expand Tool 2, and the blue tool holder will emboss with the fine embossing tool.
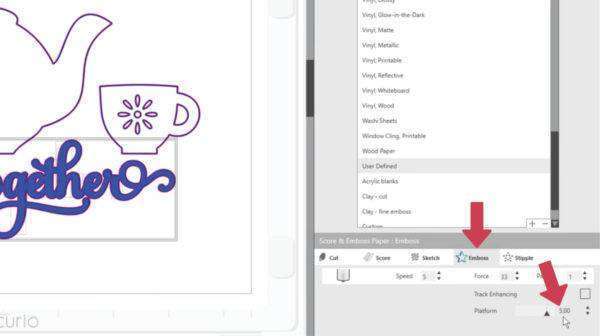
To find the platforms to use, click on the 3 small dots.
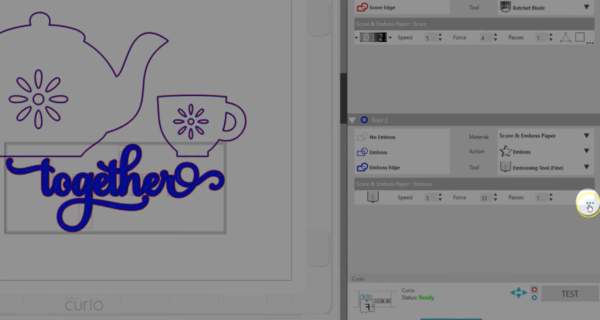
Click on Emboss, since that’s what we’re doing here. It tells you to use platforms with a value of 5. The emboss mat will be the top platform.
Click the X to get back to the regular Send panel view. You’re ready to send the job once the base is loaded.
It will score then emboss a mirror image of what you see on the screen, so when you flip your paper over you’ll have a raised image.